Airspeed Ambassador 1/72 W.I.P

Show us what's on the bench

Re: Airspeed Ambassador 1/72 W.I.P

Postby VH-WAL » Wed Dec 03, 2014 11:47 pm

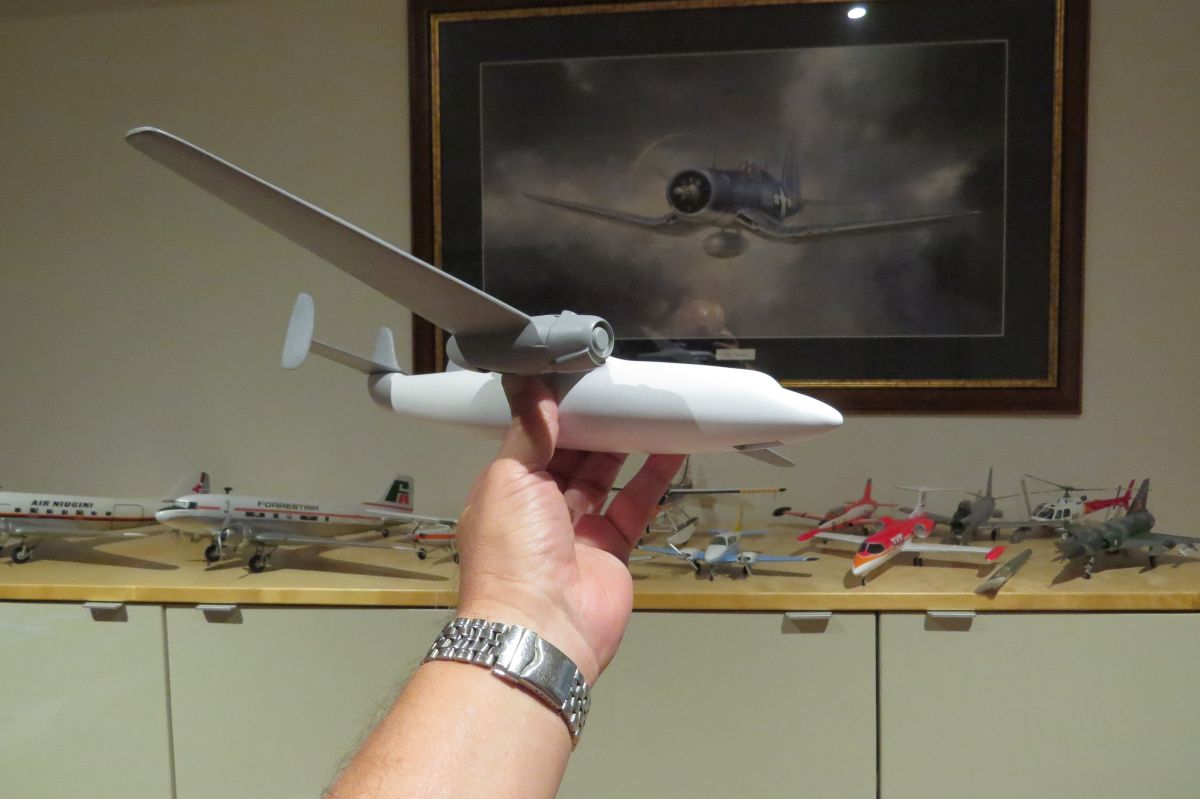
Today was jigging up day:
Image
Image

Dihedral zero (I hate that as the model always looks like it has anhedral when you look down on it I usually add 1 degree of dihedral to get rid of this optical illusion but I didnt here)
engine thrust line fore / aft, angle of incidence set, fiddle, tweak, hold, set.
and wings are on with some gaps at the wing root that need filling.

tail on, set square,to fuselage on same plane as wings, tweak fiddle set, tail on!

gosh I think I have an Ambassador in my hand!

Image[/url
[url=https://flic.kr/p/qhbYma]Image

Image


now loads of apoxie sculpt!
VH-WAL
 
Posts: 1068
Joined: Mon Apr 14, 2014 9:11 pm

Re: Airspeed Ambassador 1/72 W.I.P

Postby hrtpaul » Thu Dec 04, 2014 1:18 pm

Great work Wally :)
Head A/CAM Phantom Phanatic, Shit Stirrer and Karma Bus Driver toot fkn toot :twisted:
hrtpaul
 
Posts: 4165
Joined: Sat Apr 12, 2014 10:44 am
Location: Like I'm gonna tell you lot

Re: Airspeed Ambassador 1/72 W.I.P

Postby VH-WAL » Tue Dec 09, 2014 12:09 am

Well chaps, work continues but at snails pace... 2 steps forward 1 step back, prime, fill, sand, over and over again taking out all the blemishes, getting the tailplane fairing looking right. A final wet sand and a final complete spray of white primer done today. A couple of large screws are drilled into the nacelle through the undercarriage well, these allowed me to clamp the model with pliers and allow me to spray all over. (Earlier on in the build I held the wing leading edge down and poured resin into the nacelle, this made the nacelle rigid and allowed me to sand and blend the plastic of the wing / nacelles to the engines within a mill of it's life.

Here she is pretty as a picture, oh I do like this aeroplane

Image

Image

Also on the bench:

Image

Image

Image
VH-WAL
 
Posts: 1068
Joined: Mon Apr 14, 2014 9:11 pm

Re: Airspeed Ambassador 1/72 W.I.P

Postby hrtpaul » Tue Dec 09, 2014 6:57 am

All coming along nicely mate. Great work as usual :)
Head A/CAM Phantom Phanatic, Shit Stirrer and Karma Bus Driver toot fkn toot :twisted:
hrtpaul
 
Posts: 4165
Joined: Sat Apr 12, 2014 10:44 am
Location: Like I'm gonna tell you lot

Re: Airspeed Ambassador 1/72 W.I.P

Postby VH-WAL » Mon Dec 15, 2014 11:29 pm

Hi gang,

Work continues albeit slowly as I try and plan my next move in the construction sequence.. days were spent to nut out a way, and proceed to set up the undercarriage mounting.

During construction I did put an undercarriage bay "roof" over the holes to mount the main undercarriage legs. This had to be done before the wings were mounted to the fuselage, therefore I was unable to measure up the correct position / height of that roof so the model would "sit right", so the position was a guesstimate. But the main undercarriage legs are a cantilever mounting pivoting from the rear undercarriage bay wall.. i didnt put a wall in did I! The main undercarriage brace has to be mounted and glued to give the u/c legs any rigidity and having only two hands I could not for the life of me determine where and how to mount the legs, so I did what comes naturally to me... I cheated. I extended the main gear leg with some metal tube so it has a solid mount in the u/c bay roof with a "faux" cantilever mount at the rear. This way I was able to prepare the mounts so the gear would sit in the right plane at the right angles with the right height off the ground, pretty the engineering is not, neither is the solution elegant but heck it works and I dont look underneath my models! (From side on you can't see my cheating) While I was doing this it became evident that the wheel bay cutouts were misplaced, yep the gear door cut out lines were not in the right place.. so I had to fix one of the bays which was really bad and tweaked the other.

So it is time for a final prime and wet sand then mask for paint , essentially white and bare metal the livery I have chosen is simple at first glance but really awkward in fact, to correctly mask up the white areas I need to have the decals designed to use as a mask the Ambassador had three no four different sized windows and I had to use photos to determine size and position. So I created all the shapes and cheat lines in Inkscape and test fitted the product.. this is my first shot hmm the line is too long the windows too big and the window spacing whilst at the correct ratios are not at the correct size or place on the cheat line... so hours more work on this coming up.

[url=https://flic.kr/p/q8TsfM]Image

[url=https://flic.kr/p/ptxFLD]Image

[url=https://flic.kr/p/qo2iRS]Image

[url=https://flic.kr/p/qo2c3m]Image

[url=https://flic.kr/p/qo2c6C]Image
VH-WAL
 
Posts: 1068
Joined: Mon Apr 14, 2014 9:11 pm

Re: Airspeed Ambassador 1/72 W.I.P

Postby Graeme H » Tue Dec 16, 2014 6:56 am

You have got it heading for the Hanger Door now
Graeme
User avatar
Graeme H
 
Posts: 1202
Joined: Thu Jun 05, 2014 12:51 pm
Location: YBTL TSV

Re: Airspeed Ambassador 1/72 W.I.P

Postby RayS » Tue Dec 16, 2014 7:10 am

It will be finished in no time Wal,

It is great you can make adjustments as you go on projects like this.
Ray

Image
User avatar
RayS
 
Posts: 2198
Joined: Thu Apr 17, 2014 10:24 am
Location: RAdelaide!... YPAD

Re: Airspeed Ambassador 1/72 W.I.P

Postby VH-WAL » Tue Dec 16, 2014 4:34 pm

Another 3 hours and got it!:
Image
VH-WAL
 
Posts: 1068
Joined: Mon Apr 14, 2014 9:11 pm

Re: Airspeed Ambassador 1/72 W.I.P

Postby hrtpaul » Tue Dec 16, 2014 9:22 pm

Coming along nicely Wally :)
Head A/CAM Phantom Phanatic, Shit Stirrer and Karma Bus Driver toot fkn toot :twisted:
hrtpaul
 
Posts: 4165
Joined: Sat Apr 12, 2014 10:44 am
Location: Like I'm gonna tell you lot

Re: Airspeed Ambassador 1/72 W.I.P

Postby VH-WAL » Mon Dec 29, 2014 7:04 pm

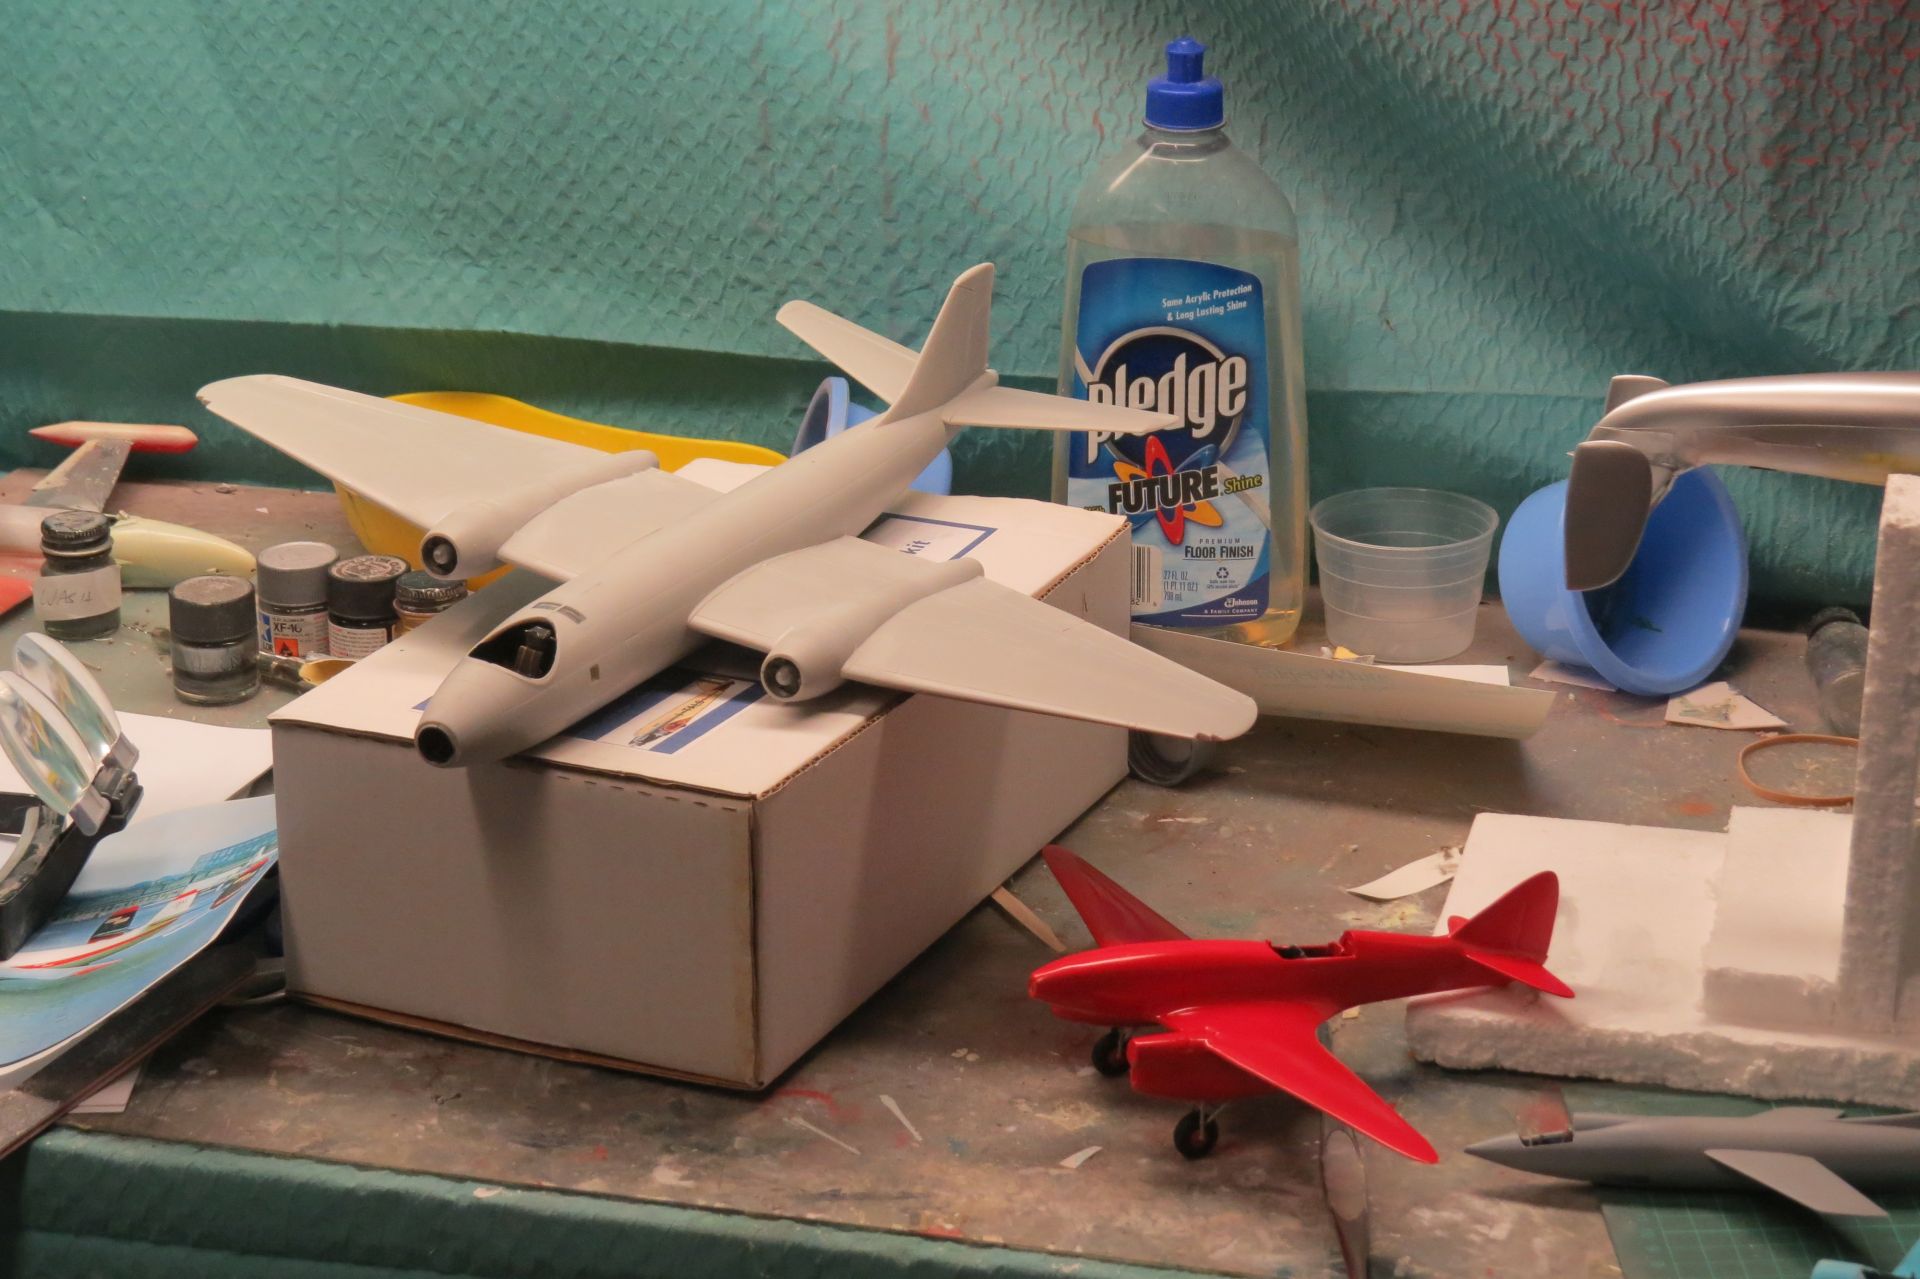
Hello Gang, I have been quiet of late with the Ambassador build. More information came to light that the window line on this aircraft was not straight.. it followed the floor which was curved, hence the decals needed redoing. In redoing the decals, putting in the faintest of curves proved to be too curvy on the model so I have come to the conclusion it is easiest to print a straight cheat line except for the kickback to the tail. Then to position the windows at the slight required angles according to the cheat line, then use the natural flex the exists in long skinny decals to curve the straight cheat line into the required position so now the "not square" to the cheat line windows will be in the same horizontal plane to all the other windows. But, my printer ran out of ink just before xmas and it all ground to halt coz I couldn't mask it until I was satisfied with the decal. It was pissing me off (the fact that I wasn't getting on with this and having shipped several sets of resin engines to eager Ambassador modellers around the world I am worried some bugger will finish theirs before me! Outr-a-a-a-ge! So I bit the bullet, masked it off at best guess positions and sprayed it silver. The Ambassador shares the bench with other projects that have seen the light of day again in the last week as the modelling mojo soared.
The Canberra needs a wing joint and tail joint fill and sand as the next job. The Bloody Comet would be finished except I lost the bloody decals!. The Douglas Skyrocket is going to be Jet Jackson's "Silver Dart" for our Expo display. A Civil Wackett project, an Aurora Beech 18 basket case restoration, and a tricky civil scheme for the diminutive Chippy. The Canberra sits on a box for a 2015 slated project.
Image
Image
VH-WAL
 
Posts: 1068
Joined: Mon Apr 14, 2014 9:11 pm

PreviousNext

Return to Member's Works in Progress

Who is online

Users browsing this forum: No registered users and 0 guests