Some background:
In June 1944 the British authorities released to Qantas two RAF Consolidated LB.30 Liberators then being operated by BOAC, to supplement the Catalinas on the Indian ocean route. G-AGKT and G-AGKU had overhauls by Qantas at Archerfield Aerodrome, Brisbane before being delivered to Perth on 18 October and 24 September 1944 respectively in Perth. They were based at the newly-built Guildford Aerodrome (now Perth Airport), using the Australian National Airways hangar just built for their DC-3 services from the Eastern States. The Liberators which refuelled at Exmouth WA to reduce the ocean crossing, brought an increased payload of 3,800 lbs which allowed 8 passengers in airline seats, plus baggage and the essential diplomatic and priority mail. Two more BOAC Liberators joined Qantas for the Indian Ocean service, G-AGTI and G-AGTJ, allowing the Catalinas to be retired. The final Catalina service landed on the Swan River at Perth on 18 July 1945, marking a total of 271 Qantas Catalina services across the Indian Ocean.
When Avro Lancastrians became available during 1945, the Liberators were retired and flown to Sydney. The original two were scrapped, but G-AGTI and G-ATGJ remained with Qantas as freighters VH-EAI and VH-EAJ, mostly used to carry engines to Qantas airliners across the growing postwar route network.
I will be building VH-EAJ and at some point a Lancastrian also in QANTAS colours
I am using an Academy B-24D kit that has been hiding in my stash for around 10 years, the Magna Model LB-30 conversion and decals from Hawkeye Models

I had a good set of in work images until Microsoft Photo editing software decided I did not need them any more and over wrote 10 images with just one. EDIT: I just found a set of images on a thumbdrive that shows some of the early work, yippee!
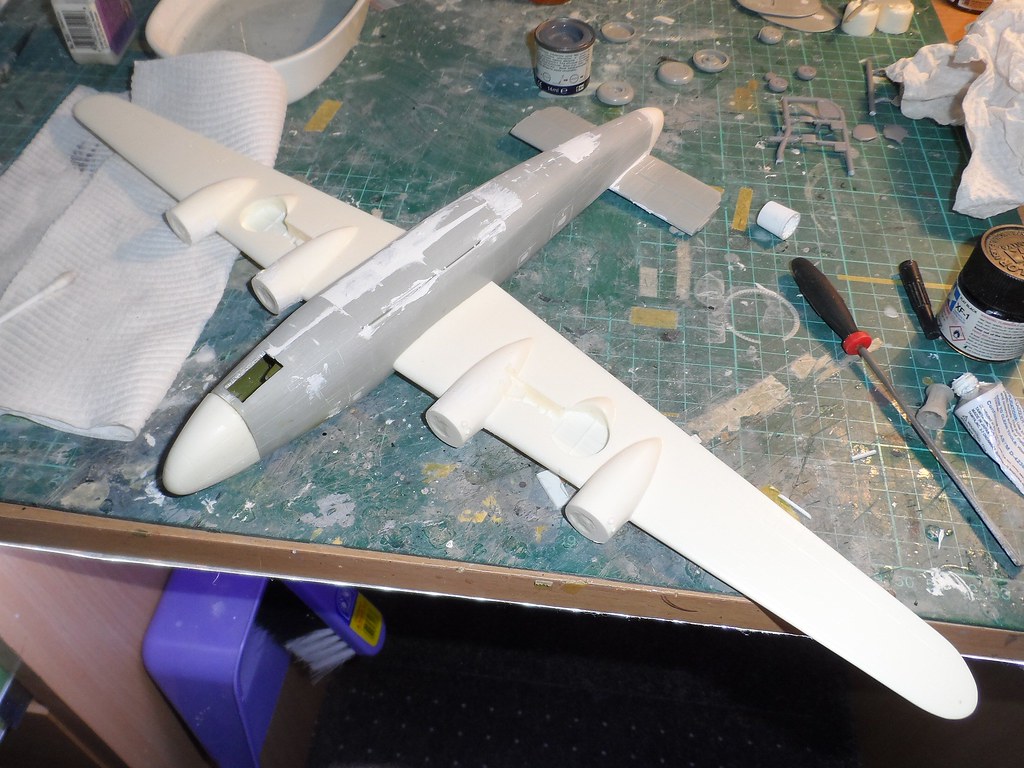
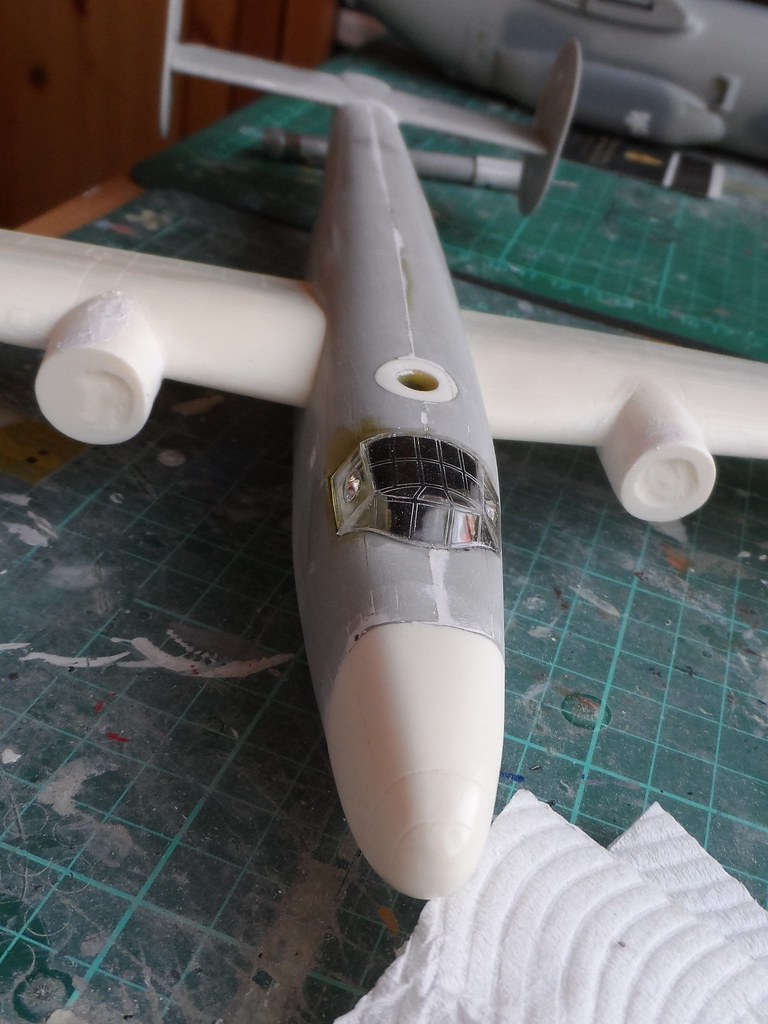
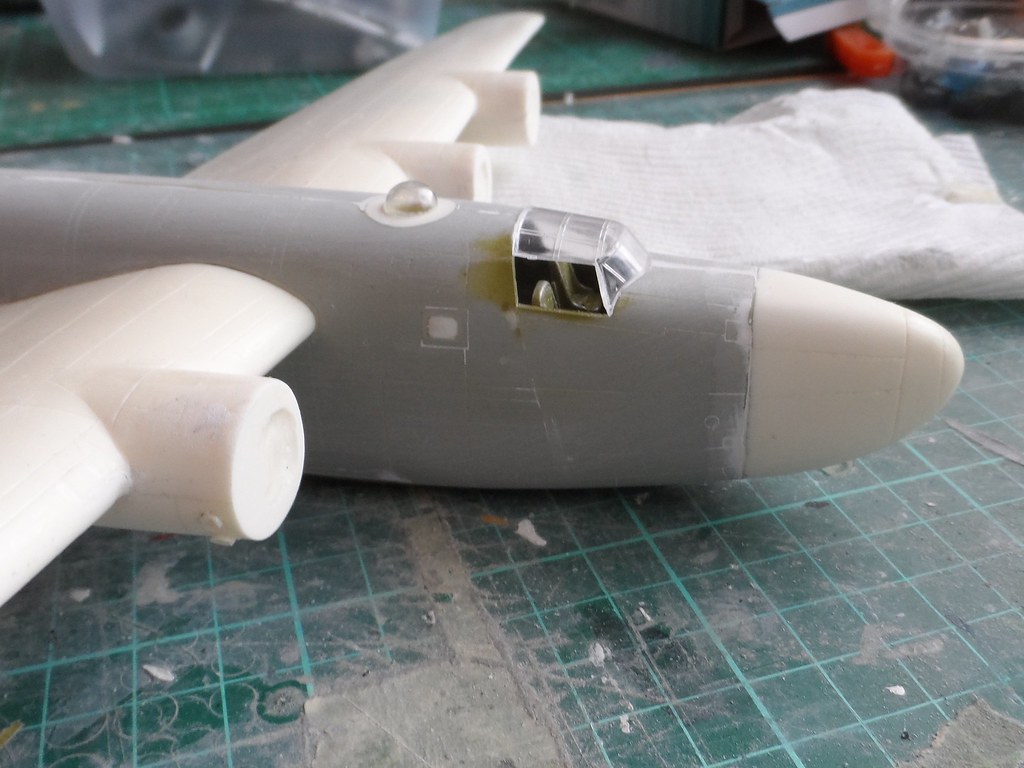
So here is my progress so far. I had to remove the forward and rear turrets for the resin nose and tail pieces.

Test fit after cutting

The fuselage openings for various windows and the waist guns were filled with card and glue goo and sanded smooth. I will have scribe some missing details


The kit was designed to have the bomb bay doors open, so the shape they are moulded in does not make it easy to fit them closed, I had to add a shim and then remove the extra overhanging door


The cockpit was assembled and installed and given a splash of interior green


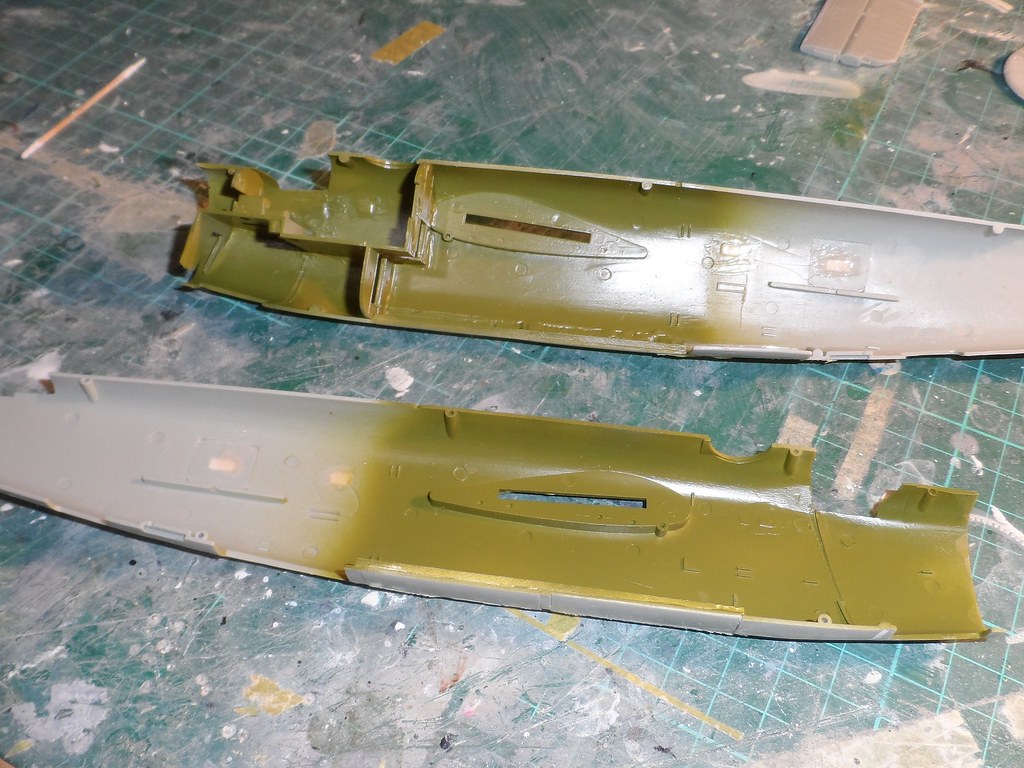
Resin parts from the conversion including the wings (not shown here) were cleaned up and prepared fr assembly along with some of the few other pieces from the kit needed for this build

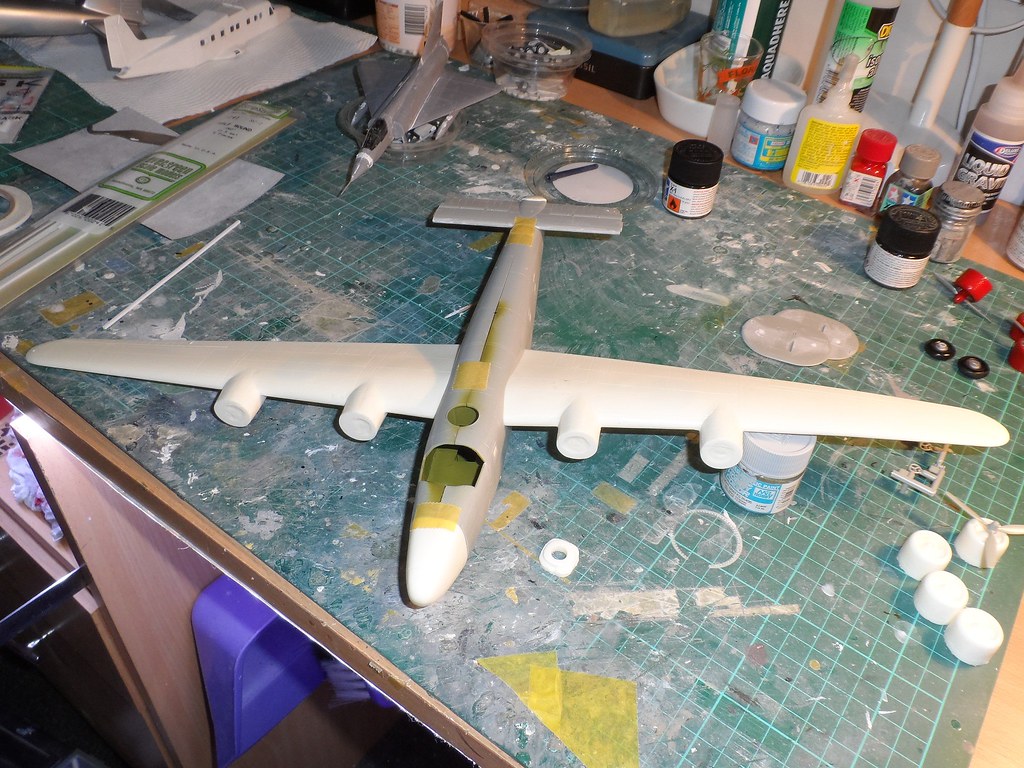
A test fit of the parts so far, the wings are slightly warped and will need some hot/cold water treatment to straighten them out
That's all for now

