1:144 Airfix 737-200 Challenge Build - Ansett 737-277

Show us what's on the bench

Re: 1:144 Airfix 737-200 Challenge Build - Ansett 737-277

Postby Ansett A330 » Tue Oct 30, 2018 9:37 pm

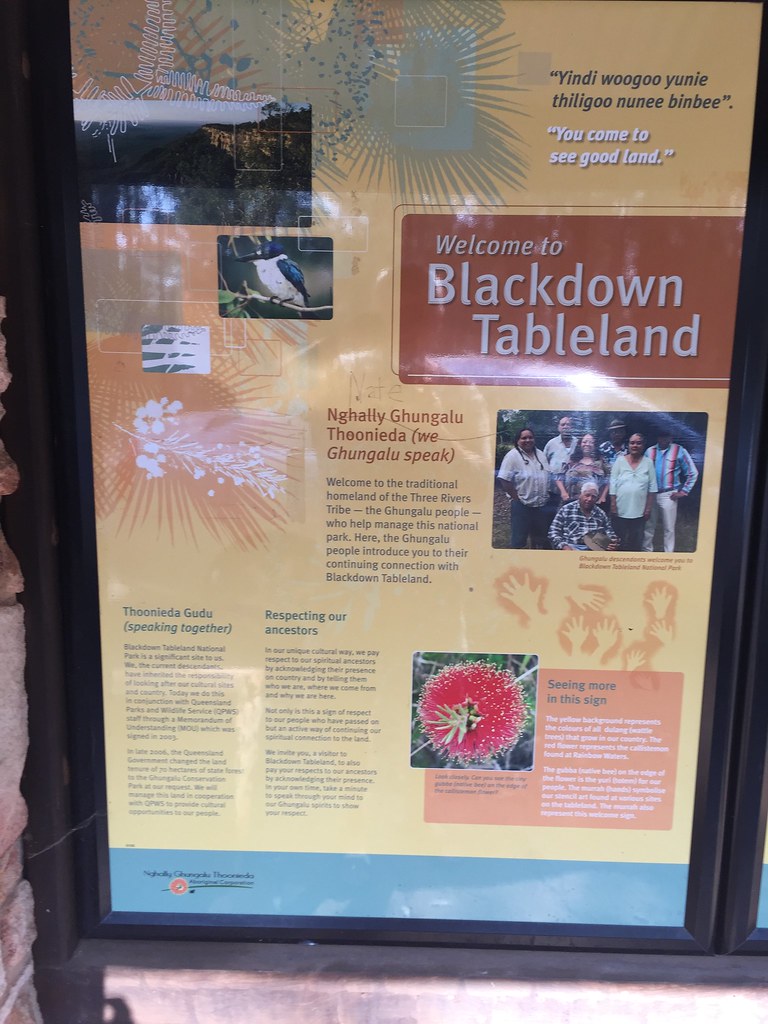
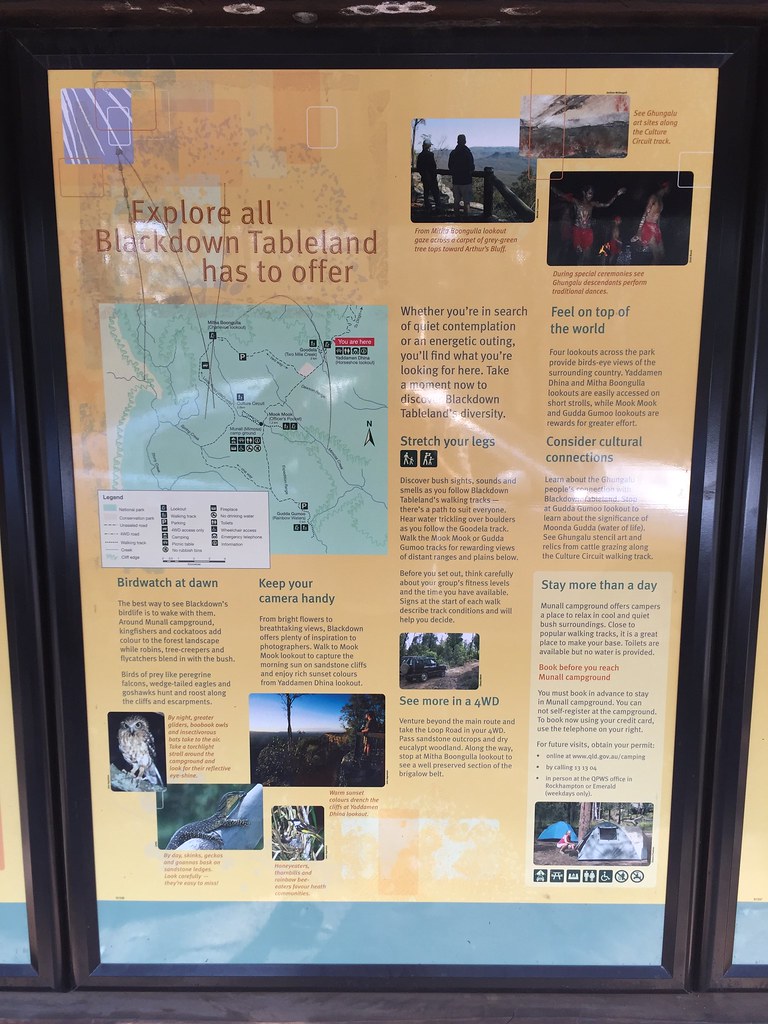
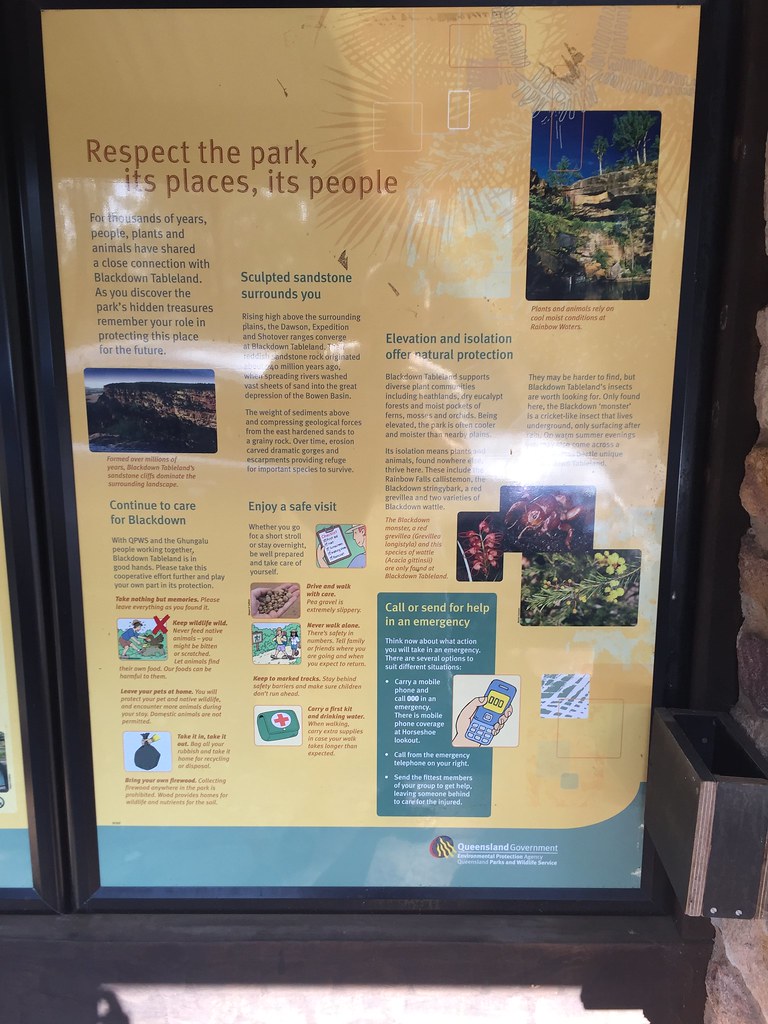
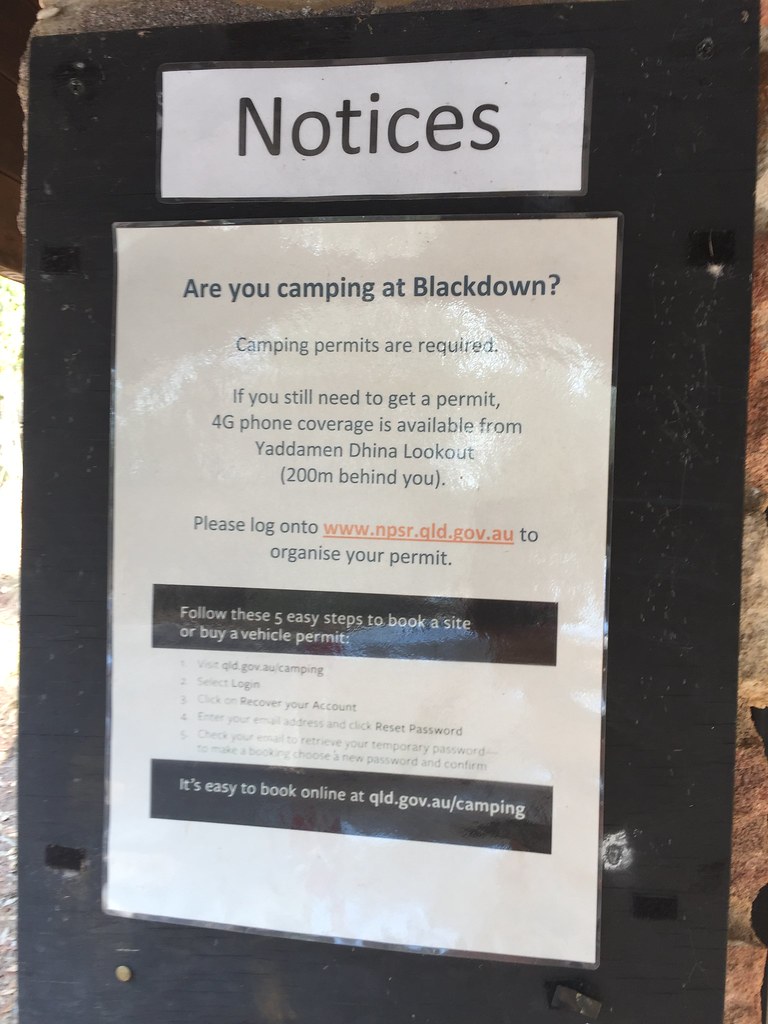
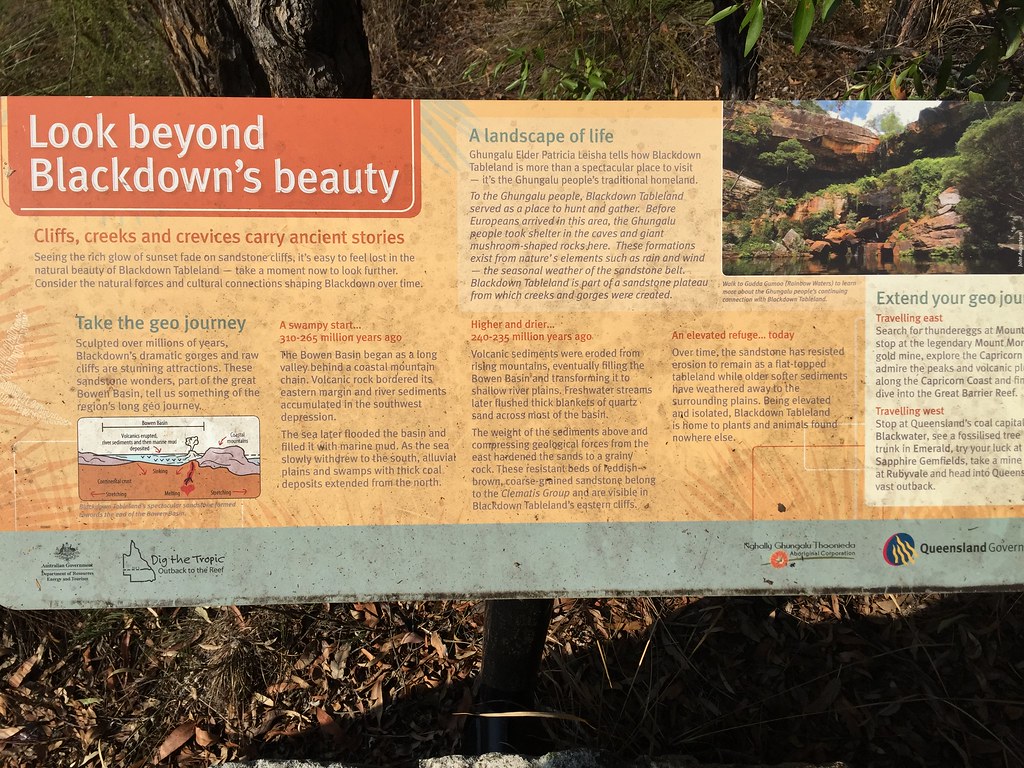
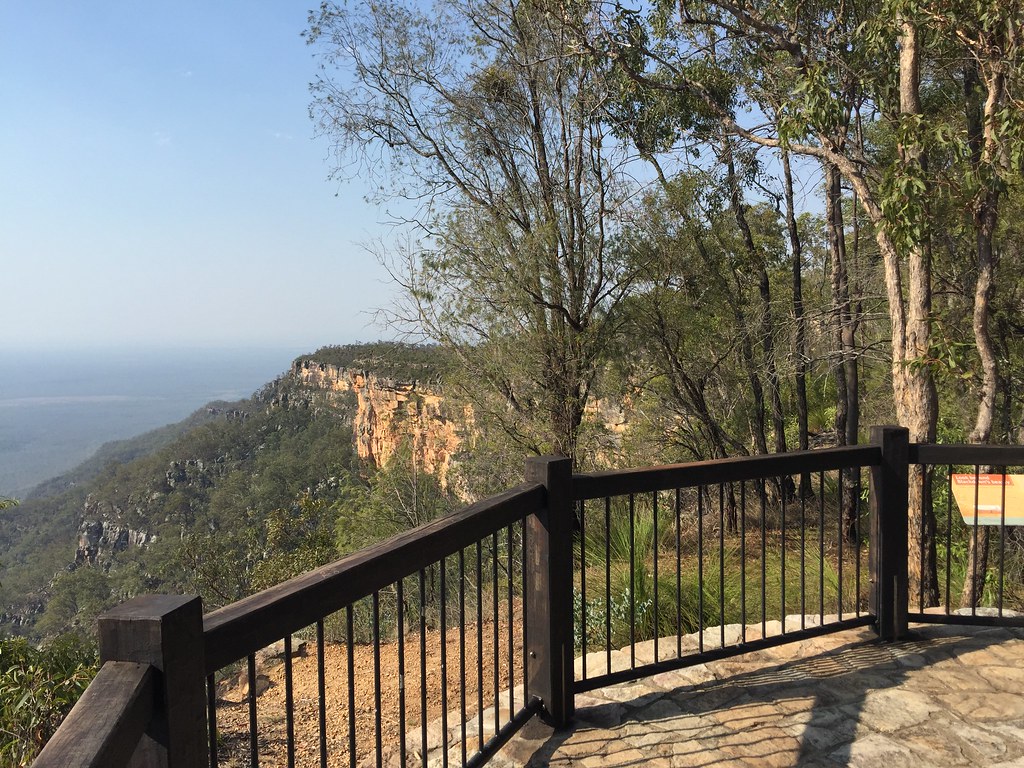
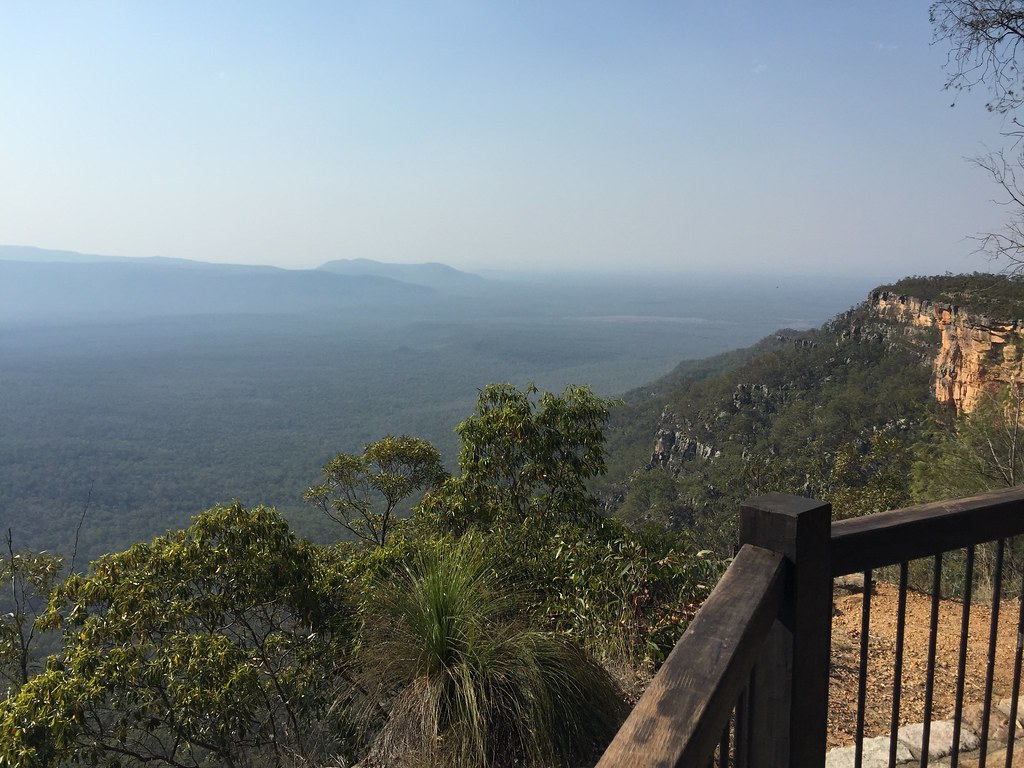
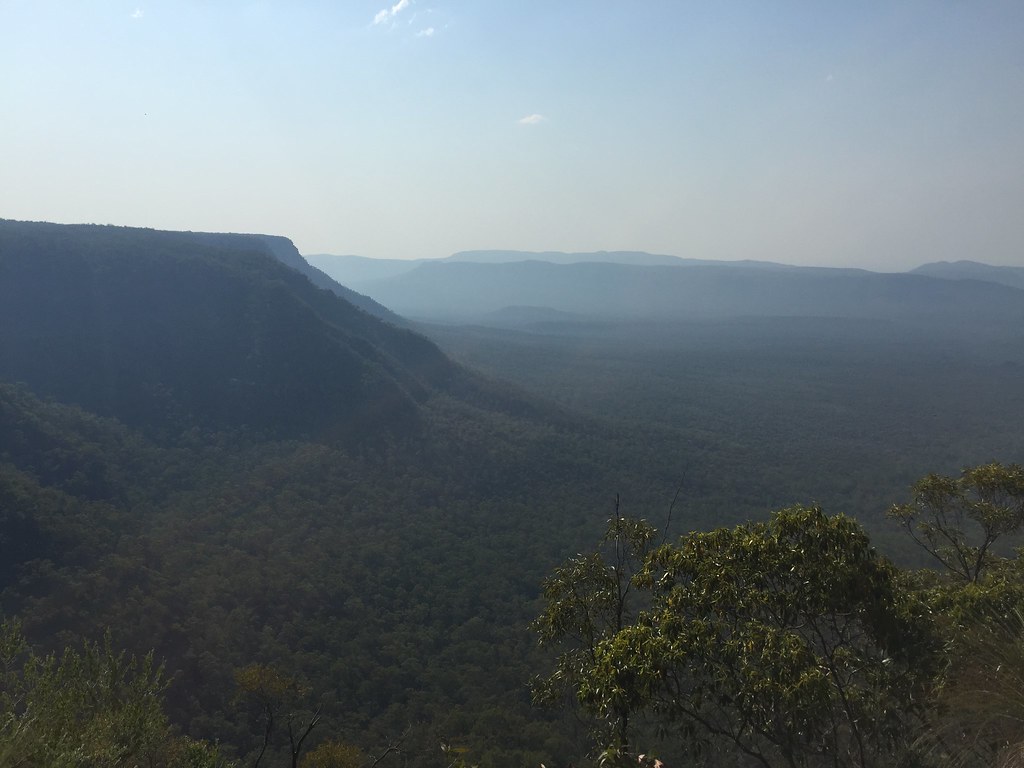
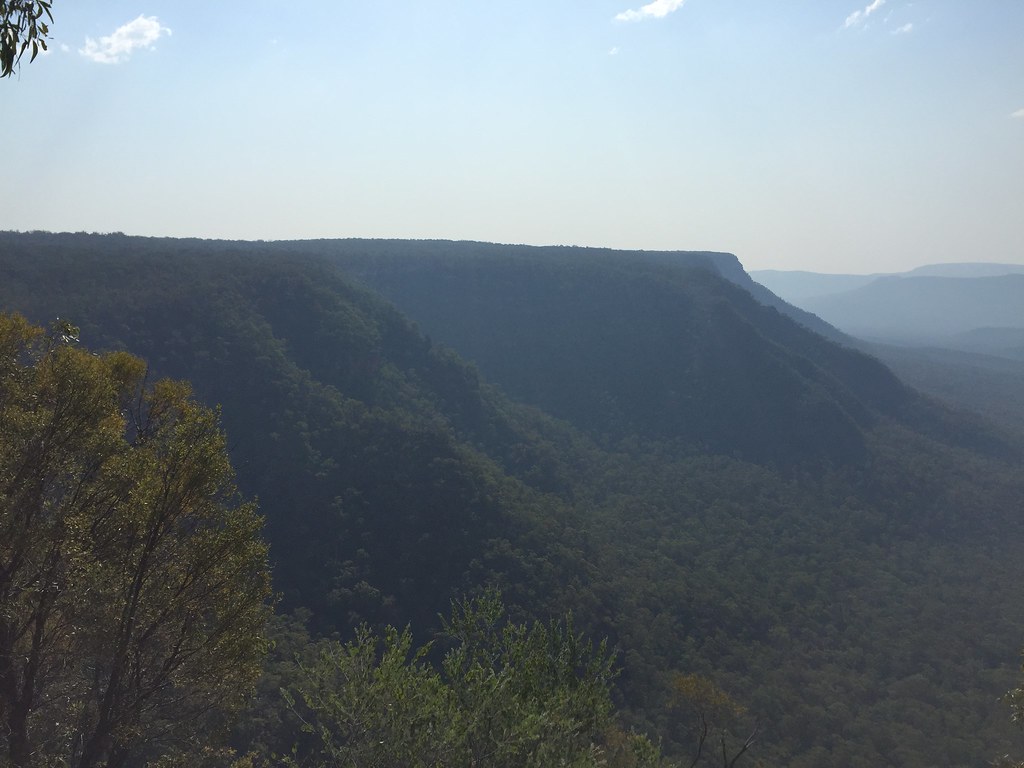
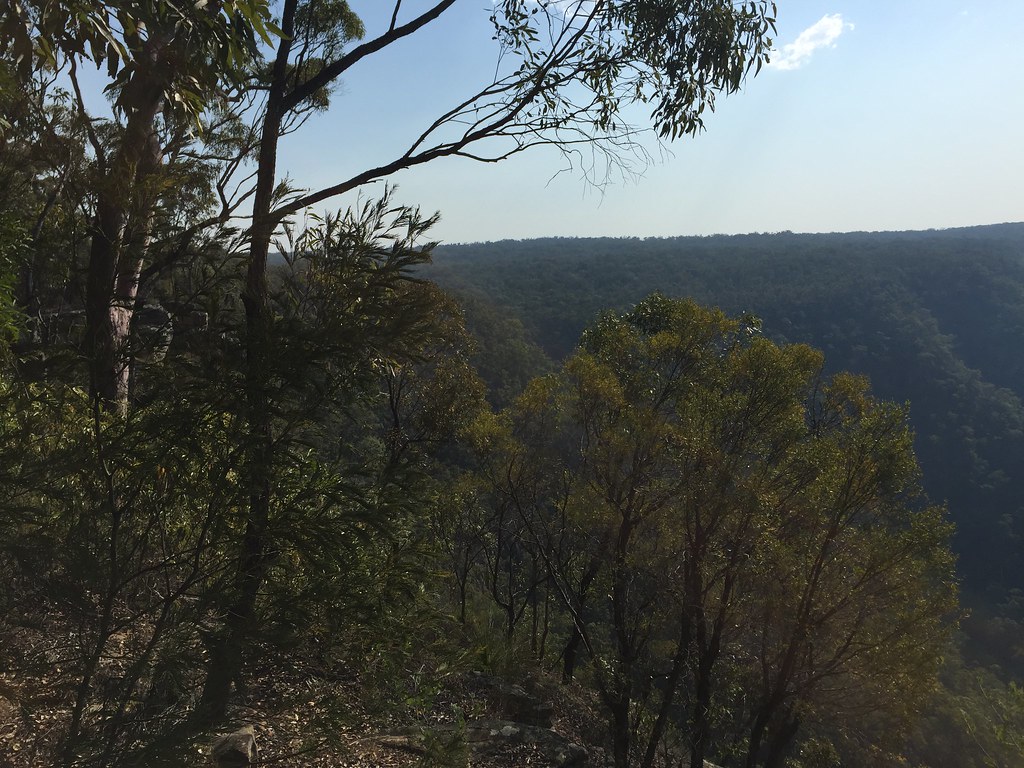
Getting hotter these days so time for a little Interlude - no music just a Drive up to the Blackdown Tablelands instead of doing some modelling to see if it was any cooler ...

Image

Image

Image

Image

Image

Image

Image

Image

Image

Image


... and No it wasn't really any cooler up there!
Ansett A330
 
Posts: 1206
Joined: Sat Jun 04, 2016 2:14 pm
Location: Bacon Lettuce Tomato

Re: 1:144 Airfix 737-200 Challenge Build - Ansett 737-277

Postby Ansett A330 » Tue Oct 30, 2018 9:49 pm

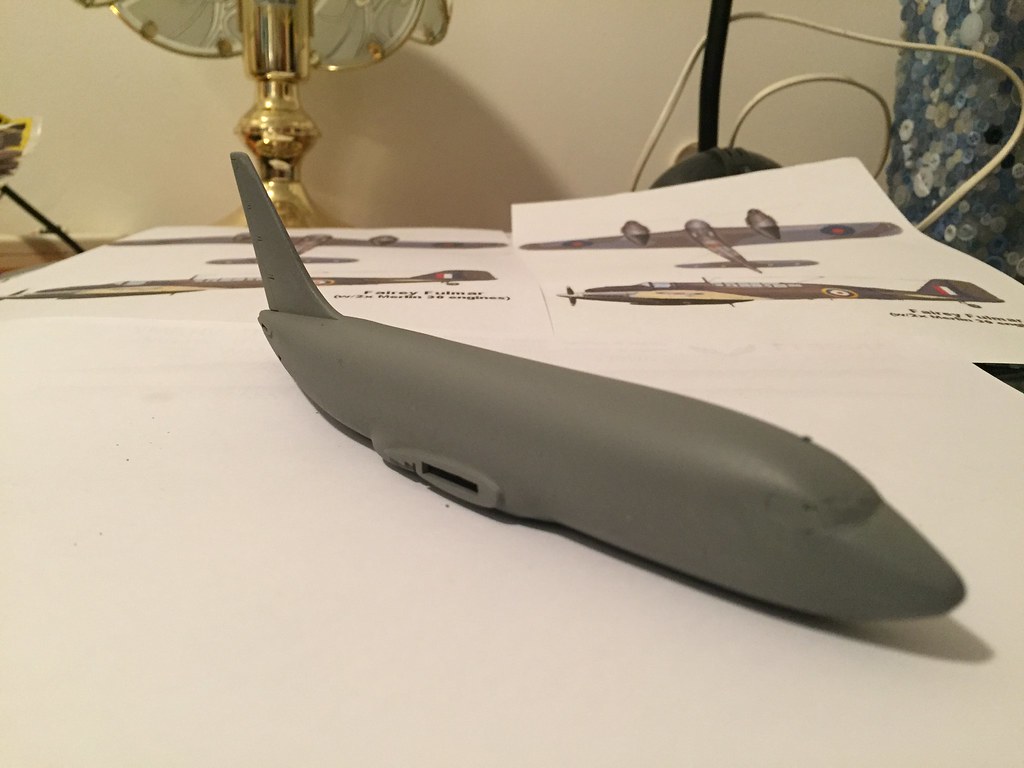
So the night before going on that little trip decided to bog the thing up rather than have a go a the Windscreen.

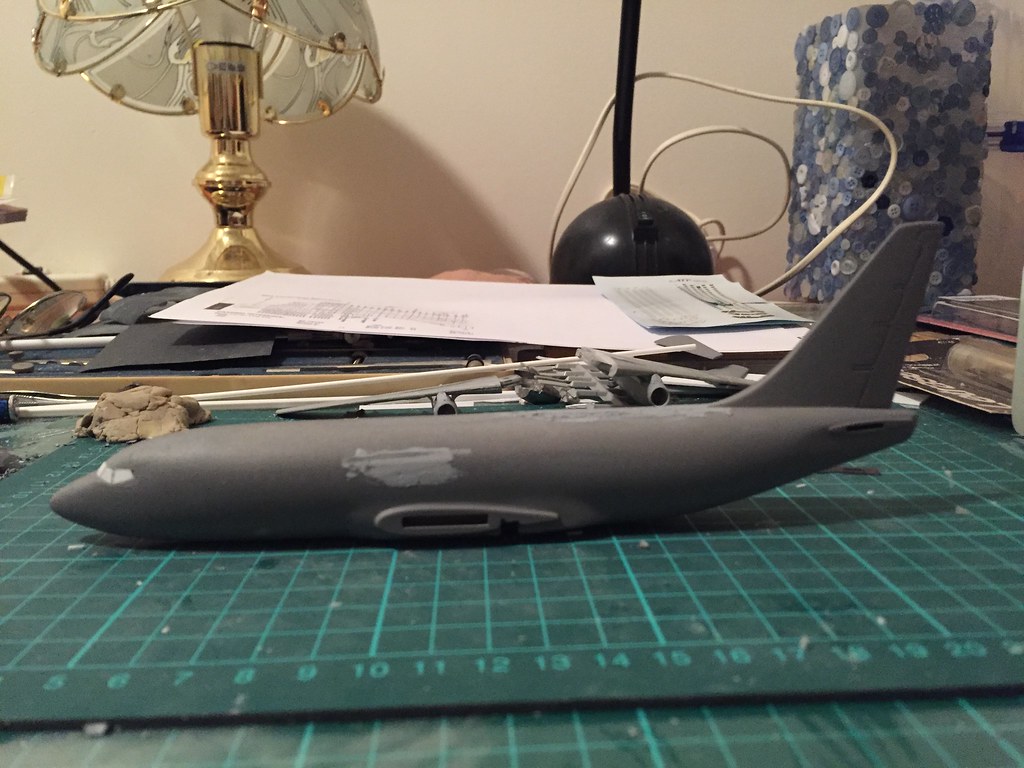
So after the first round of Bog, Sand, Prime, Sand, still lots of faults as the Tamiya Filler decided to have a bout of "Acne" leaving "pock" marks everywhere that need filling so next thing is another round of BSPS this time with finer Wet and Dry as the W&D I used this first time was too coarse.

Image[/url]

Image

Image

Image

See if Round 2 is any better in a Day or two or three ... might try another distraction like starting the A300 ... or maybe something else ... C-5M even (if I can get another set of Revell CF-6s).
Ansett A330
 
Posts: 1206
Joined: Sat Jun 04, 2016 2:14 pm
Location: Bacon Lettuce Tomato

Re: 1:144 Airfix 737-200 Challenge Build - Ansett 737-277

Postby Ansett A330 » Tue Nov 27, 2018 12:38 am

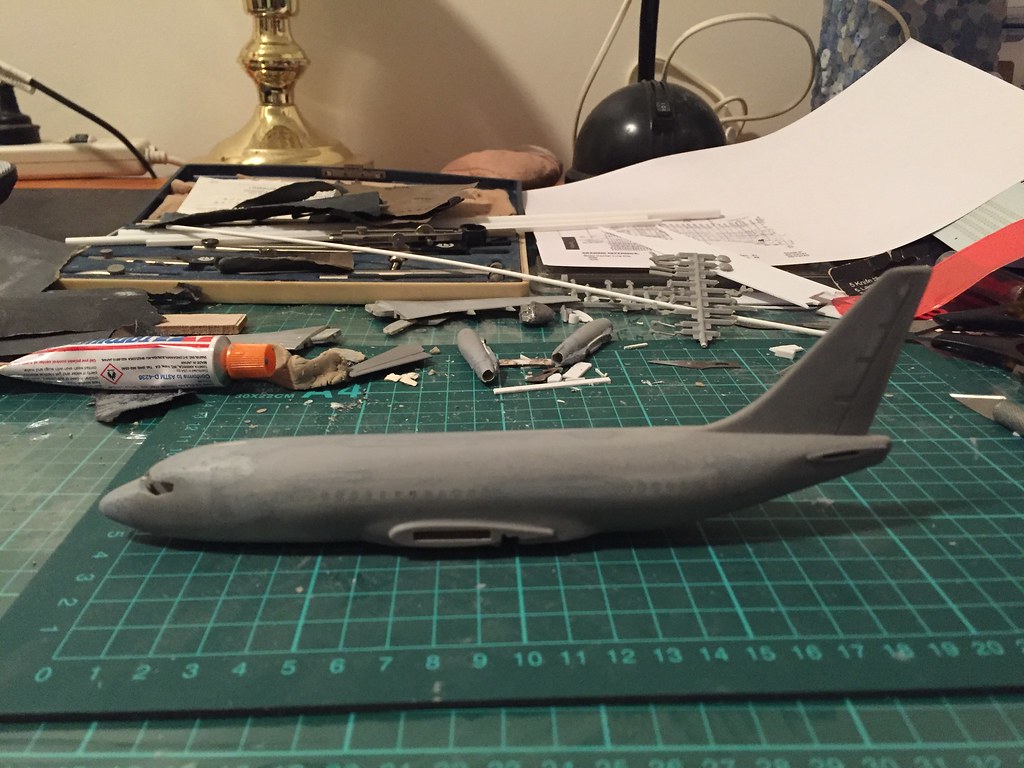
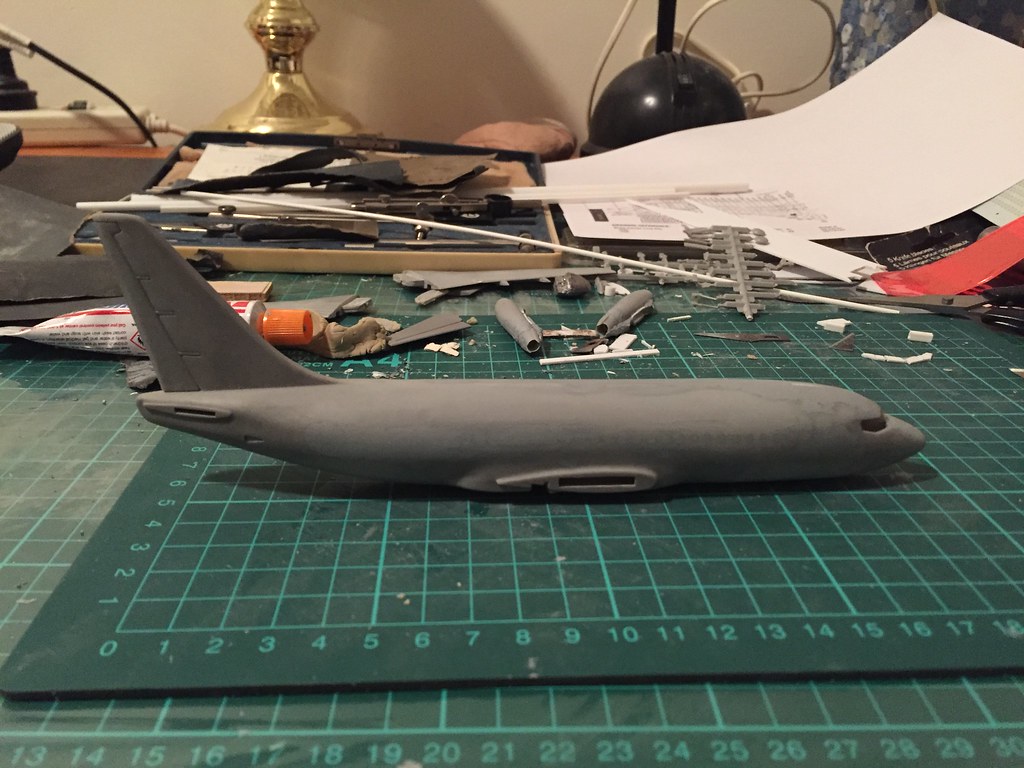
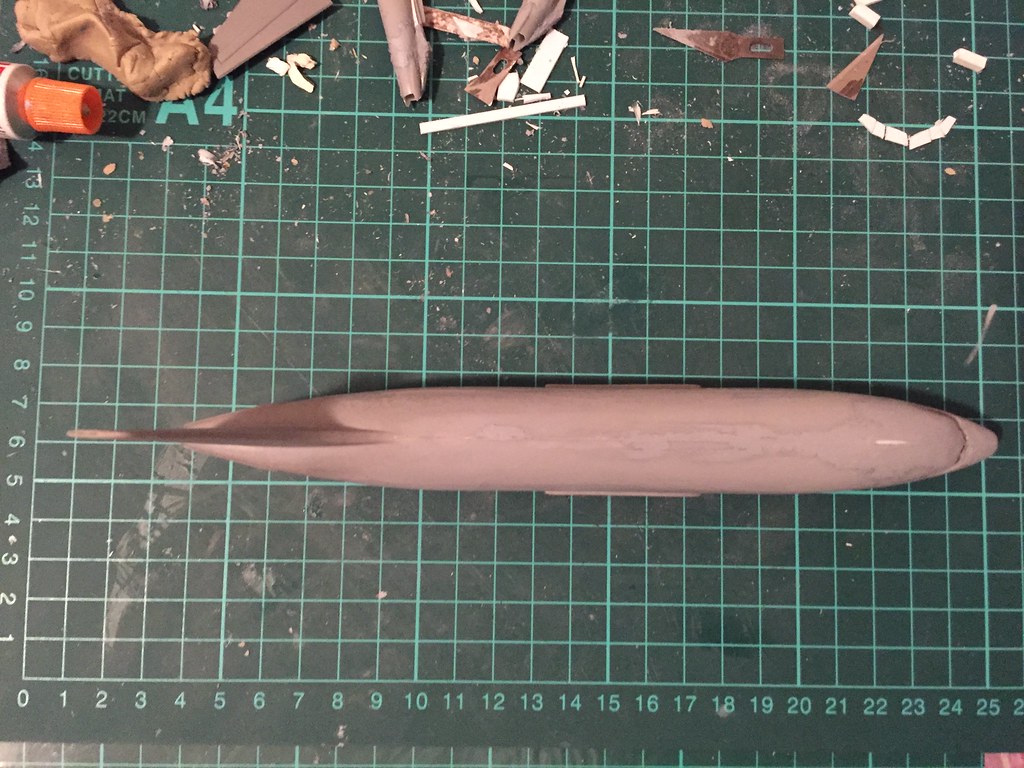
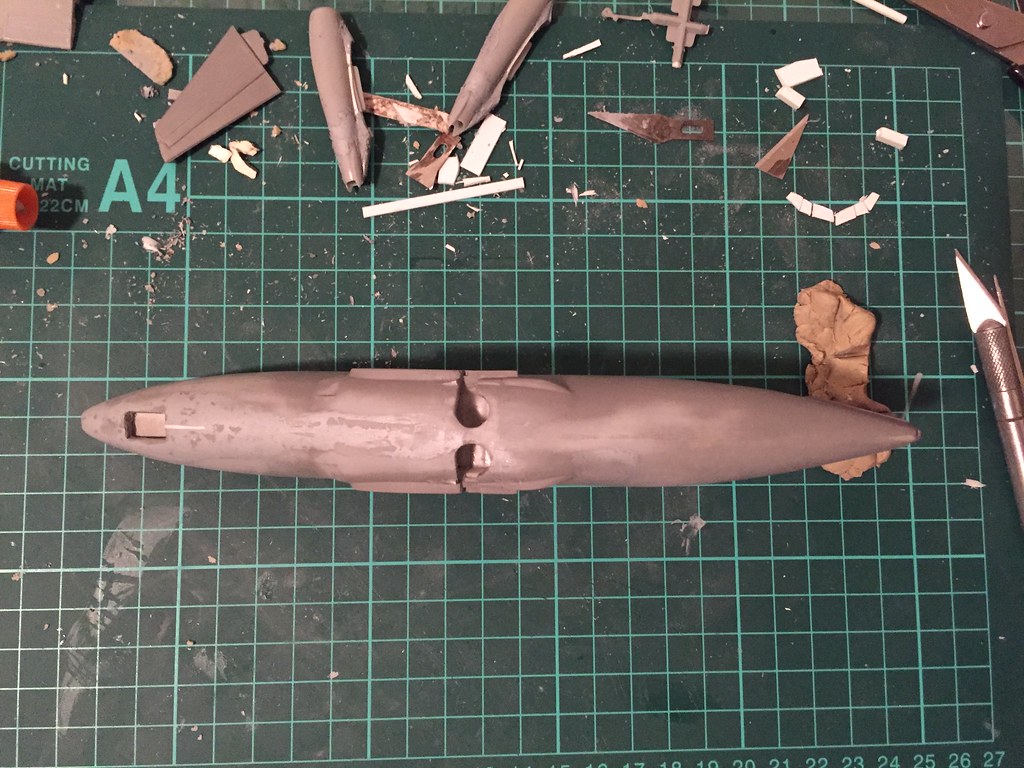
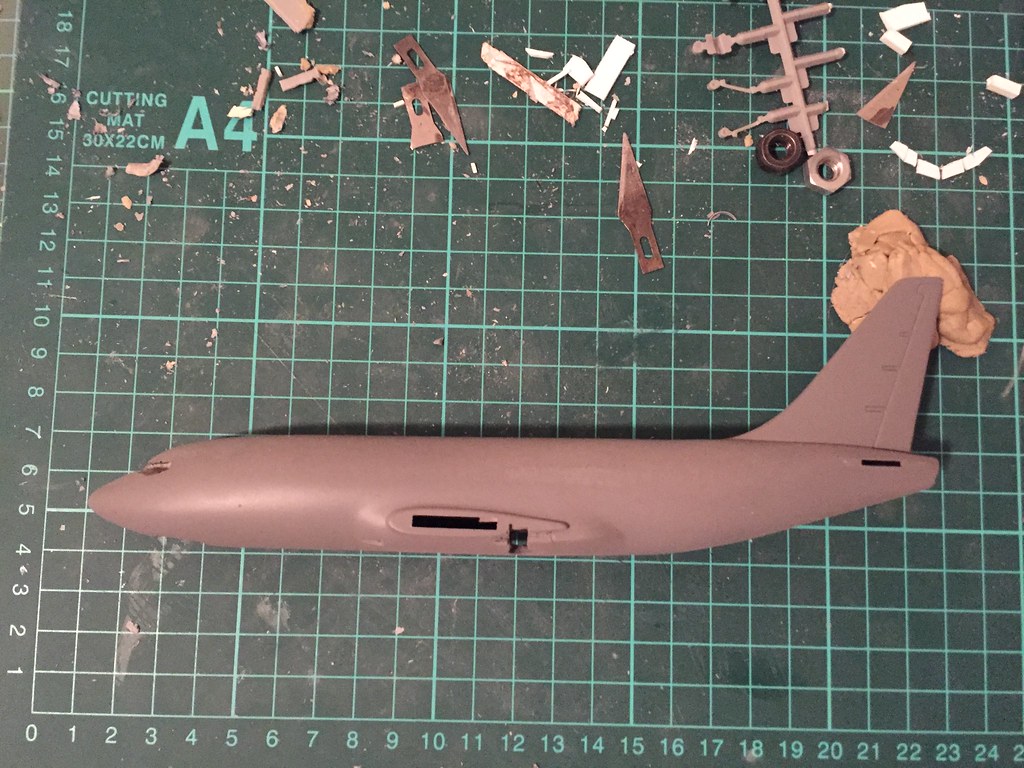
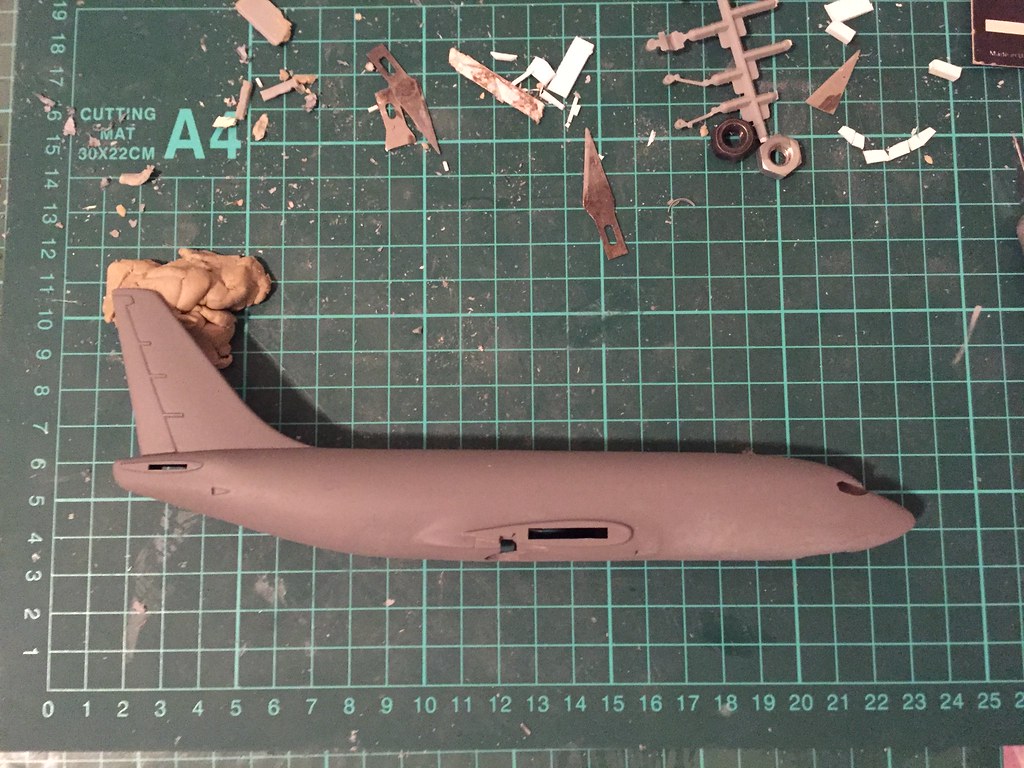
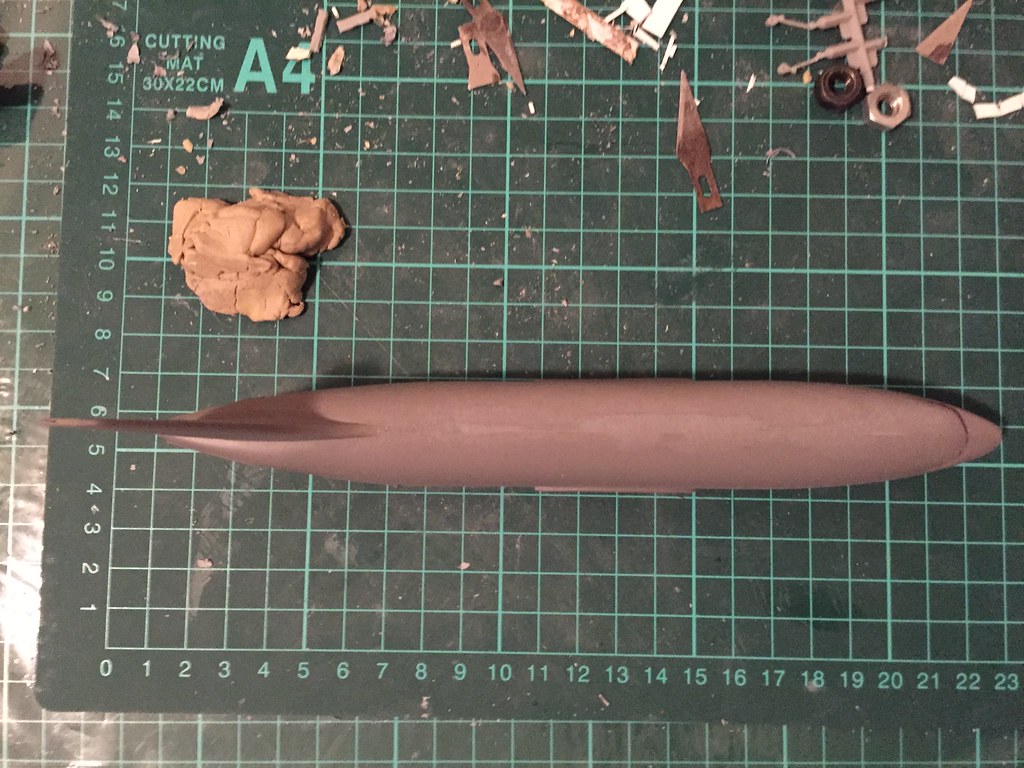
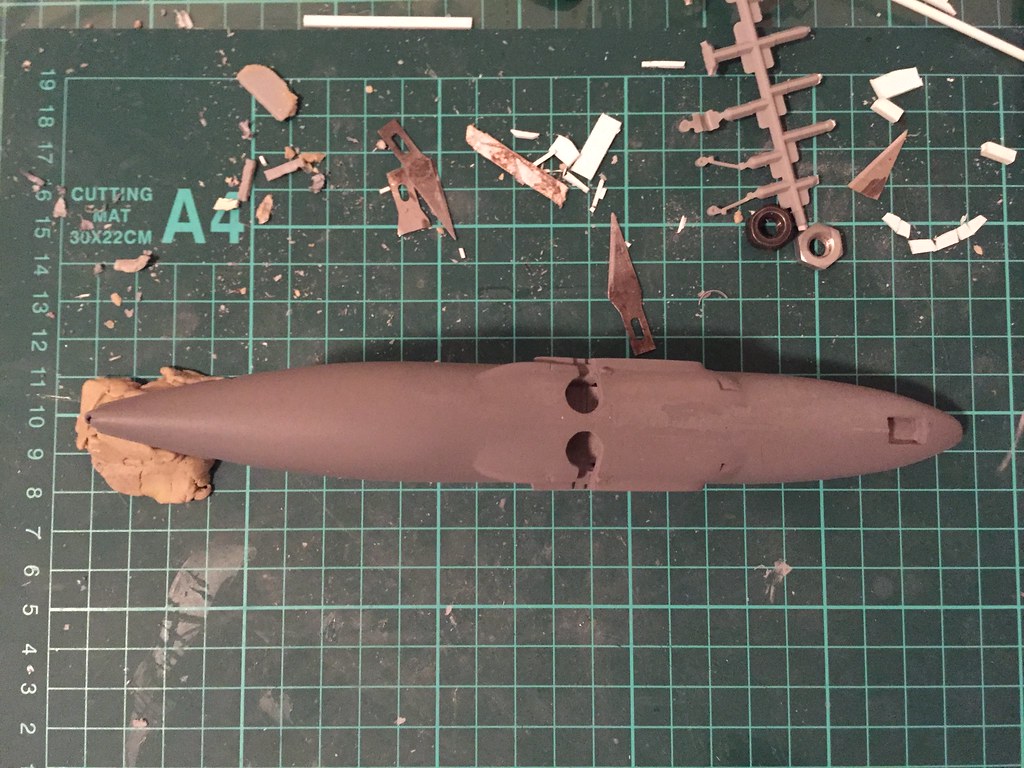
For some reason I didn't take photos of Round 2 (probably because been on a bit of a downer after all the fun of ScaleACT and then returning to the SoS) but here are photos after Round 3 (suspect there will be as many Rounds as in a World Title Boxing Match!)


Image

Image

Image

Image


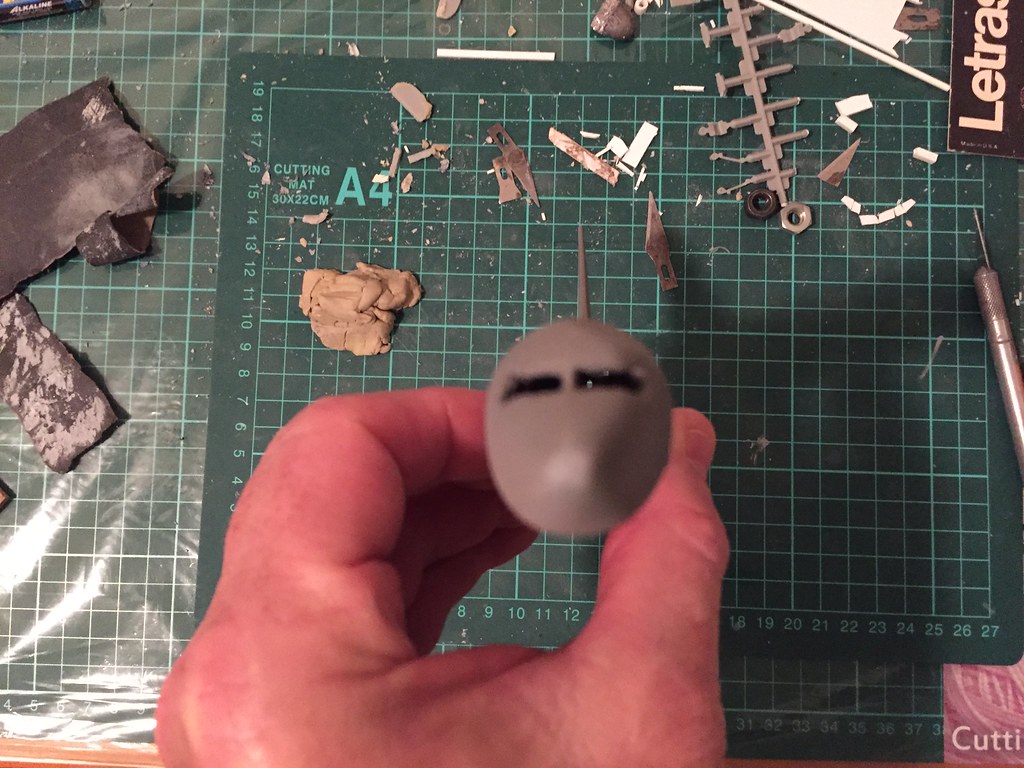
As you can see still have a lot of issues to fix and that's not even mentioning the Nose!


Image

Image

Image

Image


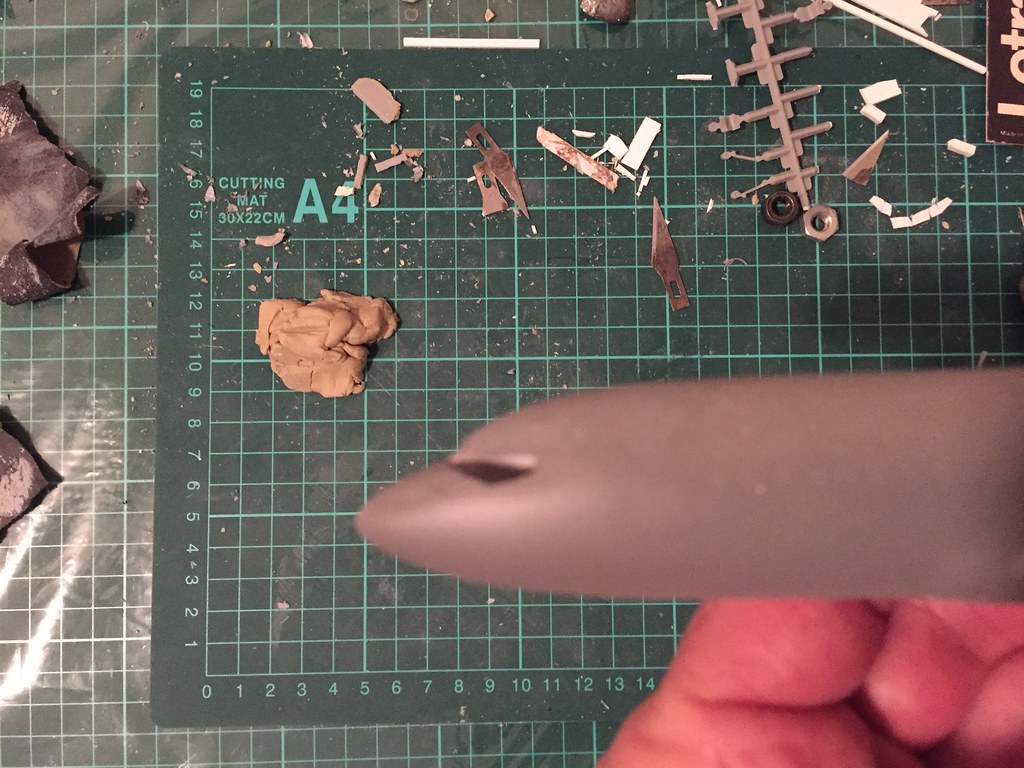
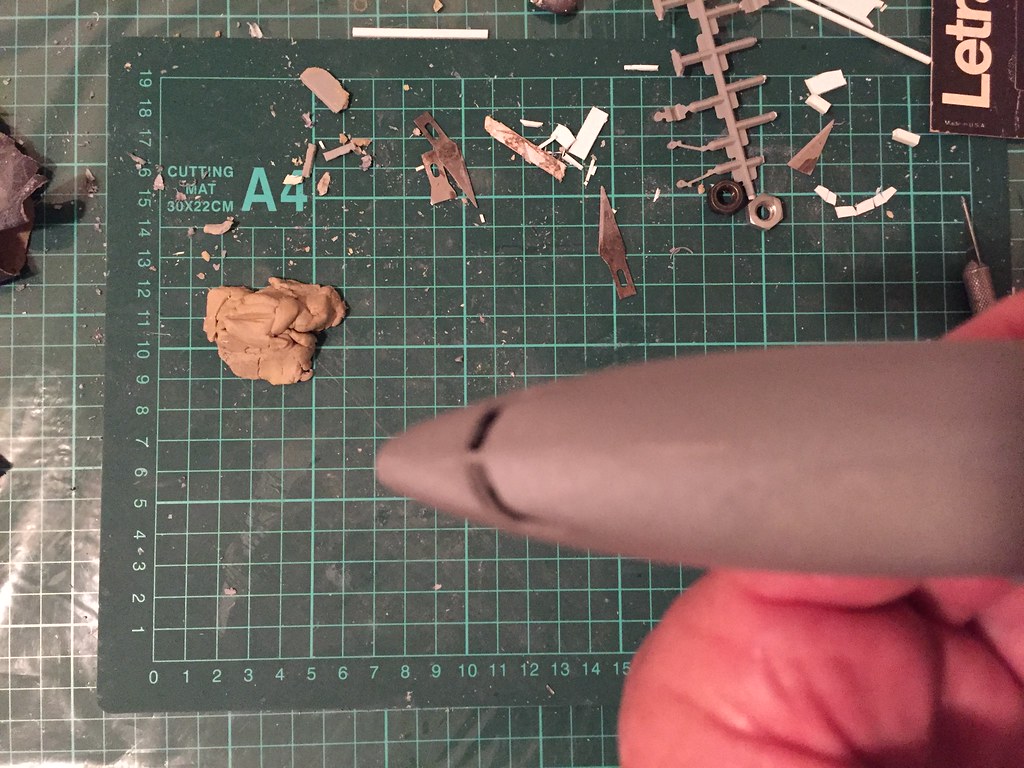
It worries me that the Nose is still way off especially when Master Modellers like Uros say they sanded through the Radome. I've added so much Filler I doubt it's in any danger of being sanded through!

Also the Cockpit roof seems to "woop" (in) either side of the 40 thou cockpit profile "thickener" most likely as the Filler has contracted instead of bulking out.

And after all this gets sorted then I have to muck around with the Windscreen "bits". Would have been waaaay easier to cut in a Daco Transparency.
Ansett A330
 
Posts: 1206
Joined: Sat Jun 04, 2016 2:14 pm
Location: Bacon Lettuce Tomato

Re: 1:144 Airfix 737-200 Challenge Build - Ansett 737-277

Postby Ansett A330 » Wed Nov 28, 2018 9:46 pm

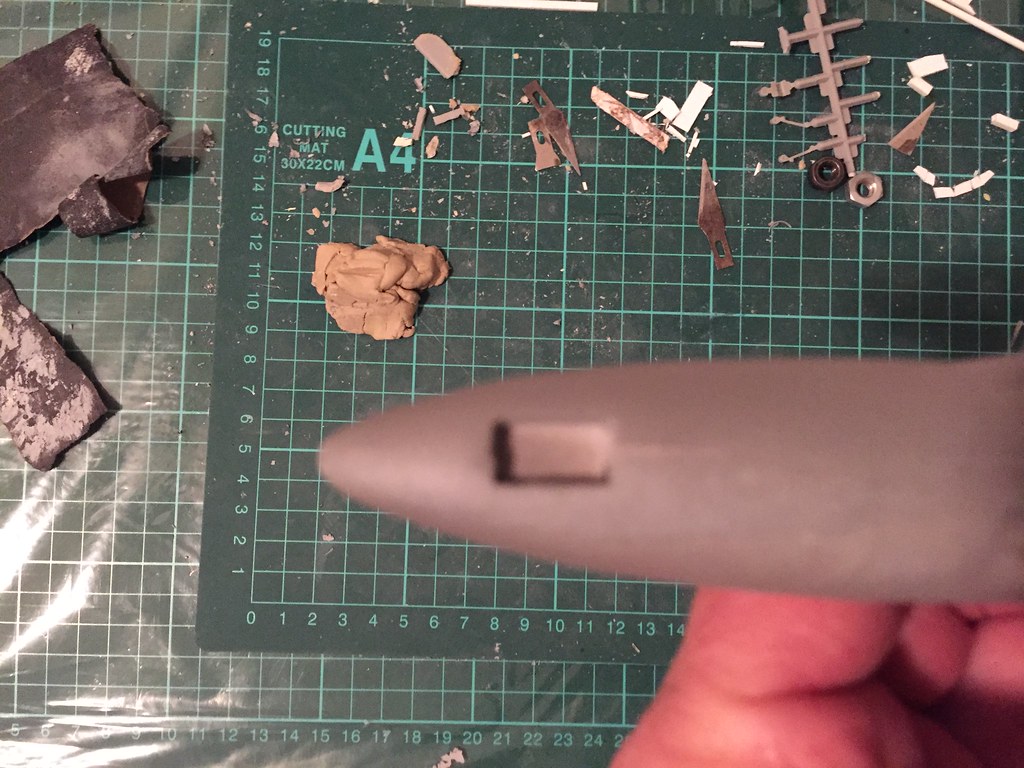
Got bored after bogging it up again so decided to super glue the windscreen "glass" pieces of plasticard in place :

Image

Port side not too bad but Starboard side a total disaster and not even going to bother posting a photo of it. Tried to file it a bit to get it into shape but only made matters worse. So just bogged it up at this point in time in the hope that one of Shakespear's Monkeys comes along that has some filing skills and can fix it well enough for the Windscreen Decal to cover it up a bit.

May be waiting a long time ...
Ansett A330
 
Posts: 1206
Joined: Sat Jun 04, 2016 2:14 pm
Location: Bacon Lettuce Tomato

Re: 1:144 Airfix 737-200 Challenge Build - Ansett 737-277

Postby Ansett A330 » Thu Nov 29, 2018 2:45 am

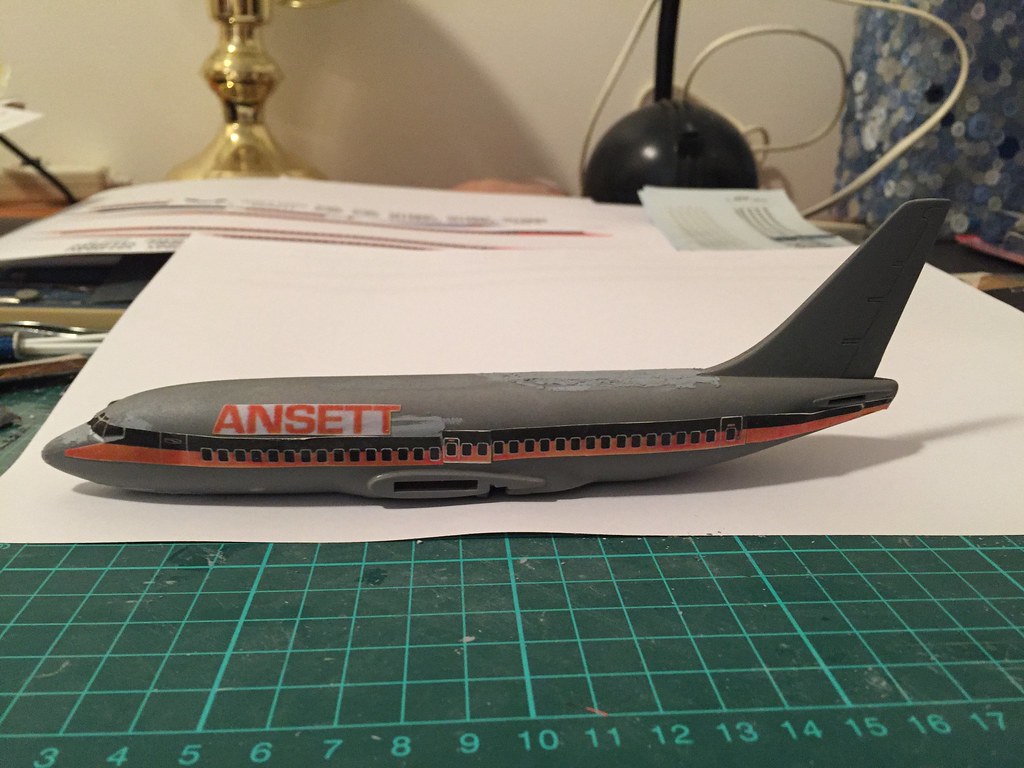
OK real late night early morning insomnia boredom ... copied the Hawkeye 727 Delta sheet onto paper to see how much chopping up was required to fit it to the Airfix 737-200 :

Image

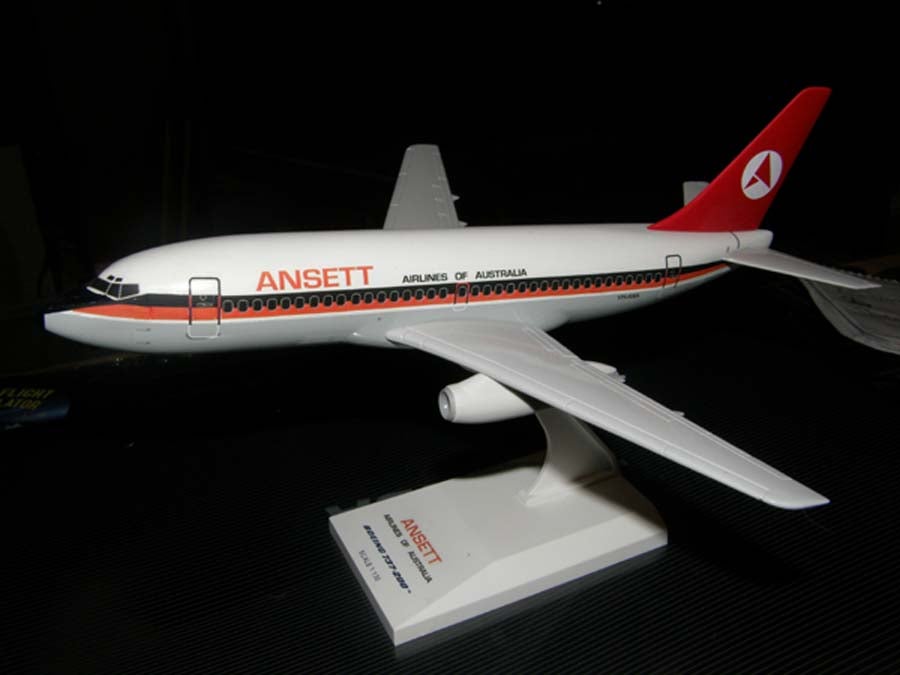
so looks like this one might end up in this scheme

Image

as a "personal" display one as it certainly will be too embarrassing to put in the Challenge Build or on a Comp Table so won't be treading on anyone's toes if anyone is doing this scheme for the Challenge Build.
Ansett A330
 
Posts: 1206
Joined: Sat Jun 04, 2016 2:14 pm
Location: Bacon Lettuce Tomato

Re: 1:144 Airfix 737-200 Challenge Build - Ansett 737-277

Postby Ansett A330 » Sat Dec 01, 2018 2:00 pm

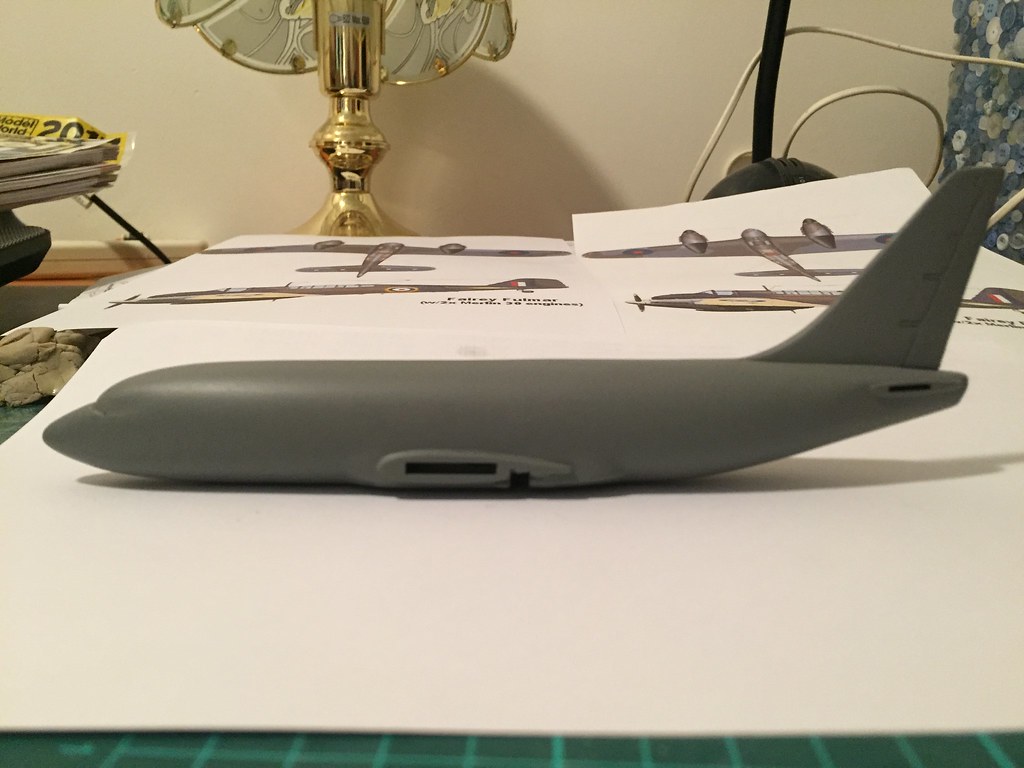
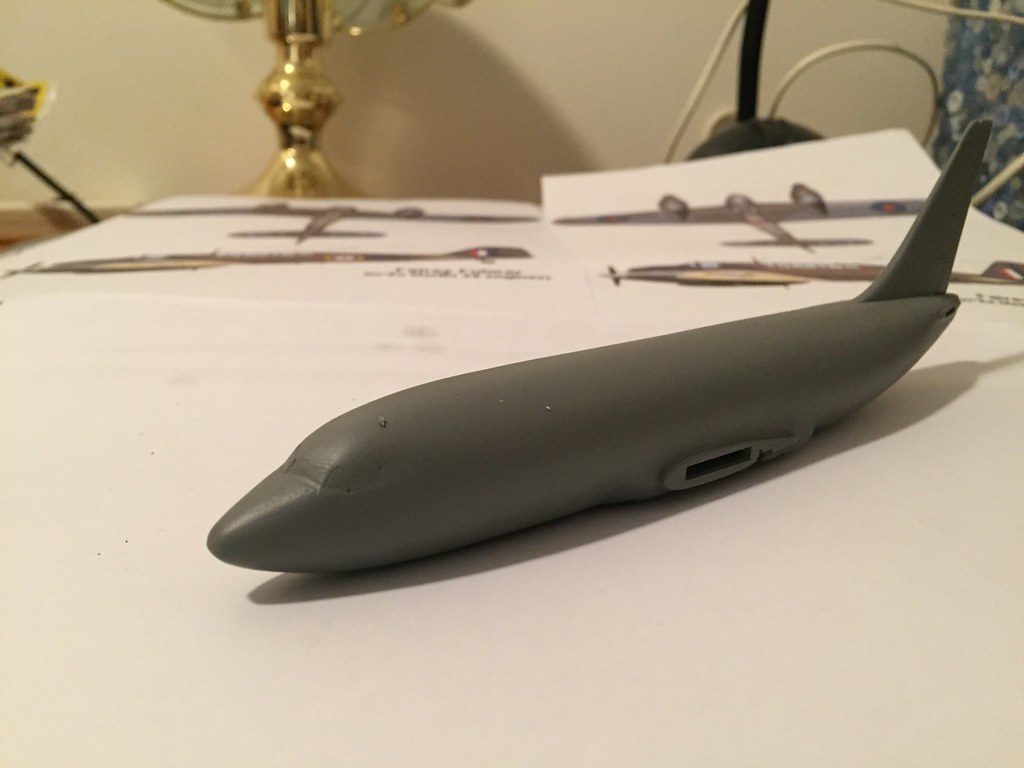
After yet another round (wish it had as many rounds as a Horn-Mundine Fight!) of filling, sanding, and priming one of those Monkeys may have recovered it a bit :

Image

Image

Image

Image

Image

Image

Starboard side of the Cockpit still pretty dodgy. Those with sharp eyes will note the beginnings of another project that is a bit of fun and at least giving me some light relief from these constant rounds of FSaP.
Ansett A330
 
Posts: 1206
Joined: Sat Jun 04, 2016 2:14 pm
Location: Bacon Lettuce Tomato

Re: 1:144 Airfix 737-200 Challenge Build - Ansett 737-277

Postby Graeme H » Sat Dec 01, 2018 7:21 pm

Hang in ther, I think you are getting there
Graeme
User avatar
Graeme H
 
Posts: 1202
Joined: Thu Jun 05, 2014 12:51 pm
Location: YBTL TSV

Re: 1:144 Airfix 737-200 Challenge Build - Ansett 737-277

Postby Ansett A330 » Sun Dec 02, 2018 11:45 pm

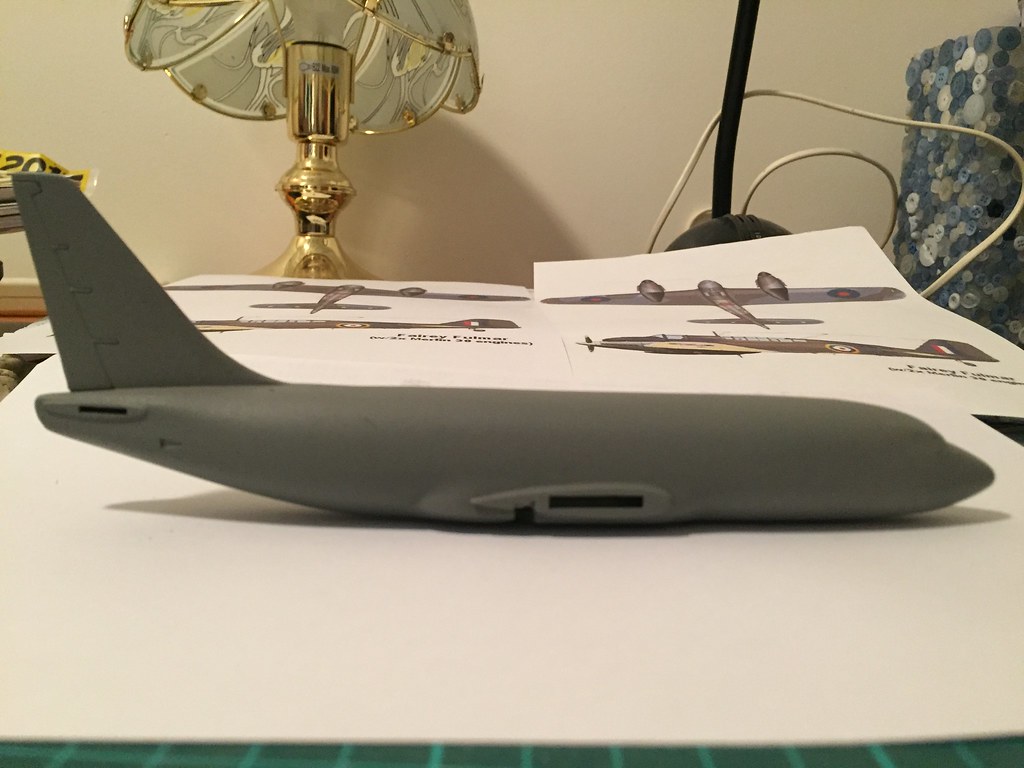
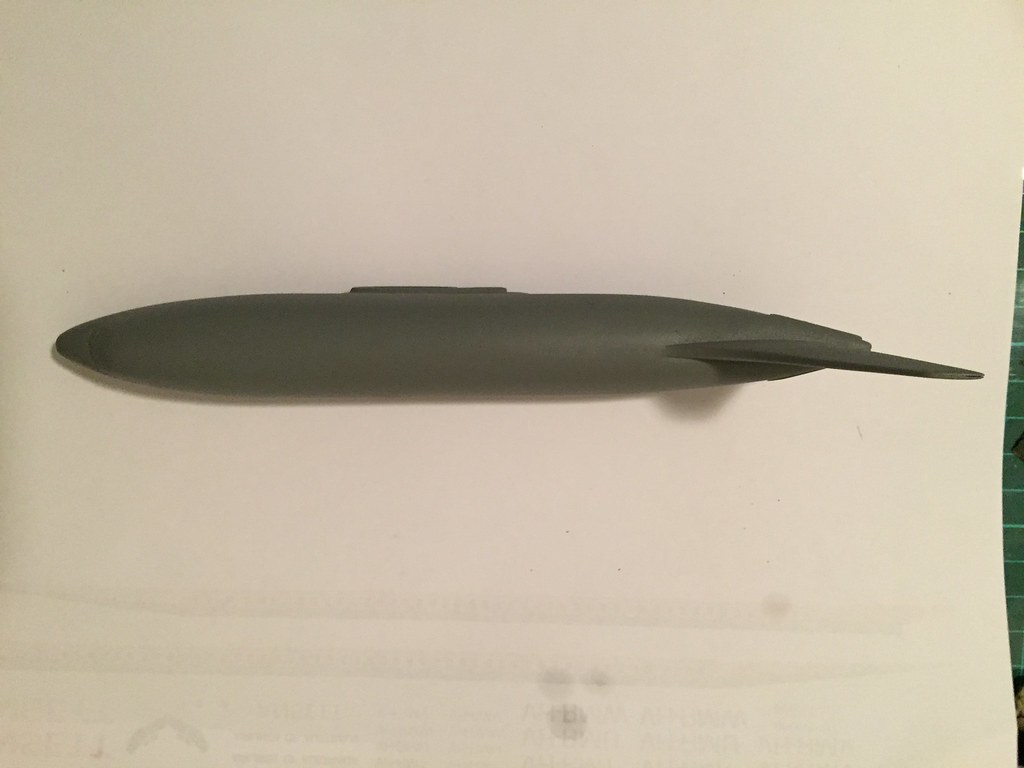
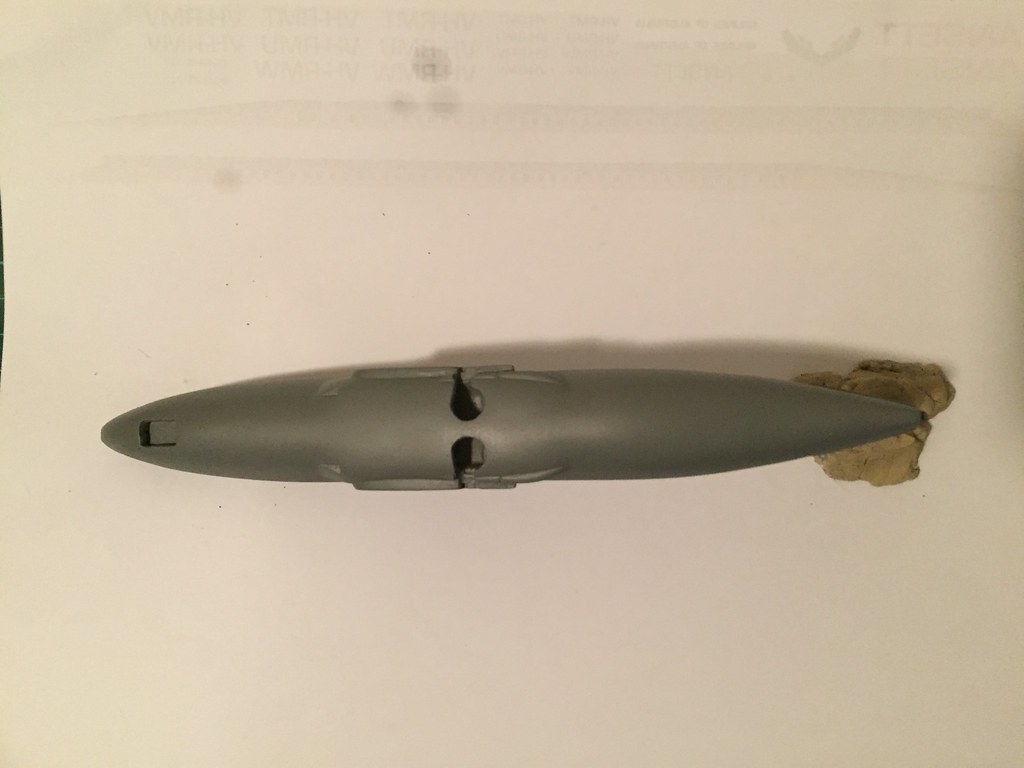
OK seeing I ruined the Cockpit I thought I would experiment with the other end to see what I could destroy or - if I'm really lucky - improve.

So looking at the photos the horizontal surfaces rotation point and radius look fairly obvious but not having a Minicraft, Revel, or Zvezda 73 of whatever mark to compare how they did it I was at the mercy of my own whim as to how to achieve the "look".

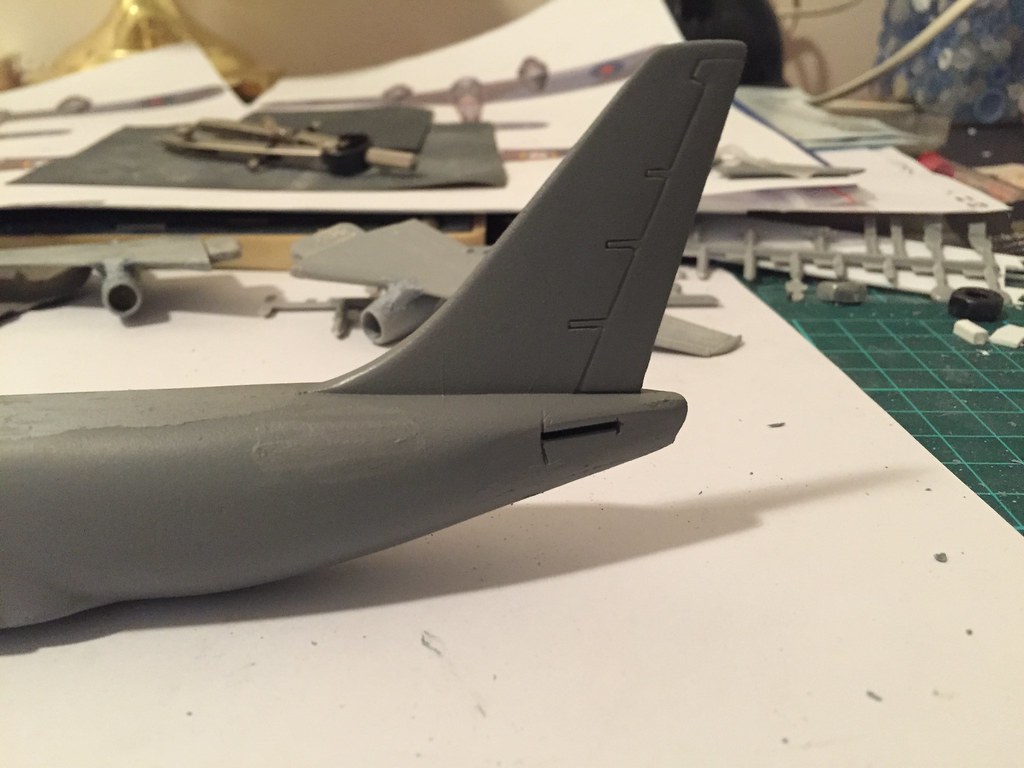
So first step I figured should be to get rid of the "stub" on both sides of the rear fuselage that Airfix provide as I figured at least if that was gone I wouldn't have to fill the gap between stubs and horizontal surfaces and the if it was gone I might have a better chance at shaping the area and then drilling, cutting, and scribing what I wanted there.

So (third one) I started by sanding one side first to see how it went and eventually the stub disappeared and the concave type surface there started to take shape. Again just by eye from photos figured where the rotation point might be and it looked like at the end of the slot that Airfix had provided so just cut a vertical slot there for the time being instead of drilling and inserting a tube (maybe later). Then I took the dividers and using a point just behind the vertical slot (on "solid" plastic) I arced out a radius where it looked like it was in relation to the horizontal surface again judging from photos.

So (bugger another one!) this is what it looks like so far under primer also with the APU area (and other "spots") bogged up for future shaping (as I get some more photos) as if there are no photos it hasn't happened :
Image

Then (what run out of "So"s?) I decided to continue by doing the other side and again the photo :
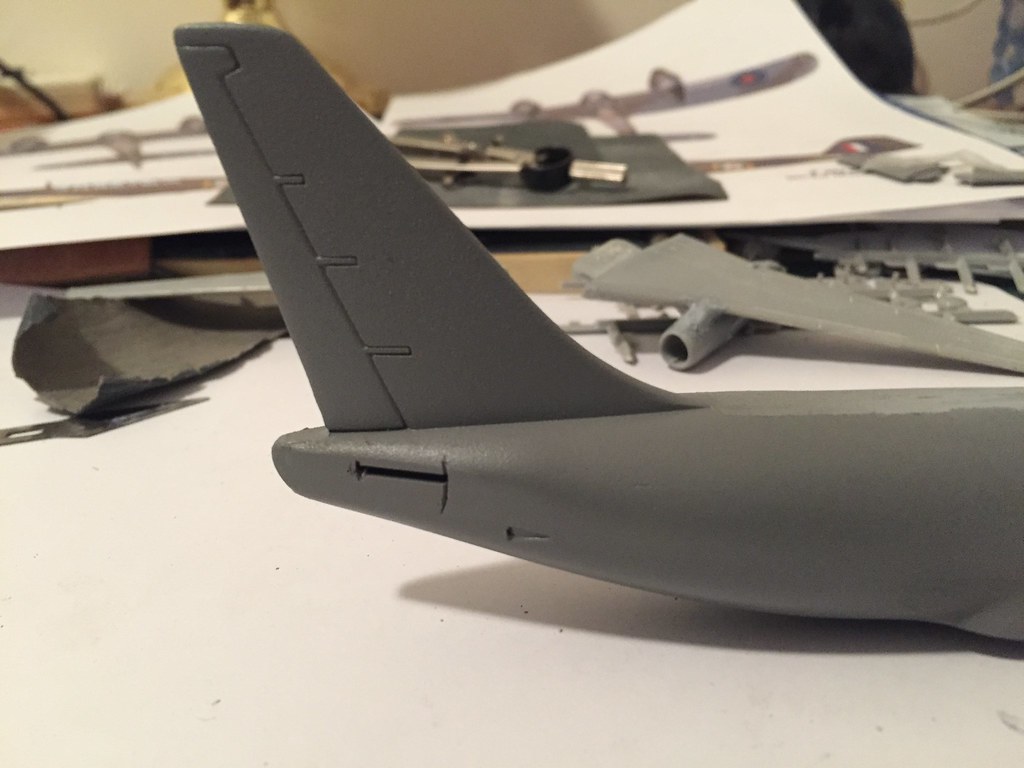
Image

So (found another one just lying around doing nothing) only a start and lots to fix up but it was just meant to be an experiment as I wanted that area to look different to a standard kit and I really really really didn't want to fill between the "Stub" and the Horizontal surfaces.
.
Ansett A330
 
Posts: 1206
Joined: Sat Jun 04, 2016 2:14 pm
Location: Bacon Lettuce Tomato

Re: 1:144 Airfix 737-200 Challenge Build - Ansett 737-277

Postby Uros » Mon Dec 03, 2018 6:45 am

Ansett A330 wrote:OK seeing I ruined the Cockpit I thought I would experiment with the other end to see what I could destroy or - if I'm really lucky - improve.

So looking at the photos the horizontal surfaces rotation point and radius look fairly obvious but not having a Minicraft, Revel, or Zvezda 73 of whatever mark to compare how they did it I was at the mercy of my own whim as to how to achieve the "look".

So first step I figured should be to get rid of the "stub" on both sides of the rear fuselage that Airfix provide as I figured at least if that was gone I wouldn't have to fill the gap between stubs and horizontal surfaces and the if it was gone I might have a better chance at shaping the area and then drilling, cutting, and scribing what I wanted there.

So (third one) I started by sanding one side first to see how it went and eventually the stub disappeared and the concave type surface there started to take shape. Again just by eye from photos figured where the rotation point might be and it looked like at the end of the slot that Airfix had provided so just cut a vertical slot there for the time being instead of drilling and inserting a tube (maybe later). Then I took the dividers and using a point just behind the vertical slot (on "solid" plastic) I arced out a radius where it looked like it was in relation to the horizontal surface again judging from photos.

So (bugger another one!) this is what it looks like so far under primer also with the APU area (and other "spots") bogged up for future shaping (as I get some more photos) as if there are no photos it hasn't happened :

Image

Then (what run out of "So"s?) I decided to continue by doing the other side and again the photo :

Image

So (found another one just lying around doing nothing) only a start and lots to fix up but it was just meant to be an experiment as I wanted that area to look different to a standard kit and I really really really didn't want to fill between the "Stub" and the Horizontal surfaces.
.


Looking good! I will be borowing your idea for the stubs.
Cheers!
Uros
User avatar
Uros
 
Posts: 450
Joined: Mon Aug 14, 2017 6:25 pm
Location: Slovenia

Re: 1:144 Airfix 737-200 Challenge Build - Ansett 737-277

Postby Ansett A330 » Tue Dec 04, 2018 12:50 am

Uros wrote:... I will be borowing your idea for the stubs.


I'll be paying attention because no doubt you'll do it way better!

(The funny thing is it doesn't look right in the above photos - wrong arc etc - but when you wack the horizontal surfaces on it it actually doesn't look too bad compared with photos!)
Ansett A330
 
Posts: 1206
Joined: Sat Jun 04, 2016 2:14 pm
Location: Bacon Lettuce Tomato

PreviousNext

Return to Member's Works in Progress

Who is online

Users browsing this forum: No registered users and 6 guests