Vacform Britannia

Show us what's on the bench

Vacform Britannia

Postby VH-WAL » Thu Jan 26, 2017 1:40 pm

I have progressed with the Britannia fuselage, look, I am not declaring I am a fine modeller or expert or anything like that but as a few people have expressed interest in vac form projects I am putting in a bit of stuff that I have learned and maybe useful to others..
so number one,I like my vacform fuselages to be as strong as a baseball bat (slight exaggeration, rigid and strong will do) to this end I make bulkheads and position them strategically inside the fuselage I put in a box structure at the wing centre section to mount wing spars for a strong no-sag wing / fuselage joint.
Image
I used to make the ribs out of balsa and used epoxy but now I cut out plastic discs.. much much easier but for this need essential tools:
Image
a shape form thingamujig and a circle cutter.

I dont know about you lot but I often find with many kits that the bulkheads often dont fit very well inside the fuselage sometimes you have to sand them down to close up the fuselage sides or sometimes they dont meet the other side.. not much of a problem with injected kits but big problem with vacforms. This may very well be due to my modelling ineptitude but I developed a "cheat" that helps me solve this problem.

When the bulkheads are in and ready to join the fuselage halves I apply paint on the bulkhead edges push the halves together and see if and where the bulkheads touch the inside of the other fuselage half. If the joining surface area is not satisfactory I make what I call floating bulkheads.. a picture tells a thousand words:
Image
After making these I position the floating bulkheads in their frames (no glue yet), press the two fuselage halves together causing the floating bulkhead to slide in the frame and give a perfect gluing surface area, pull the halves apart run liquid cement in the frames and the floating bulkheads are now locked into the perfect position.

Next liberal application of Tamiya liquid cement on the bulkhead edges and on the interior of the other fuselage half, push the halves together and tape up:
Image

After that has dried I use a paint brush to run loads of Tamiya extra thin cement down the seam which has been reinforced with interior doublers and tabs, I do a about 6 inches at a time to try and get the best joint possible.. for me it is never perfect I always require filler, (that is the nature of vacforms and the inept I am afraid)

After doing this I put a steel edge on the fuselage top and saw that I had a little bump behing the cockpit where the bulkhead I made was as pushing the skin about 1 mm too high, I ran a saw down that section of seam (dremel with circular saw fitting) grinding a bit here and a bit there till the bulge disappeared. Now I am left with a little less than an inch long gap, I filled this with semi liquid dissolved plastic which I make with plastic shards and GP thinners, apply this to any gap the plastic welds itself together, sand and you wont know there was a joint there.. and it is as strong as continuous plastic
Image
Image
Image
VH-WAL
 
Posts: 1068
Joined: Mon Apr 14, 2014 9:11 pm

Re: Vacform Britannia

Postby VH-WAL » Fri Jan 27, 2017 2:26 pm

Hello vacuous followers (chortle , chortle)
work progresses, difficulties abound eg:
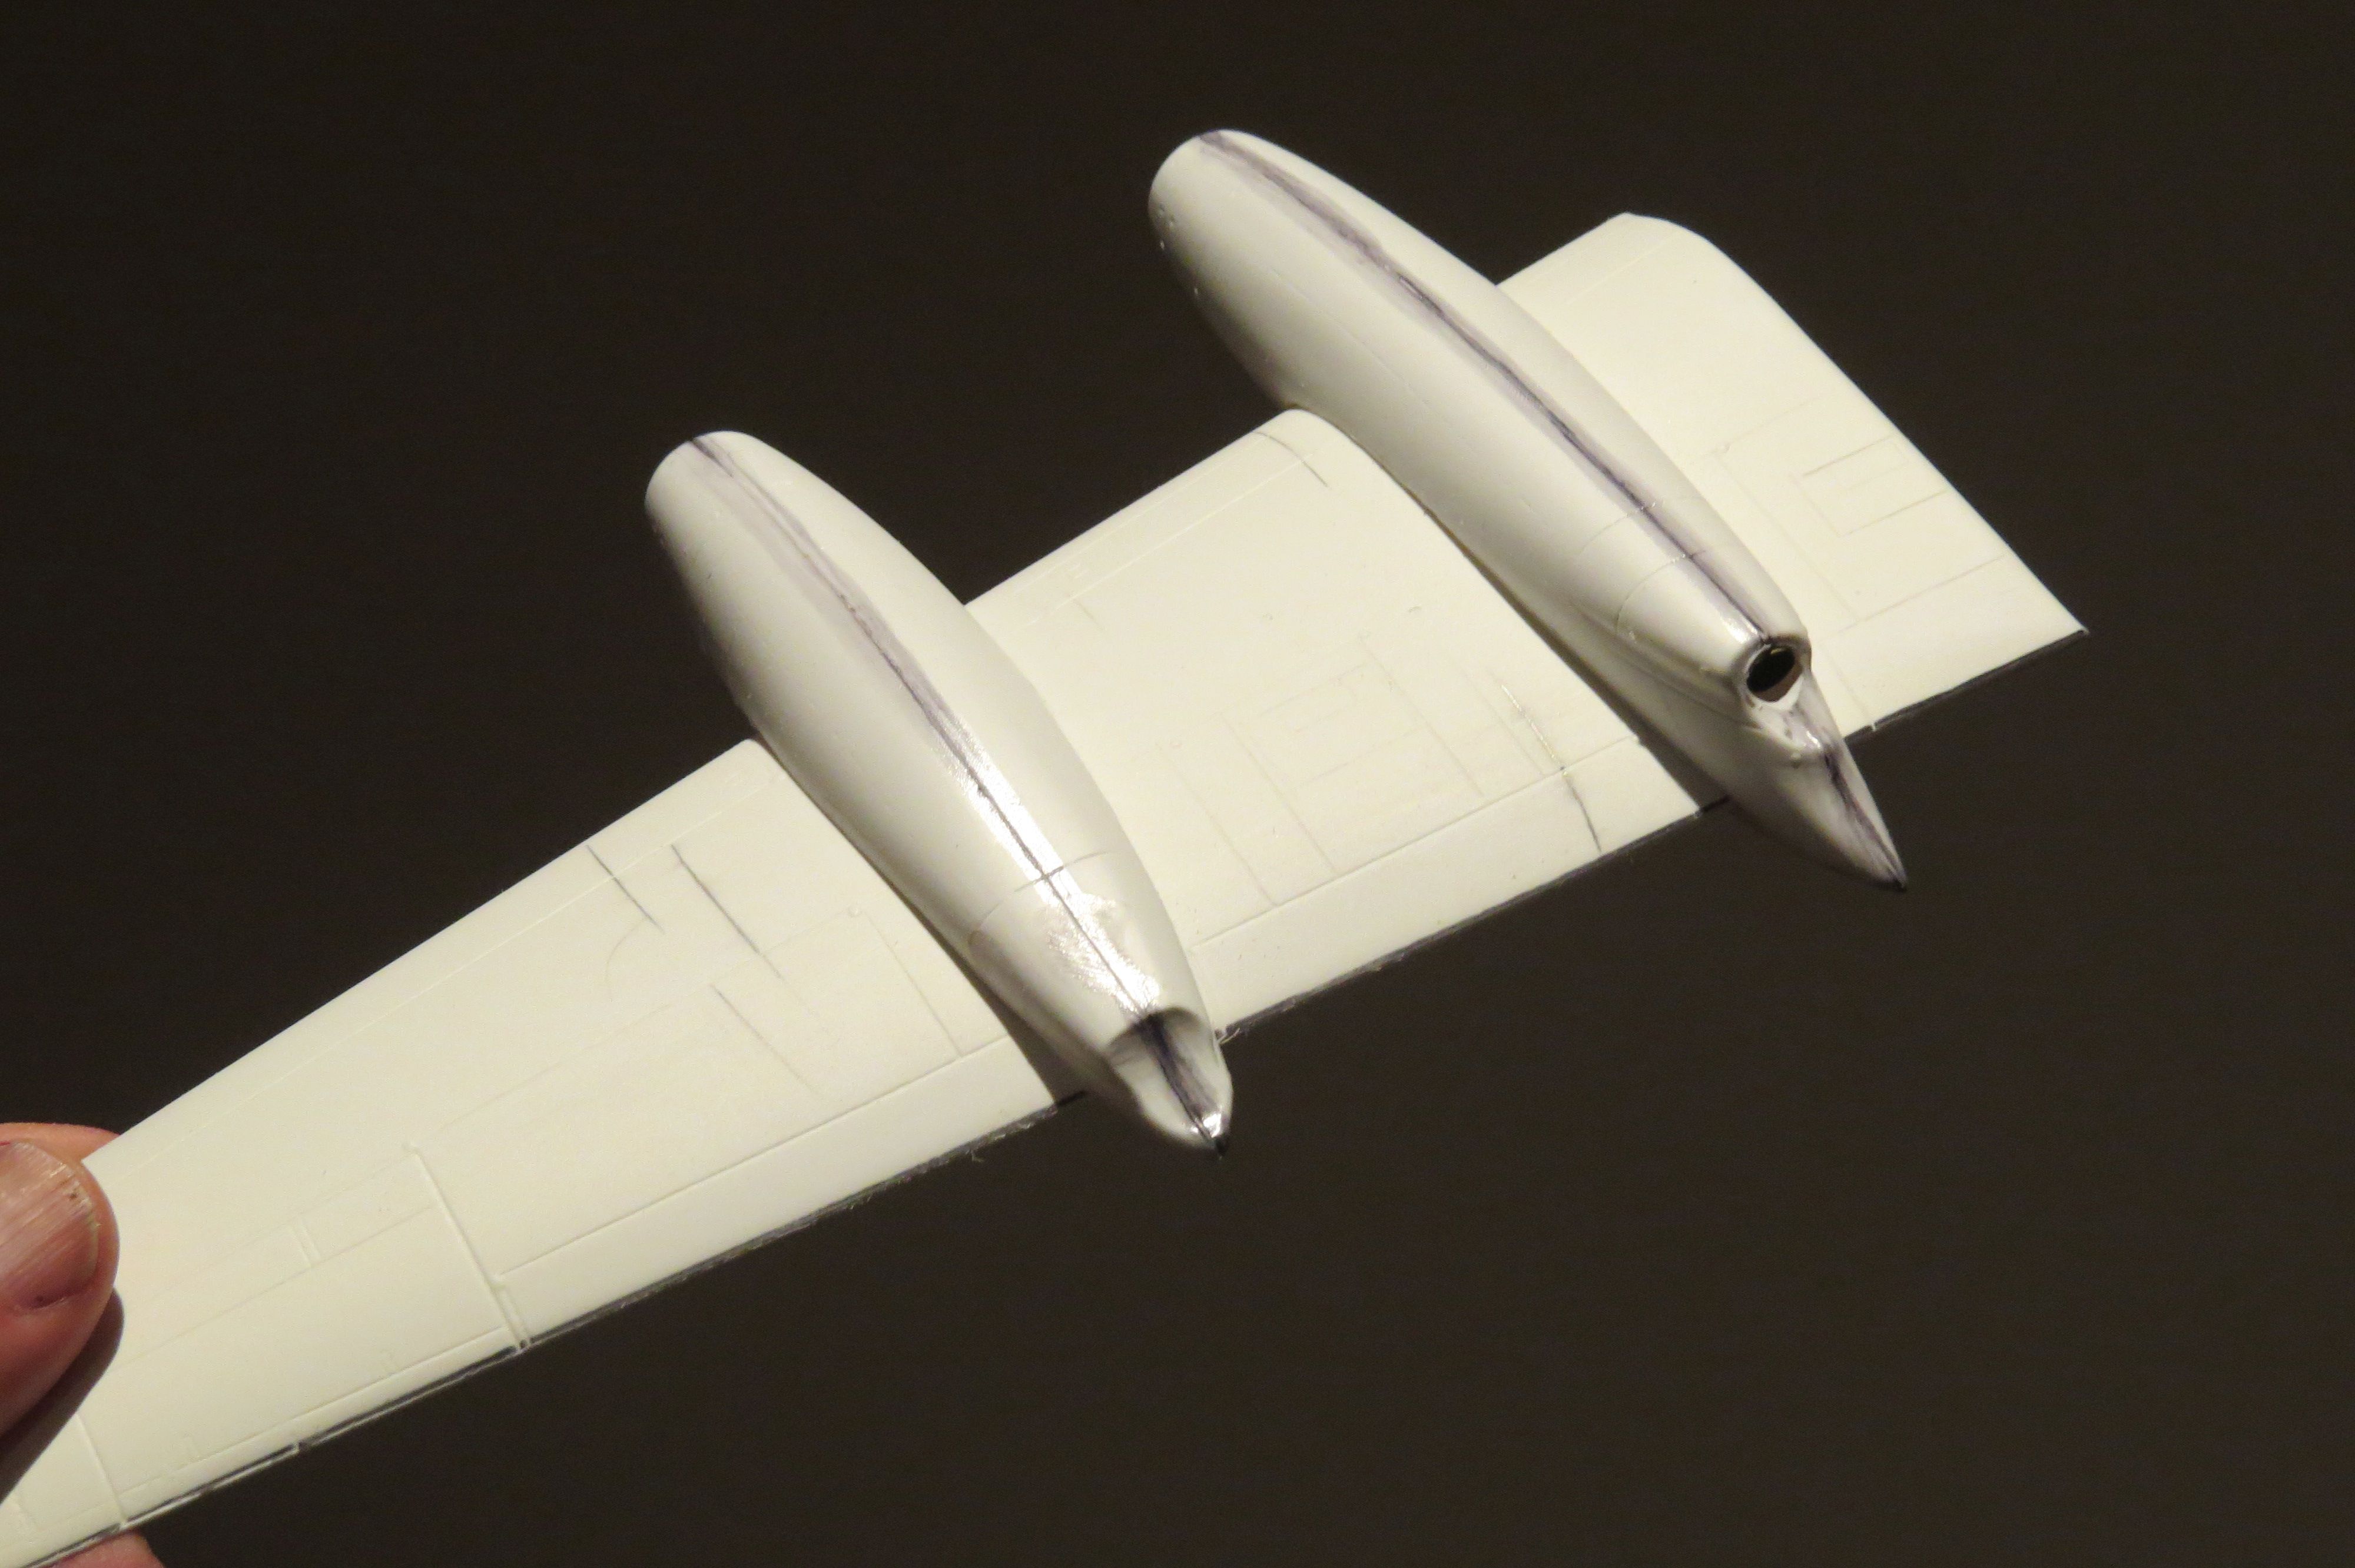
1. this is the first vac form model I have built where the engine nacelles are separate units and not molded as part of the wing, this is good the shapes achieved are much better this way but it it does make a lot of work..each nacelle has to be treated like a separate mini fuselage.
2. with the inner nacelle slid onto the wing at the correct position the propeller would strike the fuselage (reciting the vacuform refrains under one's breath).. how to deal with this? the only viable option is to clip the prop blades
3. the main undercarriage mount will be in the wing, lucky I haven't glued the halves together yet!
again I think these pics will save a thousand words:
Image
Image
Image
Image

I am going to try and get some larger diameter brass tube for the exhausts
the inner nacelles need to have their u/c doors cut out,
then I have to build 3 more!
VH-WAL
 
Posts: 1068
Joined: Mon Apr 14, 2014 9:11 pm

Re: Vacform Britannia

Postby Graeme H » Fri Jan 27, 2017 4:48 pm

All looking good so far Wal, how does the nacelle fit on the wing?
Graeme
User avatar
Graeme H
 
Posts: 1202
Joined: Thu Jun 05, 2014 12:51 pm
Location: YBTL TSV

Re: Vacform Britannia

Postby VH-WAL » Fri Jan 27, 2017 9:52 pm

hi graeme,

fit well lessee.. after all day fettling I managed to get the port wing done:
Image
Only the nacelle halves have been glued together the rest is just dry fit, I have to pack the inside rear of each nacelle with apoxie sculpt so I can shape the exhaust and mount the brass jet pipe, I have to squeeze the bog through the wing cutouts.
I have to make some sort of u/c mount inside the wing

I made up some spars but they are too large I have to shave them down from 12 mm to about 8 to fit inside the wing
Image
VH-WAL
 
Posts: 1068
Joined: Mon Apr 14, 2014 9:11 pm

Re: Vacform Britannia

Postby RayS » Sat Jan 28, 2017 10:25 am

Great detail shots and technique posts Wally, I have a HS748 I can try this one ( once the BBJ and CV440 are done).
Ray

Image
User avatar
RayS
 
Posts: 2198
Joined: Thu Apr 17, 2014 10:24 am
Location: RAdelaide!... YPAD

Re: Vacform Britannia

Postby hrtpaul » Sat Jan 28, 2017 10:42 am

Very cool mate. I'd like to tackle a vacform kit at some stage so your right up will help heaps. Cheers mate :)
Head A/CAM Phantom Phanatic, Shit Stirrer and Karma Bus Driver toot fkn toot :twisted:
hrtpaul
 
Posts: 4165
Joined: Sat Apr 12, 2014 10:44 am
Location: Like I'm gonna tell you lot

Re: Vacform Britannia

Postby VH-WAL » Sat Jan 28, 2017 9:48 pm

thanks guys
the Brit had to play second fiddle today as I get the house ship shape for the wife's return from the UK in a couple of days but I did make time to make the starboard nacelles and fit them to the wing, The nacelles are not glued on to the wing yet, I have to fill the rear ends so I can sculpt the exhausts also I need to check the fit to ensure the nacelles are neither too low or to high with reference to the wing chord, at the very least I have to make sure that all the engines are in the same plane and aligned, so expect more tweaks and fettling will be required before they finally get glued on. You will notice the frnt of the starboard outer is a bit of a mess.. I accidentally sanded too much material away at the front so I had to add a wedge of plastic and fill it with the liquid plastic filler I used earlier on the fuselage. Tonite I reckon I'll put in the filler at the back of the nacelles and call it a day.
the Brit starts to look like a Brit as I loosely put wings and fuselage together..I love it when I can do that,,it is a milestone in the construction
Image
Image
VH-WAL
 
Posts: 1068
Joined: Mon Apr 14, 2014 9:11 pm

Re: Vacform Britannia

Postby RayS » Sat Jan 28, 2017 10:24 pm

That is looking great Wally, you build vacs as fast I build injection kits!

So it is too soon to ask about a livery?
Ray

Image
User avatar
RayS
 
Posts: 2198
Joined: Thu Apr 17, 2014 10:24 am
Location: RAdelaide!... YPAD

Re: Vacform Britannia

Postby VH-WAL » Sat Jan 28, 2017 10:28 pm

RayS wrote:That is looking great Wally, you build vacs as fast I build injection kits!

So it is too soon to ask about a livery?


Monarch is the plan..have to be home made I'm afraid
VH-WAL
 
Posts: 1068
Joined: Mon Apr 14, 2014 9:11 pm

Re: Vacform Britannia

Postby F-27pax » Sun Jan 29, 2017 7:03 am

This is equal to the labours of Herclues. I bet it will look magnificent.

Leigh
F-27pax
 
Posts: 973
Joined: Fri Apr 18, 2014 11:40 pm

Next

Return to Member's Works in Progress

Who is online

Users browsing this forum: No registered users and 5 guests