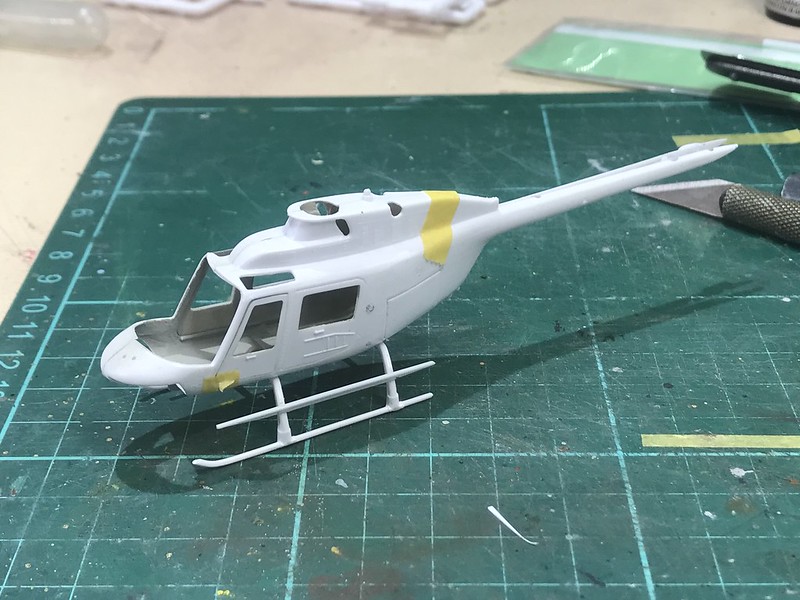
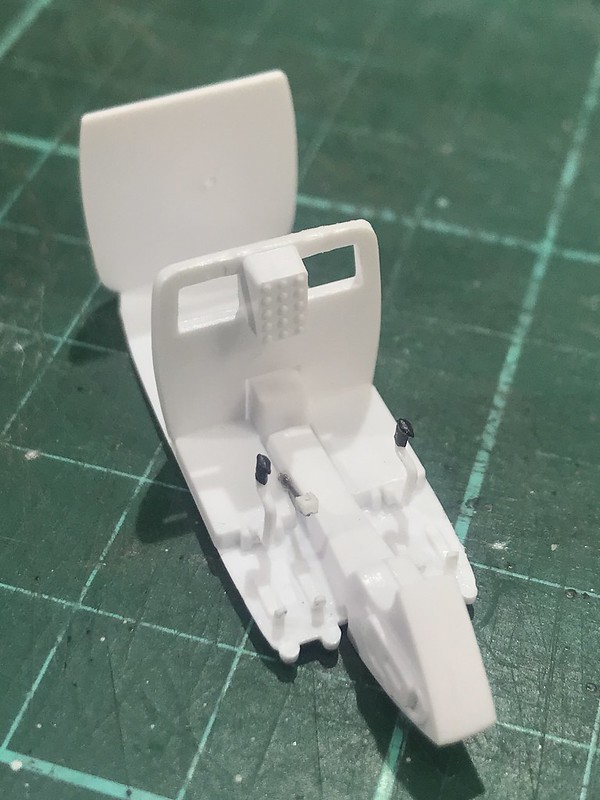
As is typical with a lot of Italeri kits, the fit and detail isn't much to write home about. Let's not even mention the scale half inch rivets that cover the outside. I started with the cockpit just for something completely different. As it's able to be seen through the big windsreen and chin bubbles, some extra detail was required. I made a collective lever from piano wire and scrap plastic. Given how small the kit is it will do. I added anti-torque pedals but as usual, after fitting them I found that they should've been inverted 'L' shaped instead
Dodgy anti-torque pedals

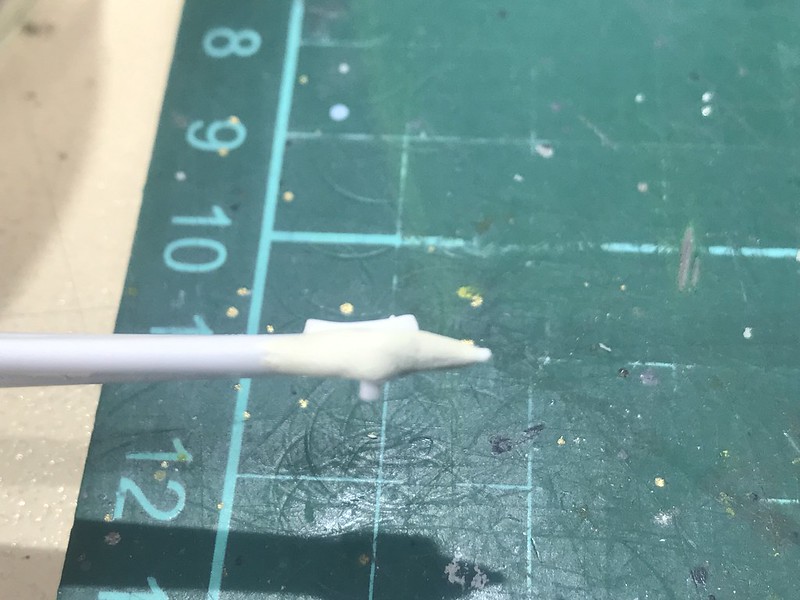
Collective Lever

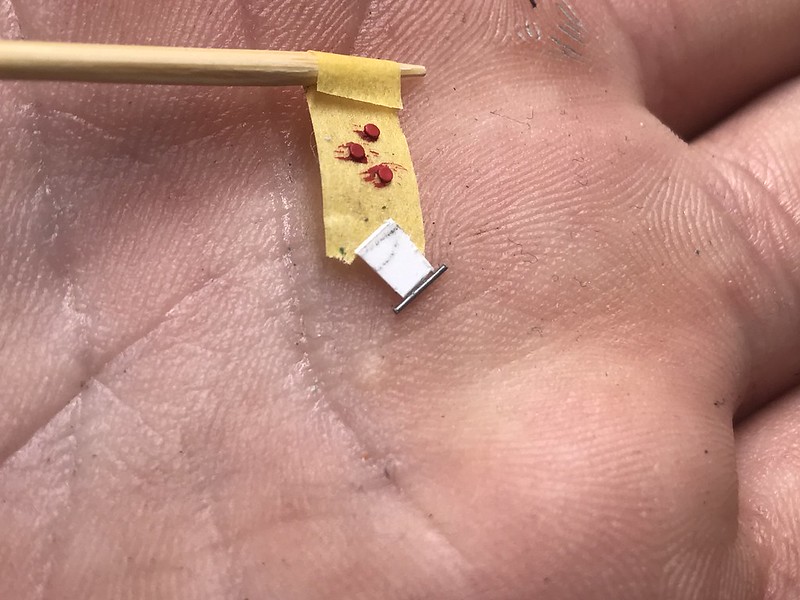
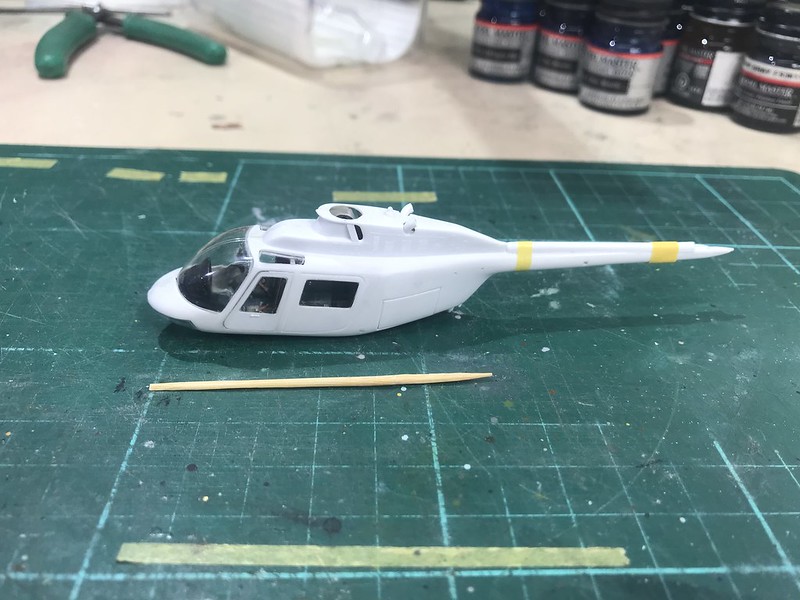
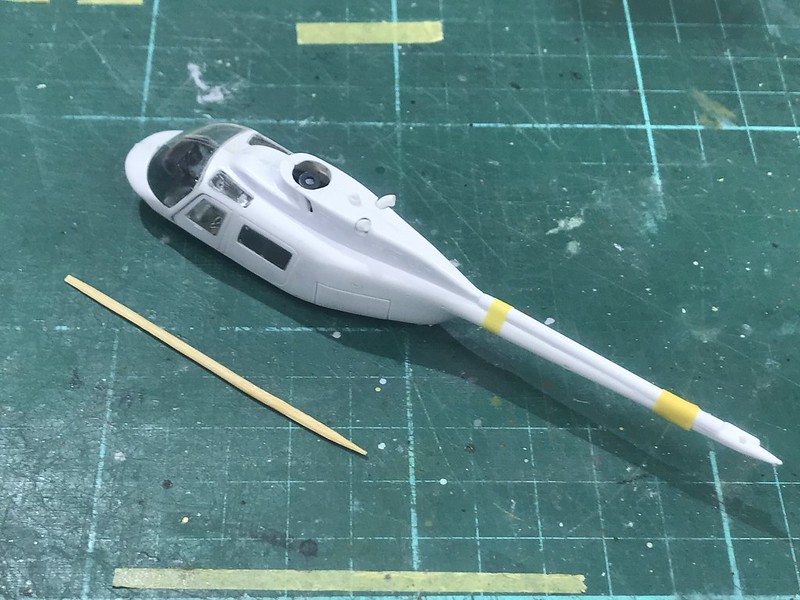
Toothpick for scale

Shows how small the kit really is


The cockpit all done


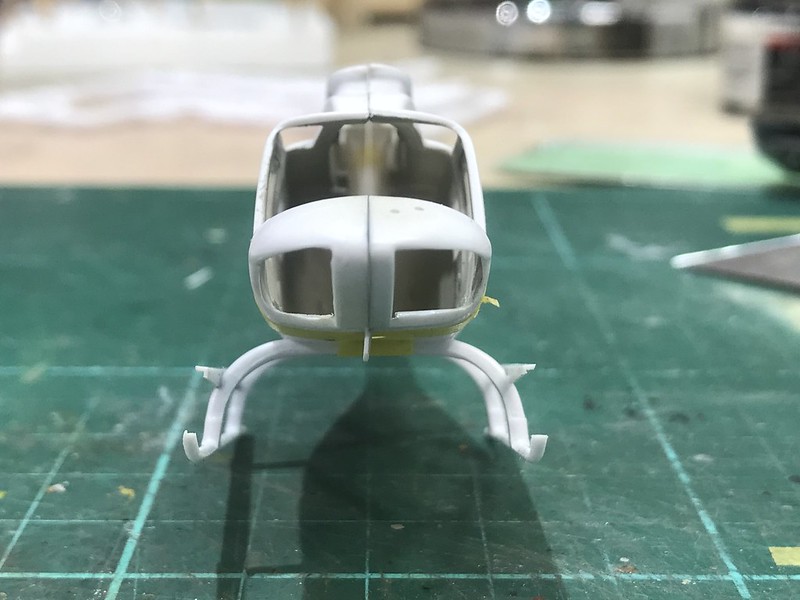
See what I mean about the fit

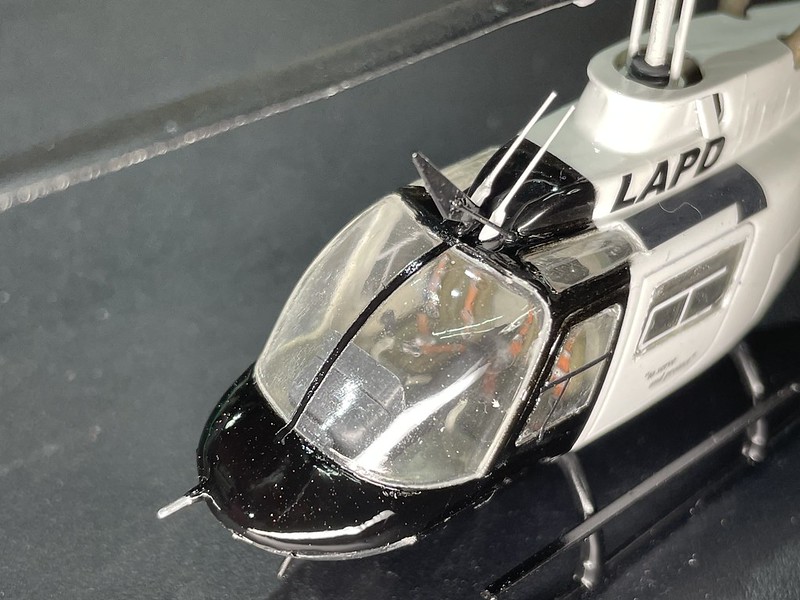
The cockpit fitted temporarily. I think it looks pretty cool.

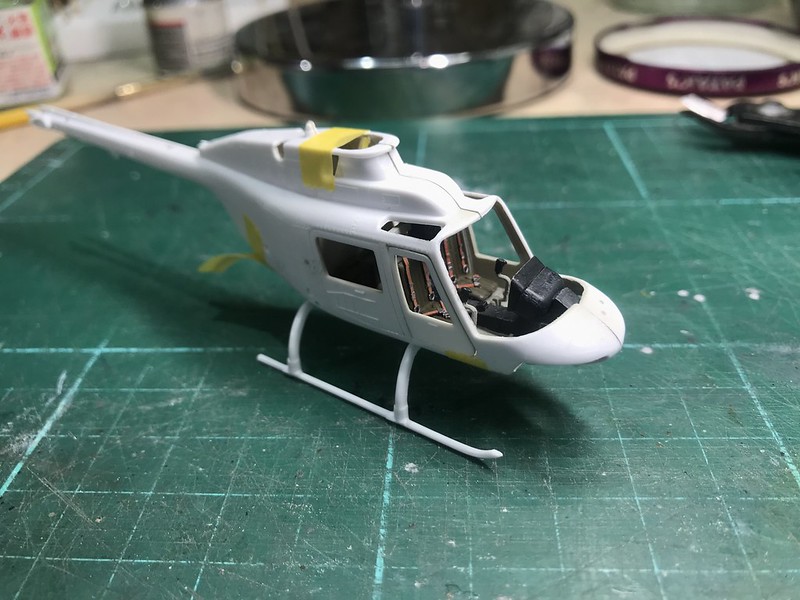
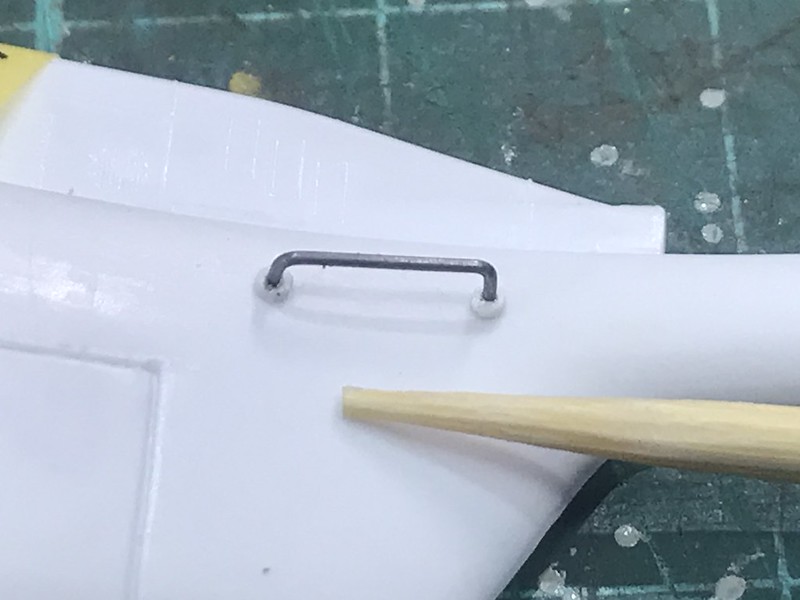
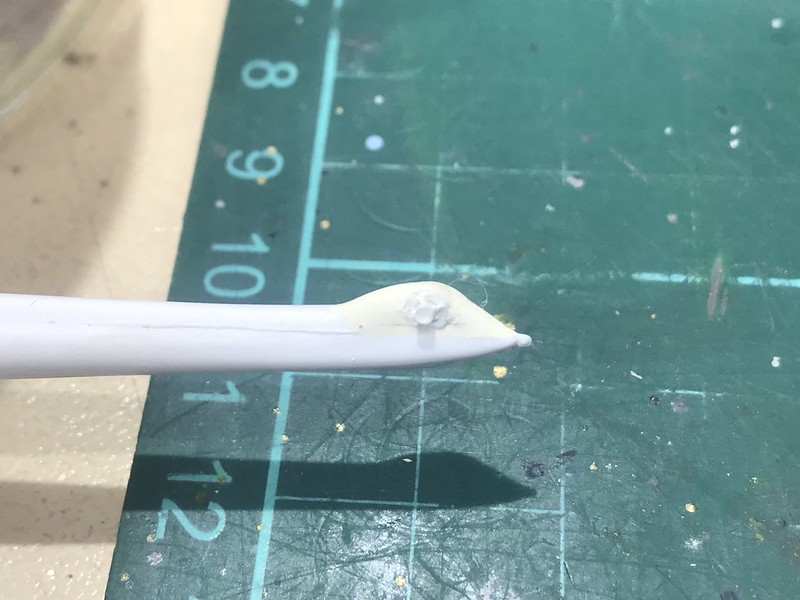
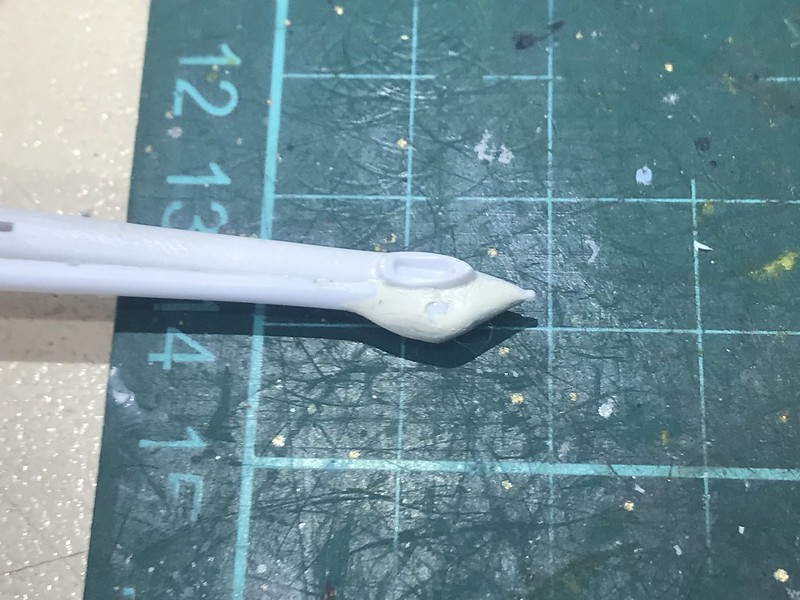
There are some holes in the fuselage that needed filling. I used my punch and die sets to make circles to fill them in but I forgot to take a pic so you'll have to believe me. The upper hole behind the rear door in this pic is where the fuel filler cap is. So some muppet decided to drill the hole a bit bigger, blanked it off inside and made some .9mm discs for the fuel cap. They have since been painted red.


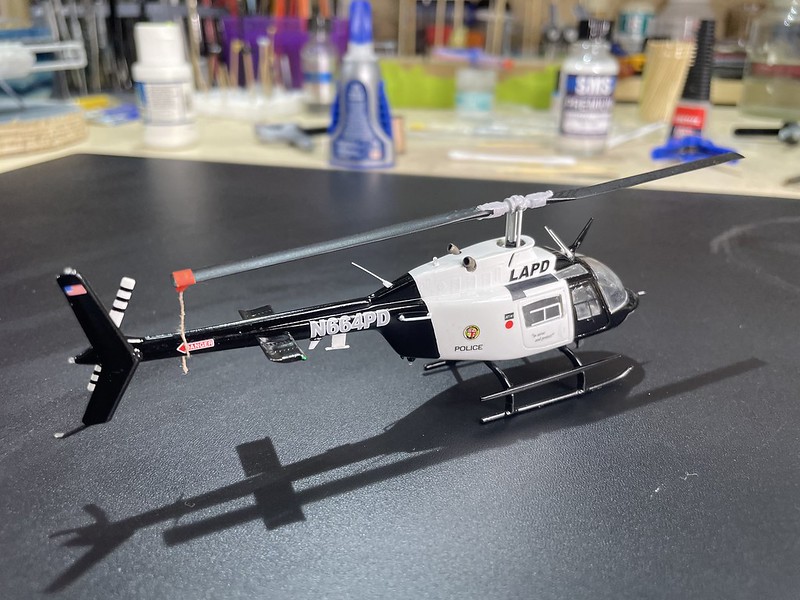
So that's where I'm up to so far. It's no wonder I take forever to finish anything given I can't help myself putting little extra stuff in. I am contemplating making the read windows taller as they aren't correct in the kit. That'll require making windows with clear resin which I have never done before so I'm not sure if I'm brave enough for that.