Aerotech DH-88 Comet: Finished.
Re: Aerotech DH-88 Comet
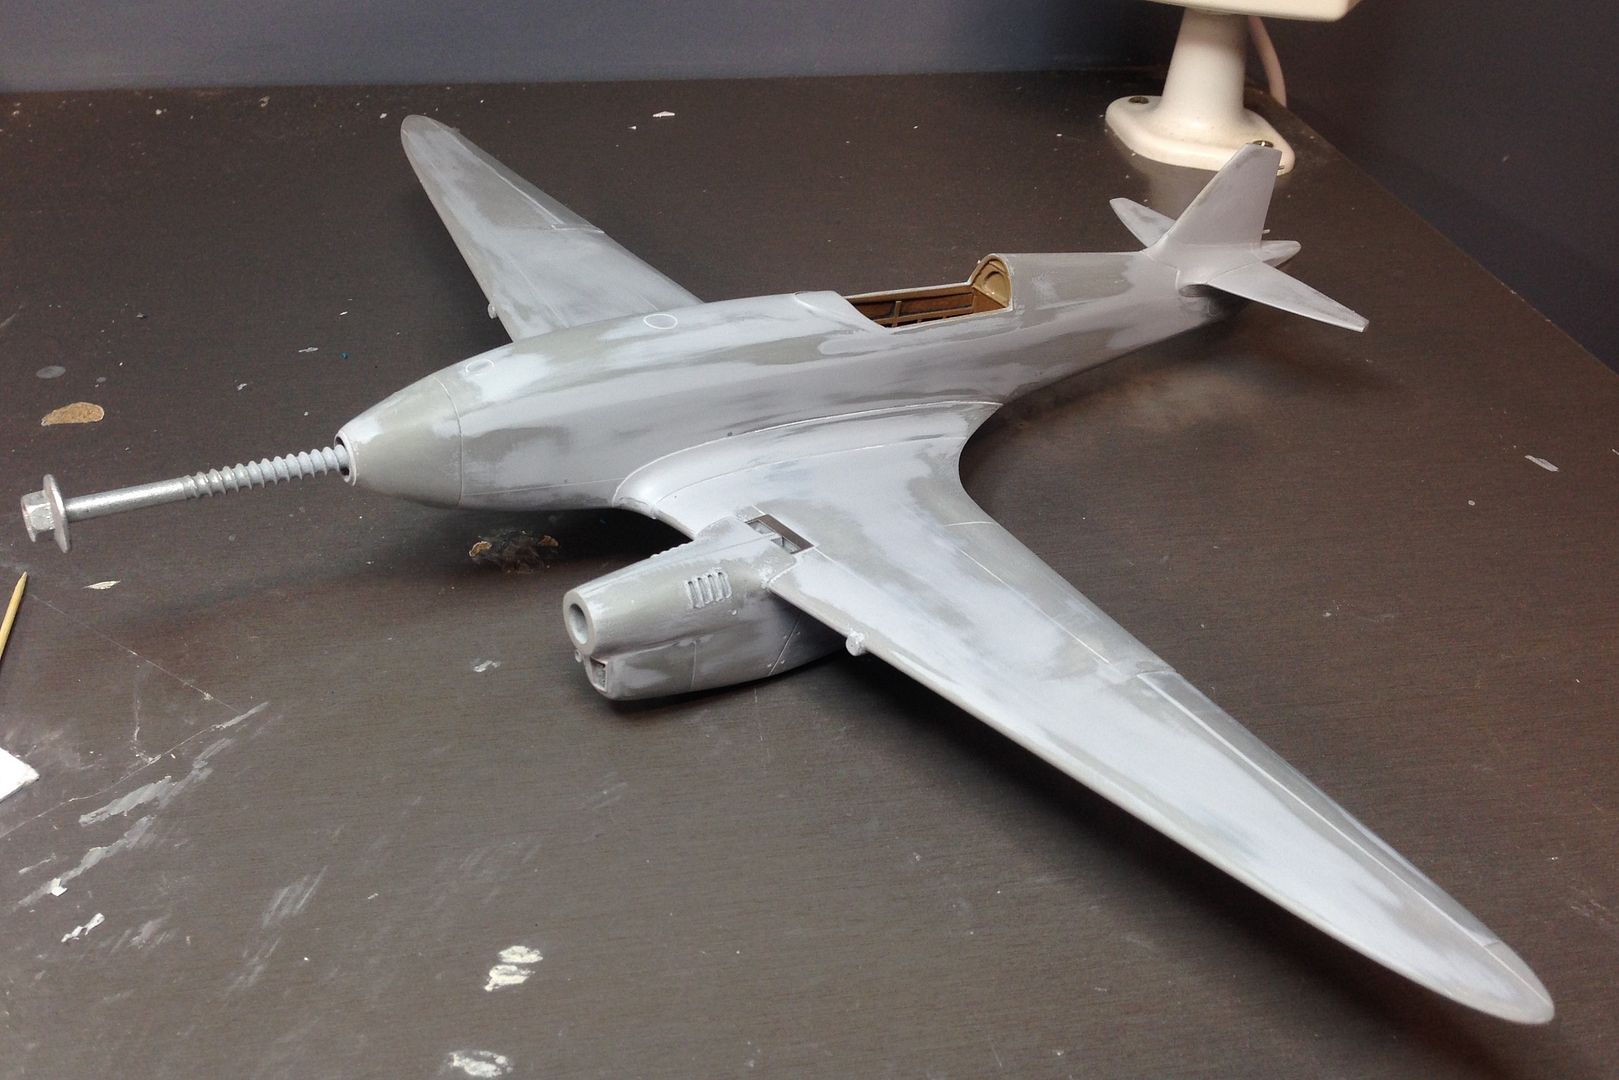
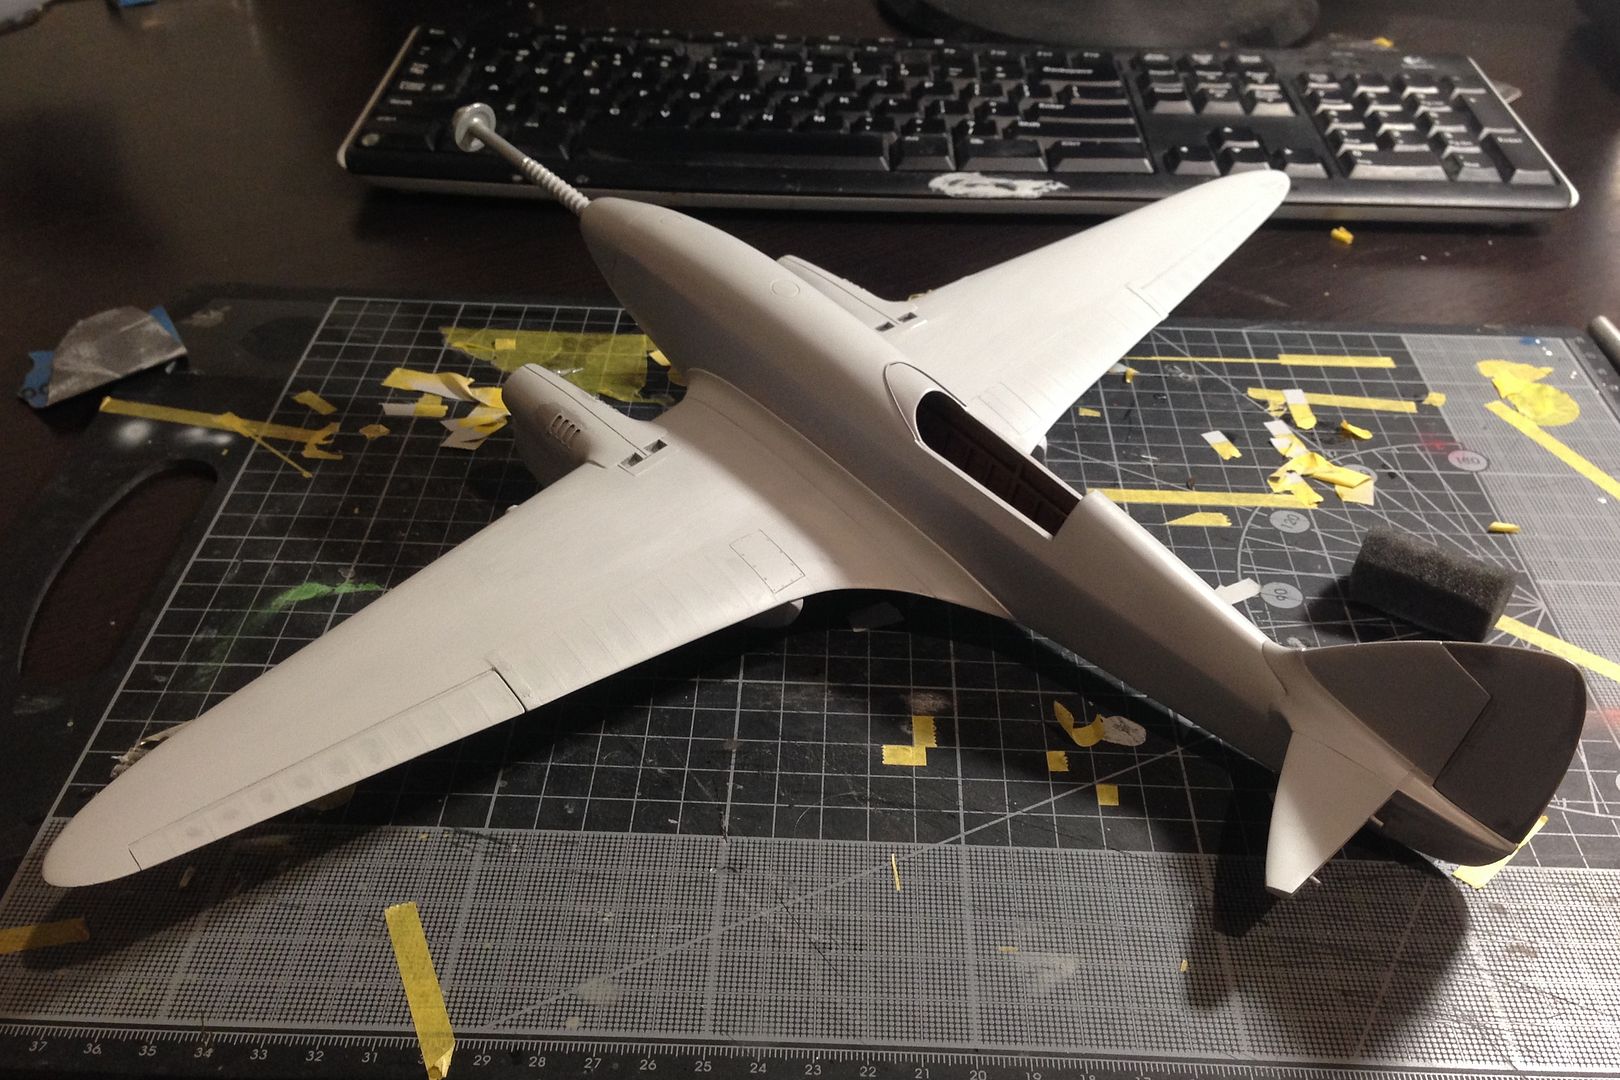
Not much of an update as I have primed the model and have been working on fixing all of the flaws (and there are lots)... as you can see from the following pic, there is not much primer left on the model as it has had many hours of sanding, filing and other work done to it to hopefully give it a flawless surface upon which I will now re-prime, then add the fabric texture to it it followed by a further prime in Tamiya pink Surface primer before the paint. The very large Tek screw that I have put into the nose is to give me something to grab when painting.


- Ericg
- Posts: 214
- Joined: Mon Apr 14, 2014 7:30 pm
Re: Aerotech DH-88 Comet
Looking good Capt Eric!!!
I am really enjoying this build and cant wait to see her in the flesh as Expo next year.
TOR
PS: looking at the above photo ......I hope that doesn't mean the model is screwed
I am really enjoying this build and cant wait to see her in the flesh as Expo next year.
TOR
PS: looking at the above photo ......I hope that doesn't mean the model is screwed
- tor lives
- Posts: 4296
- Joined: Mon Apr 14, 2014 11:01 am
Re: Aerotech DH-88 Comet
Ha! this one certainly isn't screwed mate!
I was always going to incorporate fabric surface detail into this model from the moment that I decided to get into it. I like to try something new with most of my builds and this was no exception. Many times during research on the aircraft, my eye was drawn to the very subtle ribs and raised detail on the rear of the wing, and control surfaces. The kit is pretty well devoid of most of any surface detail. I think this enhancement will be the single biggest change to the look of the kit, as it gives it a look that allows the viewer to have some idea of how the real aircraft was constructed that is: wood, wire and fabric. It brings to the kit a certain fragileness of the real thing. The detail that I am incorporating is `second look' stuff. Once the viewer recoignises the sleek shape of the model, he (or she) will be drawn in closer for a second look to see the finer detail that made up the beast and will question how such a fine looking machine was made from such parts.
Anyway, enough of the lovey dovey stuff and into the technique.
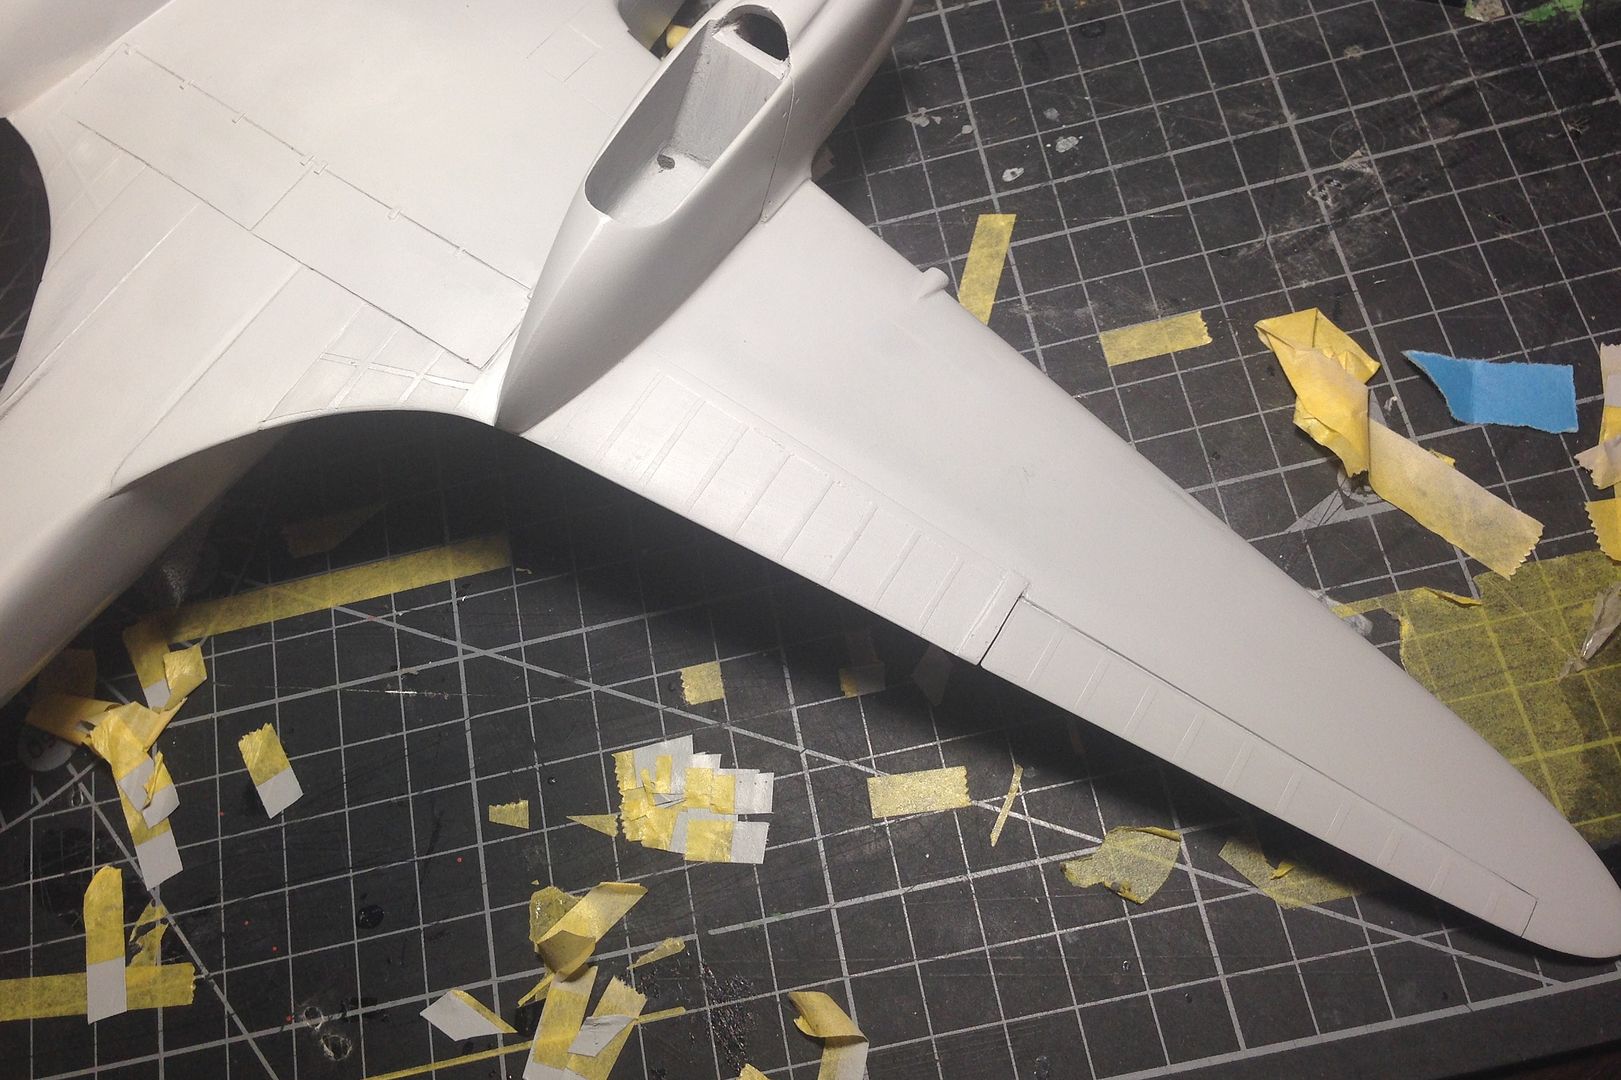
Working from Mancave B today so a different desk and lights. Tamiya Masking tape, a sharp lead pencil, vernier callipers and a straight edge. The ribs are very subtle and are very hard to capture in a photo as the are only obvious depending on where the light is.
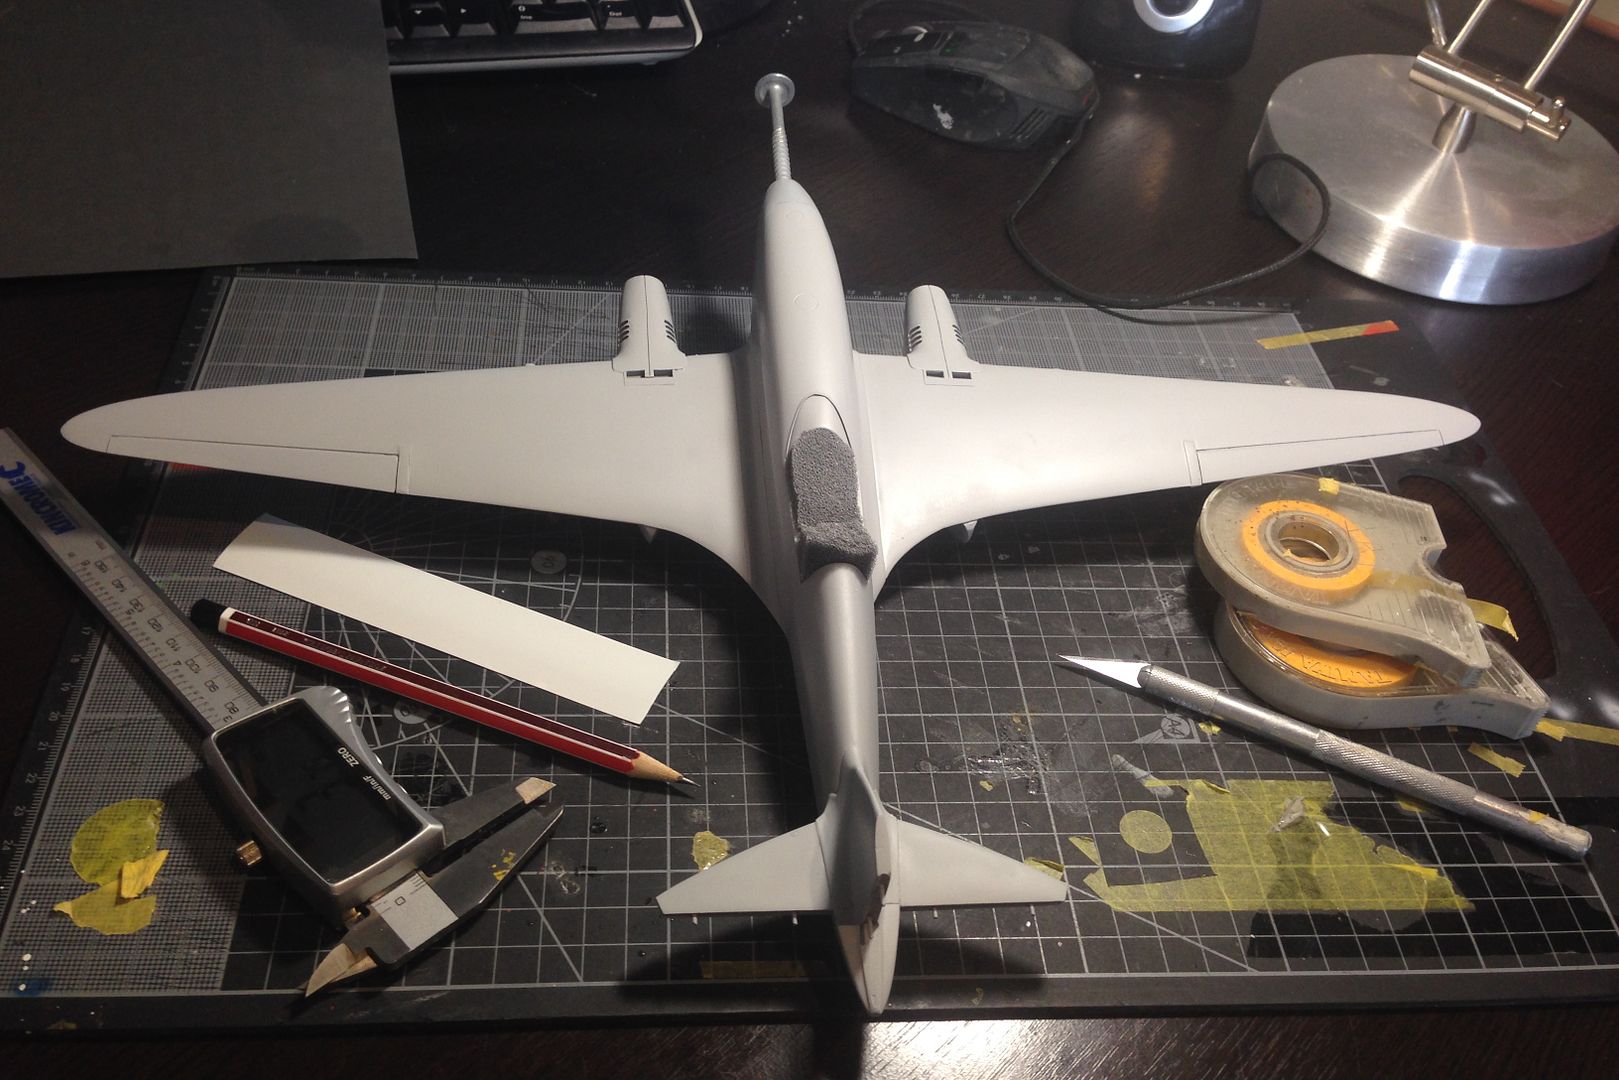
I used this superb profile picture as taken by Alpha Delta 210 over on Britmodeller as my reference.

I used Tamiya 6mm masking tape to fill in the areas between the ribs as it was a perfect fit width wise.
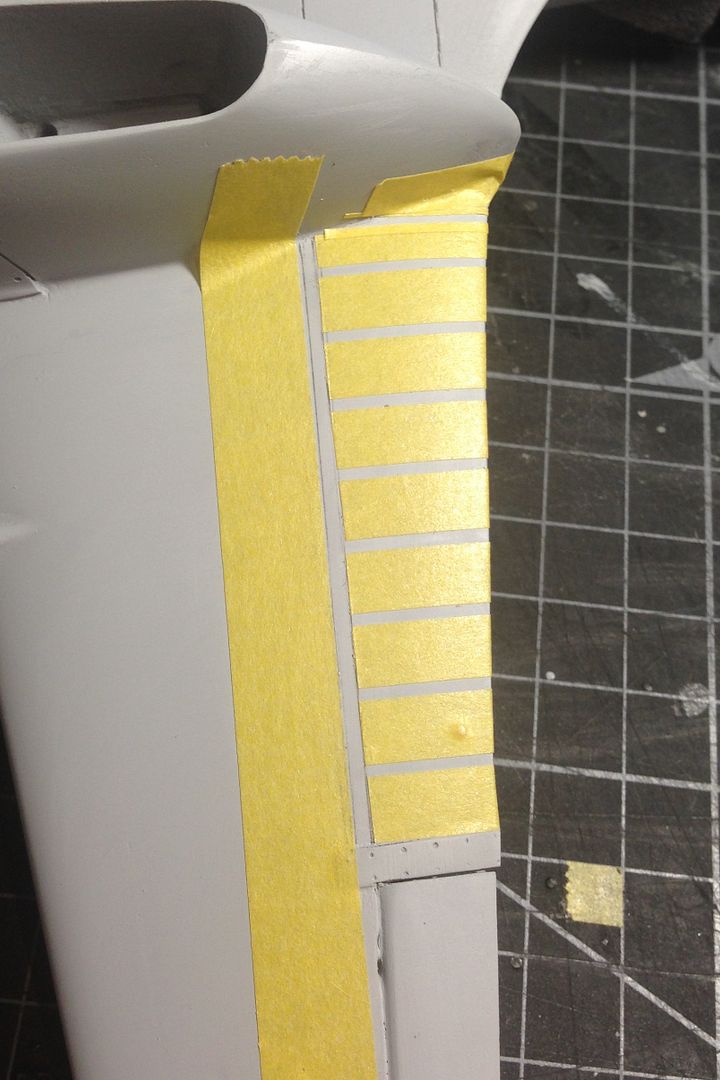
I decanted Tamiya fine surface primer and sprayed it over the masked area with the airbrush. a couple of coats were needed.
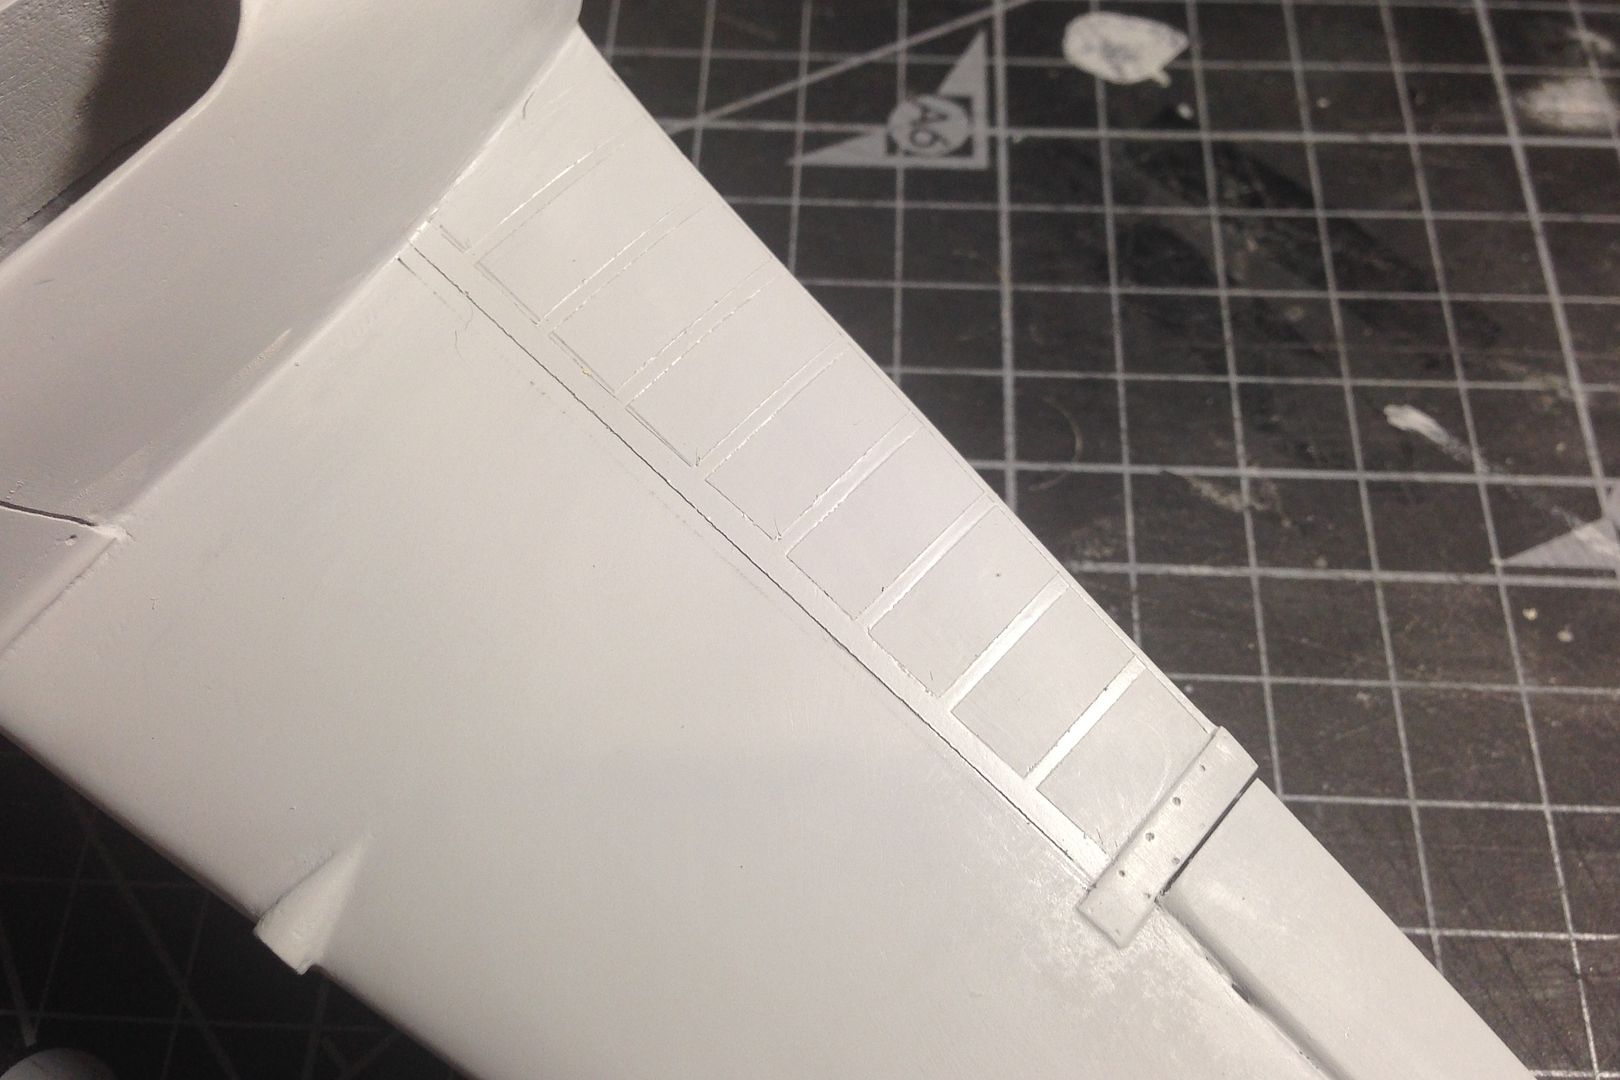
I then sanded carefully between each rib to give it a 3D look.
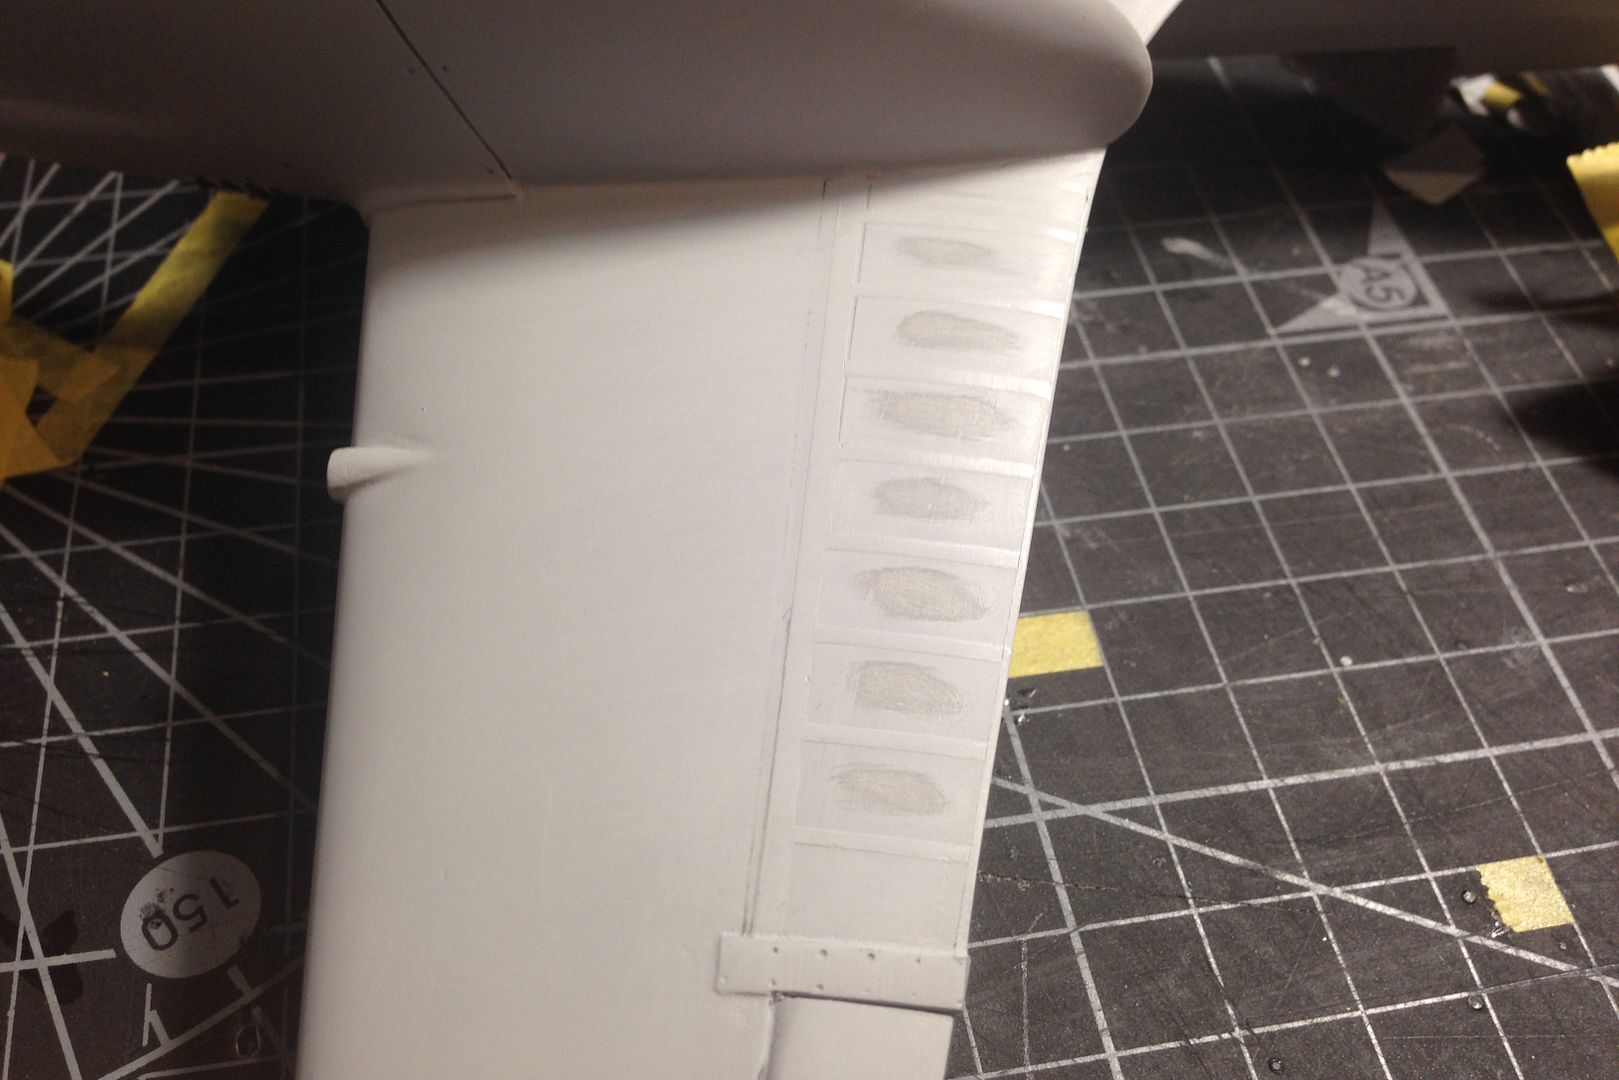
Similar for the ailerons
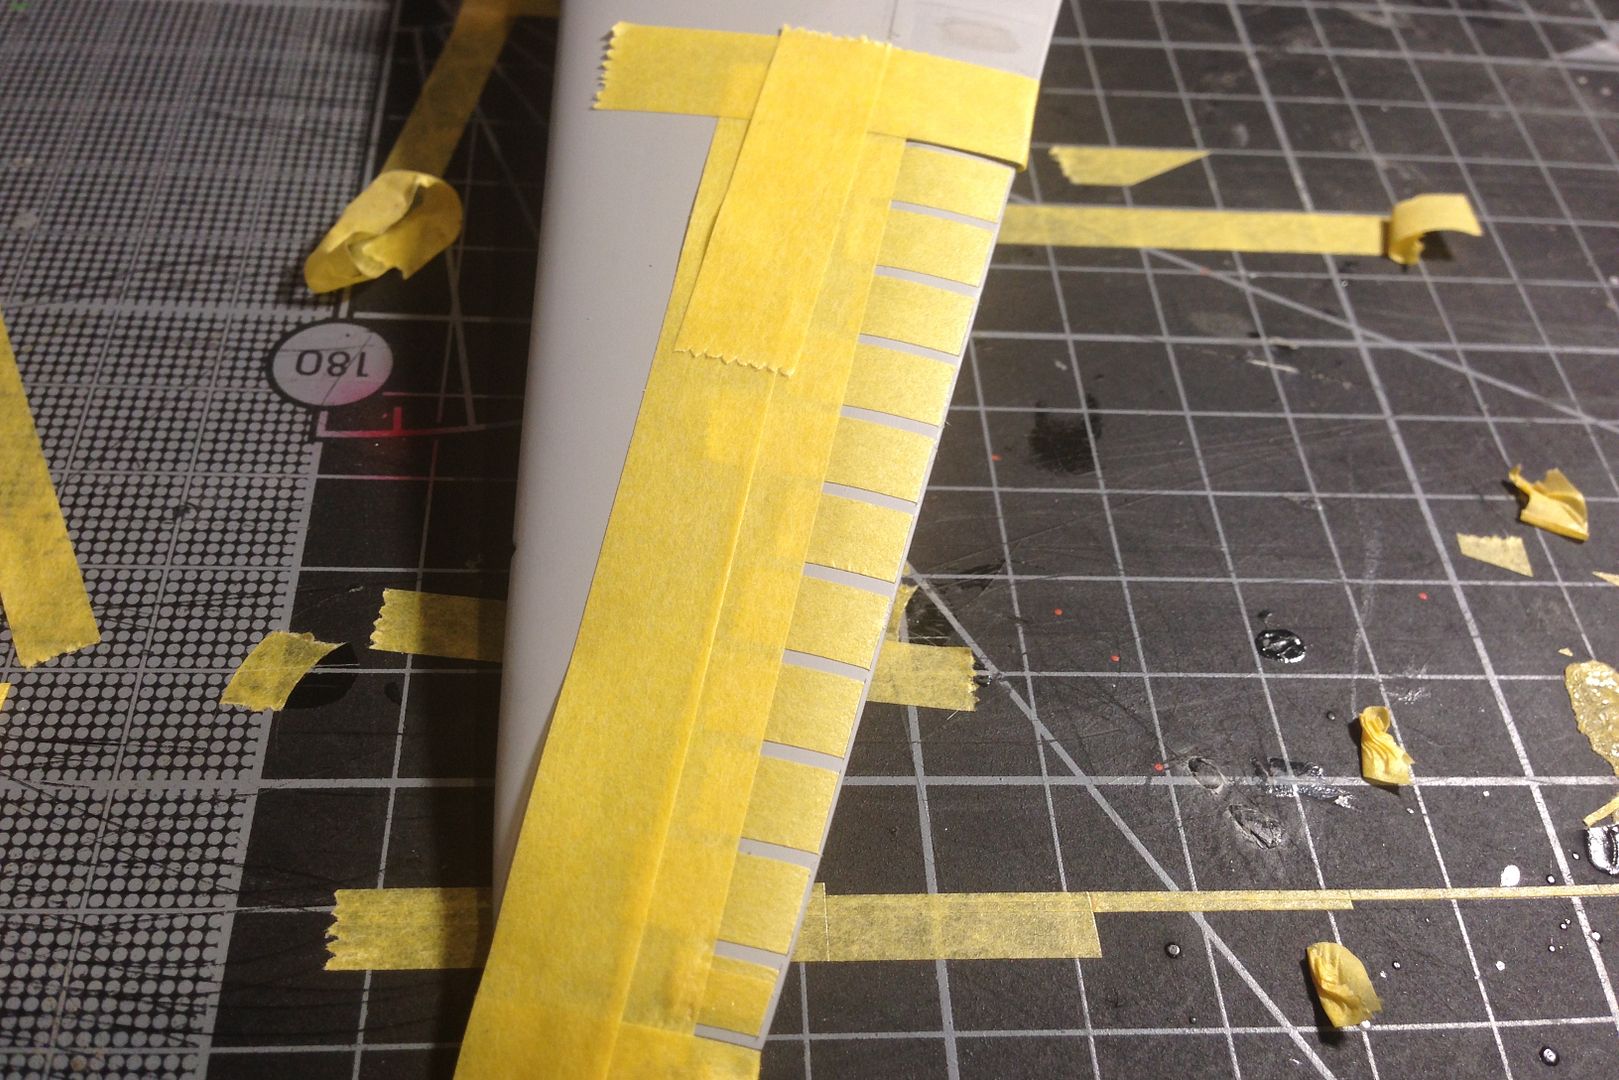
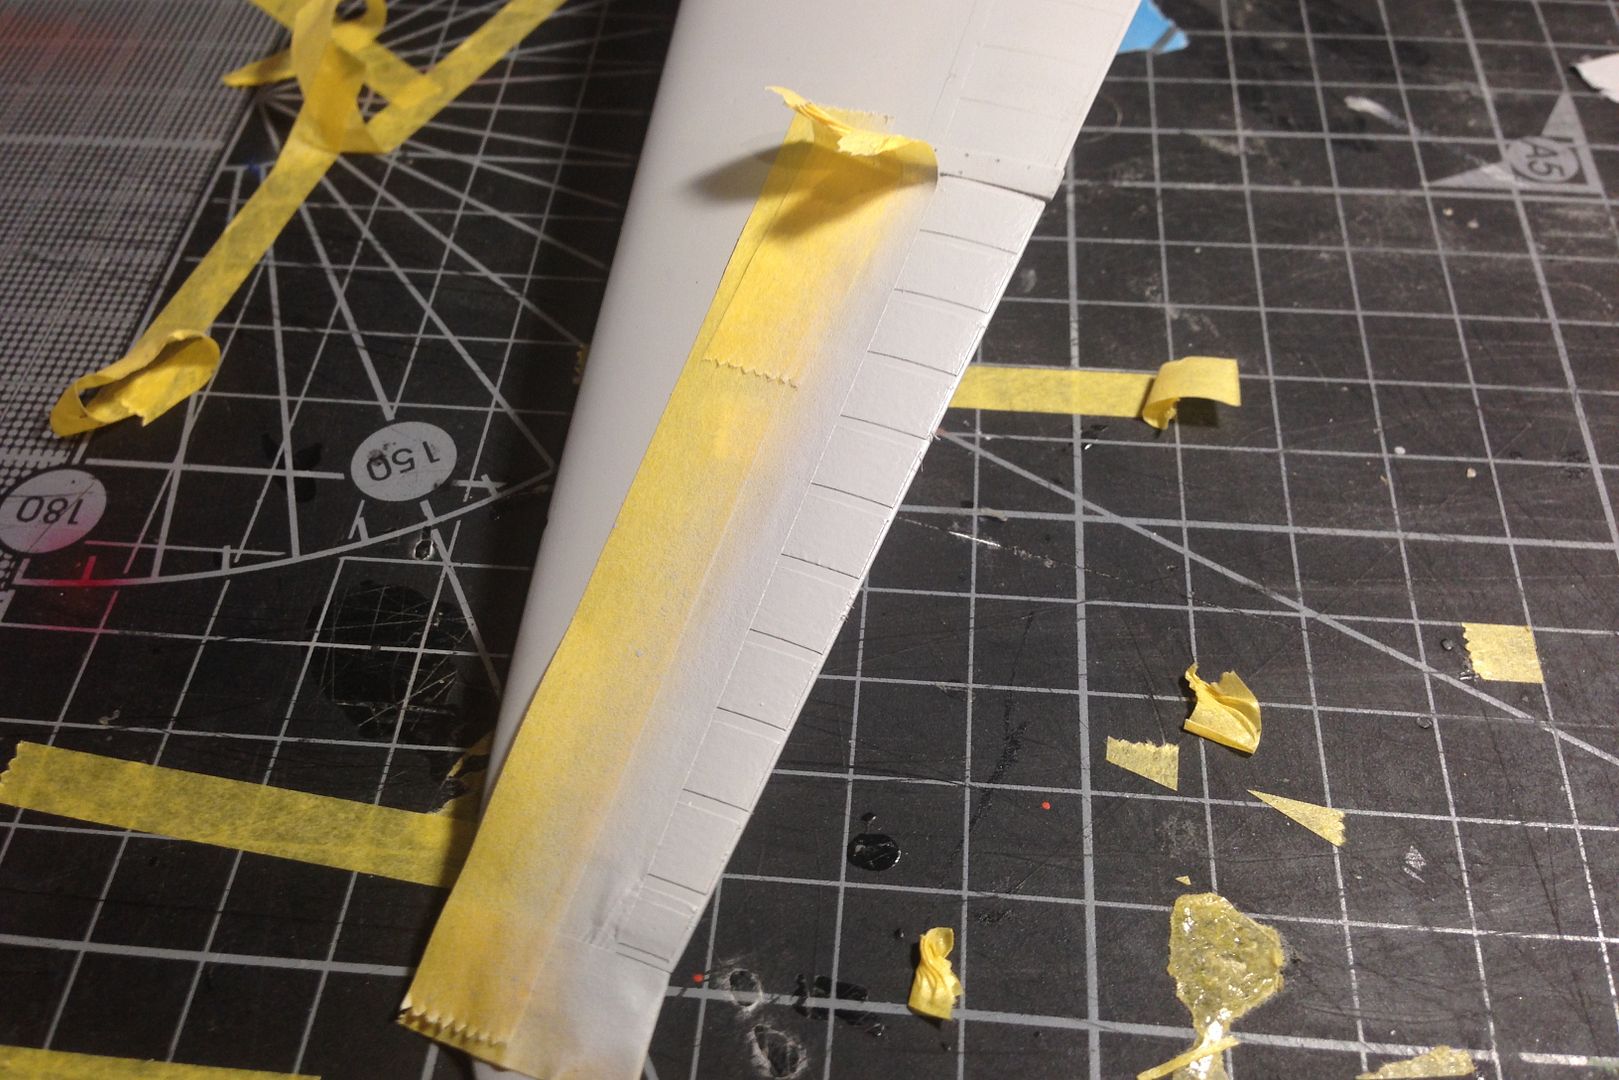
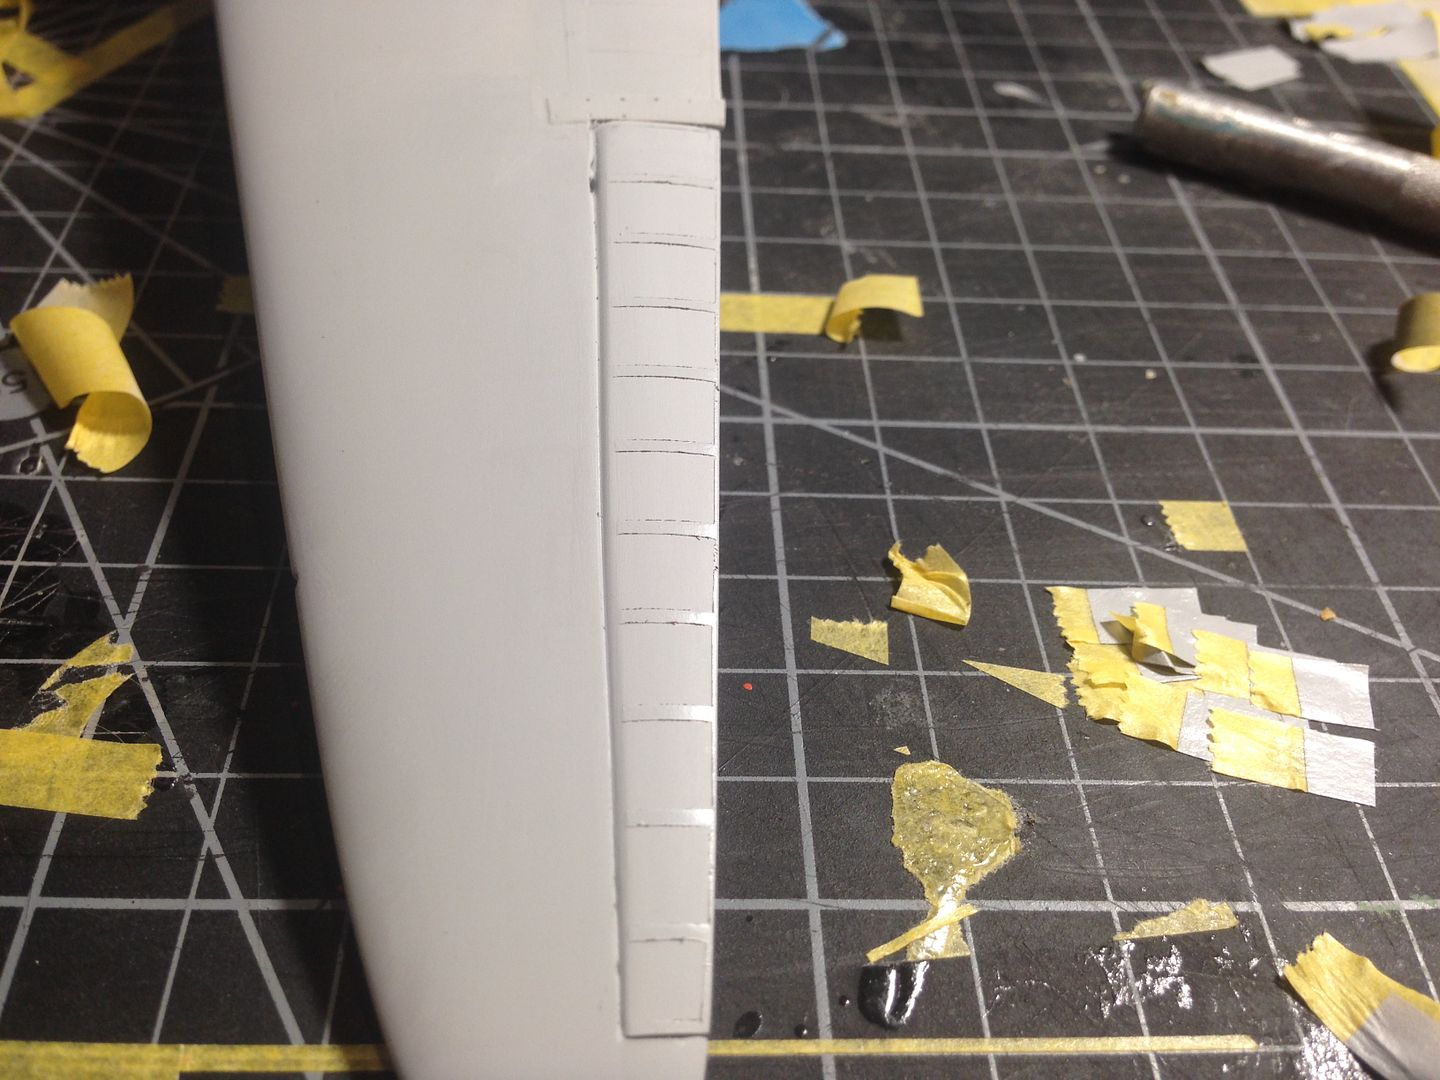
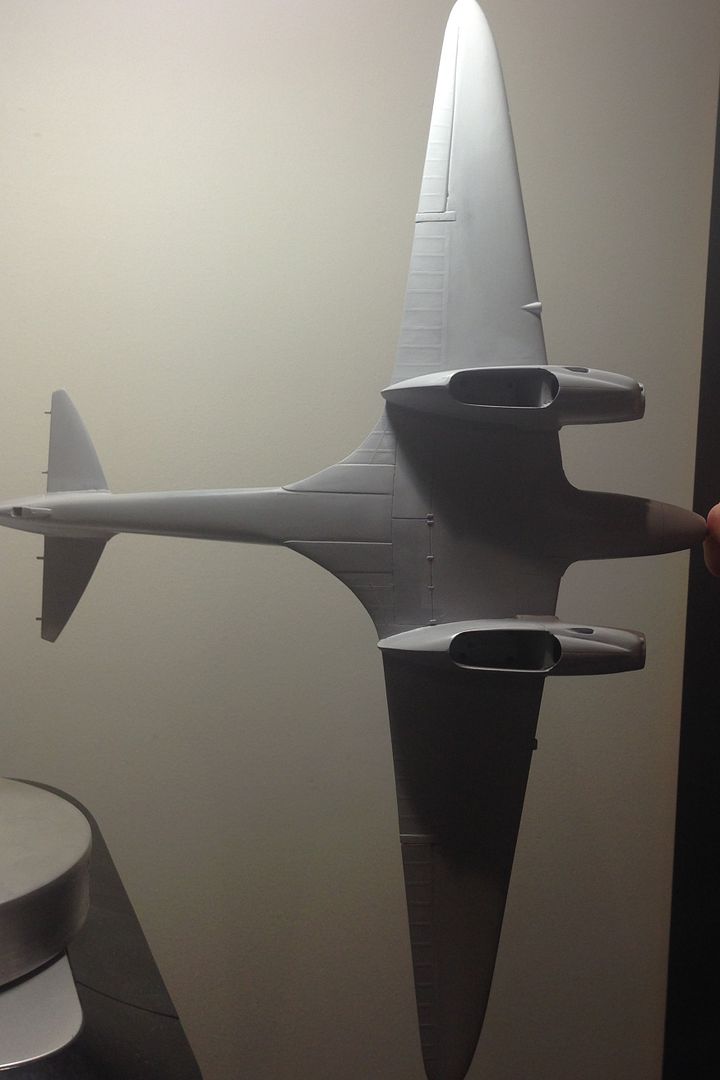
In this picture, you can see how I accomplished the wrap around fairings of the wing root. I scribed them in place and then carved the rest of the model away from them to give them the raised look.
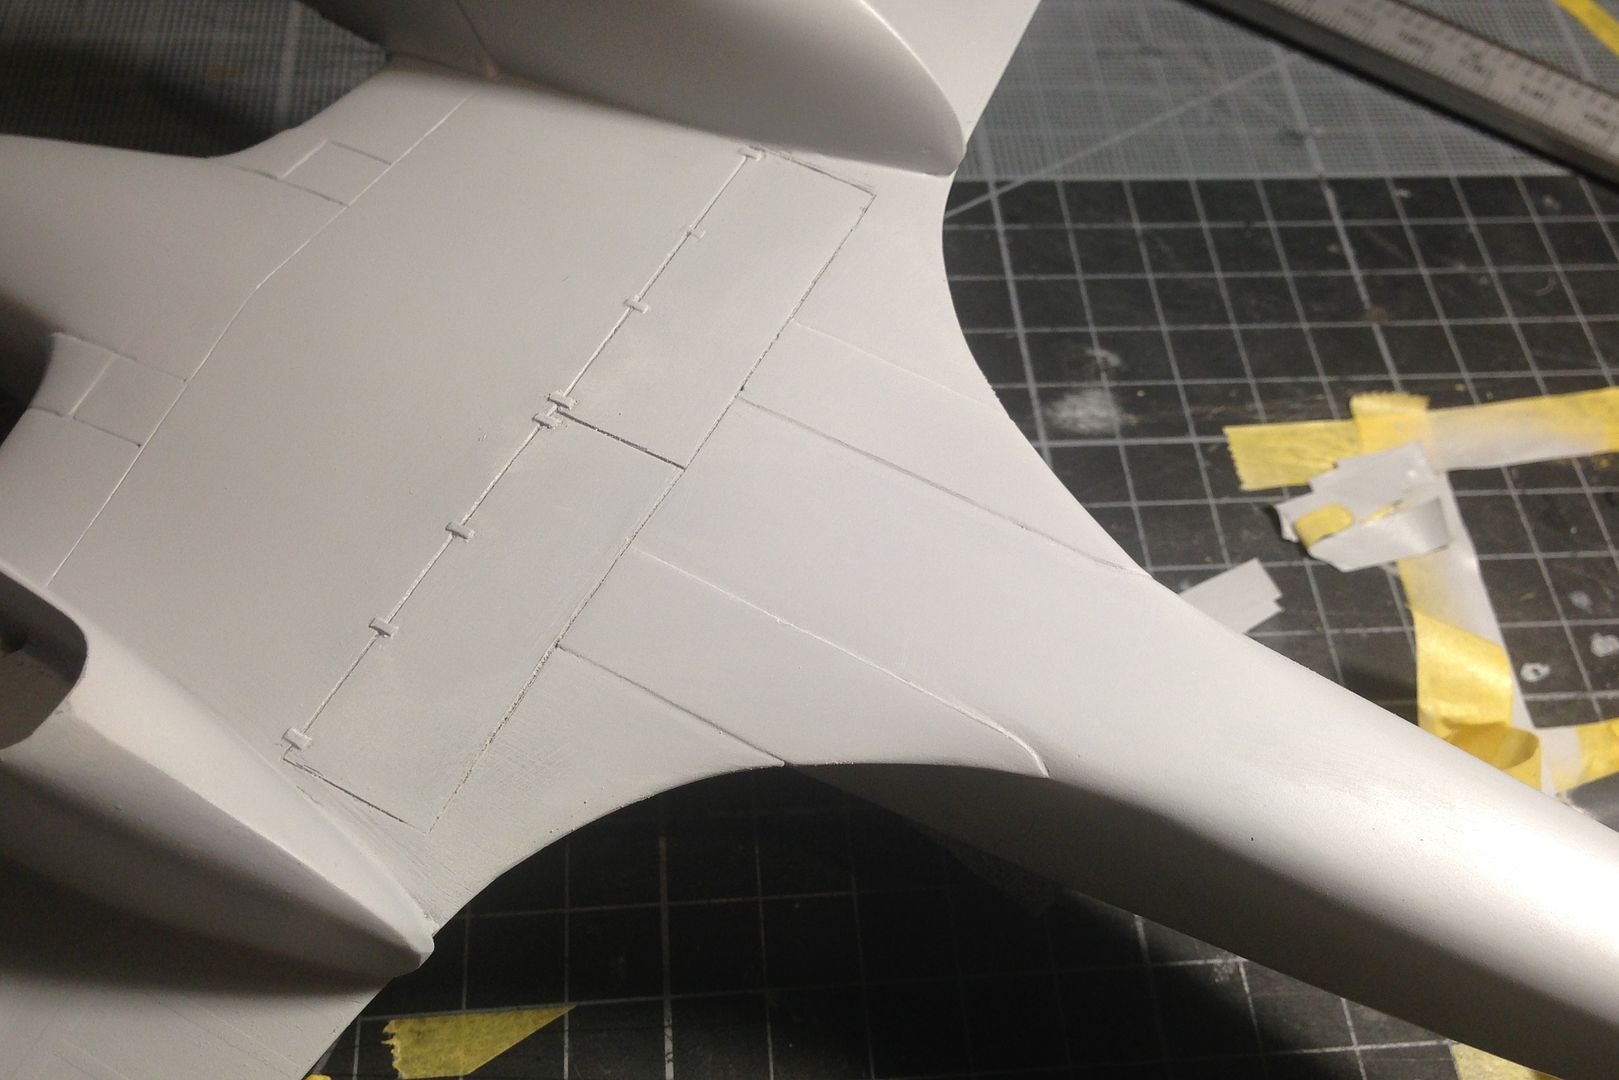
Masked off the rib detail
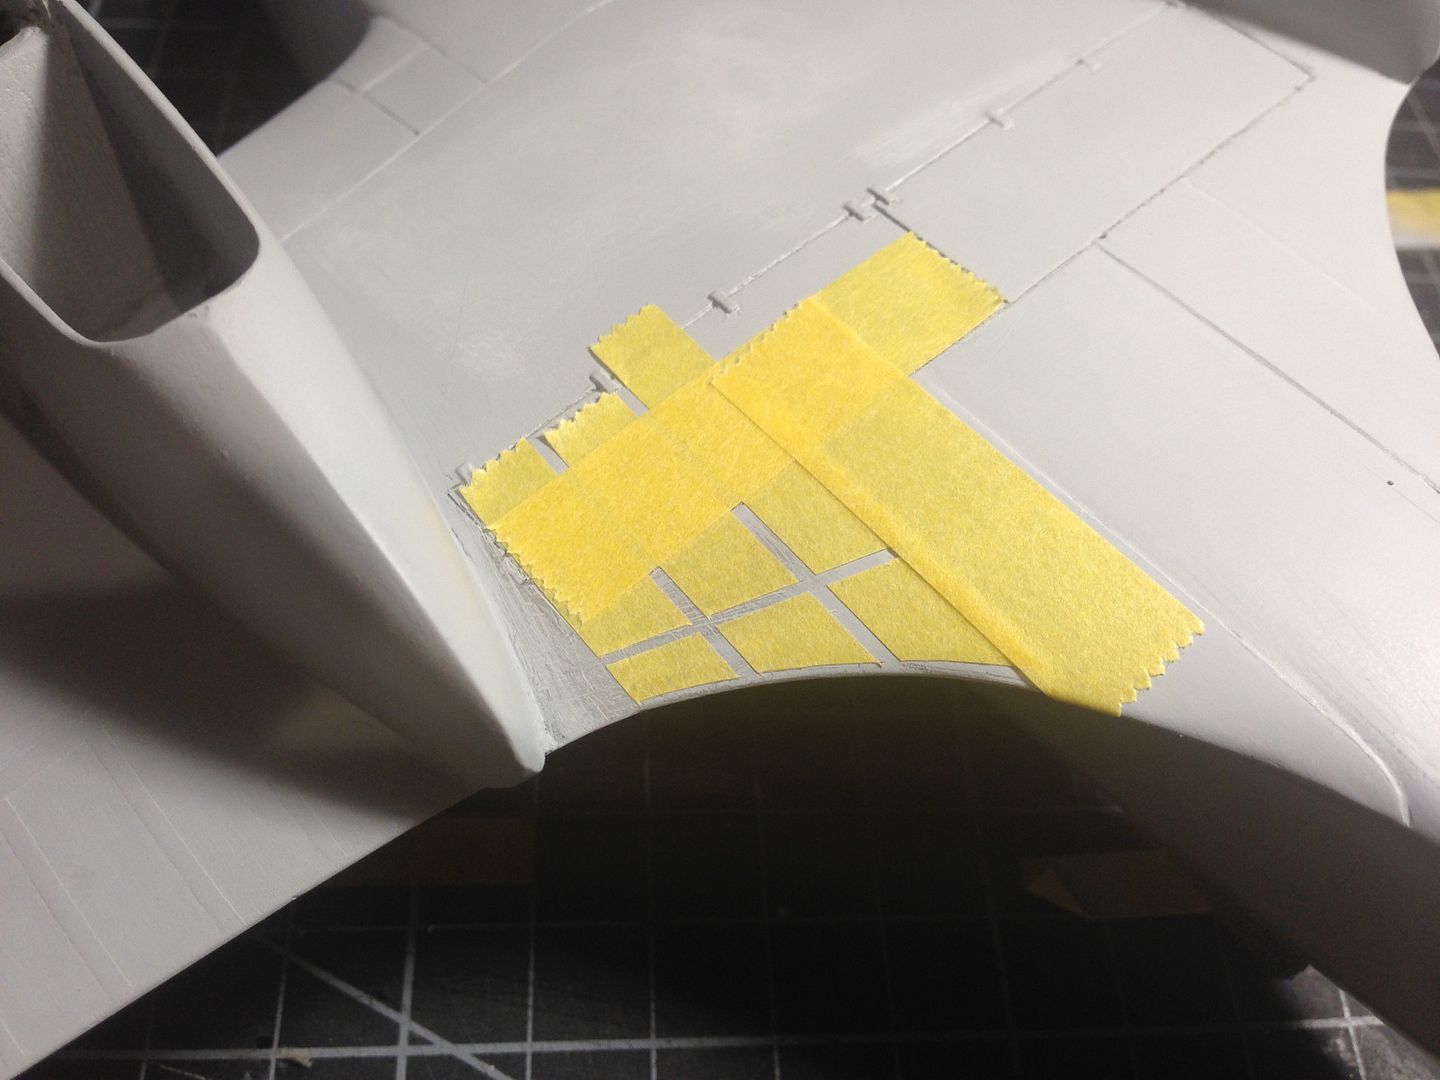
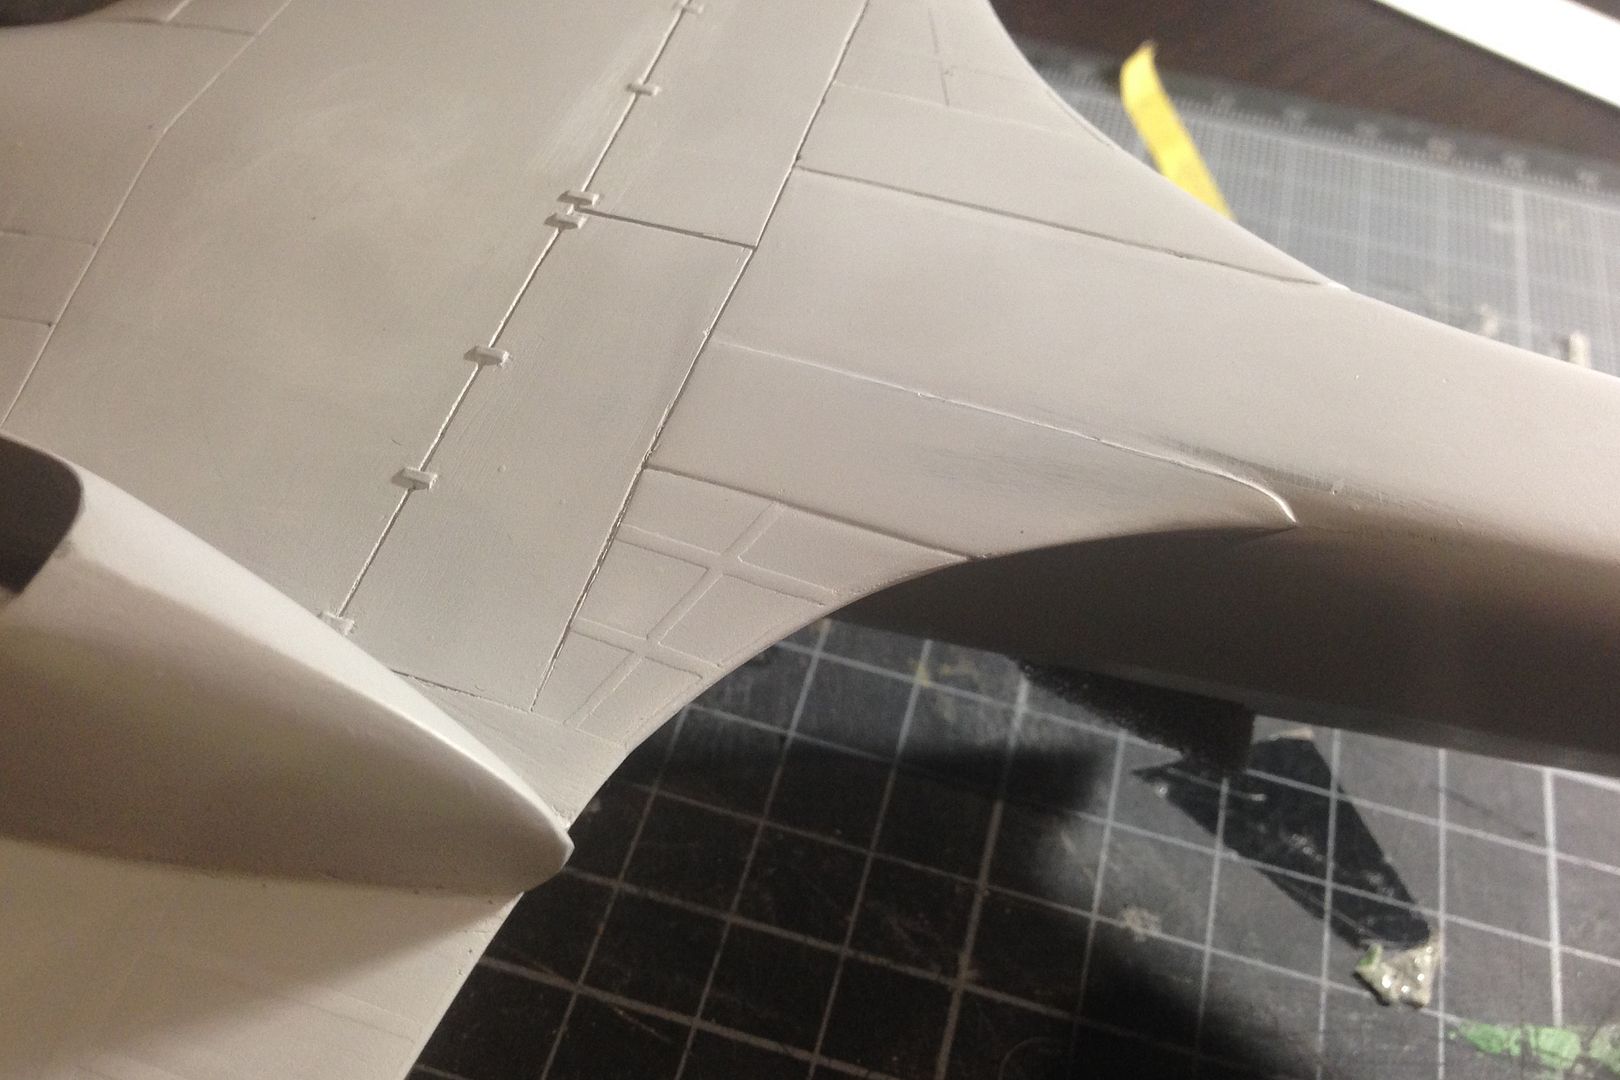
The effect is so subtle that it is really hard to photograph. You really have to move the model around near a light to see it at this stage. Once the gloss red paint goes on, it will be a different story.
I was always going to incorporate fabric surface detail into this model from the moment that I decided to get into it. I like to try something new with most of my builds and this was no exception. Many times during research on the aircraft, my eye was drawn to the very subtle ribs and raised detail on the rear of the wing, and control surfaces. The kit is pretty well devoid of most of any surface detail. I think this enhancement will be the single biggest change to the look of the kit, as it gives it a look that allows the viewer to have some idea of how the real aircraft was constructed that is: wood, wire and fabric. It brings to the kit a certain fragileness of the real thing. The detail that I am incorporating is `second look' stuff. Once the viewer recoignises the sleek shape of the model, he (or she) will be drawn in closer for a second look to see the finer detail that made up the beast and will question how such a fine looking machine was made from such parts.
Anyway, enough of the lovey dovey stuff and into the technique.
Working from Mancave B today so a different desk and lights. Tamiya Masking tape, a sharp lead pencil, vernier callipers and a straight edge. The ribs are very subtle and are very hard to capture in a photo as the are only obvious depending on where the light is.

I used this superb profile picture as taken by Alpha Delta 210 over on Britmodeller as my reference.

I used Tamiya 6mm masking tape to fill in the areas between the ribs as it was a perfect fit width wise.

I decanted Tamiya fine surface primer and sprayed it over the masked area with the airbrush. a couple of coats were needed.

I then sanded carefully between each rib to give it a 3D look.

Similar for the ailerons


In this picture, you can see how I accomplished the wrap around fairings of the wing root. I scribed them in place and then carved the rest of the model away from them to give them the raised look.

Masked off the rib detail


The effect is so subtle that it is really hard to photograph. You really have to move the model around near a light to see it at this stage. Once the gloss red paint goes on, it will be a different story.


- Ericg
- Posts: 214
- Joined: Mon Apr 14, 2014 7:30 pm
Re: Aerotech DH-88 Comet Fabric Surface detail.
Fan f*&%ing tastic efforts mate. Not sure how this technique would go on an Airfix kit but I might have to give it a crack. Loving this but I'm gonna be sad once it's finished 


Head A/CAM Phantom Phanatic, Shit Stirrer and Karma Bus Driver toot fkn toot 
- hrtpaul
- Posts: 4165
- Joined: Sat Apr 12, 2014 10:44 am
- Location: Like I'm gonna tell you lot
Re: Aerotech DH-88 Comet Fabric Surface detail.
I am mid-way through another civil build that will fill the void for you mate, don't worry......
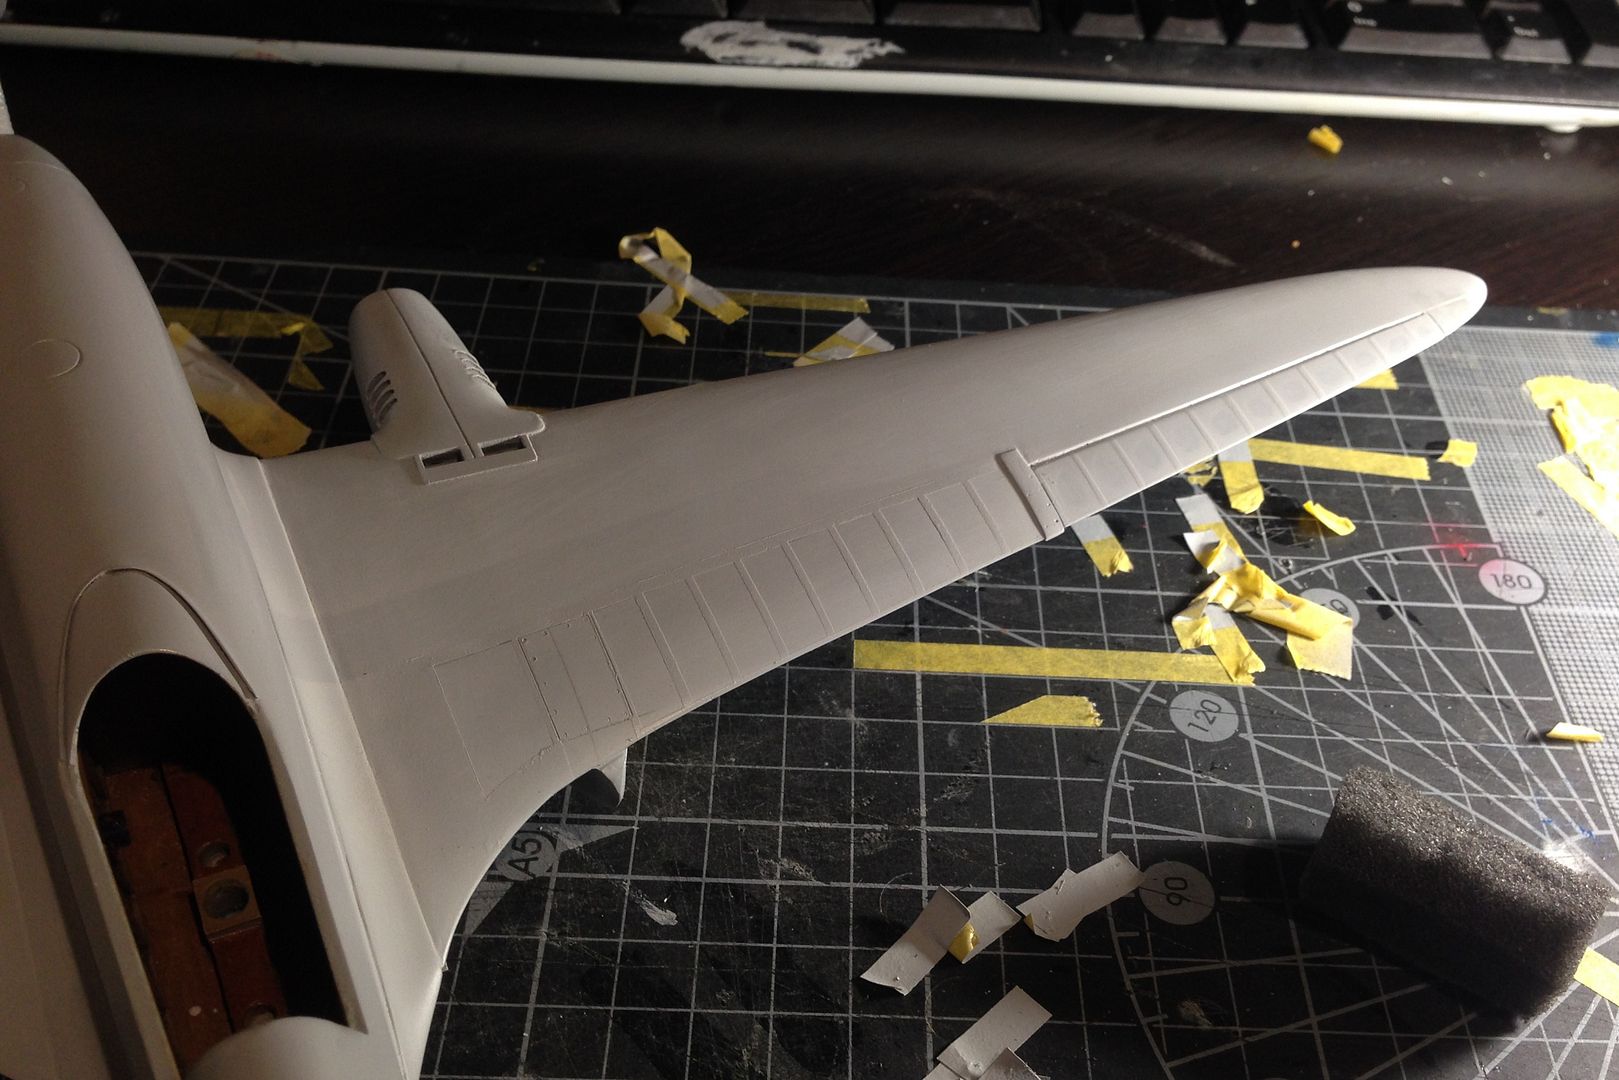
Onto the top side and ever closer to the much anticipated application of red paint.
Basic technique as the bottom of the model (which was used as practice).
In the right light, it exhibits the exact look that I was after and was well worth the extra time spent.
Onto the top side and ever closer to the much anticipated application of red paint.
Basic technique as the bottom of the model (which was used as practice).
In the right light, it exhibits the exact look that I was after and was well worth the extra time spent.


- Ericg
- Posts: 214
- Joined: Mon Apr 14, 2014 7:30 pm
Re: Aerotech DH-88 Comet Fabric Surface detail.
So the time came for me to try out the new Tamiya Pink fine surface primer. It says it is for red finishes, so I thought what the hell, I will try something new! I think by using this, I will need less coats of red for it to cover the model, hence saving some of the detail that I have worked so hard to incorporate into it.
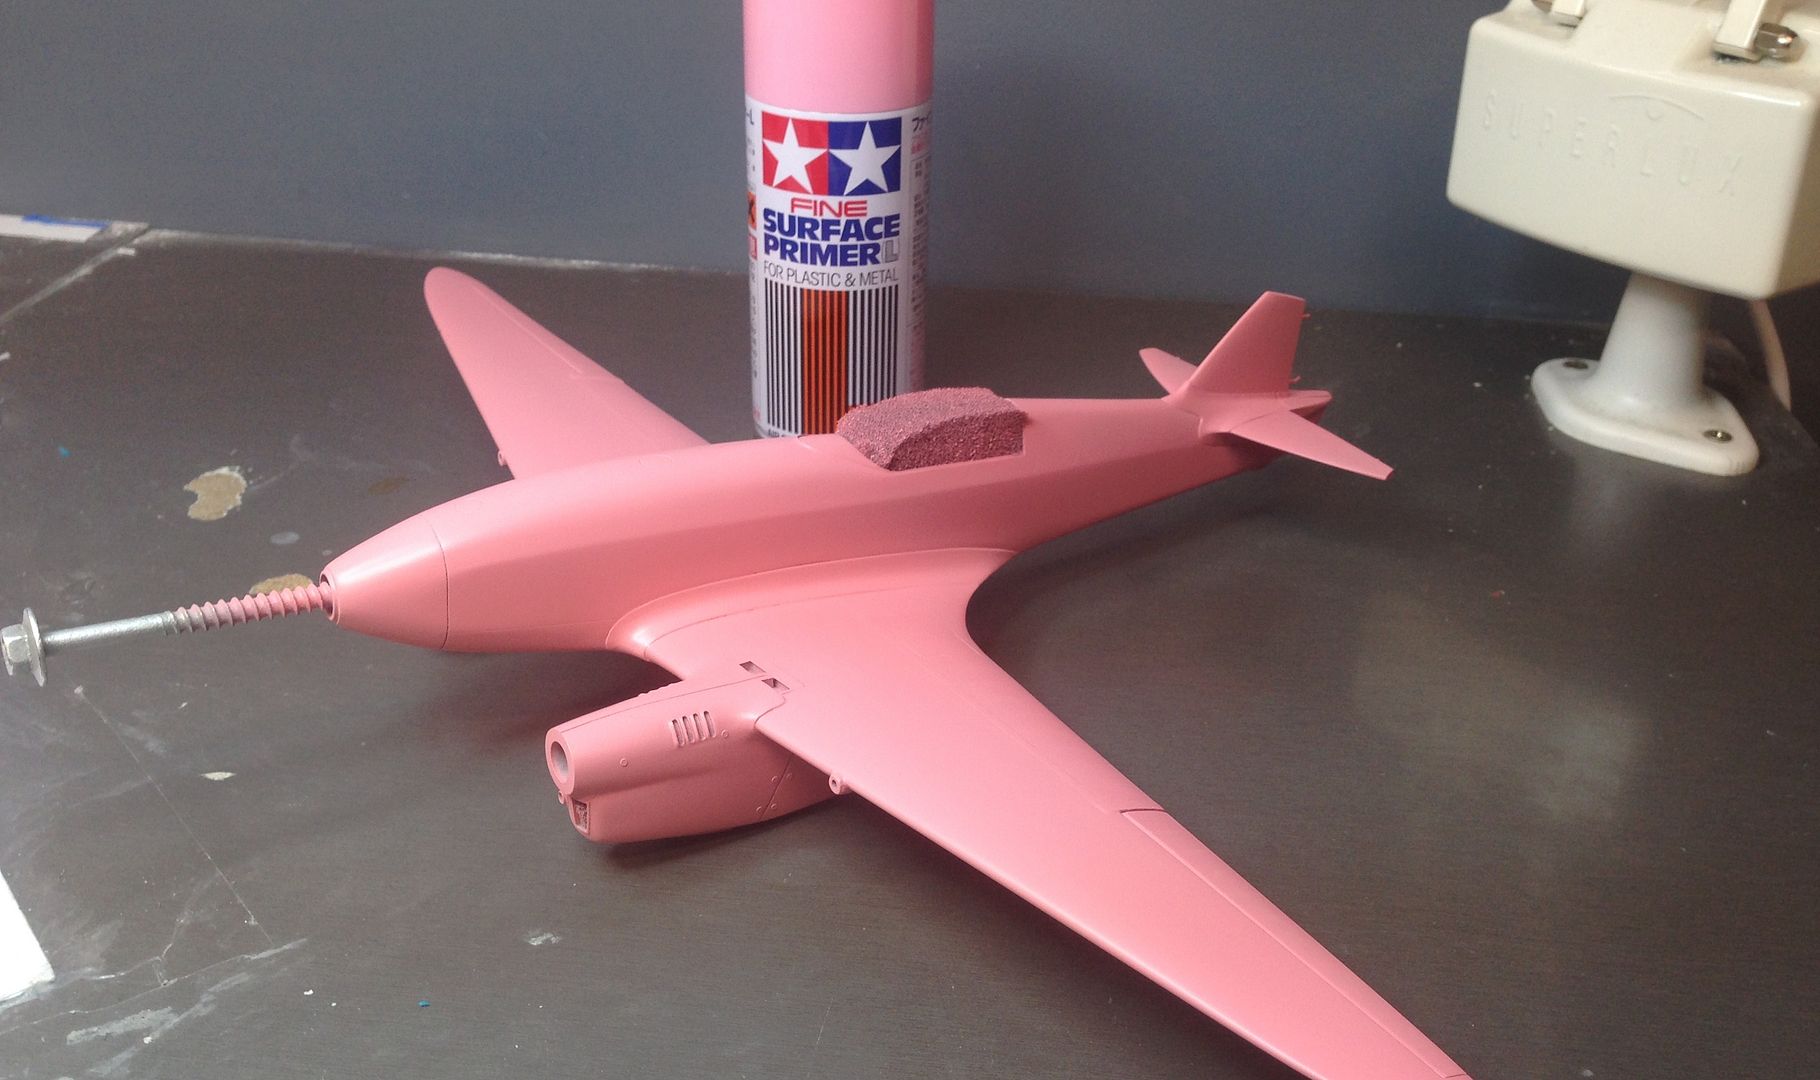
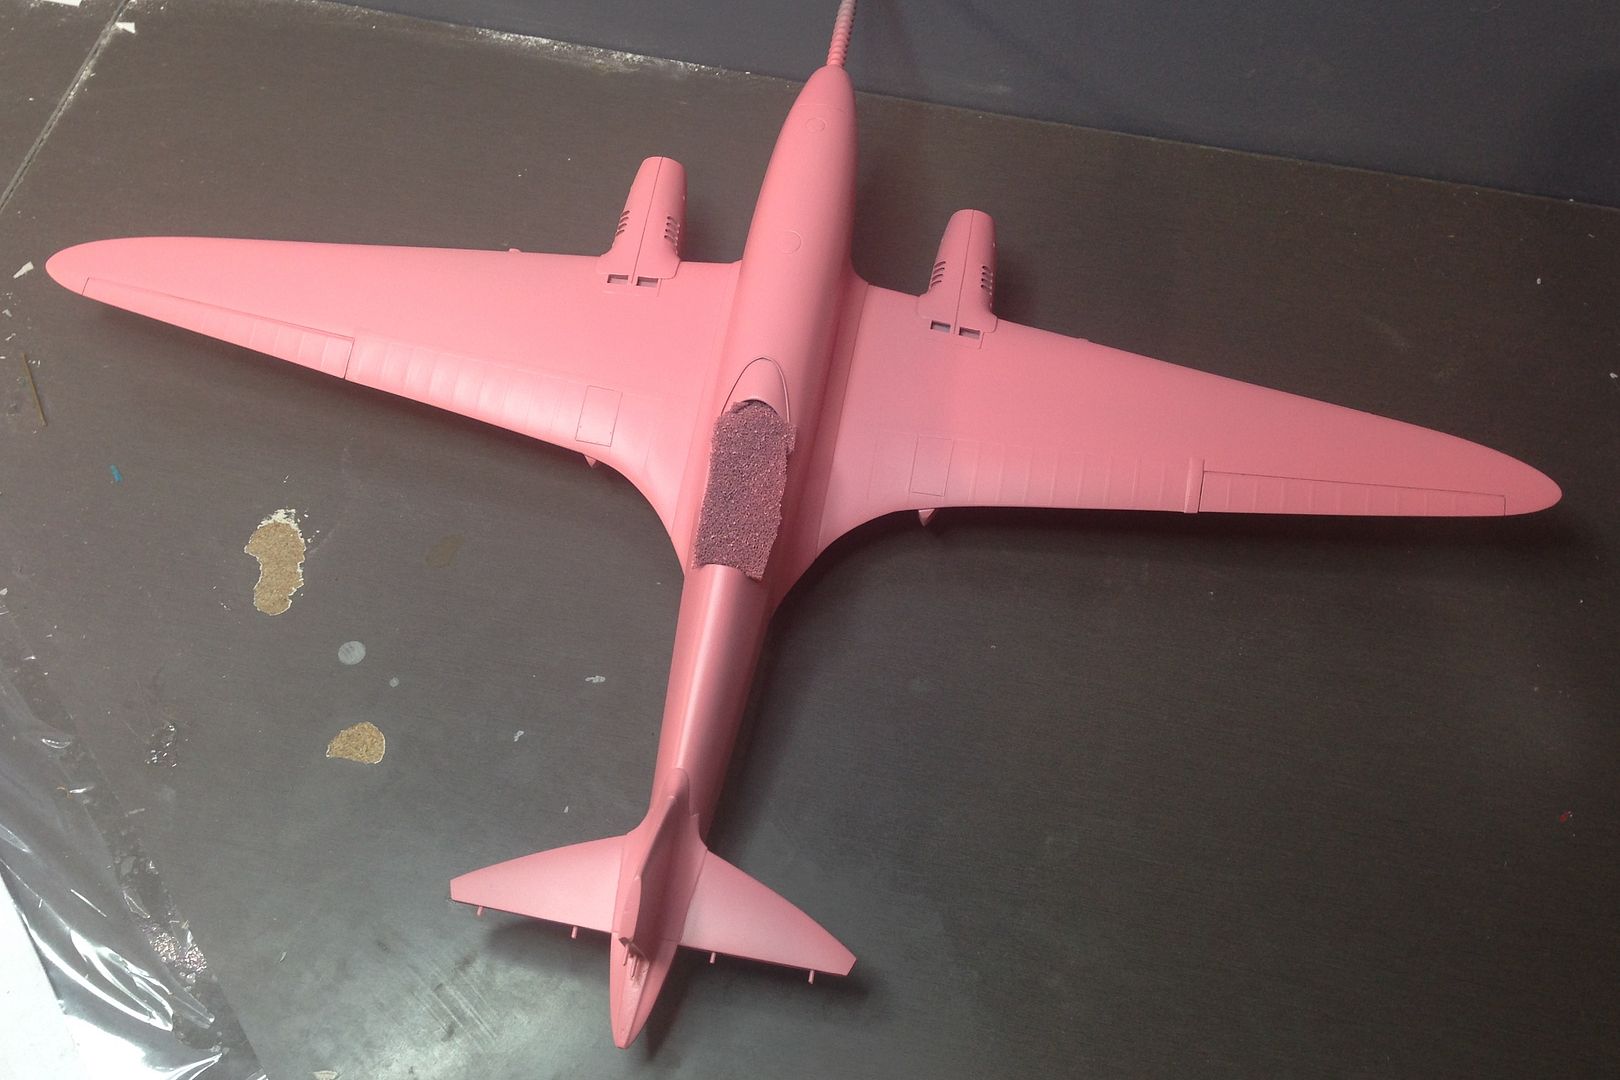
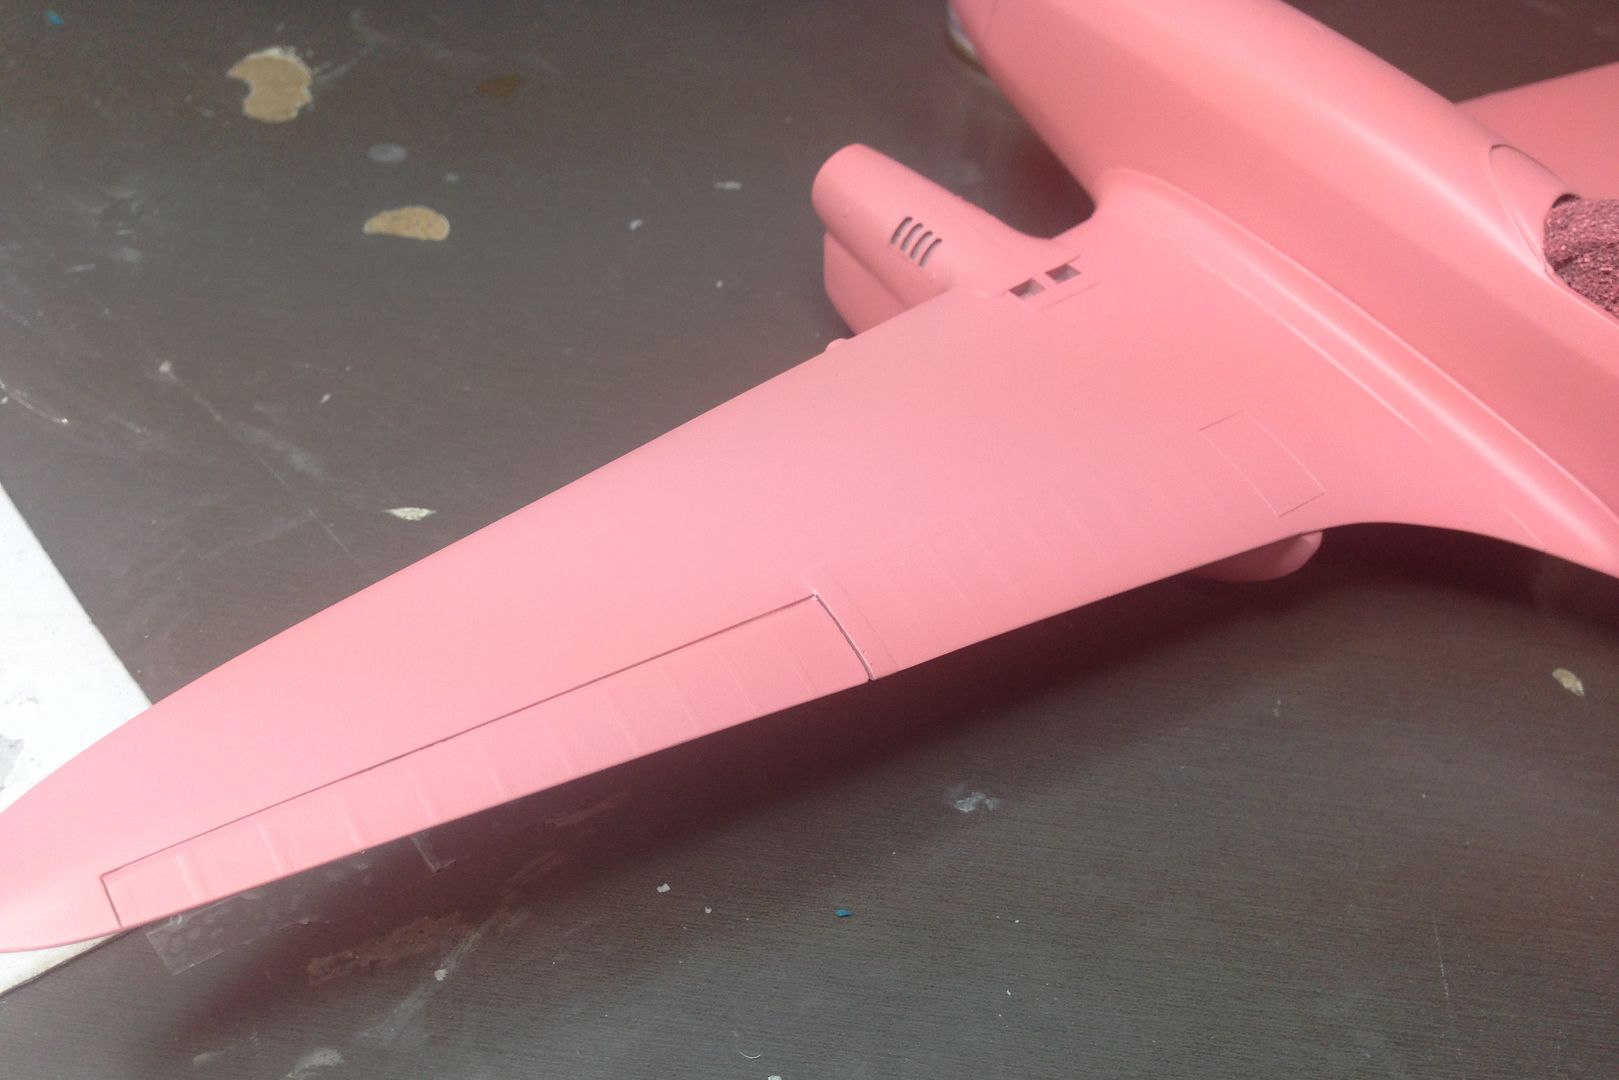
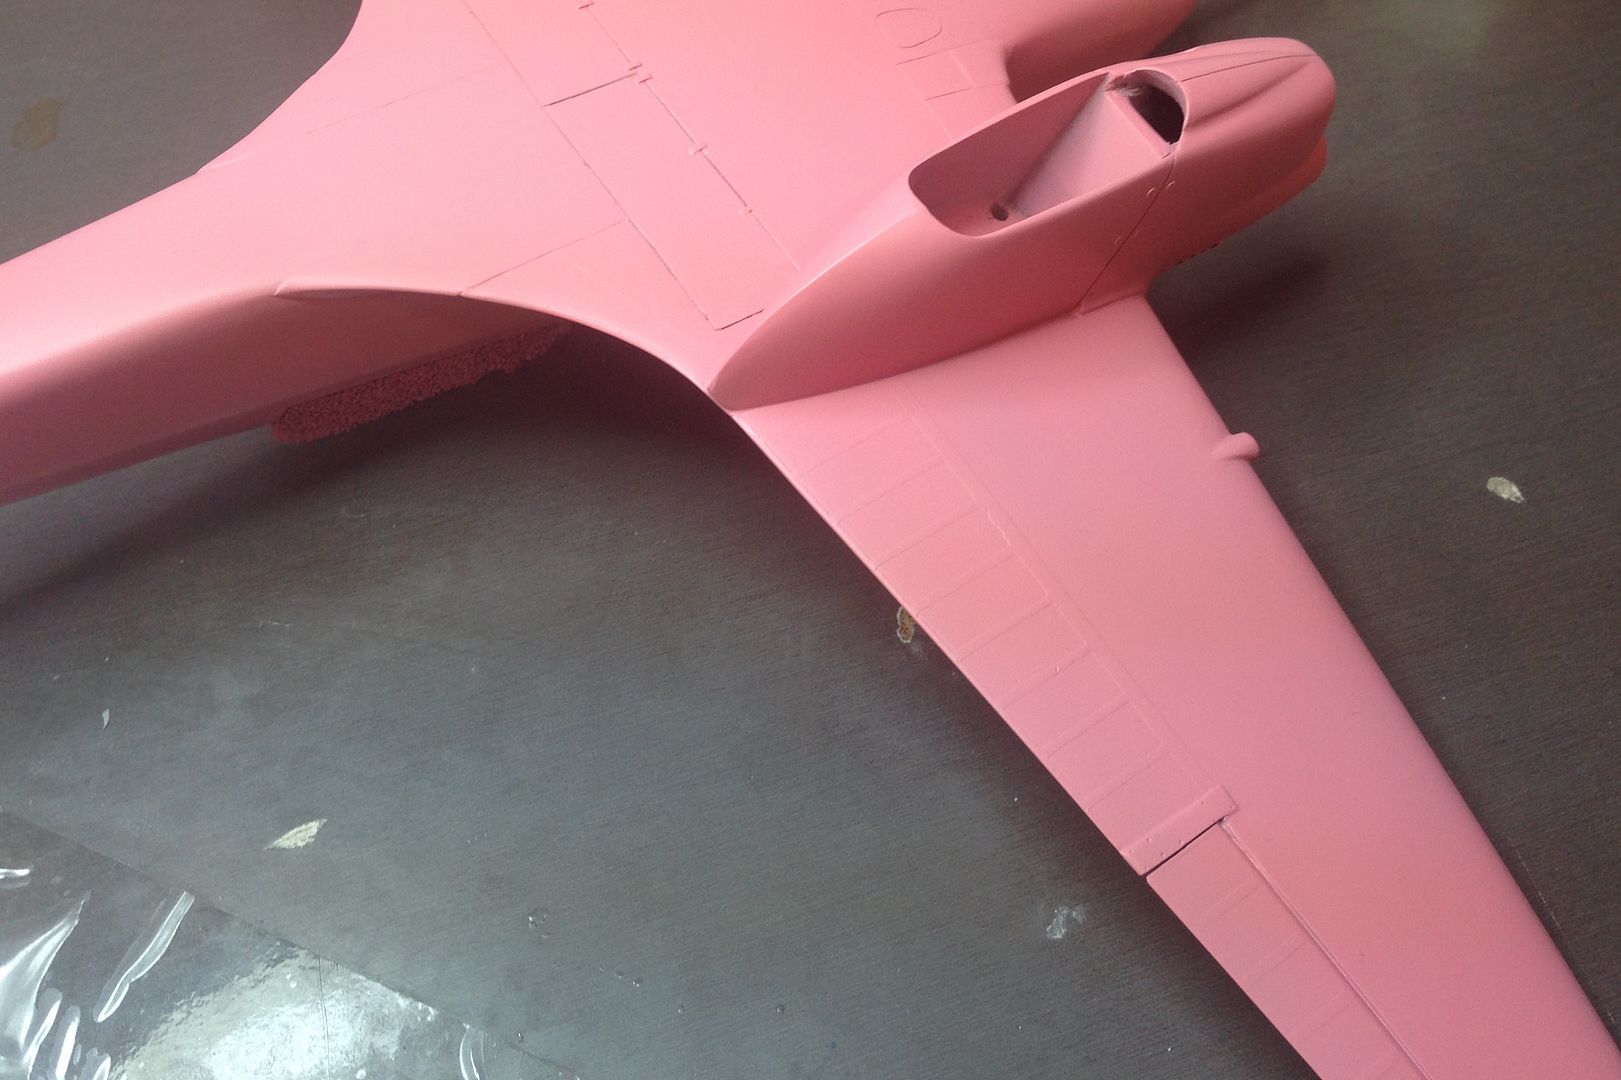
Like any of Tamiya's fine Surface primer, it is just brilliant, laying down perfectly smooth and has great coverage with just one coat.
Onto the paint, and I chose Tamiya `Italian red' from the spray can. The big screw that I put into the nose of the model has been a very convenient handle to hold the model and hang it whilst spraying.
After 2 very thin coats, I realized that choosing the pink primer was definitely the way to go. The paint has applied to the model perfectly. As can be seen, the fabric surface detail is now a very prominent feature of the model and has worked out exactly as I had planned.
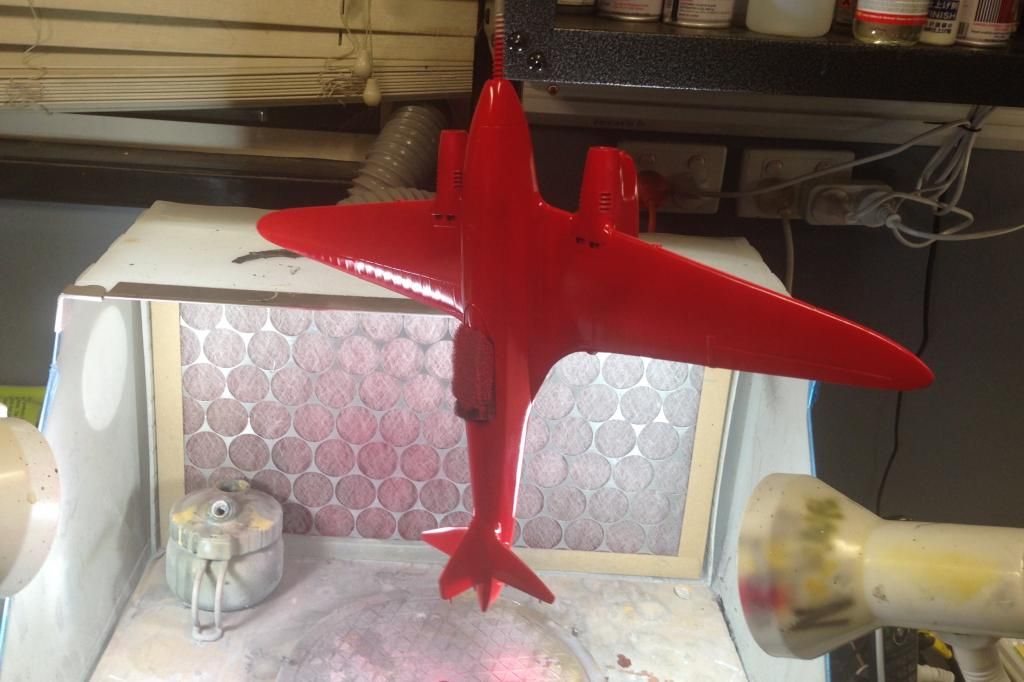
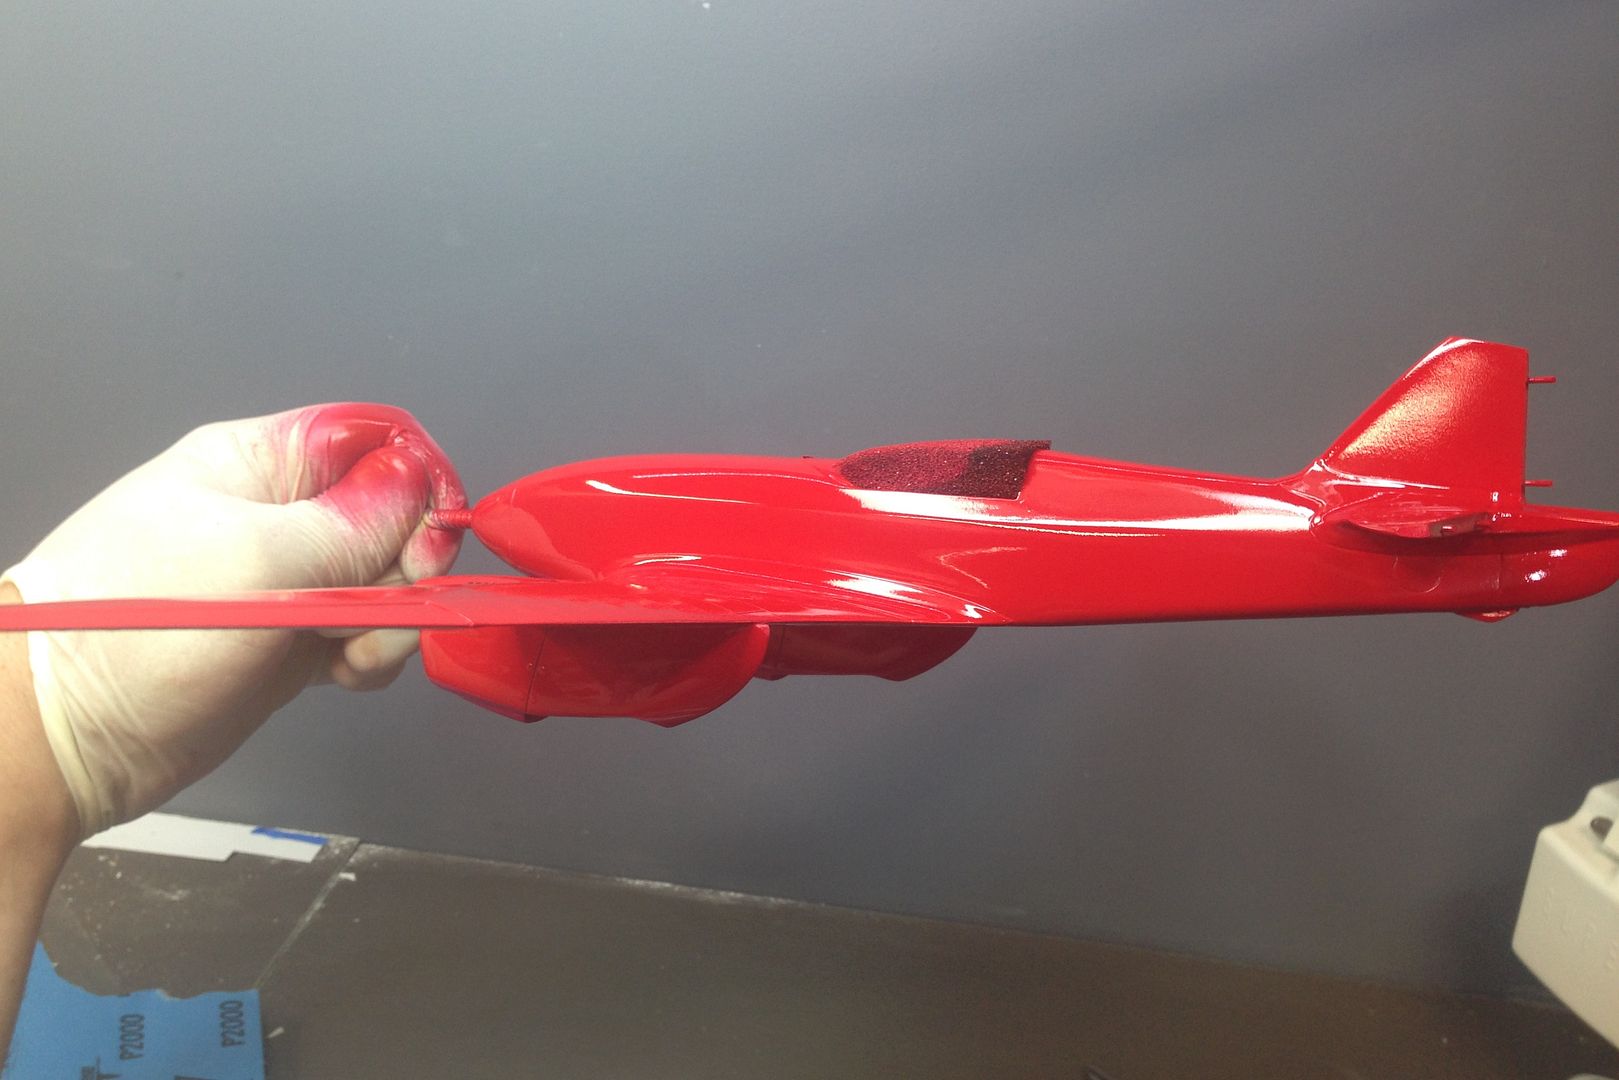
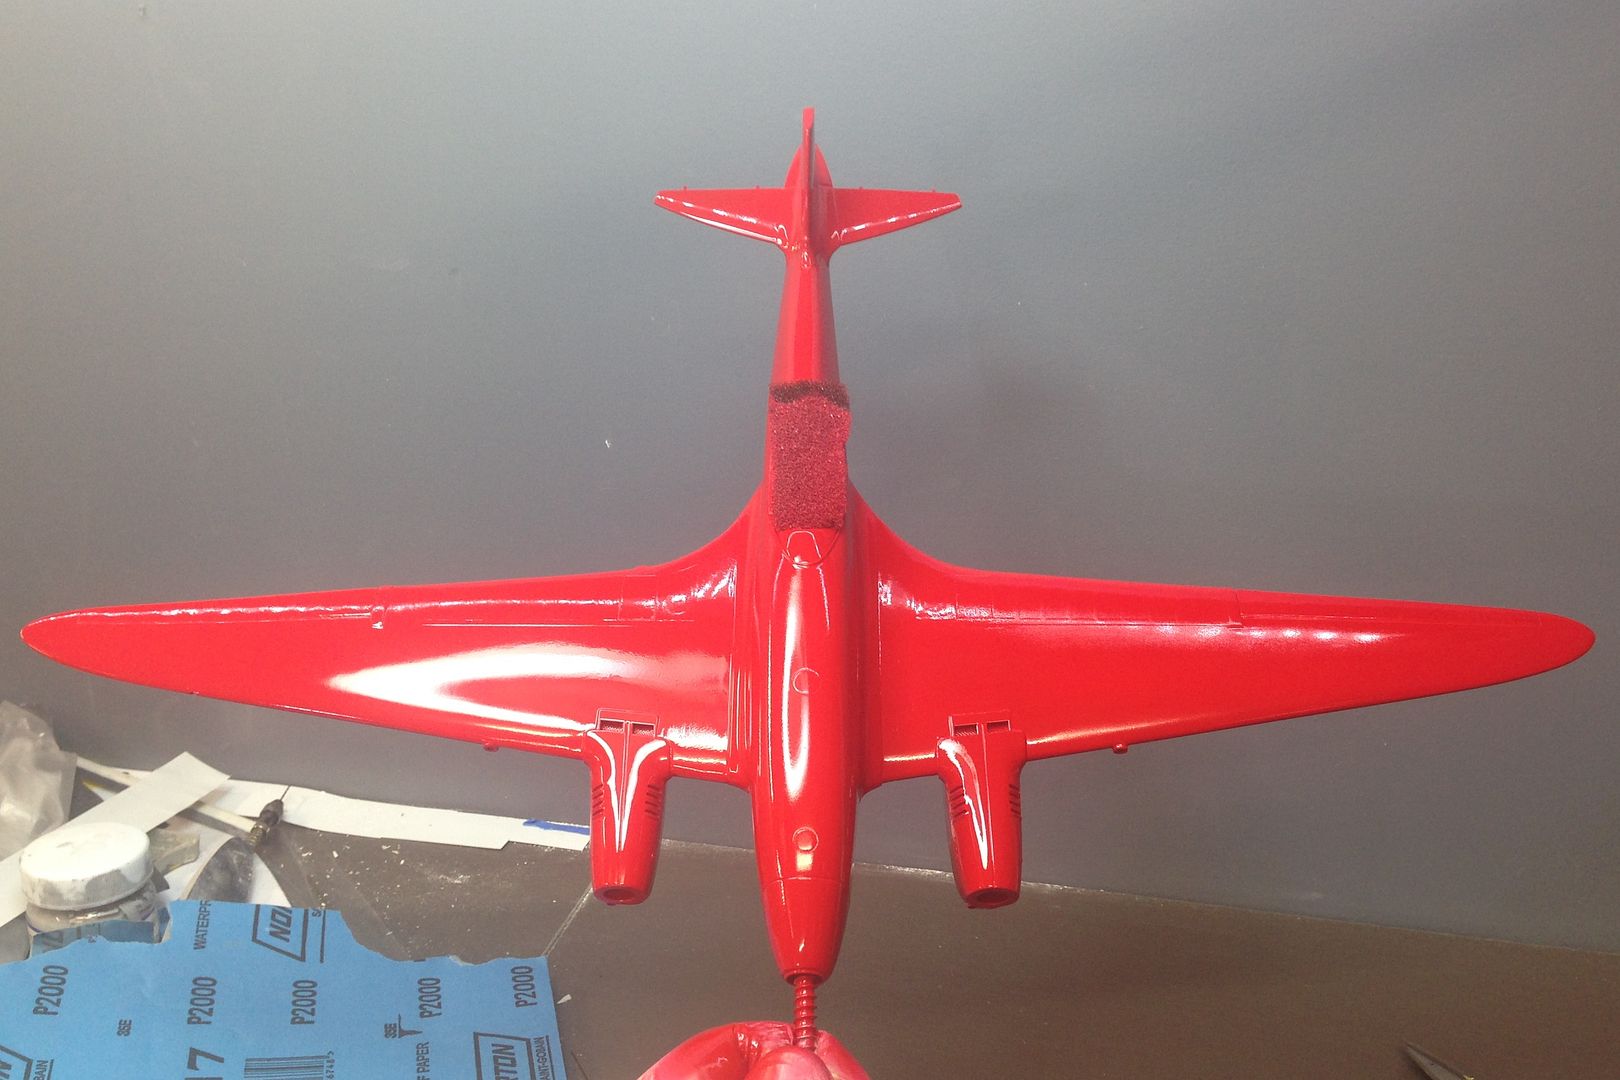


Like any of Tamiya's fine Surface primer, it is just brilliant, laying down perfectly smooth and has great coverage with just one coat.


Onto the paint, and I chose Tamiya `Italian red' from the spray can. The big screw that I put into the nose of the model has been a very convenient handle to hold the model and hang it whilst spraying.
After 2 very thin coats, I realized that choosing the pink primer was definitely the way to go. The paint has applied to the model perfectly. As can be seen, the fabric surface detail is now a very prominent feature of the model and has worked out exactly as I had planned.


- Ericg
- Posts: 214
- Joined: Mon Apr 14, 2014 7:30 pm
Re: Aerotech DH-88 Comet: Pink Primer, Red Paint.
Very cool Eric. I do like the idea of the pink primer under ther red. I see what you mean about the fabric detail as it's come up a treat. I think I'll give it a go on my next Airfix one and see how it works but I do like it. Bloody nice work mate 
Head A/CAM Phantom Phanatic, Shit Stirrer and Karma Bus Driver toot fkn toot 
- hrtpaul
- Posts: 4165
- Joined: Sat Apr 12, 2014 10:44 am
- Location: Like I'm gonna tell you lot
Re: Aerotech DH-88 Comet: Pink Primer, Red Paint.
That's looking fantastic Eric. The fabric look is just amazing and how you did it.
Regards
Andrew Doppel
Moderator
Andrew Doppel
Moderator
-

AndrewDoppel - Posts: 319
- Joined: Mon Apr 14, 2014 9:46 pm
Re: Aerotech DH-88 Comet: Pink Primer, Red Paint.
Moving right along with this build, and I thought a quick bench tidy up and some more lighting was in order.
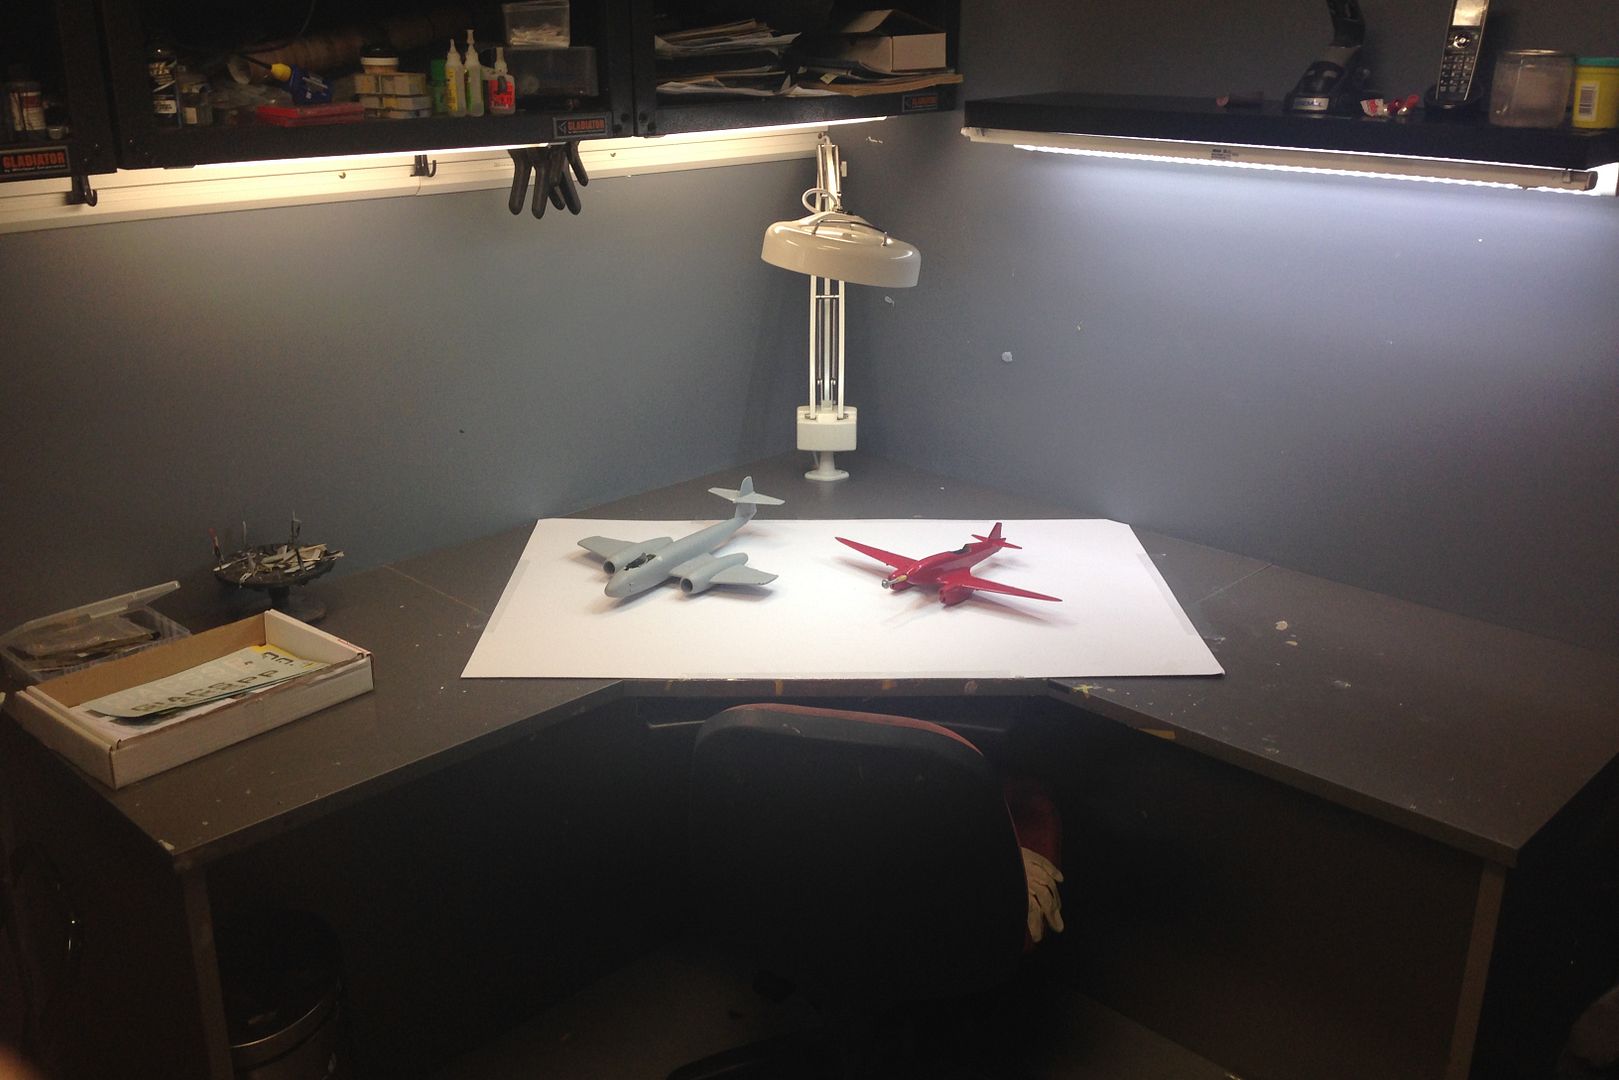
Since the last update, I clear coated the model with Tamiya Rattle can clear, which gives a very tough and glossy coat.
The Kit decals provided the comet which to my eye looked a little on the thin side. I also wanted to incorporate the fading away of the tail end of the comet over the top of the fuselage registration marks. Now I am aware that there was a decent `conversation' on Britmodeller over the colour and also the fading of the tail part of the comet. Here is my opinion. It was White and was purposely faded out.
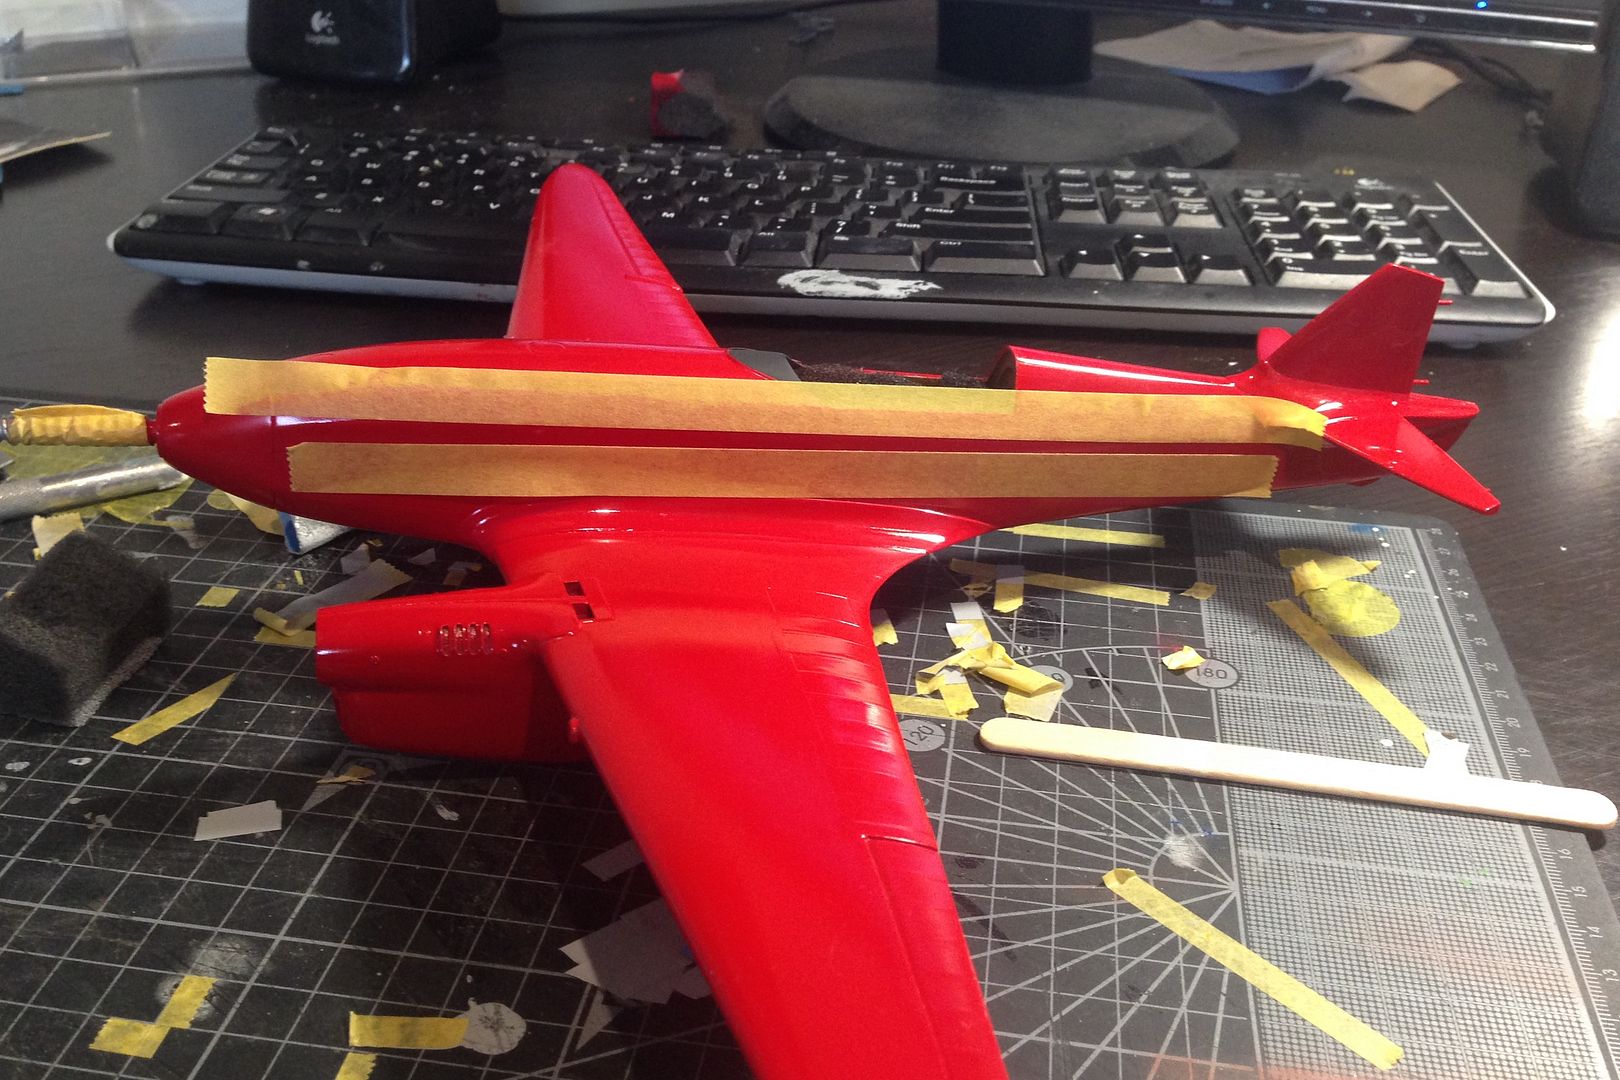
I masked off the comet with Tamiya tape and then cut the head of a comet from a stencil that I had laying around.
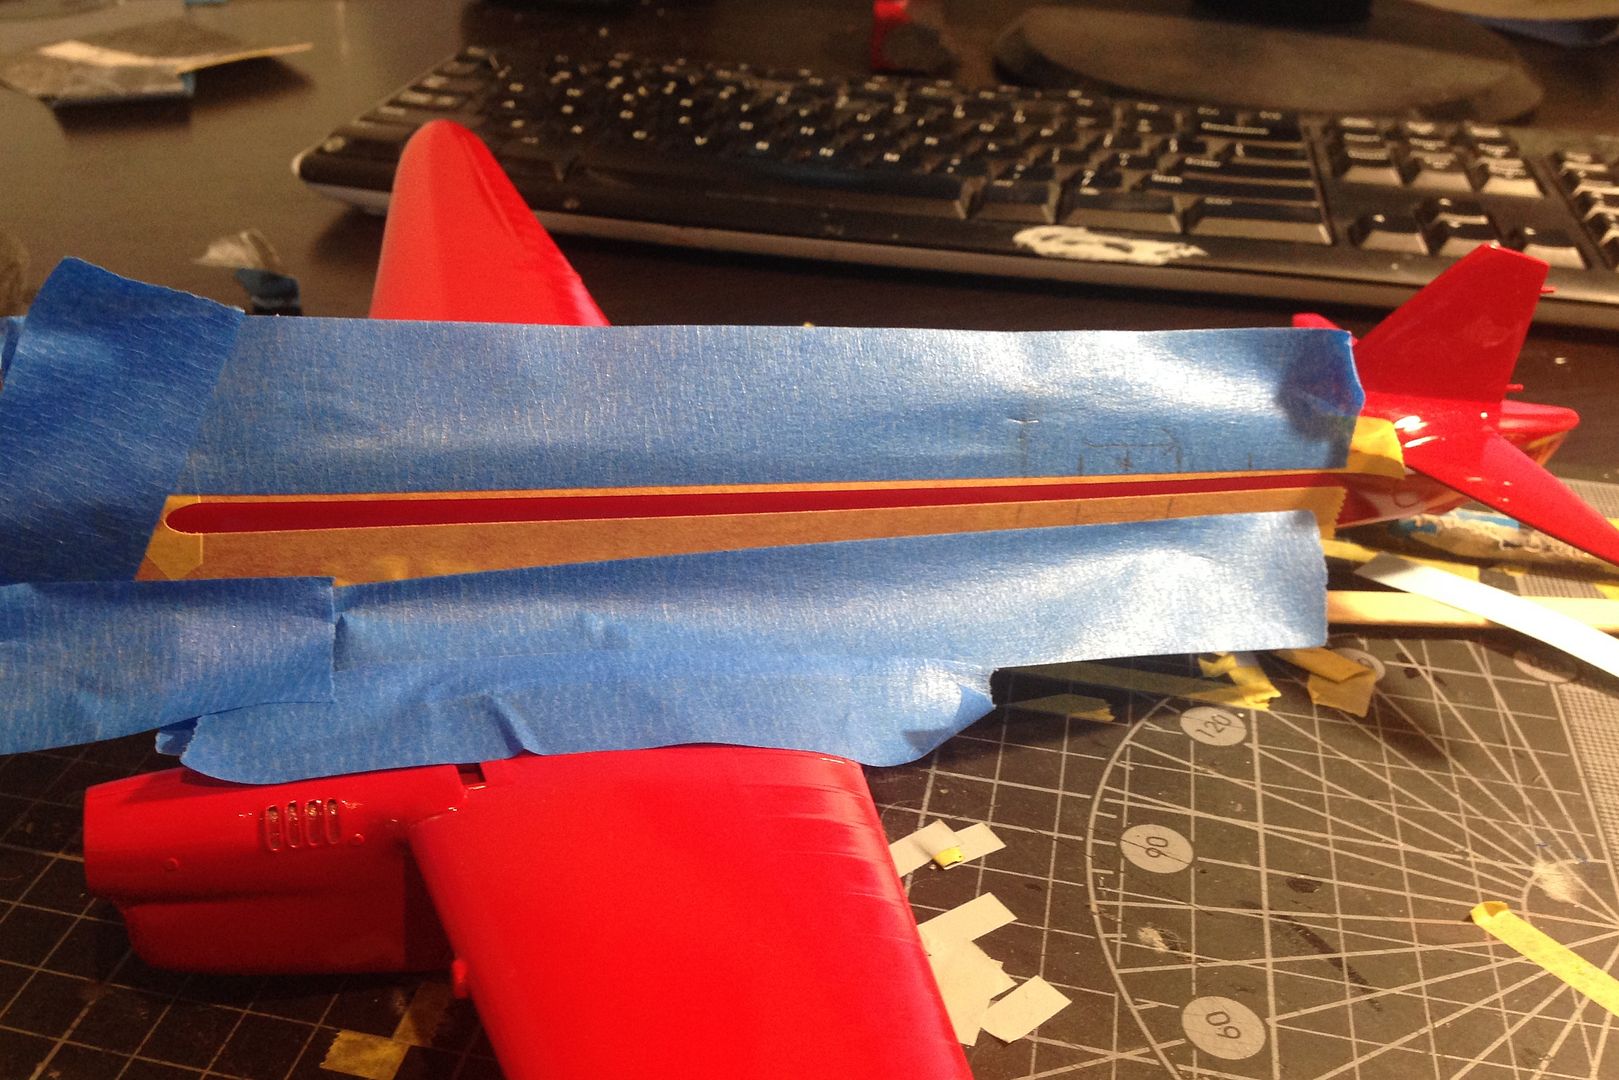
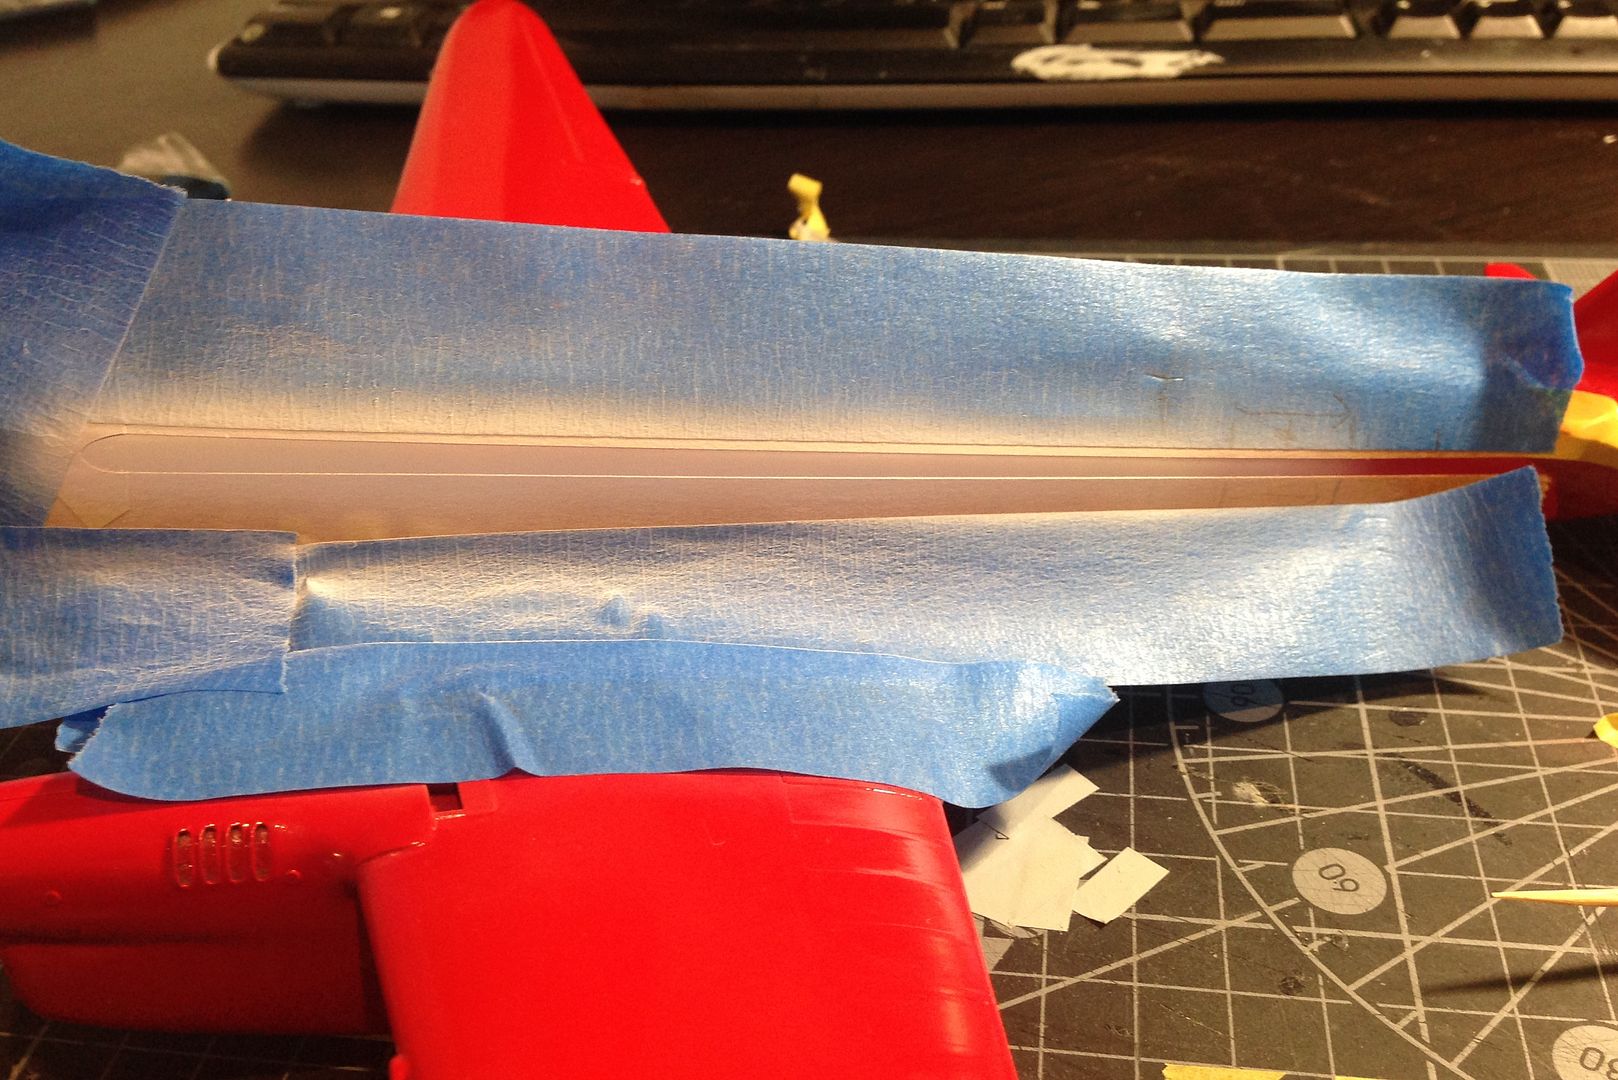
I decanted some Mr Surfacer White 1000 from the spray can (if you guys aren't using this for your white, why not????) as it covers very easily and is very tough for polishing.
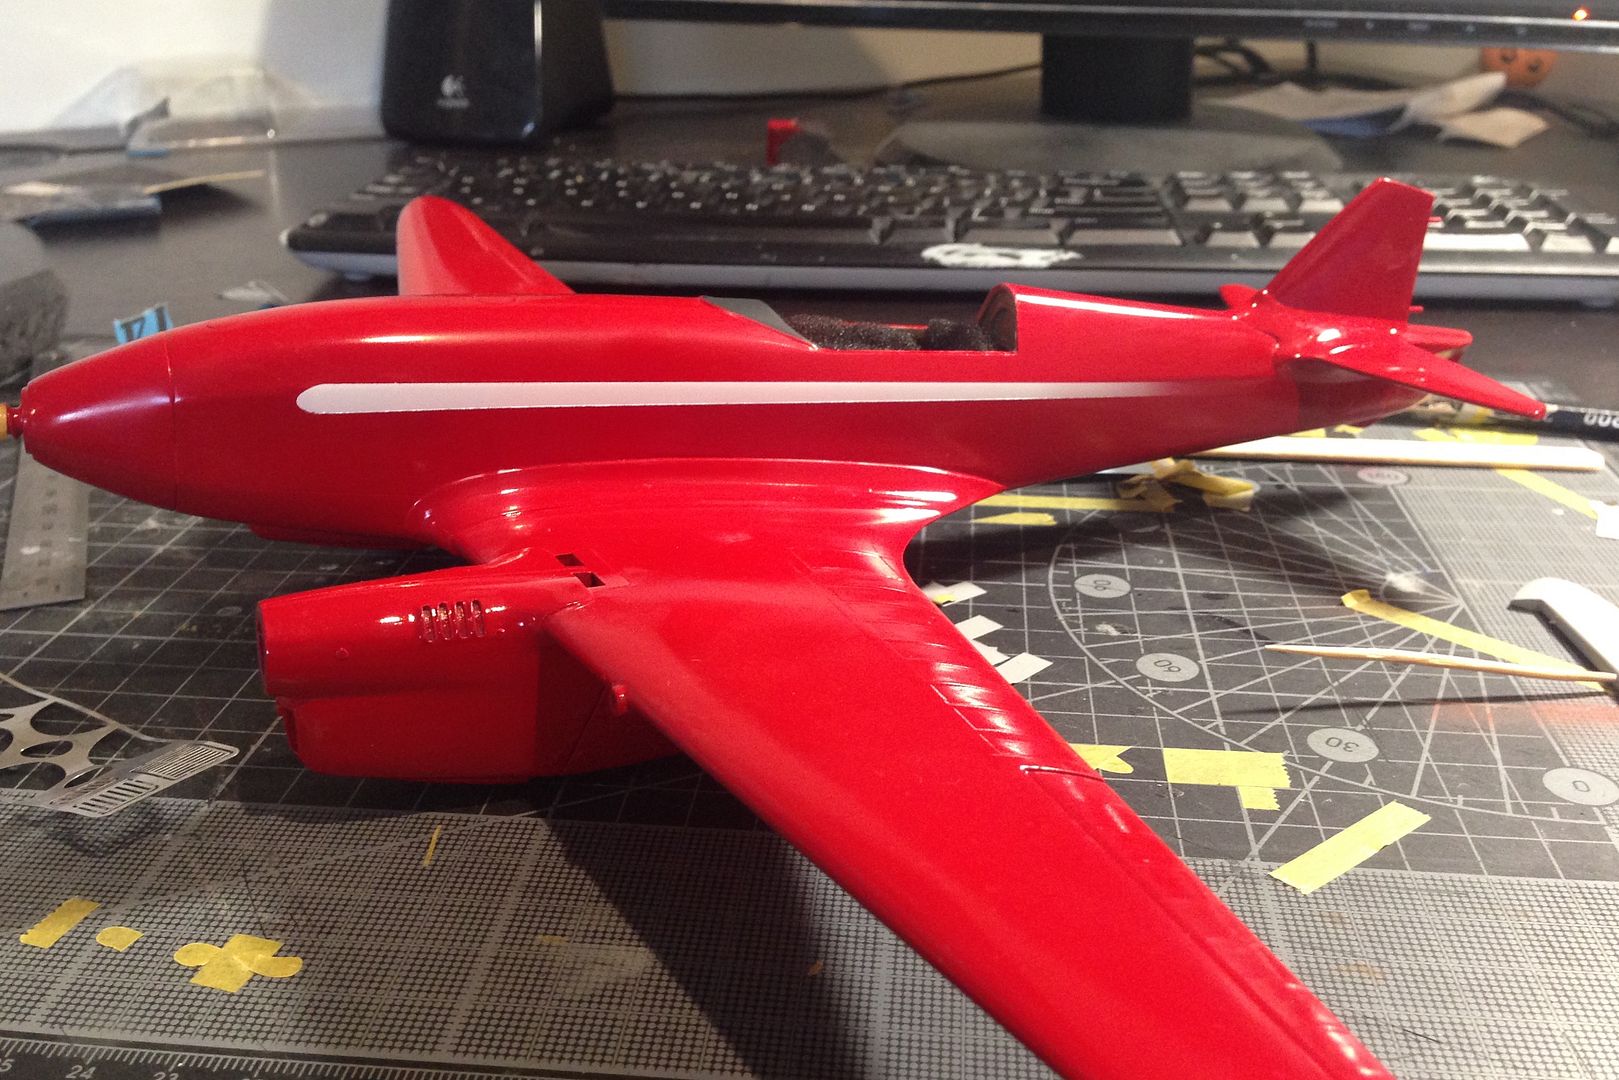
Looks near enough for me. There is still a lot of Aeroplane to be attached to the model, so it looks on the big side.

Since the last update, I clear coated the model with Tamiya Rattle can clear, which gives a very tough and glossy coat.
The Kit decals provided the comet which to my eye looked a little on the thin side. I also wanted to incorporate the fading away of the tail end of the comet over the top of the fuselage registration marks. Now I am aware that there was a decent `conversation' on Britmodeller over the colour and also the fading of the tail part of the comet. Here is my opinion. It was White and was purposely faded out.
I masked off the comet with Tamiya tape and then cut the head of a comet from a stencil that I had laying around.


I decanted some Mr Surfacer White 1000 from the spray can (if you guys aren't using this for your white, why not????) as it covers very easily and is very tough for polishing.

Looks near enough for me. There is still a lot of Aeroplane to be attached to the model, so it looks on the big side.

- Ericg
- Posts: 214
- Joined: Mon Apr 14, 2014 7:30 pm
Return to Member's Works in Progress
Who is online
Users browsing this forum: Google [Bot] and 5 guests

