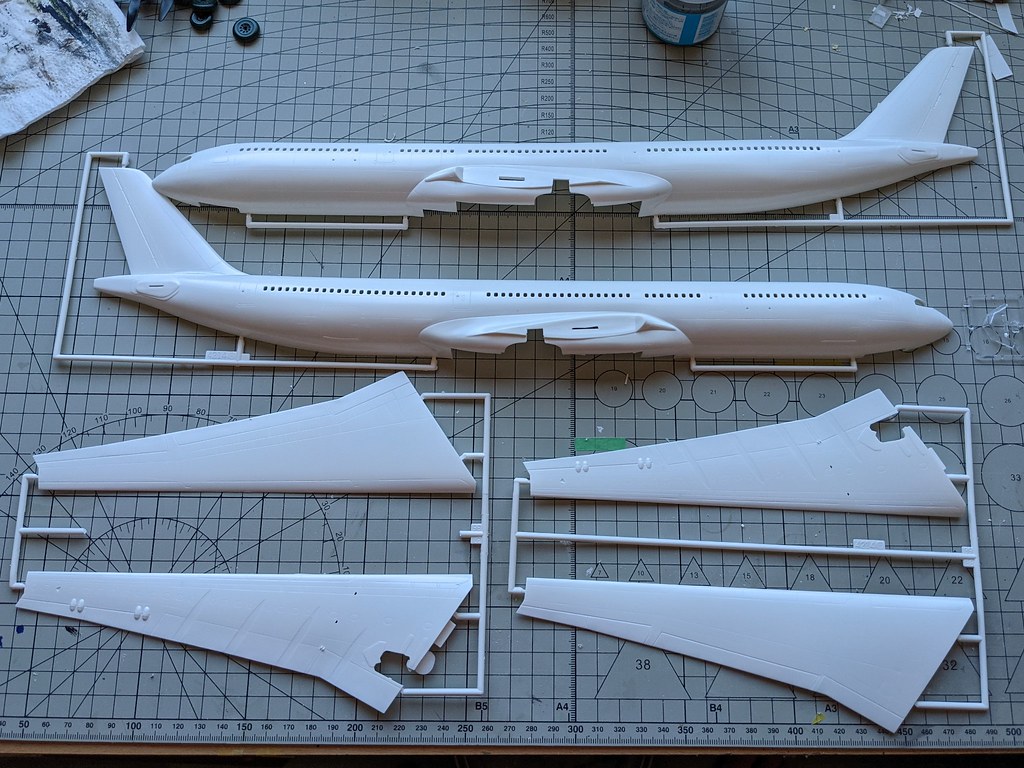
What's in the box?

The kit Pratt and Whittney engines and the roller replacing them

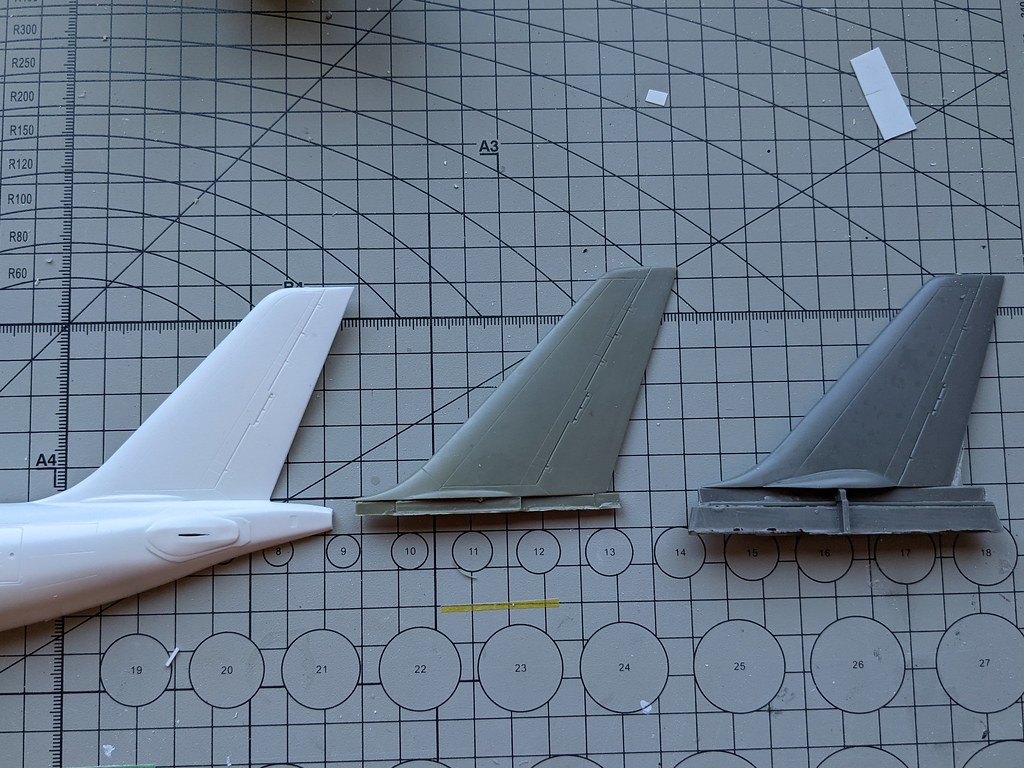
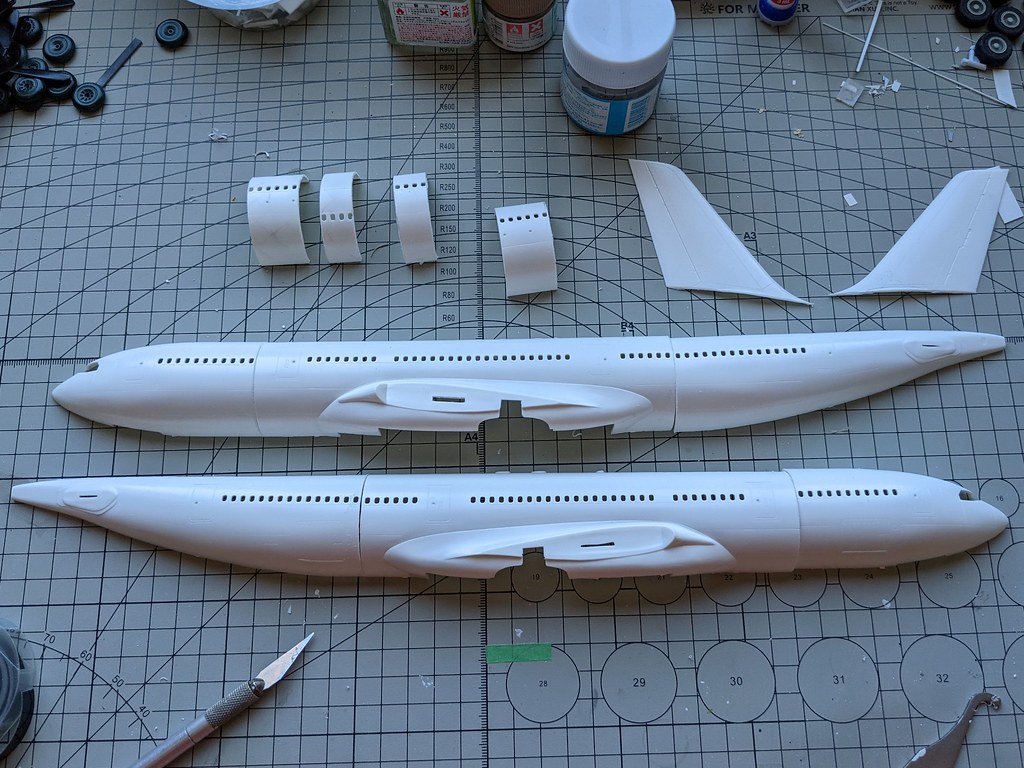
The tails, from the left the kit tail, Braz Models A330-200 premod 48979, Braz Models A330-200 postmod 48979. The last one is the one fitted to the Hawaiian Airlines aircraft. It differs from the premod tail by having the same height as the A330-300 tail but has a wider chord and larger mounting bulges (the premod tail was taller and had the standard sized bulges and was fitted to early production A330-200s).
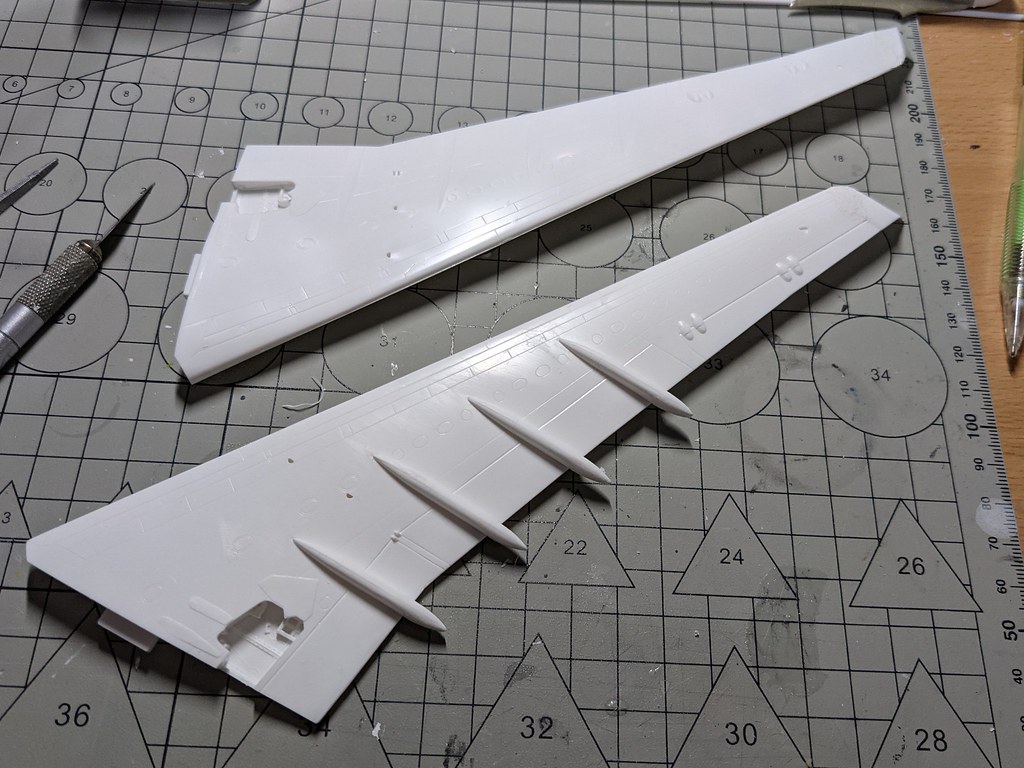
The fuselage sections I need to remove to make a -200 from a -300, 21 mm (6 windows) forward of the wing, 15 mm (4 windows) aft of the wing and the tail.

My method, line the cutting lines with dymo tape, scribe the fuselage where the cuts are to be made as a guide and then cut though with a razor saw, 4 cuts on each fuselage plus one for each vertical stab 10 cuts in all.

Cutting done in about 40 minutes...
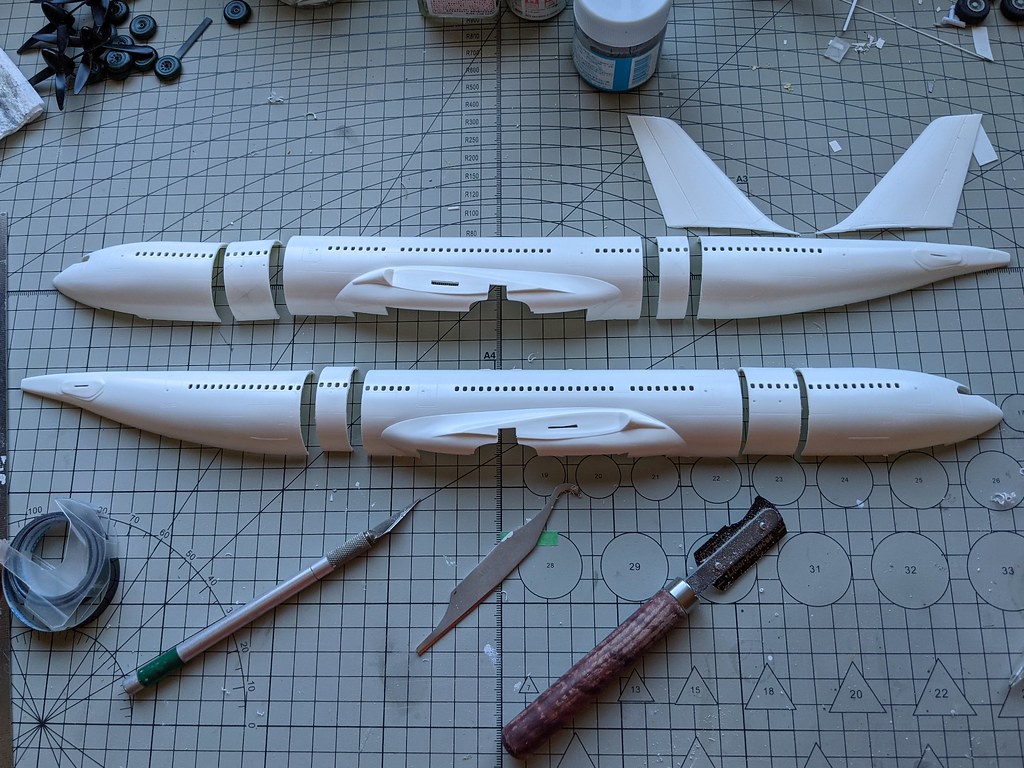
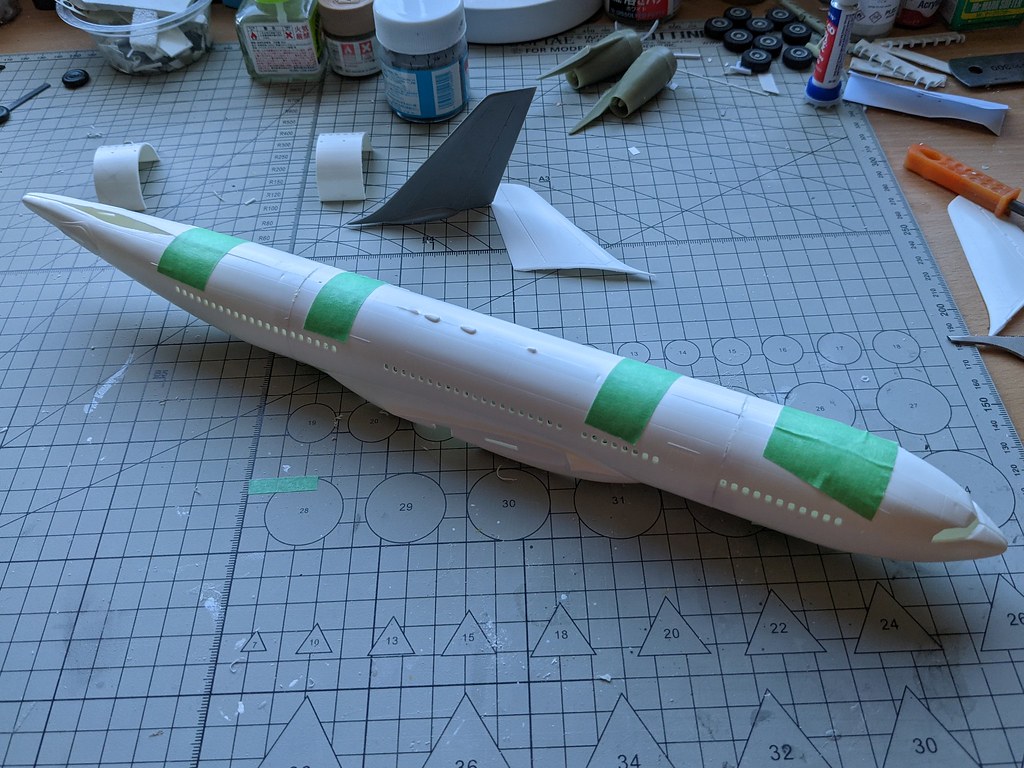
And we have an A330-200 length fuselage
Next was to remove the resin poor stubs from the vertical stab and engines, I used a razor saw on the stab but that was taking too long on the first engine, so I sanded the stubs down on my 60 grit sanding board I use for vacforms, top engine done in this image.

First fuselage half being reassembled, I cut up a couple of the sections removed and glued them in the fuselage to reinforce the join, you can see the reinforcement parts at lower left and mid right.


Both sides done and taped together to make sure I got the cuts/length right on both sides (looks like I succeeded)
The engines were glued together with super glue, but I stuffed them both up (misaligned).

Some filling and sanding now required to fix the offset parts. When you don't want superglue to set instantly it does.