Here's the Modelsvit Anotonov AN-10 boxing of the of Roden An-12 moulds. A passenger vesrion of the Antonov-12.

It has 4 nice marking options, with prototype and early production versions.

It's the first good look I have had at the kit since getting it and I was impressed with the decals sheet and the fact masks are supplied for the clear parts.

The sprues are bundled up snugly, what I do know is that the Amodel and Roden break down of the these larger kits is different, with lots of smaller sub-assemblies eventually coming together to make up the fuselage, wings, tail group, etc. How do I know? I started an An-26 some time ago (which I have not touched for some time) which is in the sub-assembly phase at the moment.
There is a lot of plastic there


Making a start with my An-10, it is basically the Roden -12 with new parts made by Modelsvit (MS). Looks like I will have lots of spares left over after this one.
I sprayed the cabin black as the standard airlifter interior is used

I started painting the cockpit parts

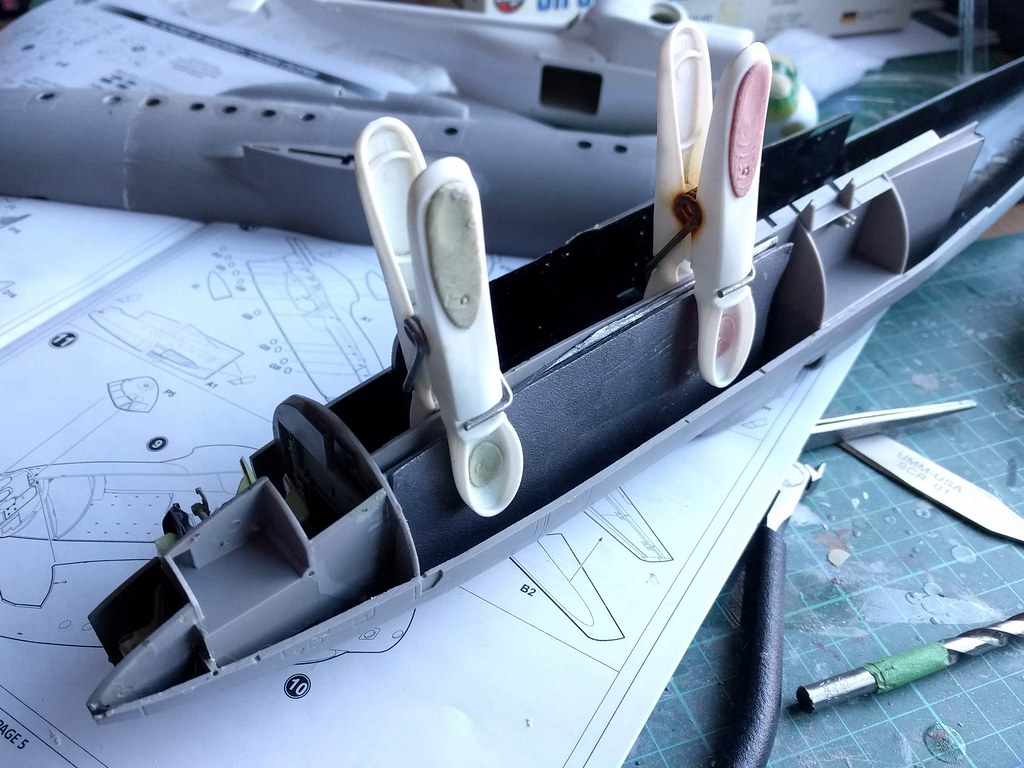
Next was to removed the rear under carriage sponson sections on both sides and replace with MS parts


And then came the new tail group, there are 2 sets of vertical stabs and 2 tail plane configs (all MS tooling). The MS tail section plastic is thicker than the Roden forward section so I had the carve a lip into the rear section so it aligned better, So I am gluing the forward and rear halves earlier in the build to avoid a lip and lots of filling
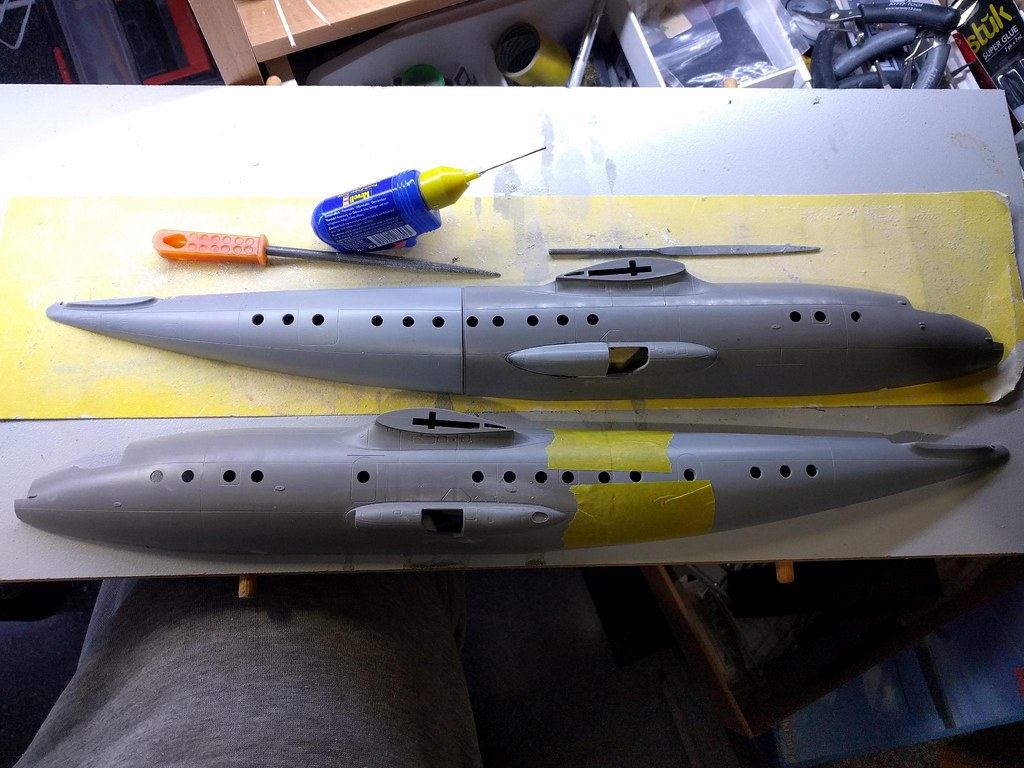
And both sponsons replaced and glue drying

The cockpit is has been painted, I might add some dry brushing to give it a worn look.

I may also add seat belts If I feel the need.

I noticed the instrument panel decal was a little oversized and had to fold the bottom of it back under the panel part and secure with decal set. My decal sheet also had two identical panel decals.
The next thing was to decide on one of four schemes, so I went for this one with the fancy vertical stabs on the tail plane tips
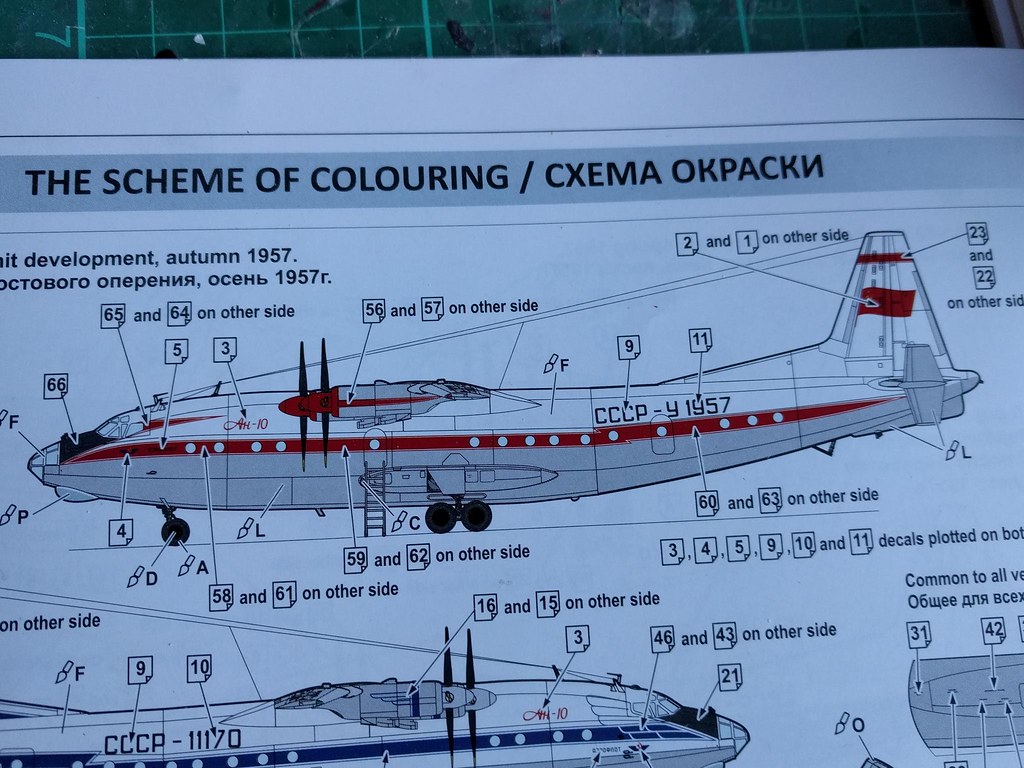

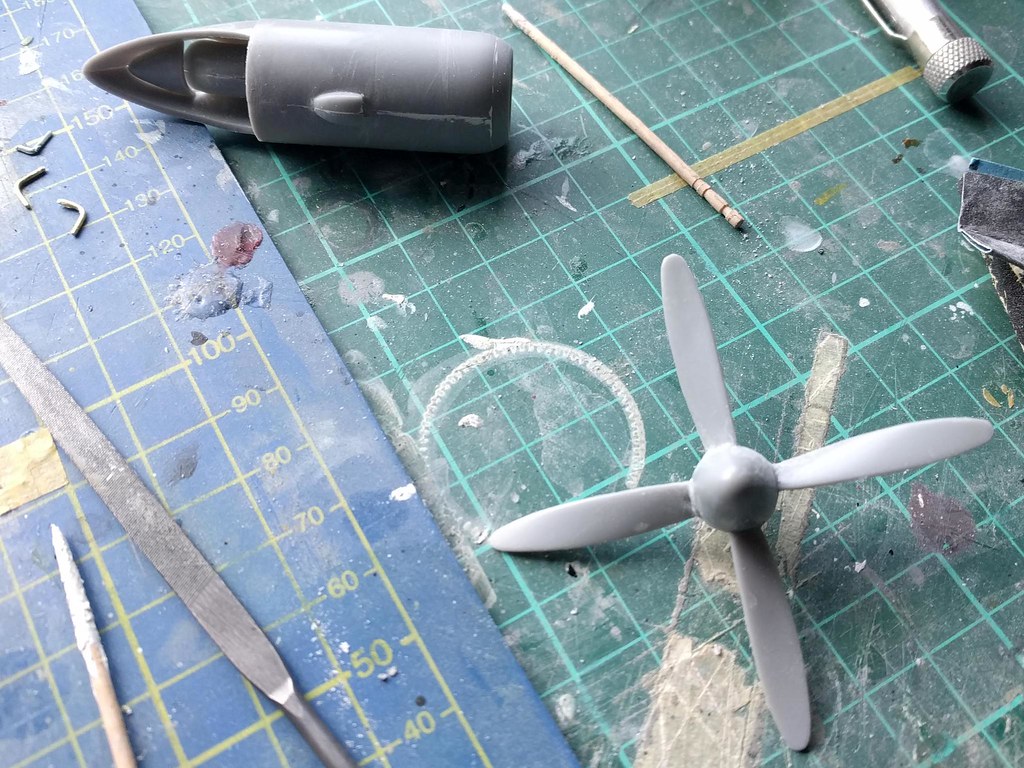
I have assembled one of the props and engines, these were Modesvit sprues and every part needed some sort of clean up or squaring up, after all that I had two rounds of filling anyway. Some sanding with finer grades of paper to follow along with some rescribing.

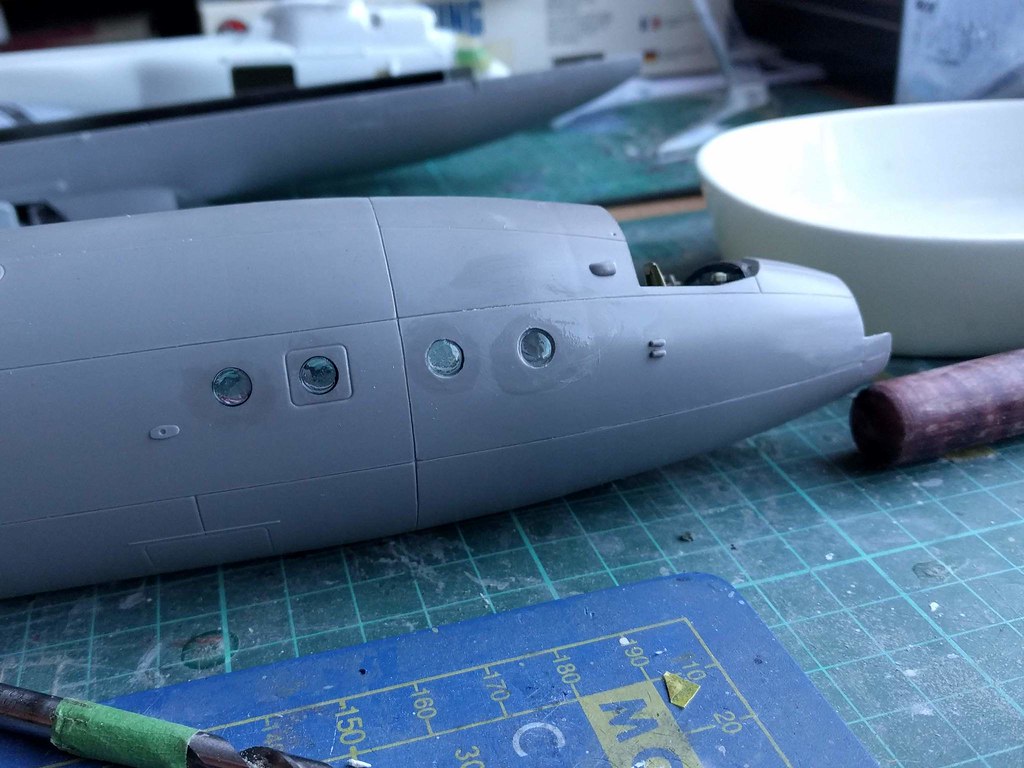
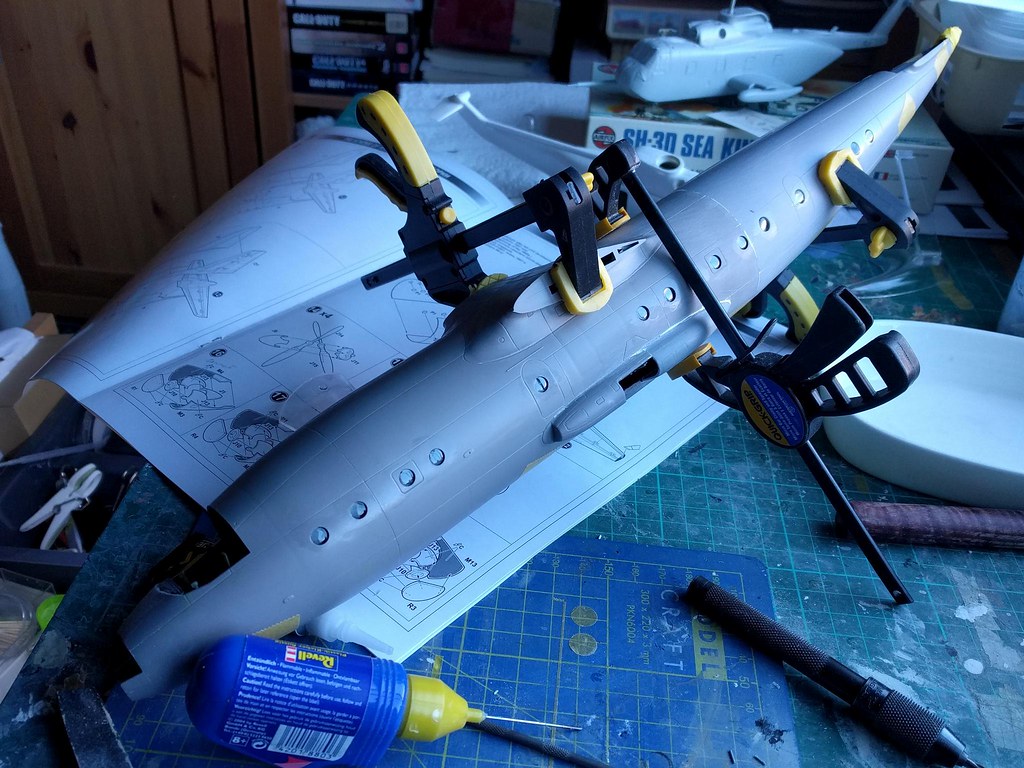
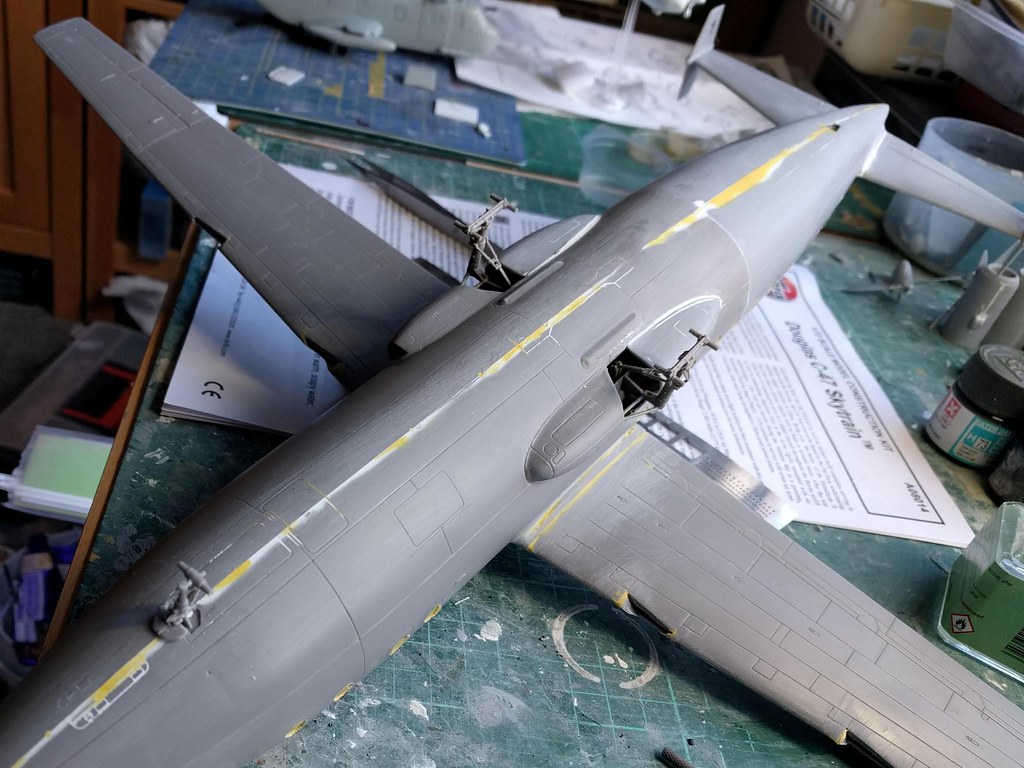
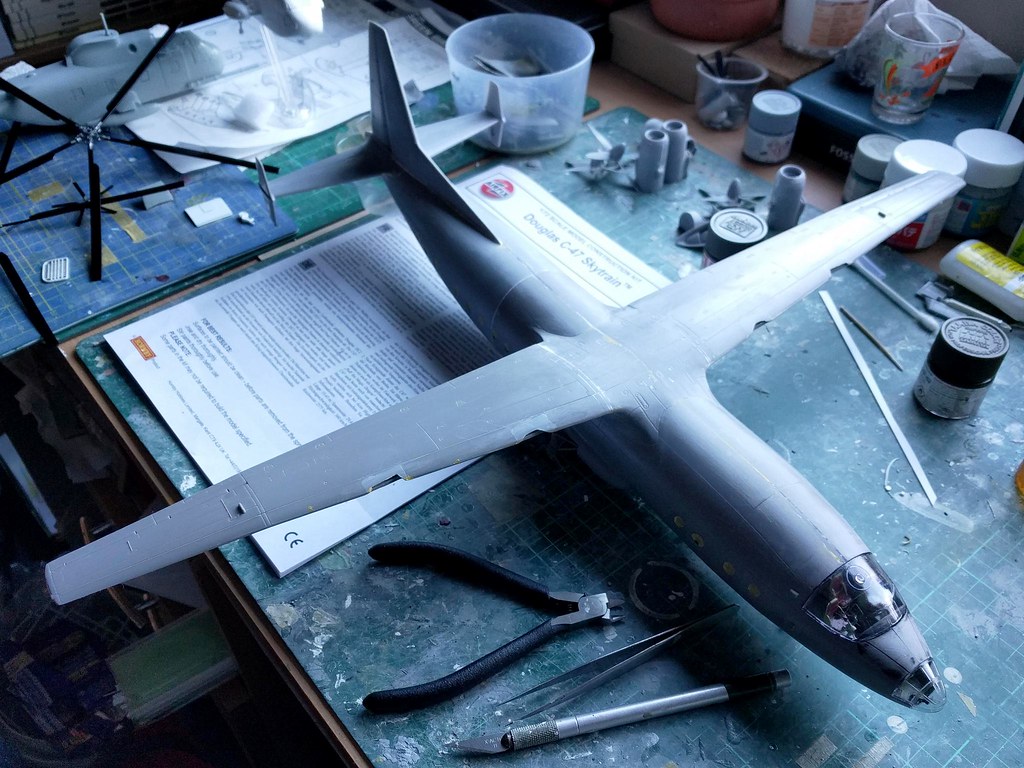
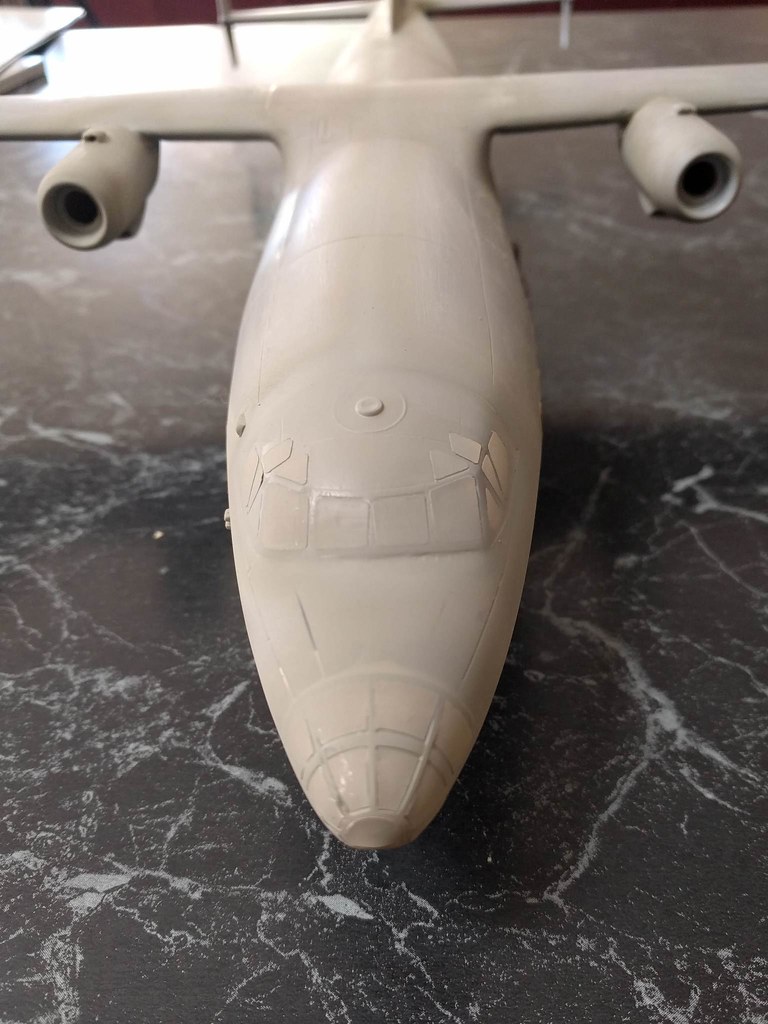
Finally the both fuselage sides are together, again even with adjusting the Modelsvit rear sections there was remedial sanding and filling required. The kit comes with masks, there are a lot of round ones, but not enough for all the cabin windows, they might be for the wheels? I will have to punch out my own cabin window masks to make up the shortfall. More investigation required.
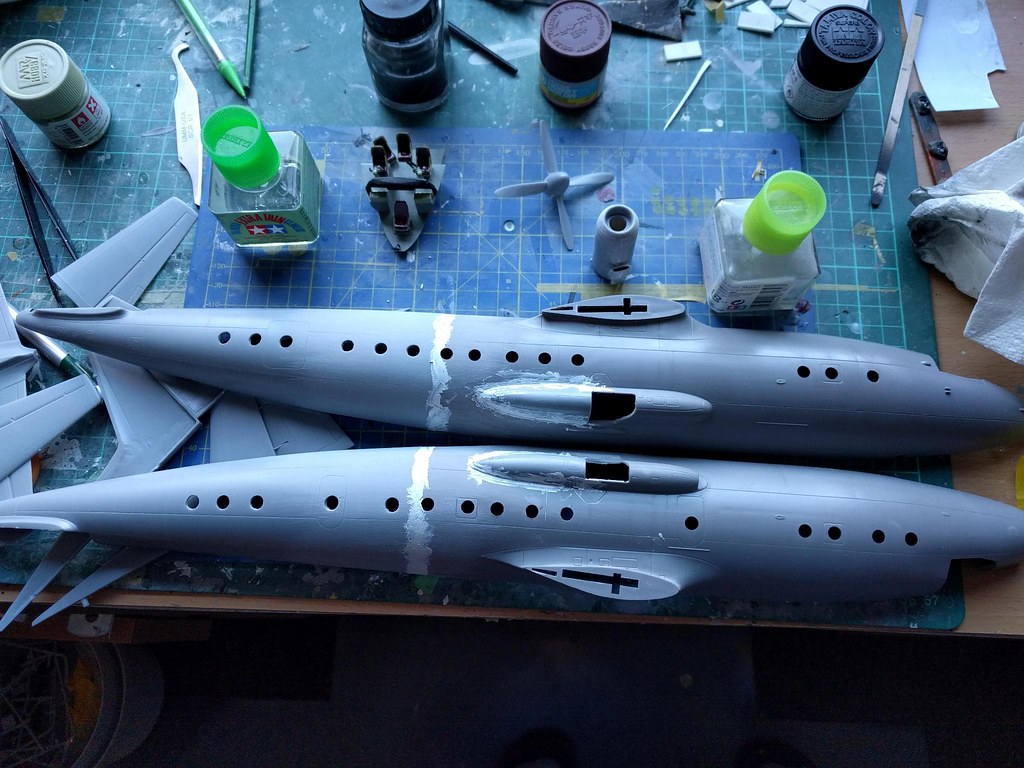
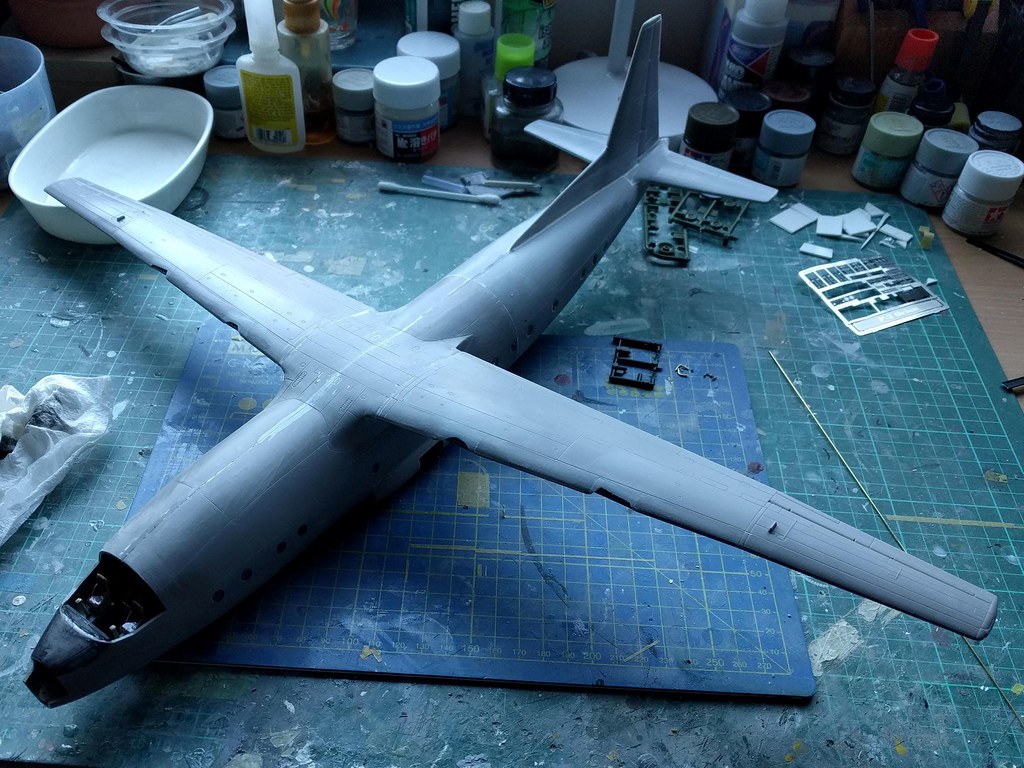
For a size comparison I put the taped up An-10 next to my C-130J-30, about the same size.

I was not going to add the cabin floor but it seems I need it if I want somewhere to attach the undercarriage.
So I started to add the internals and found I need to persuade some of the parts to stay in place.
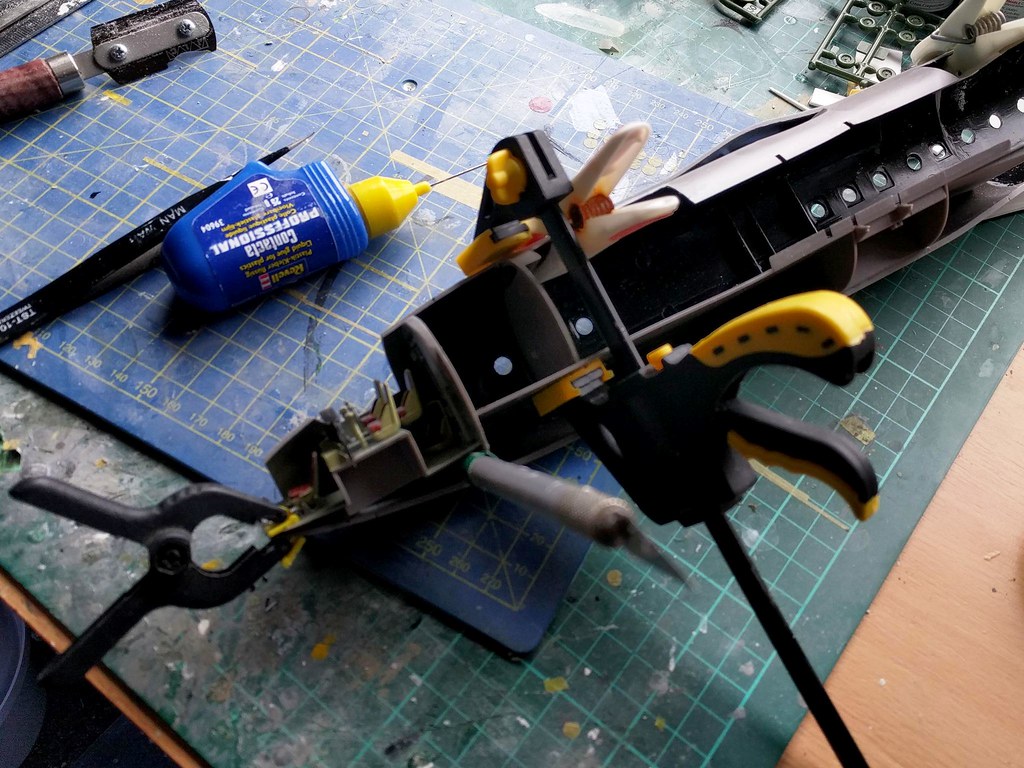
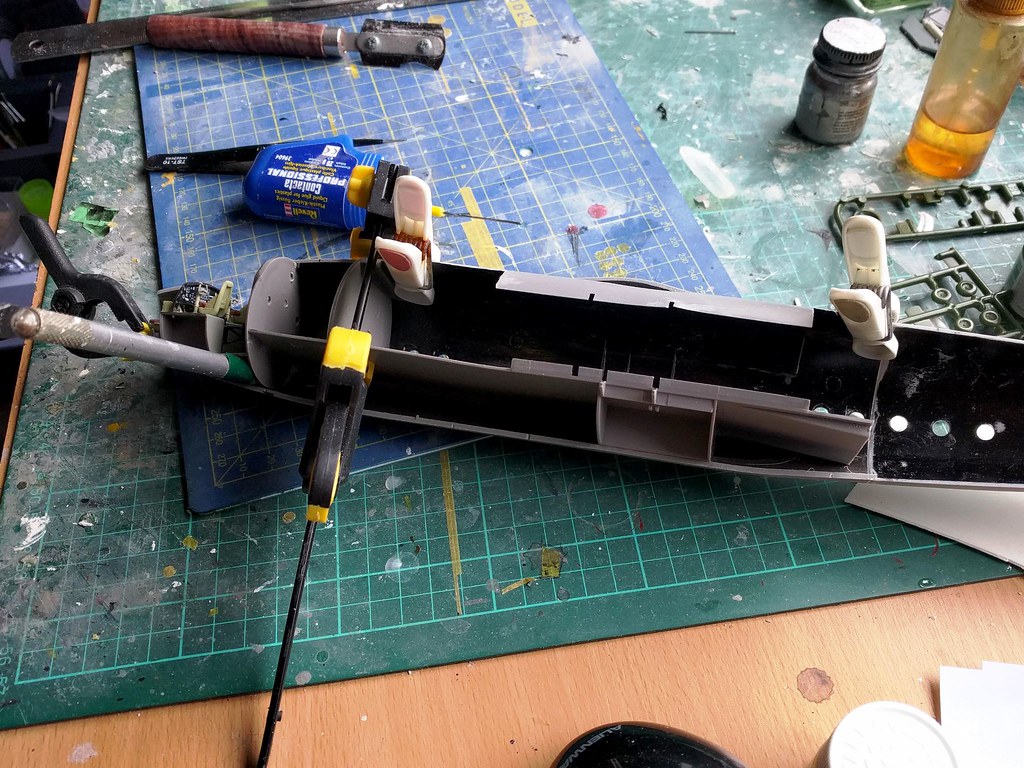
Cabin windows to go in next and then I can button it up.

