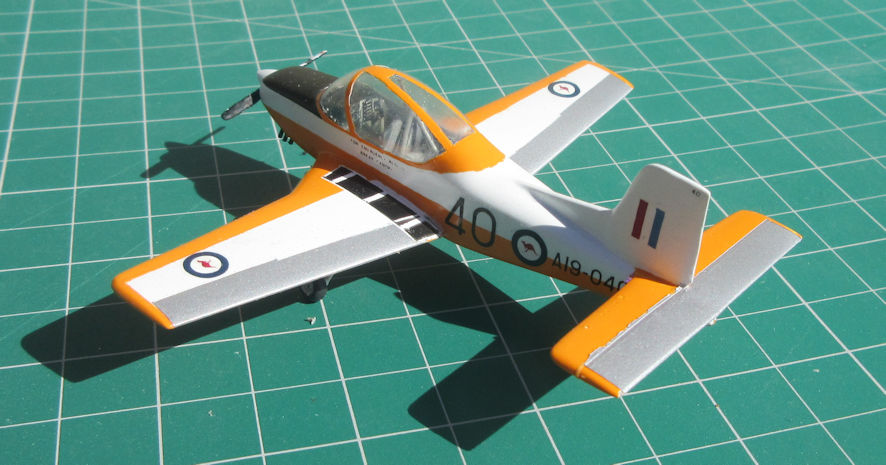
PAC CT-4A Airtrainer.
I thought I might drop this here since it will be in RAAF markings.
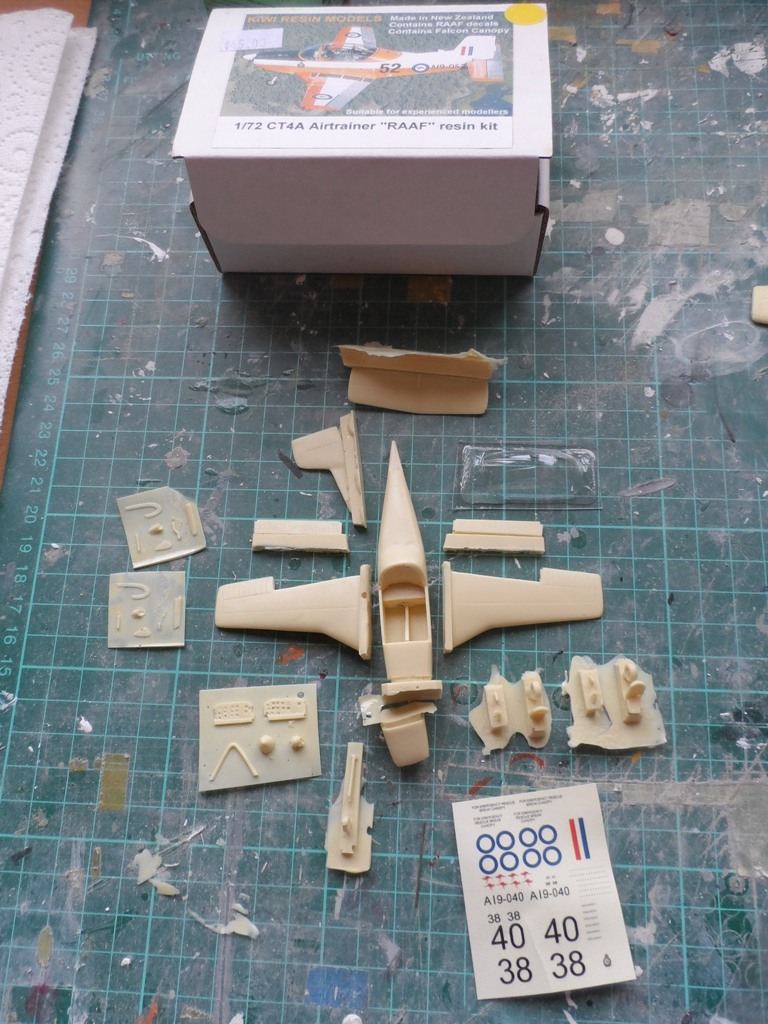
I started the Kiwi resin kit a couple of weeks ago as part of a BritModeller Trainers Group build.
Work has progressed quickly but I am losing interest as my AModel G-550 and C-37B have arrived (must resist the temptation!)
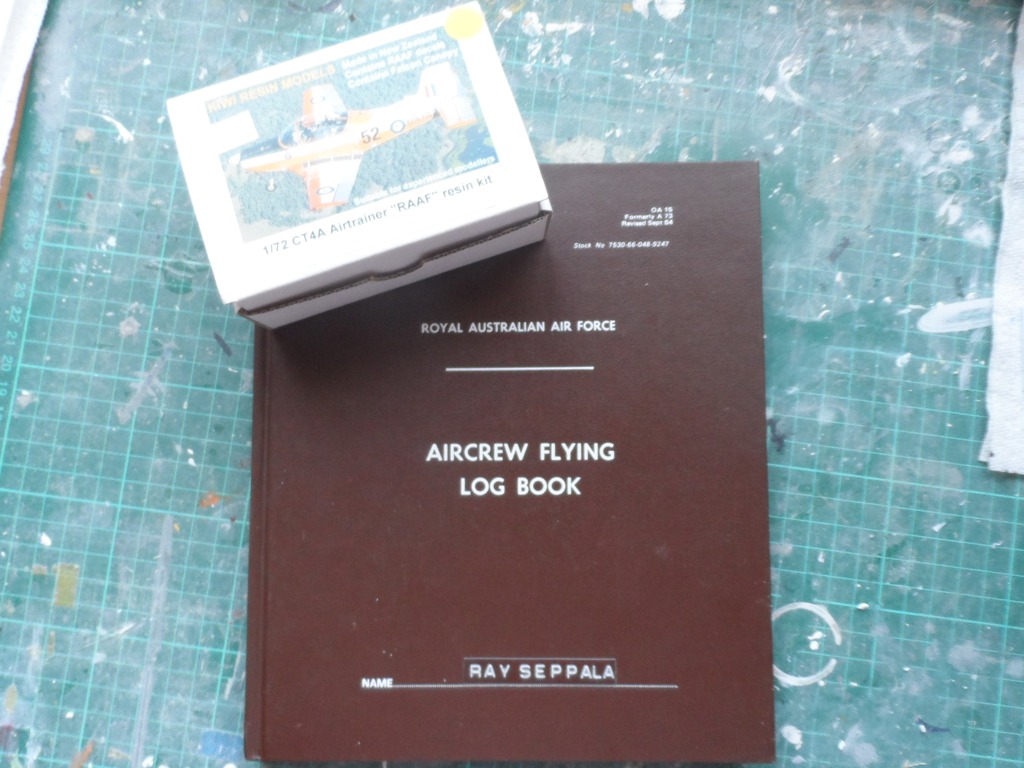
I have a connection to the build subject A19-49 as it was the first CT-4 I jumped into at 1FTS as part of a misguided notion to become a RAAF Navigator last century.

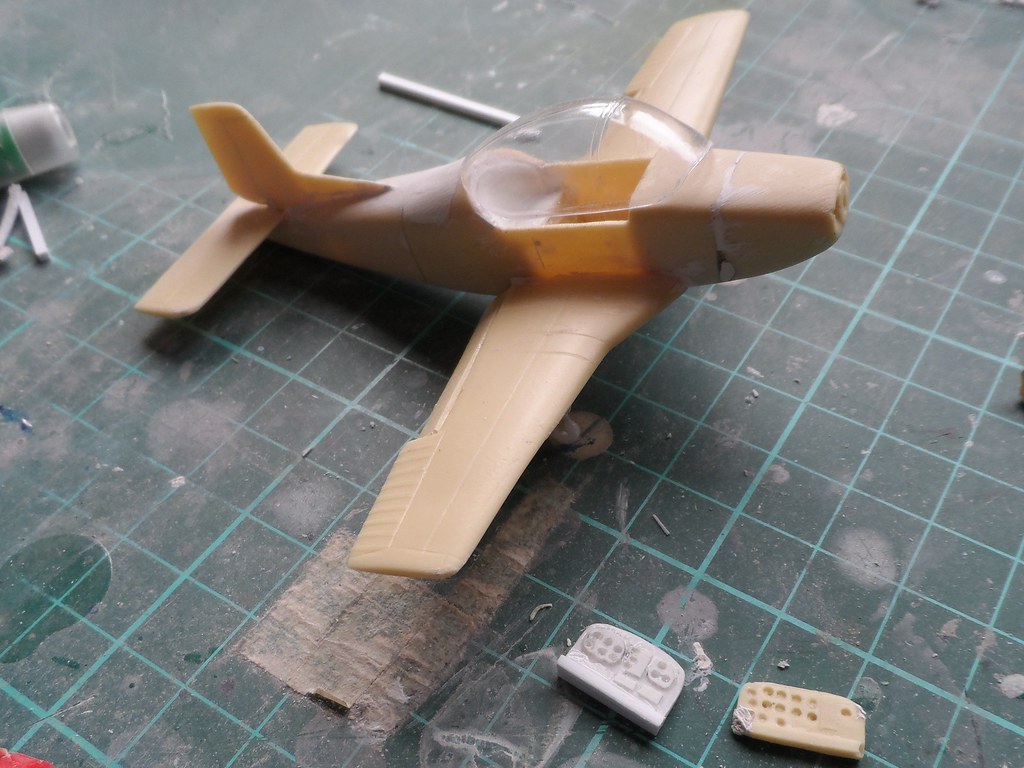
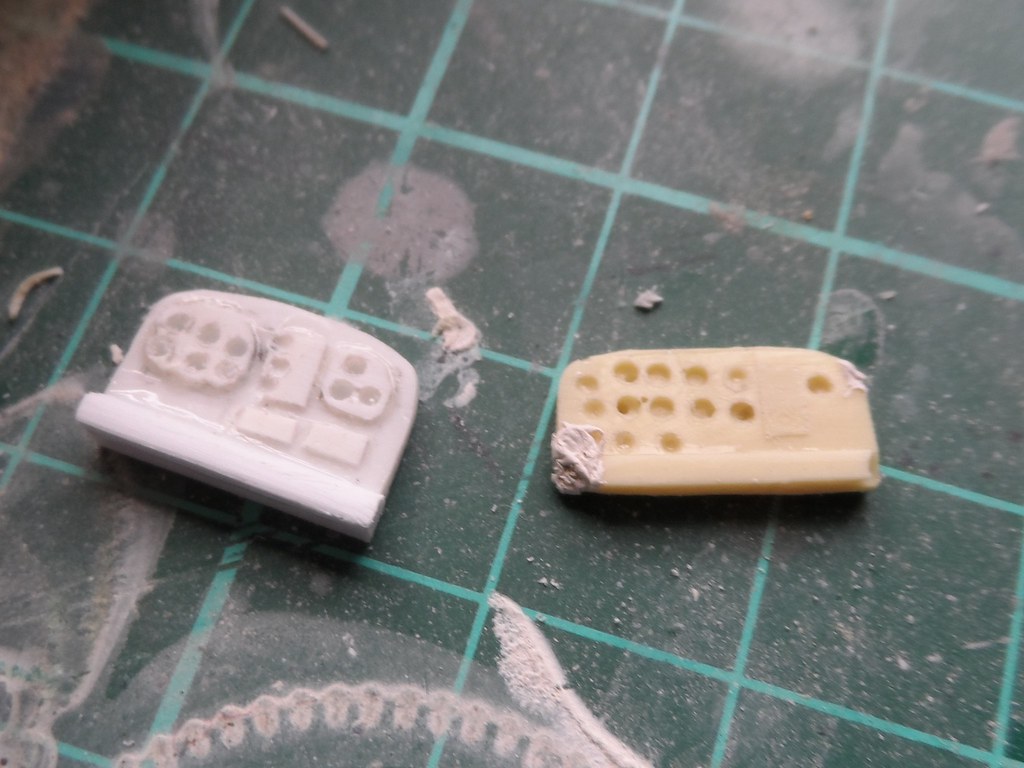
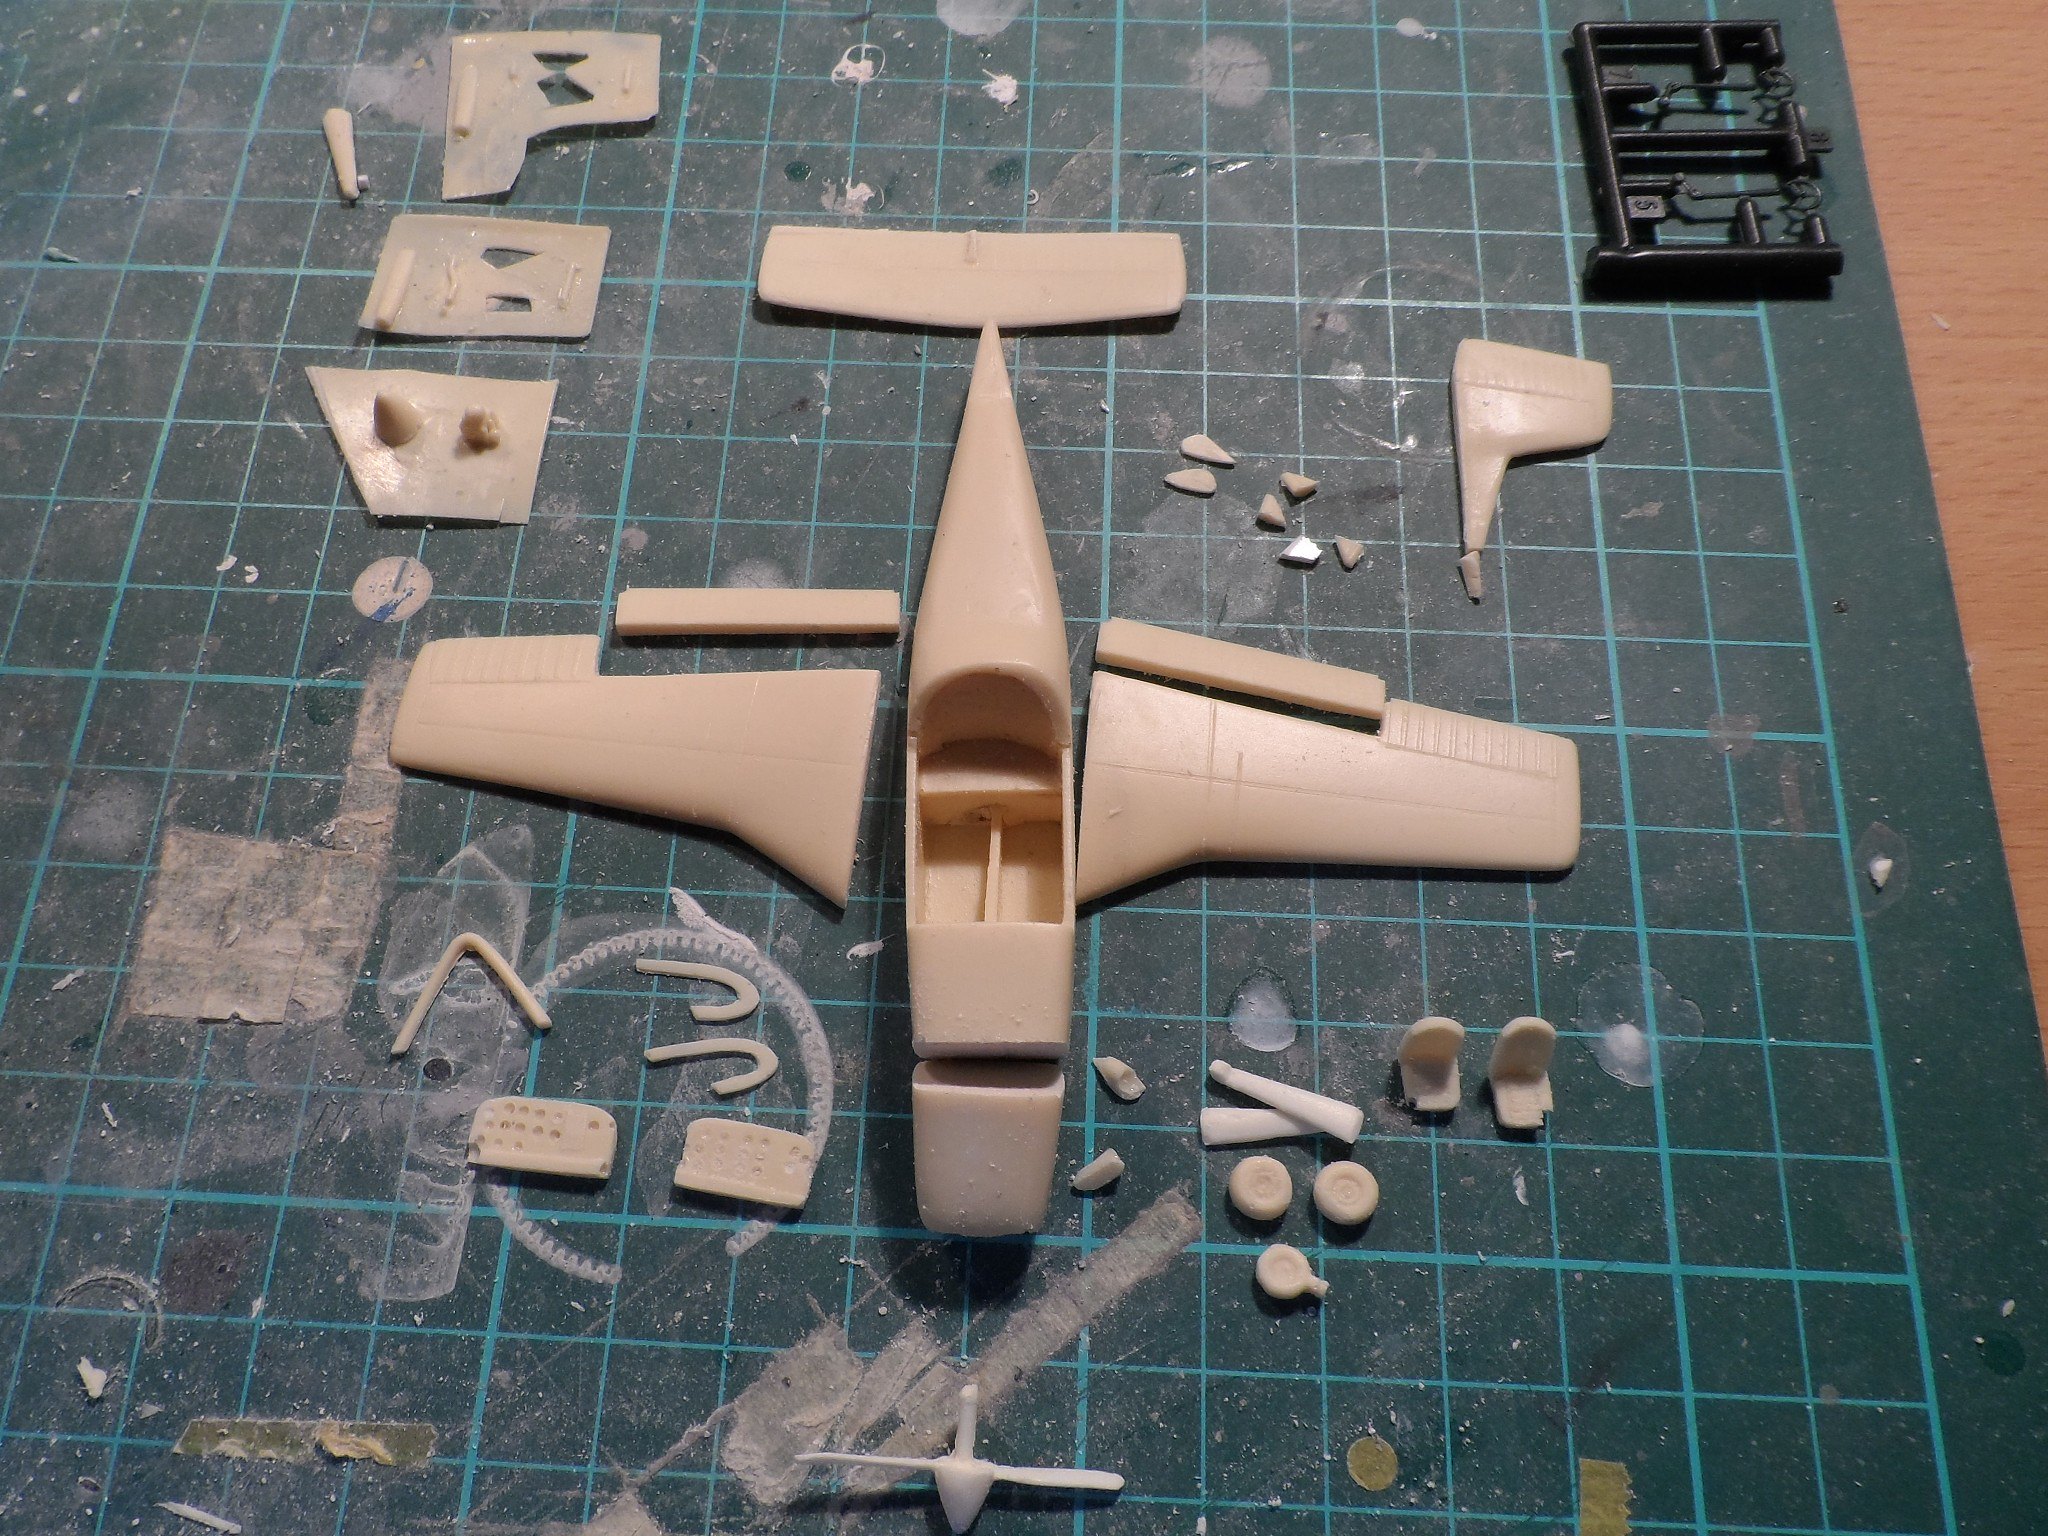
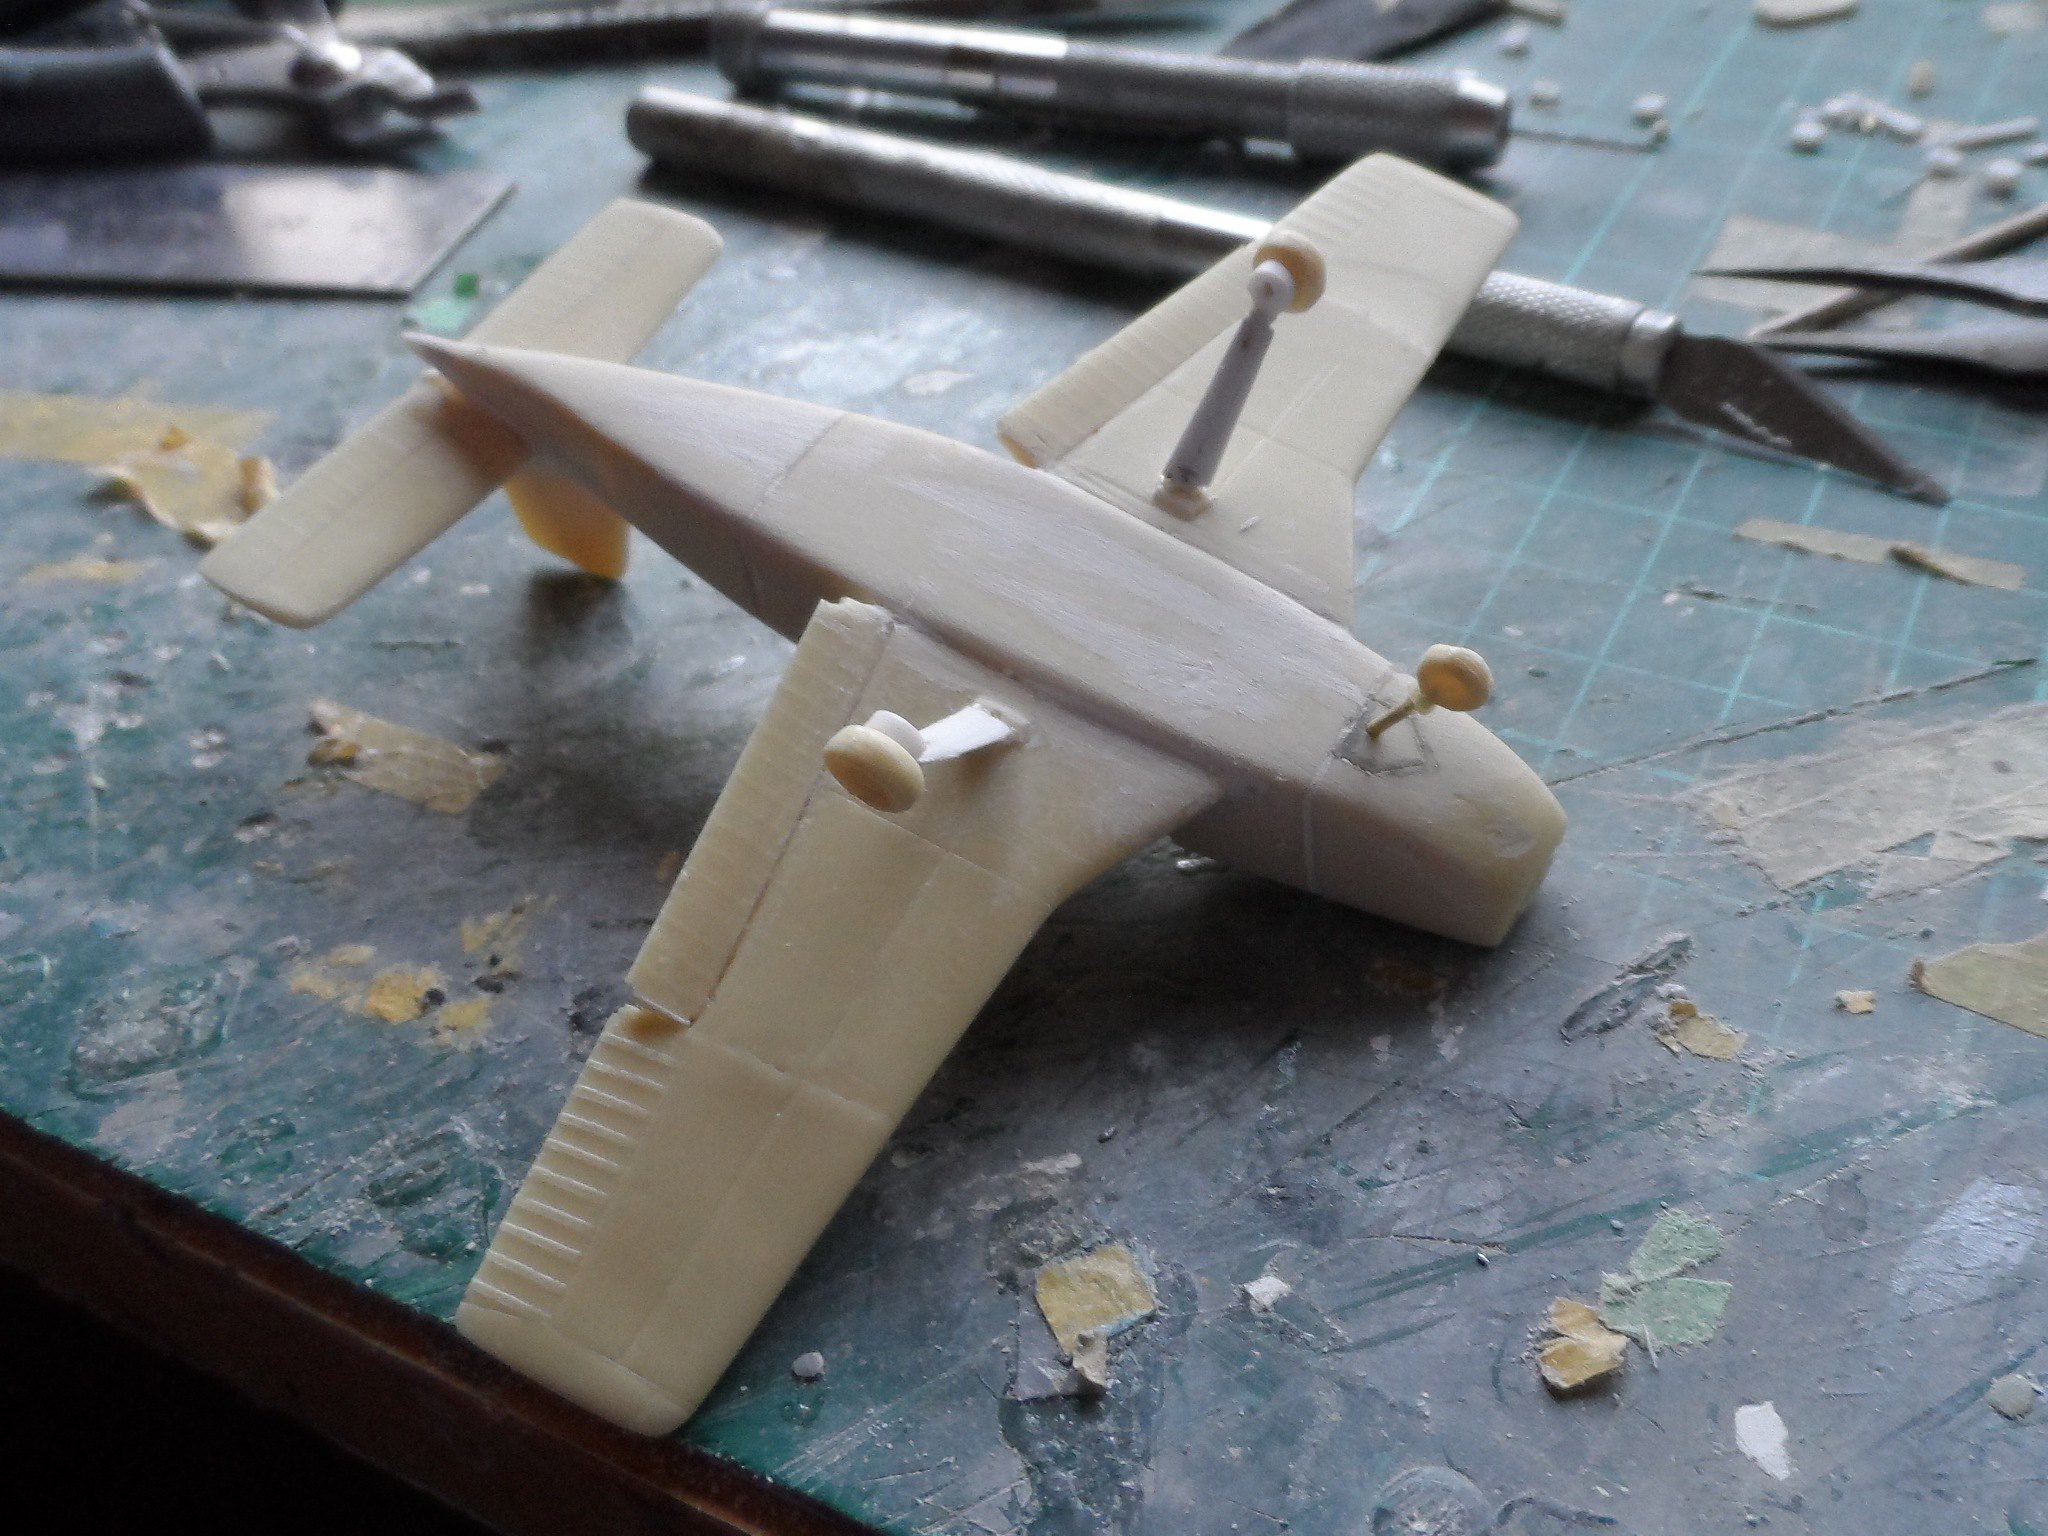
The kit is all resin with a vac form canopy
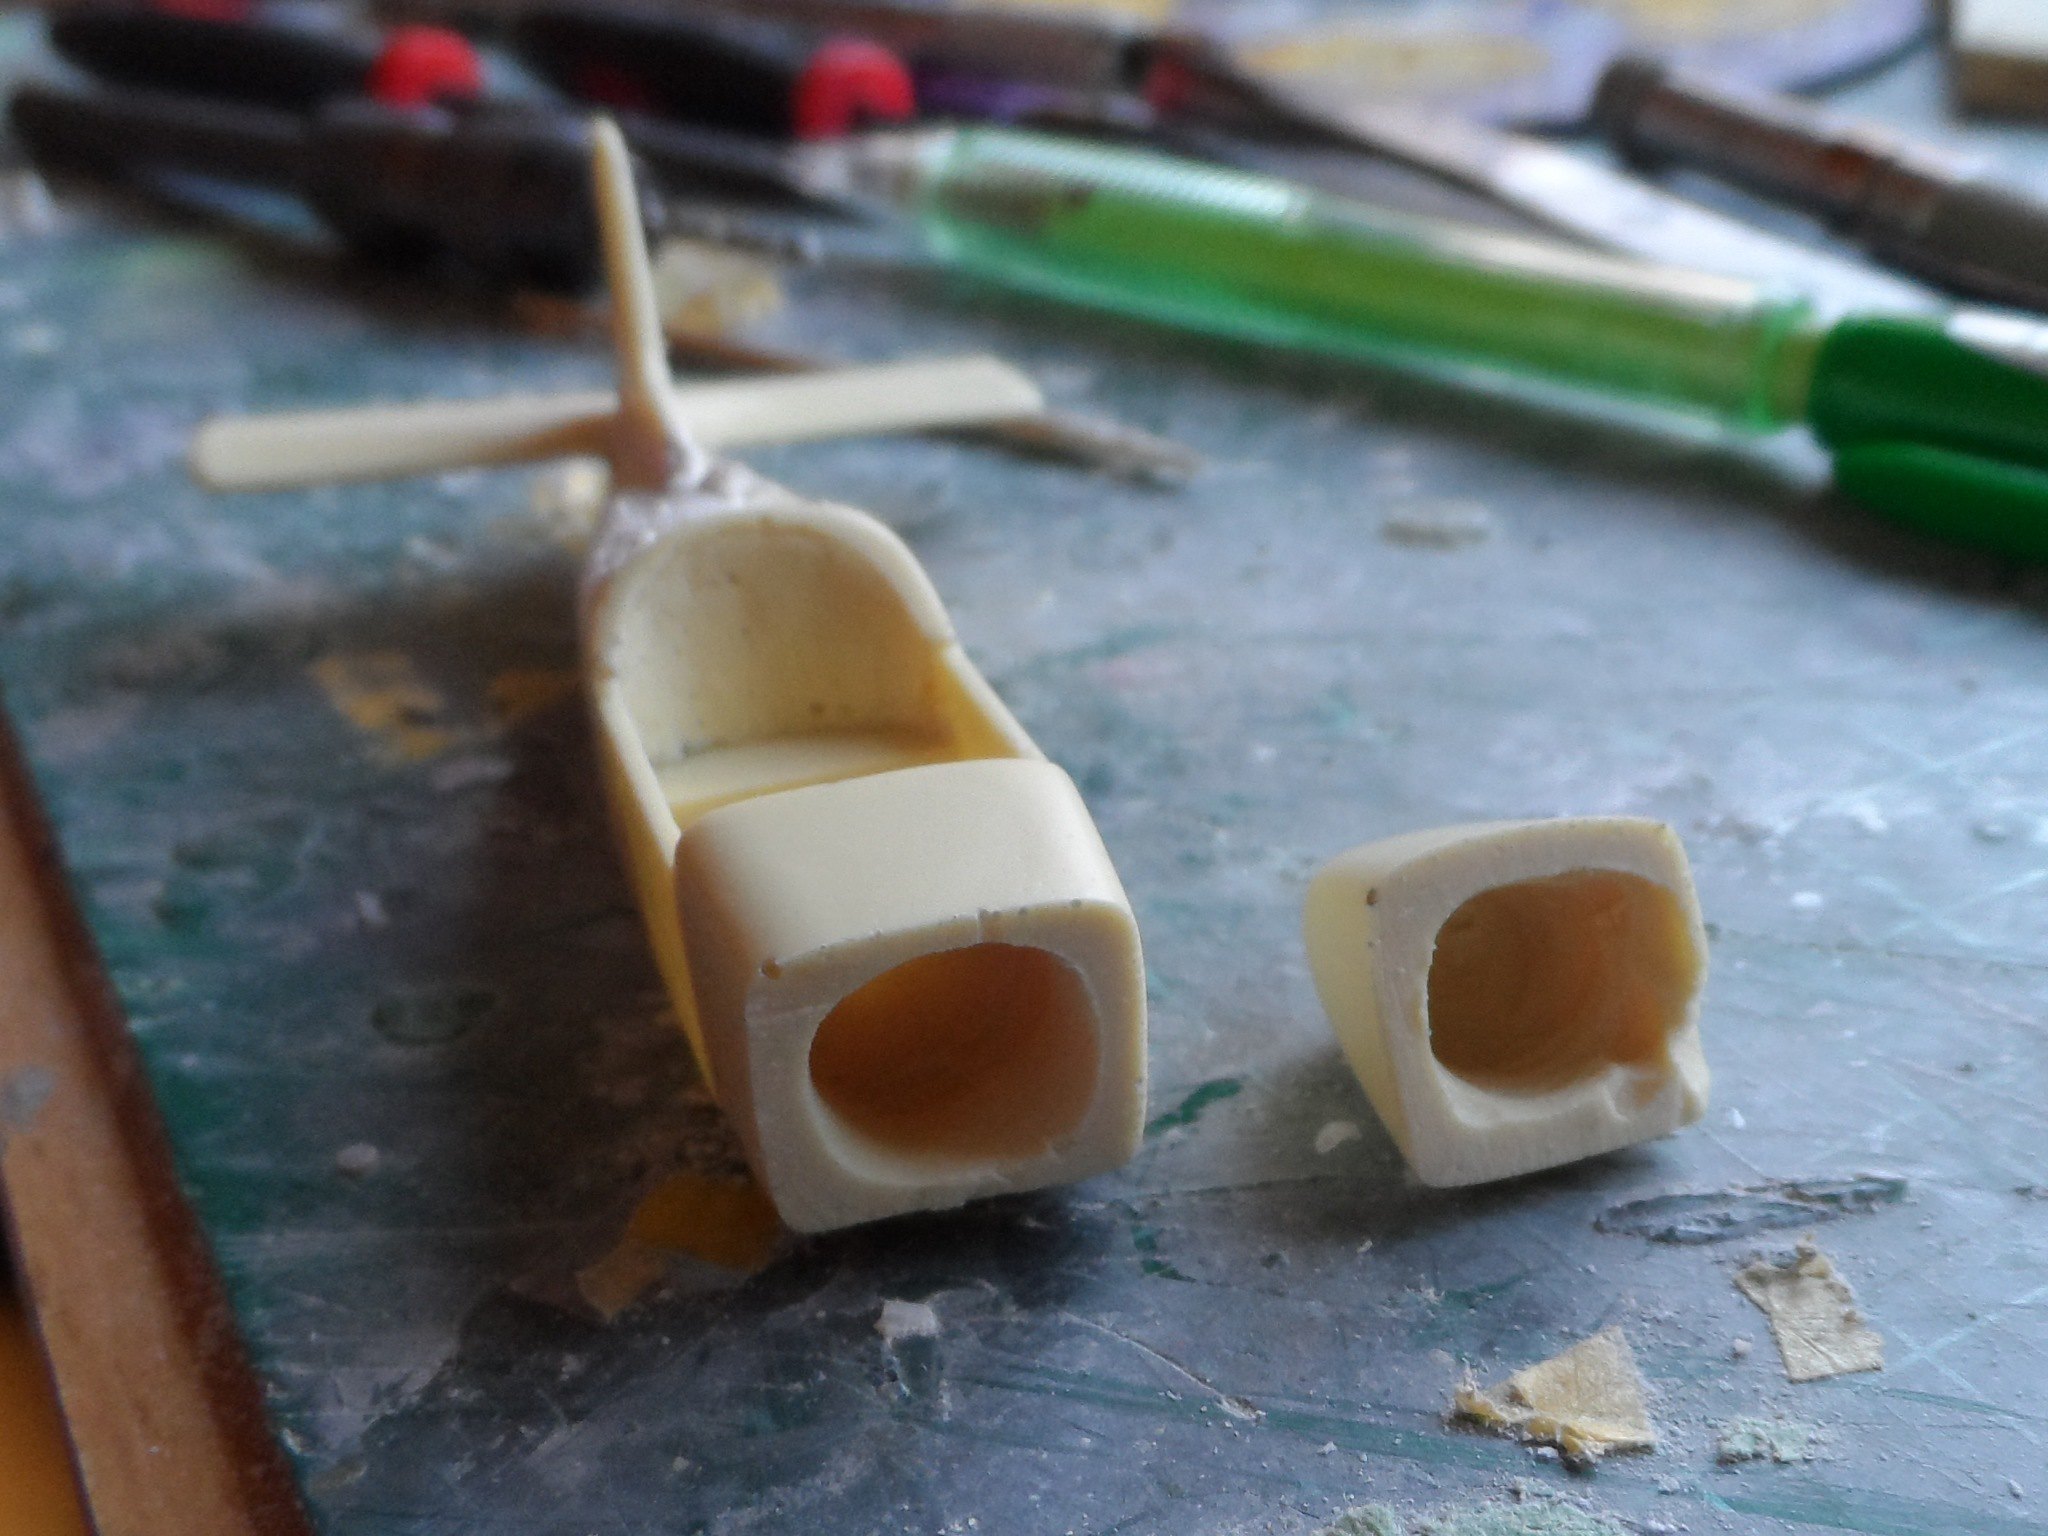
I started by removing the pore stubs from the pieces with the trusty razor saw
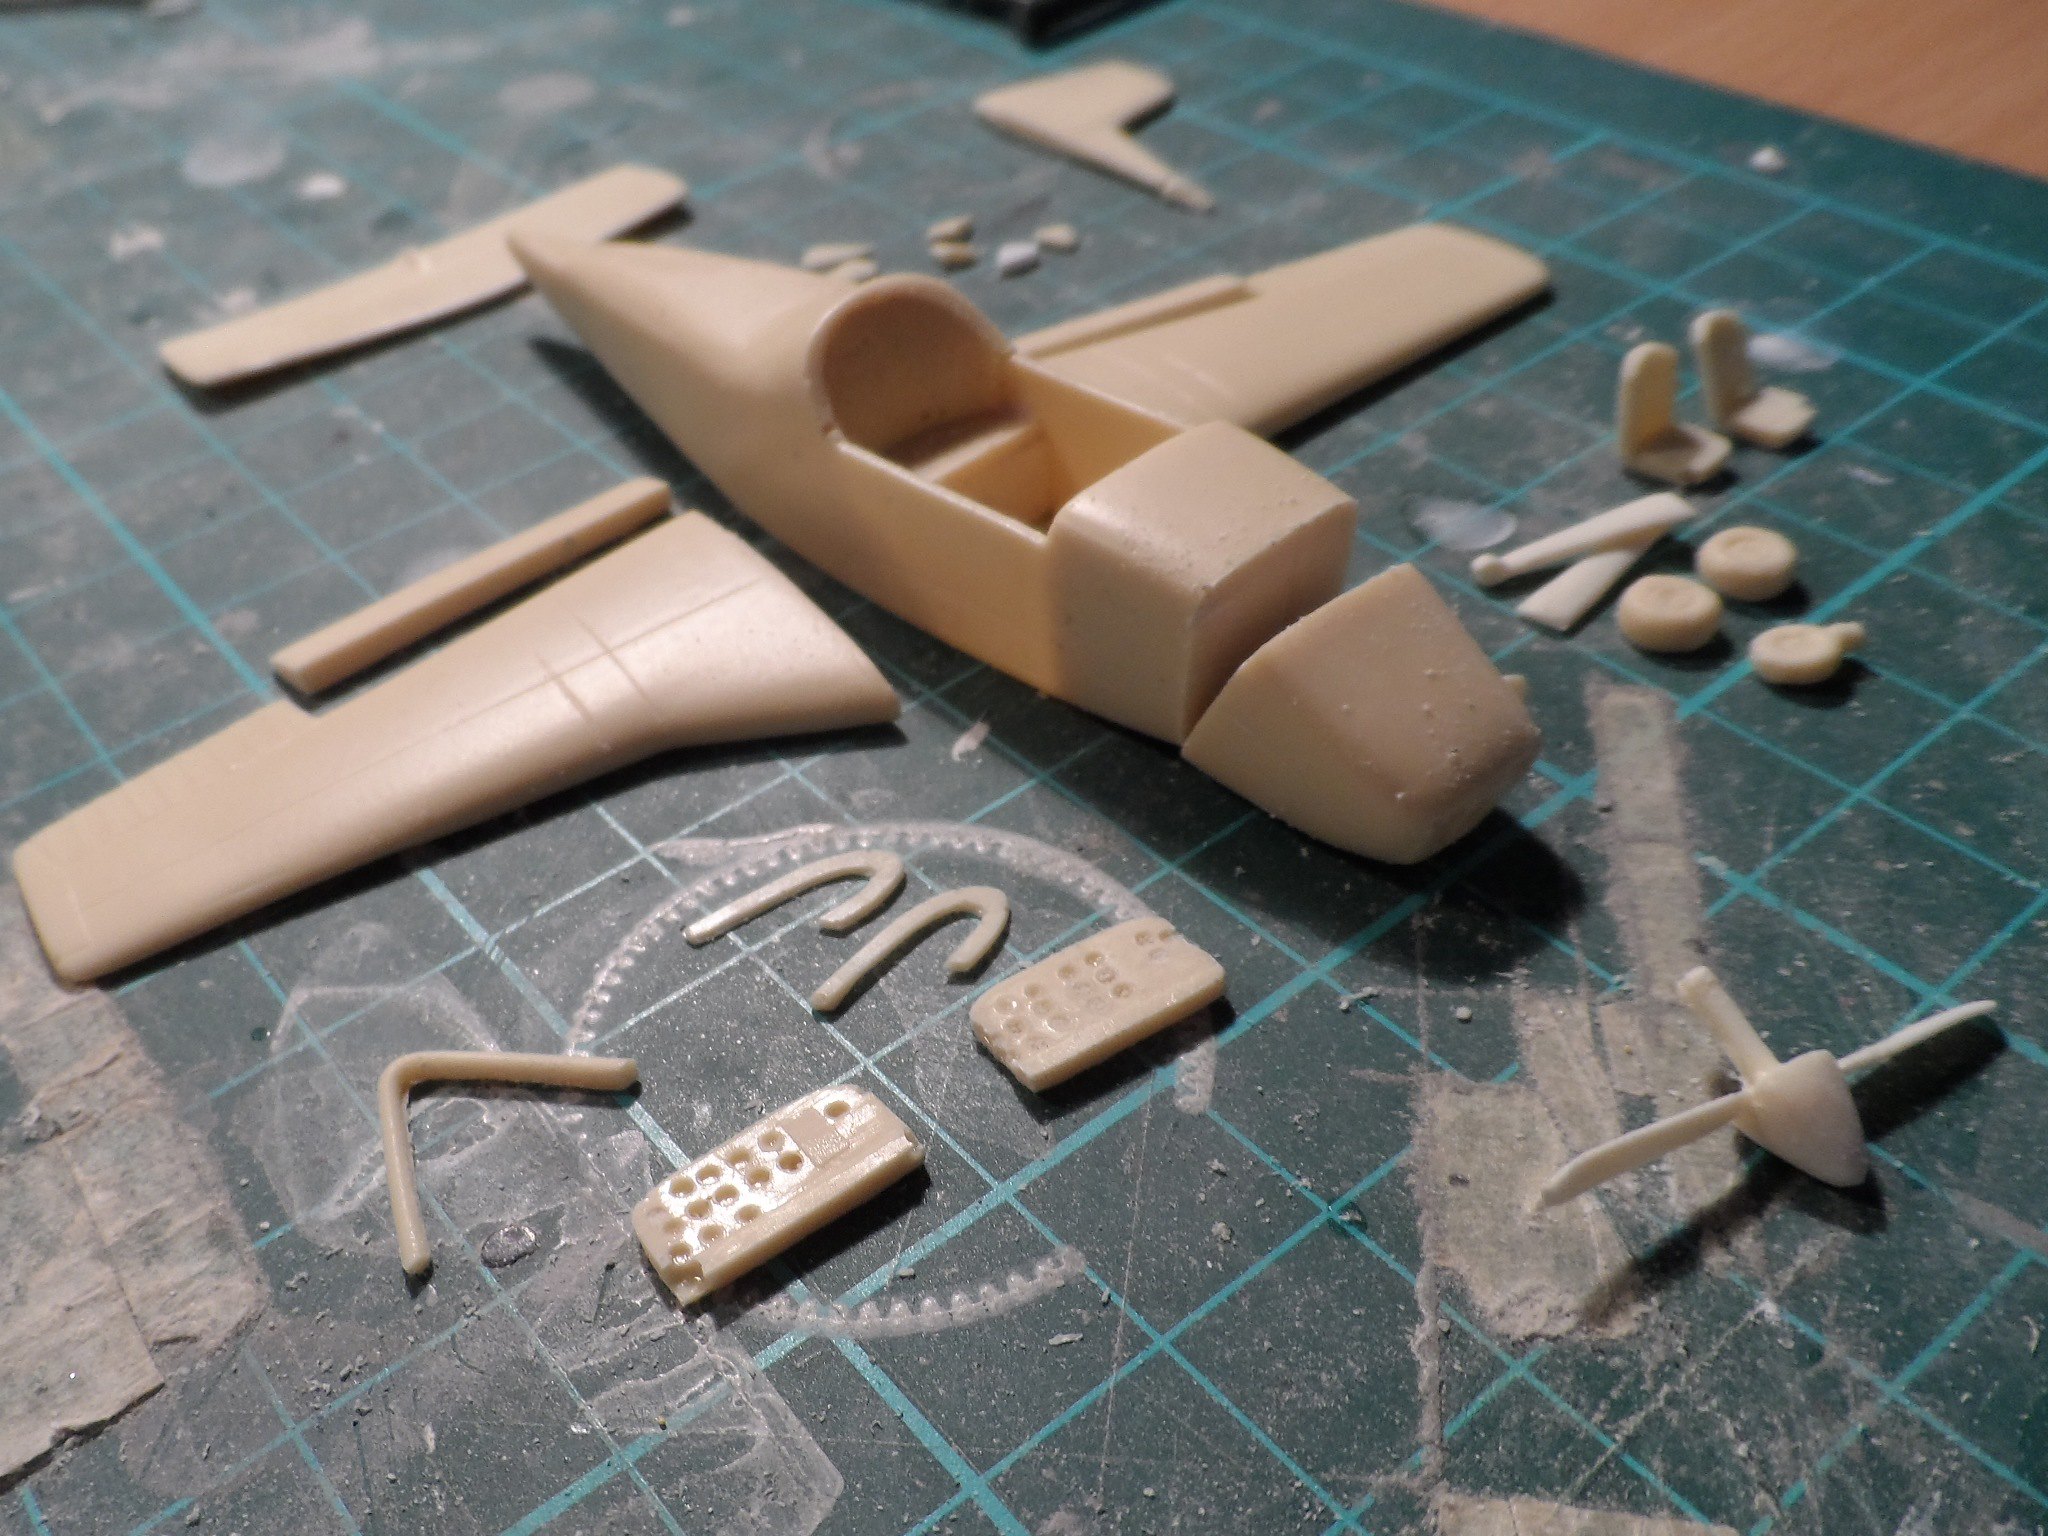
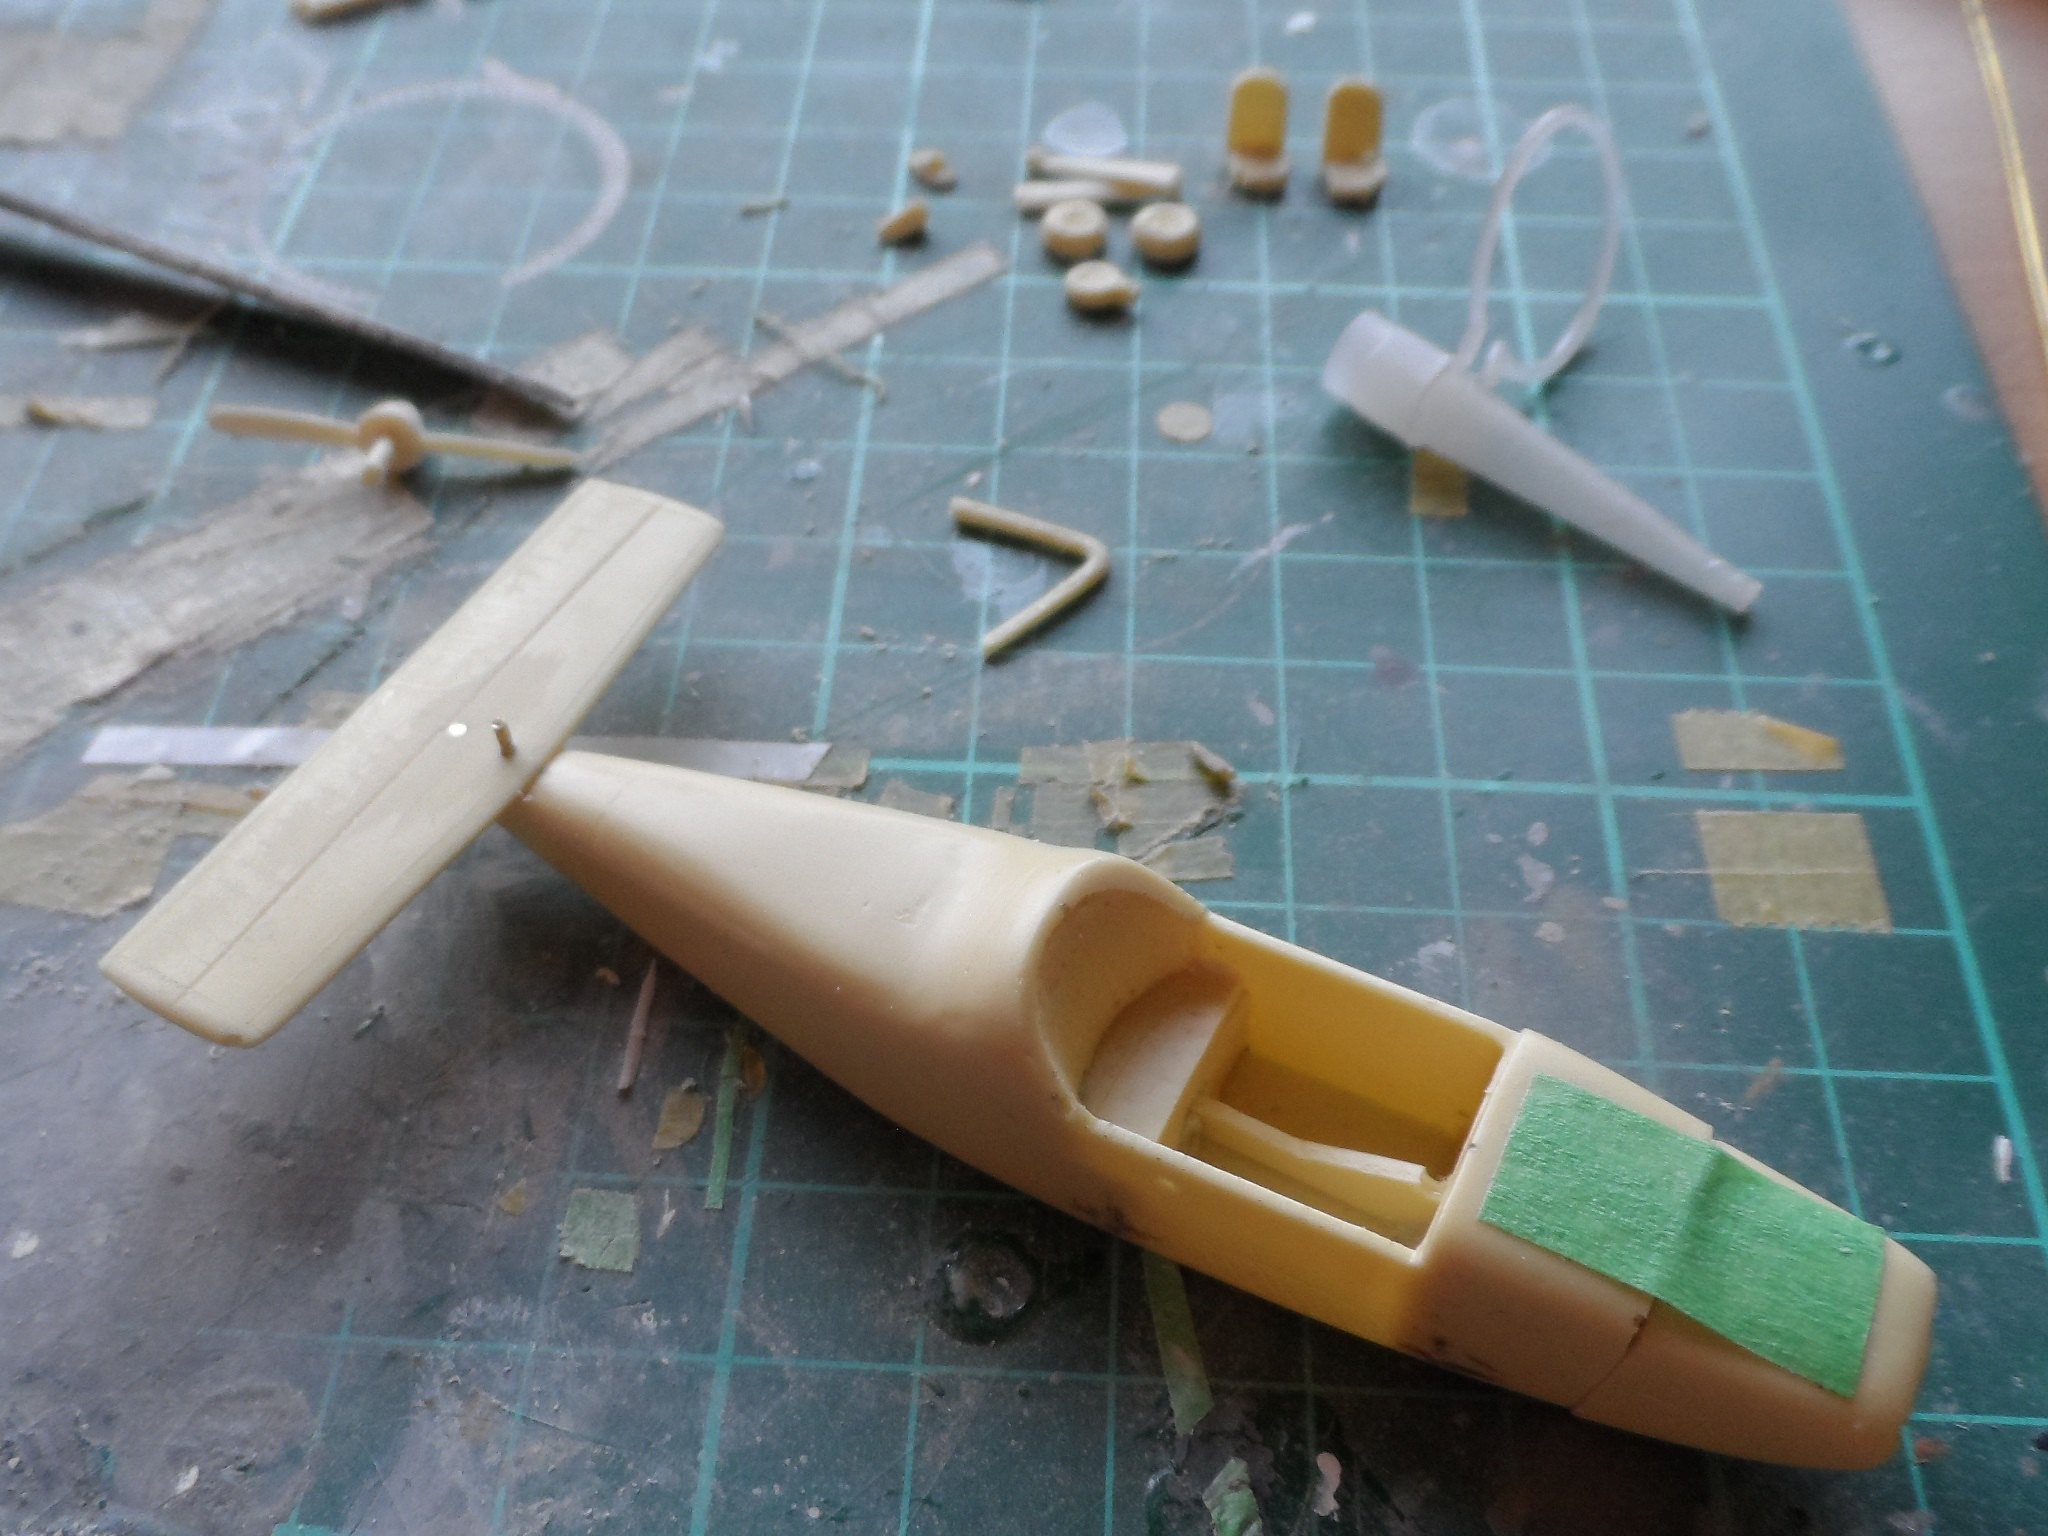
Such a small little piece of resin compared to the C-17 I am working on, that's the horizontal stab for size reference

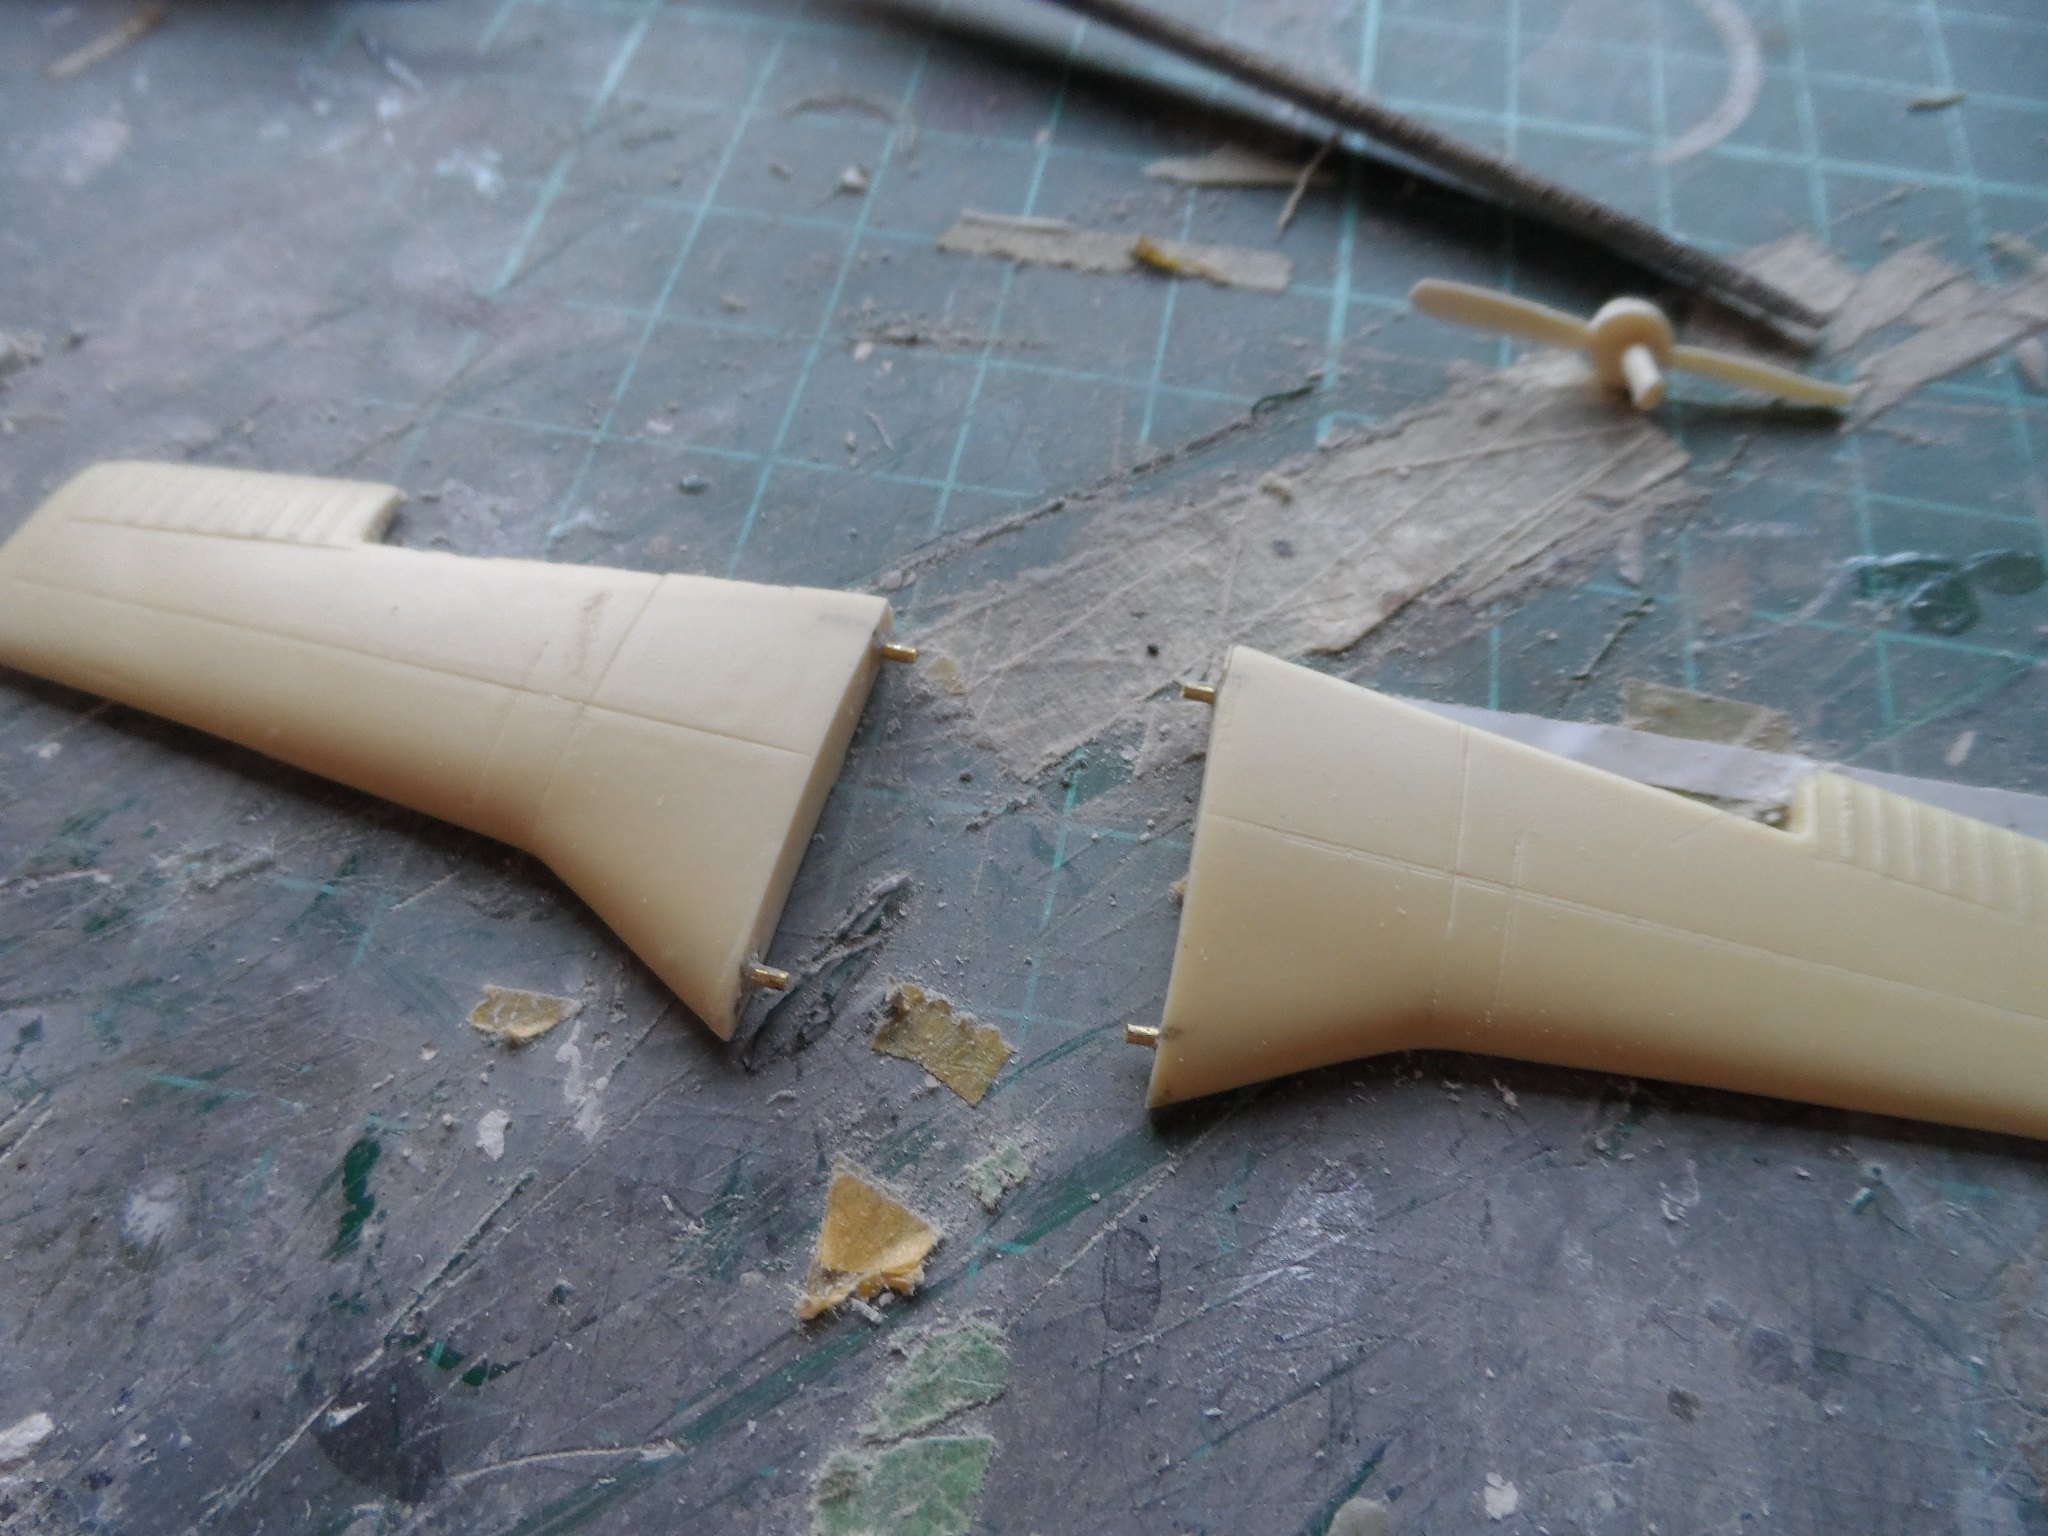
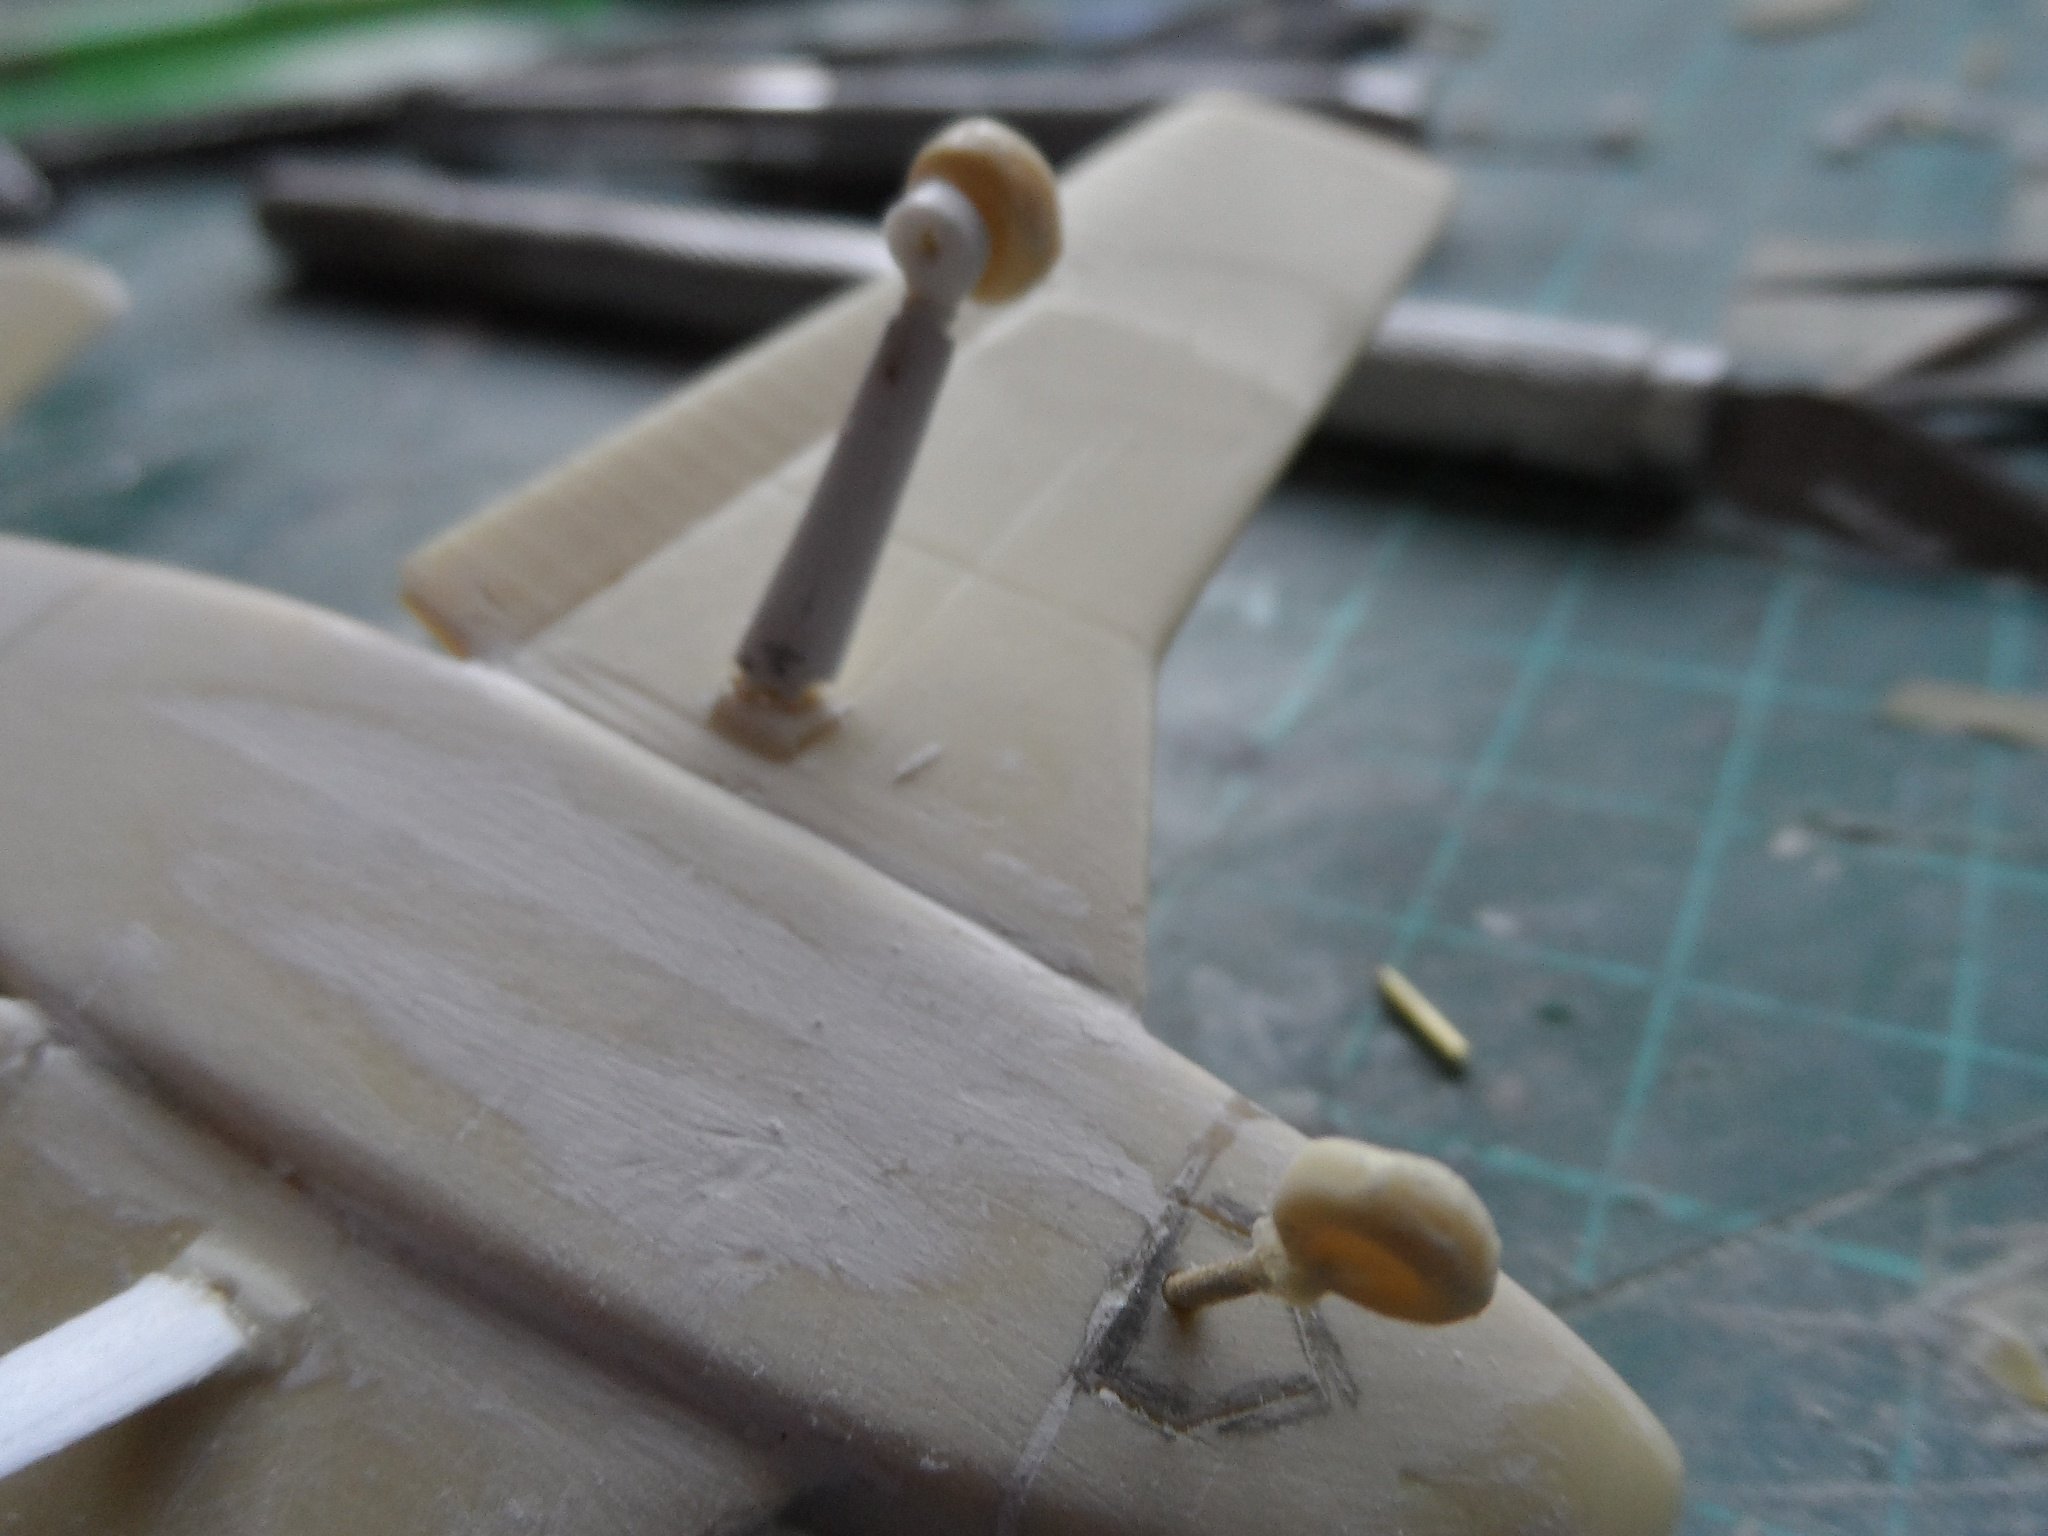
I started with pinning the main parts for some joint strength
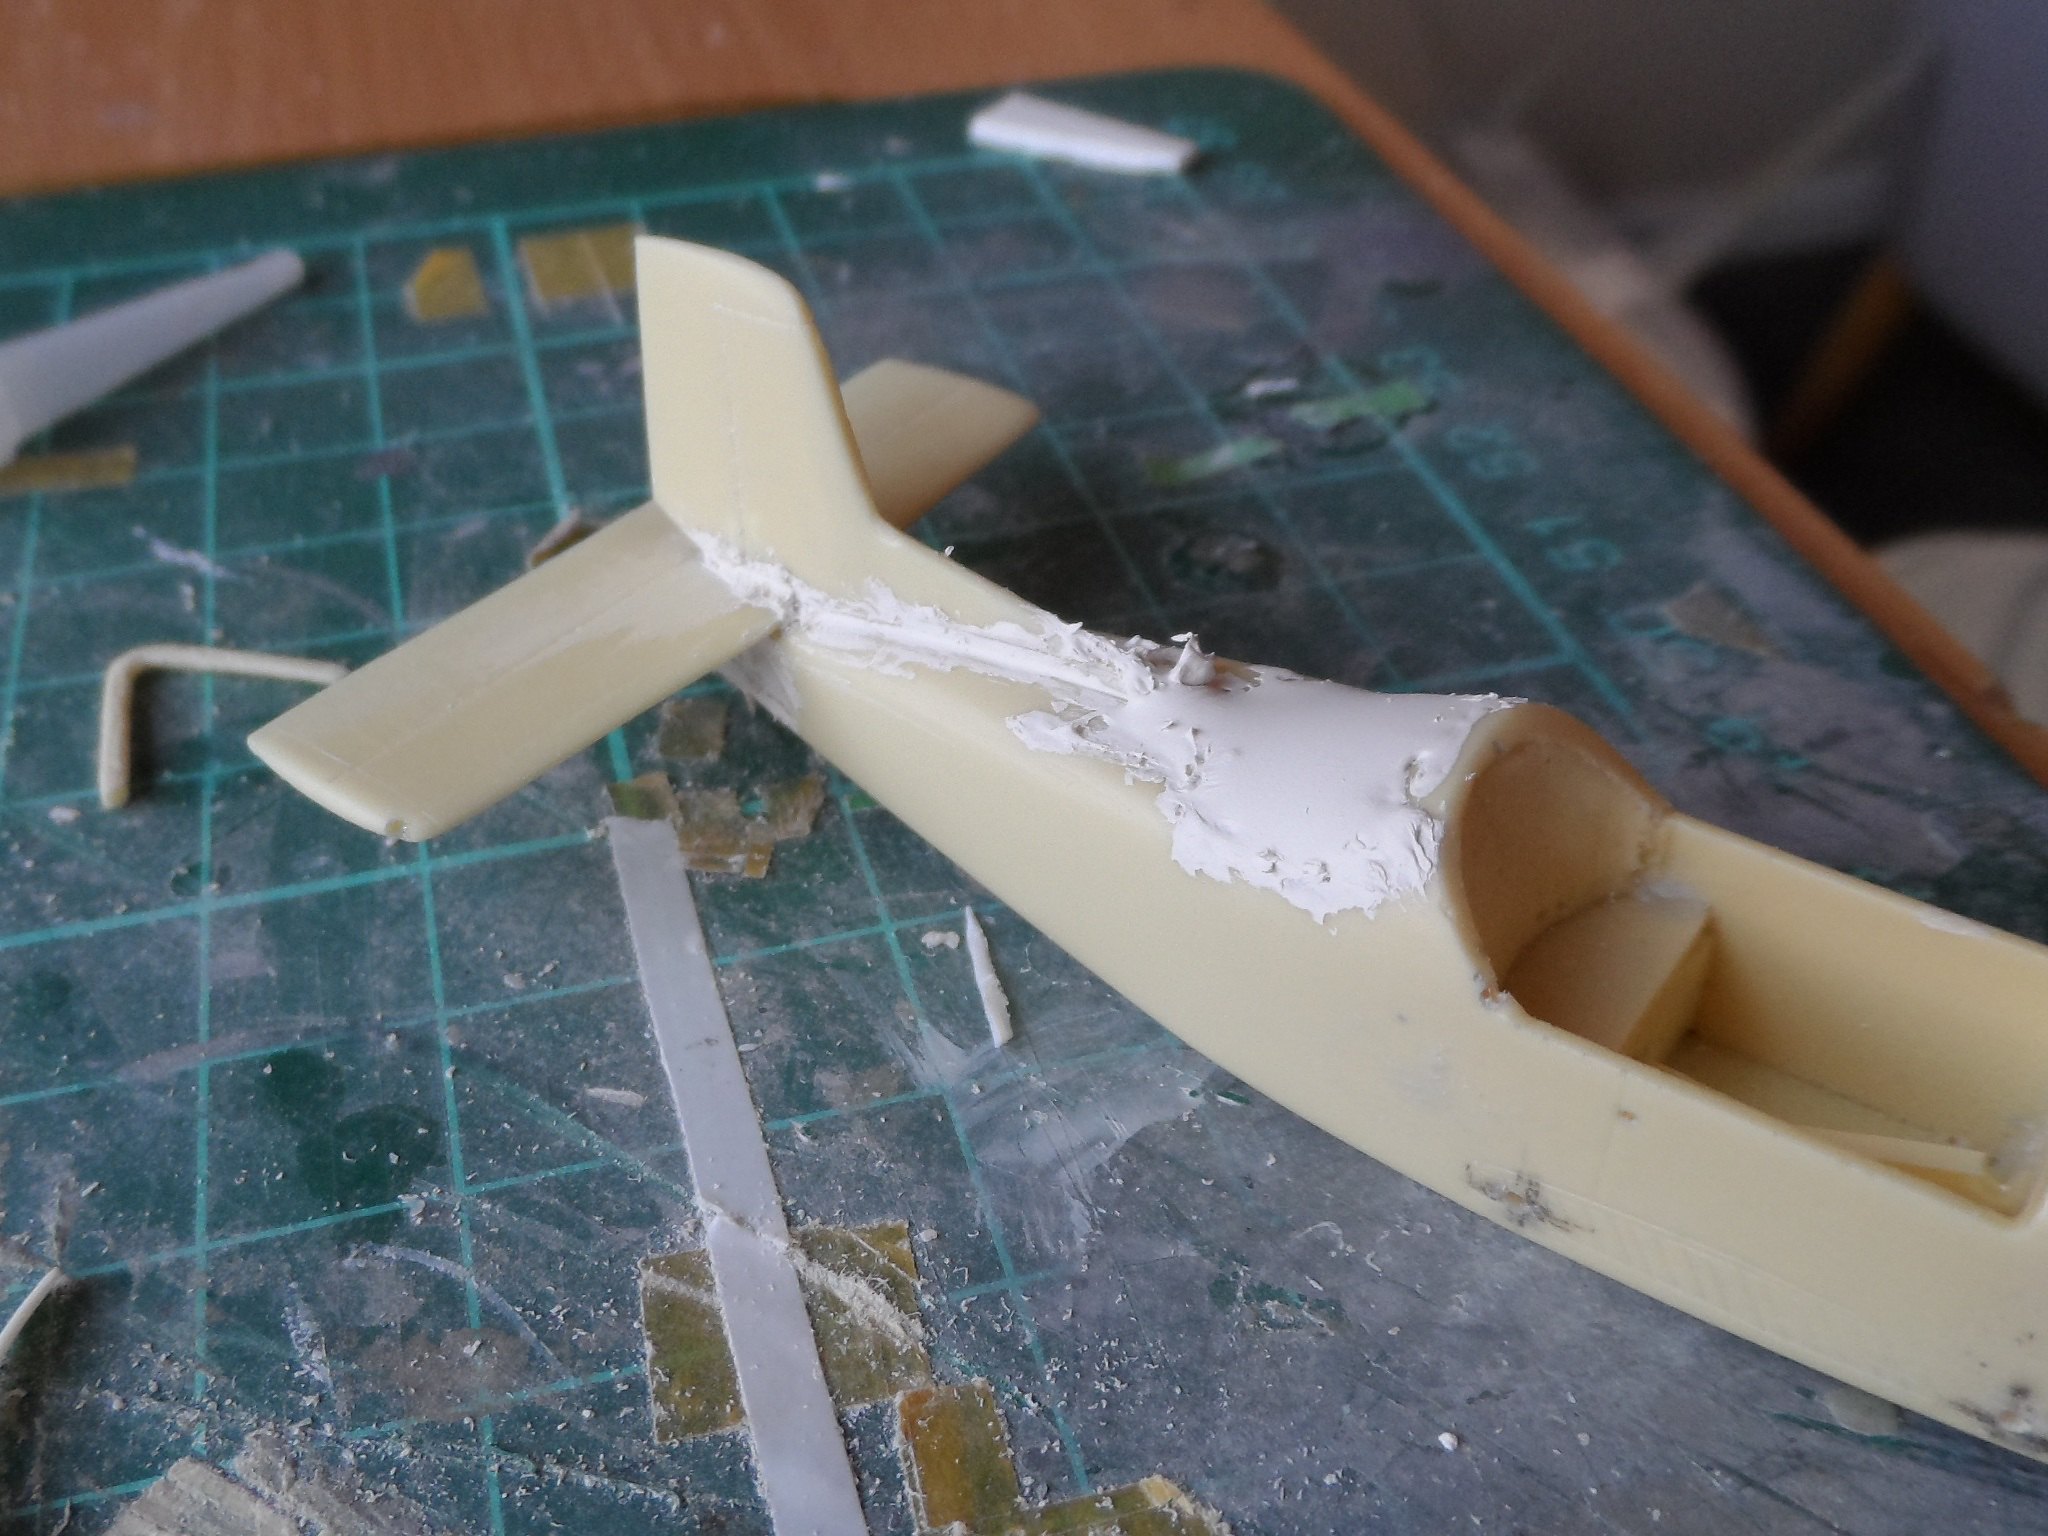
Studying some diagrams and images I found the rear fuselage need putty!
Since I was putting it on its wheels I had to make sure it was not going to be a tail sitter, so I drilled out the nose piece and the forward section of the main fuselage piece
and filled it with lead

But that was not enough, so I cut the rear fuselage in half and drilled those parts out as well
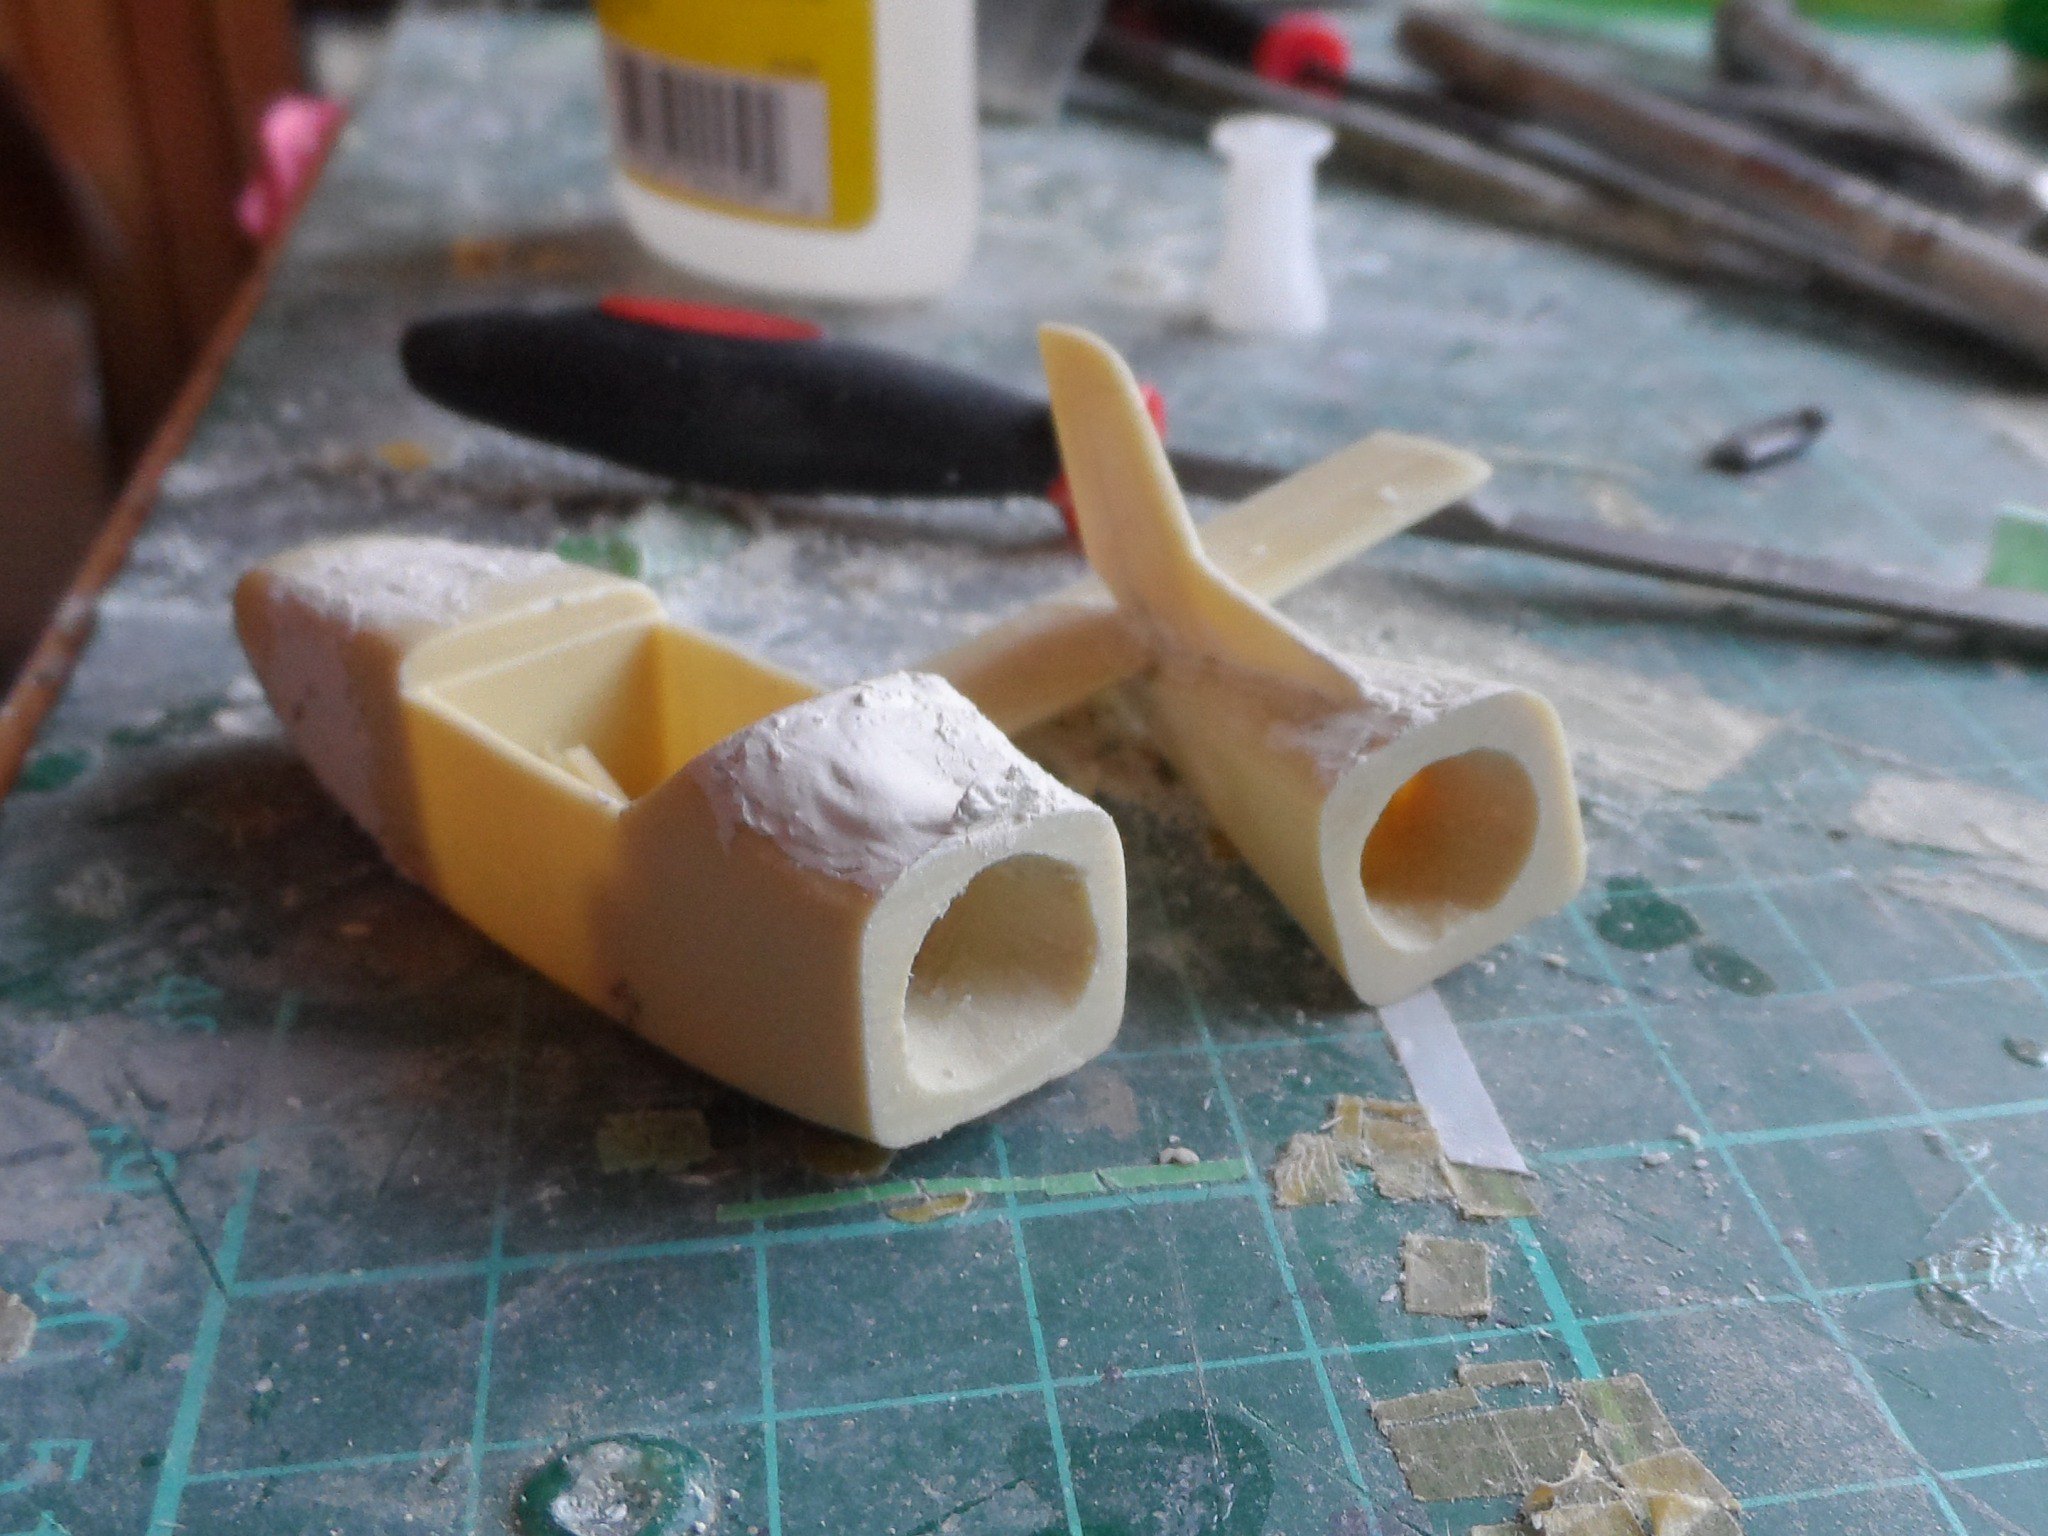
and then stuck it all back together
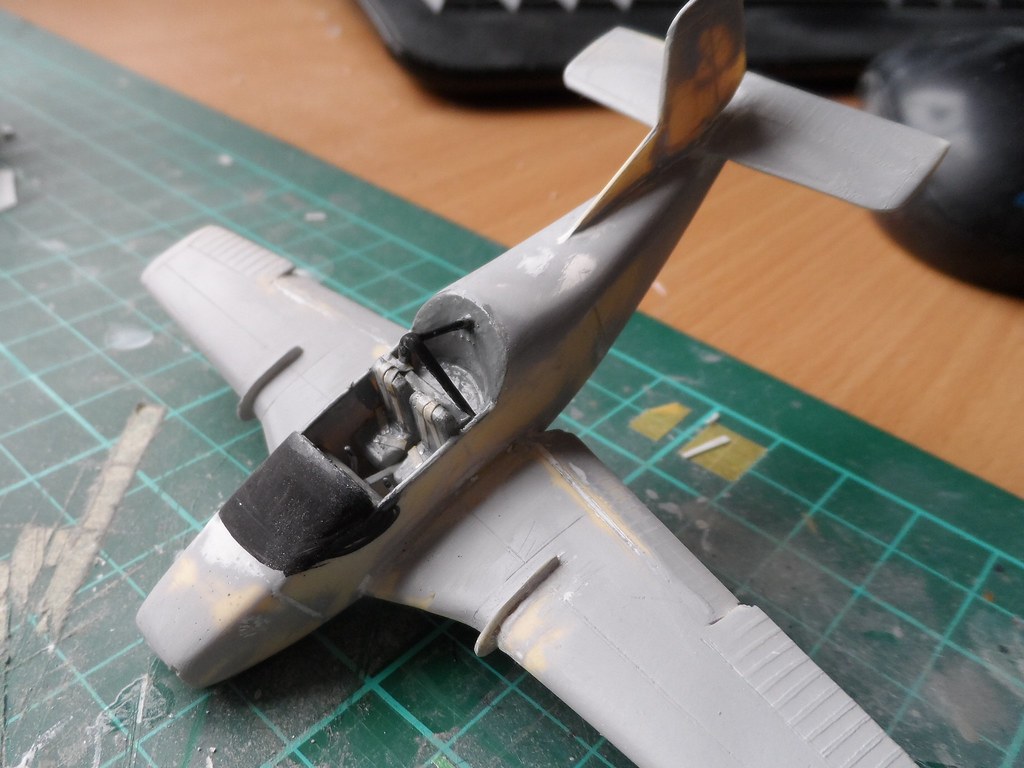
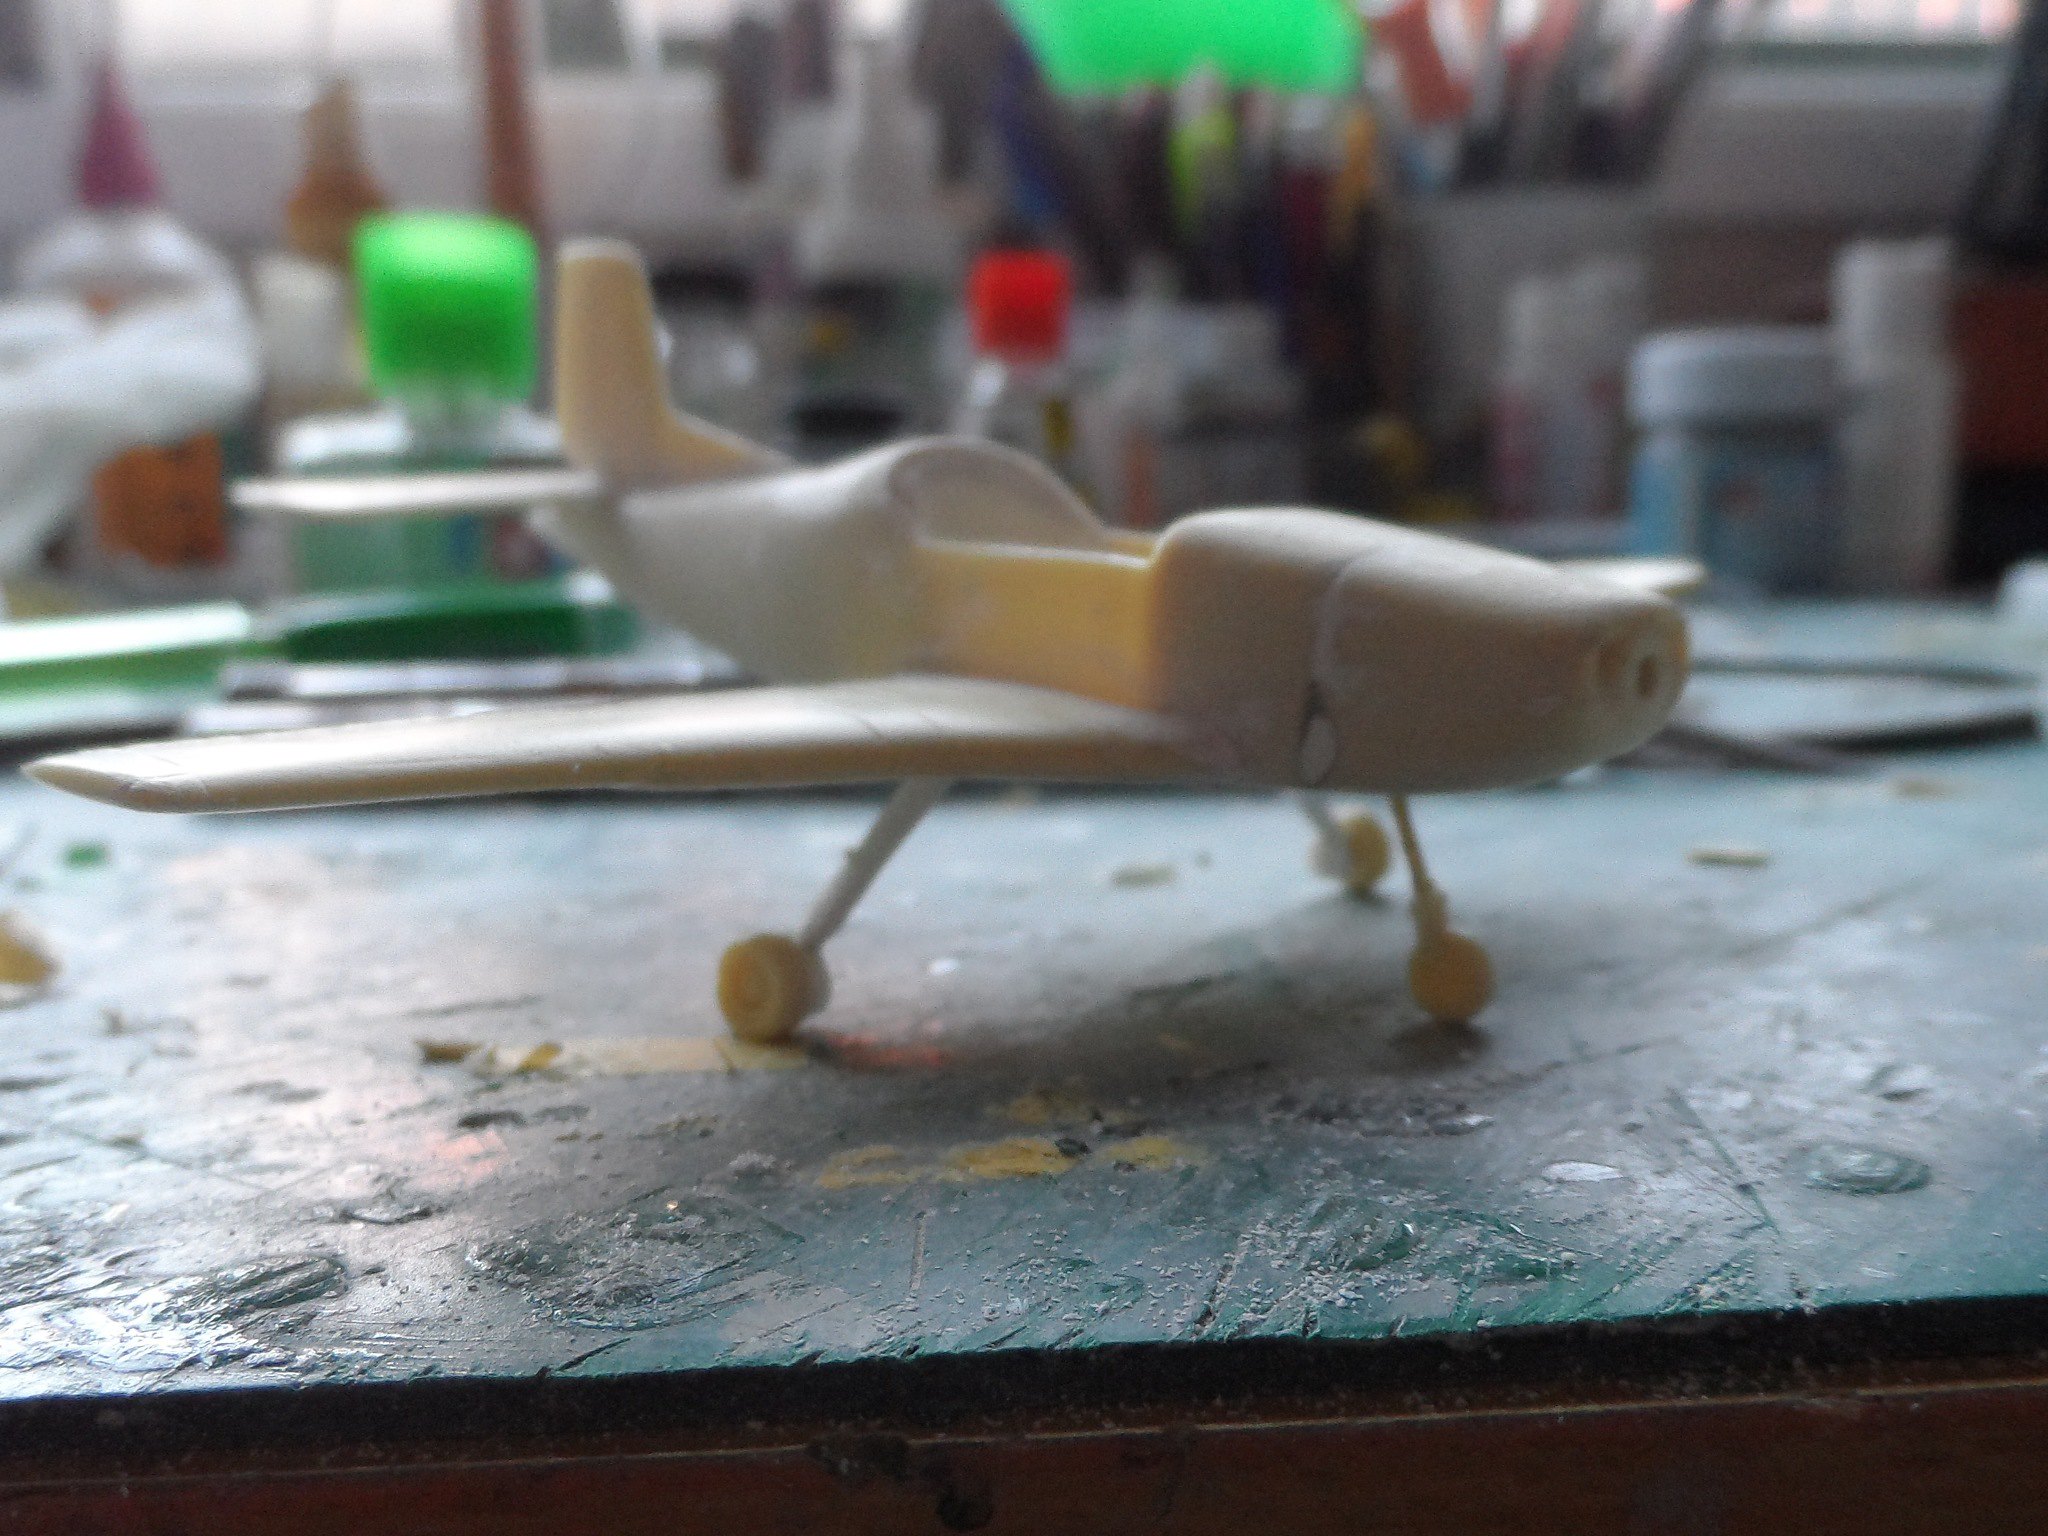
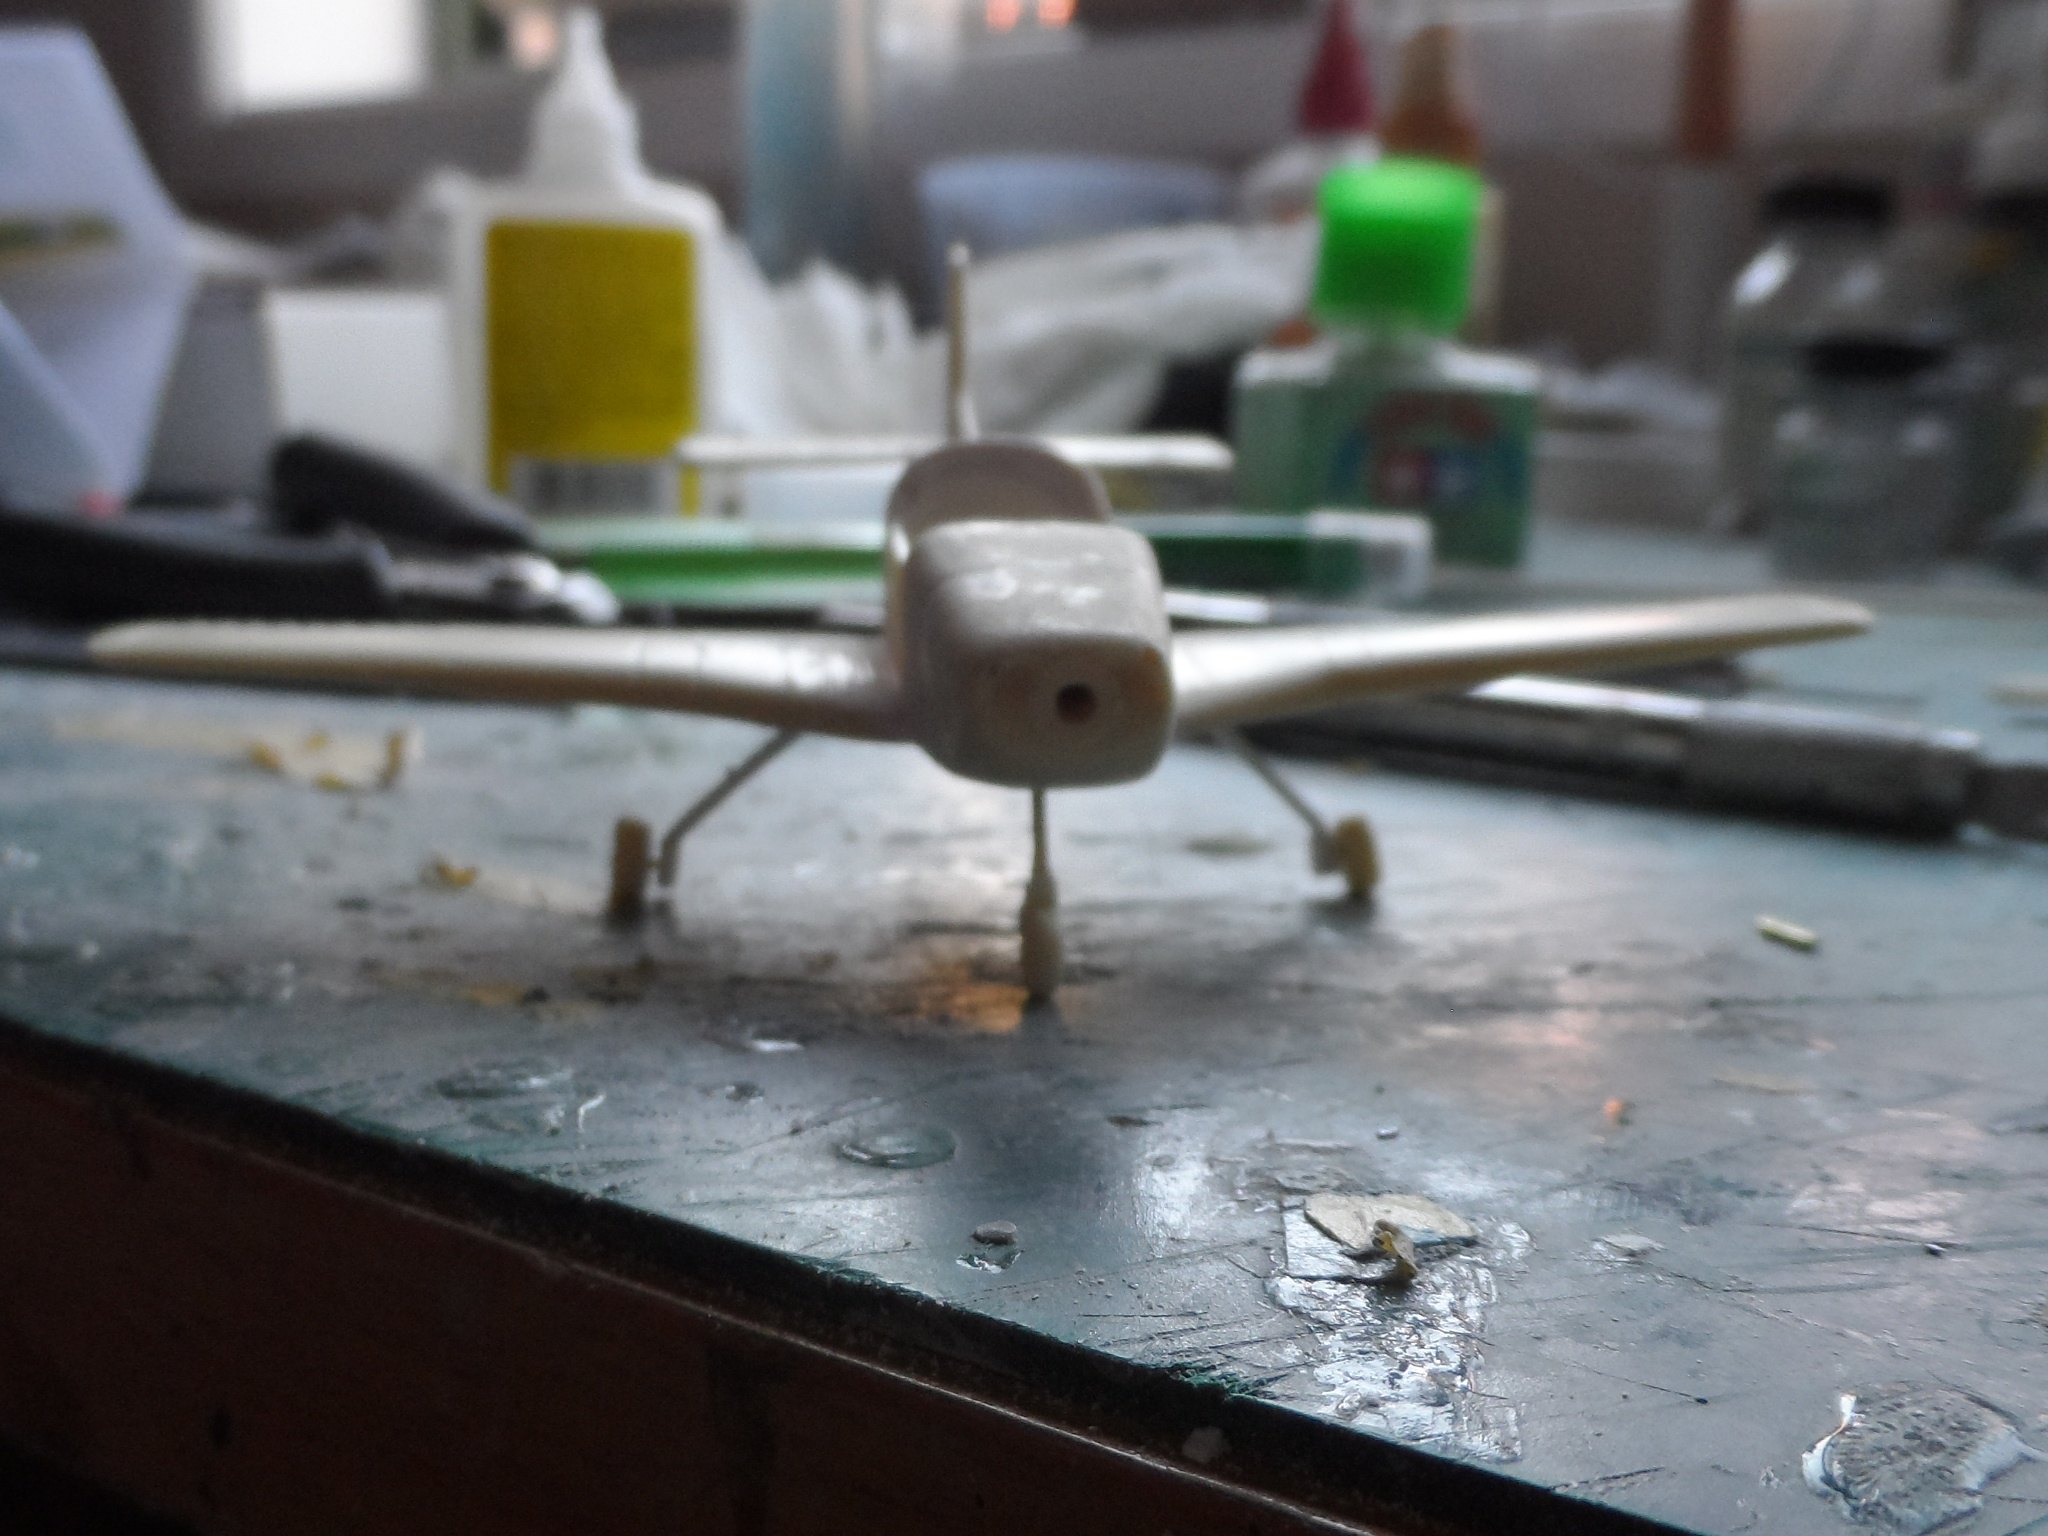
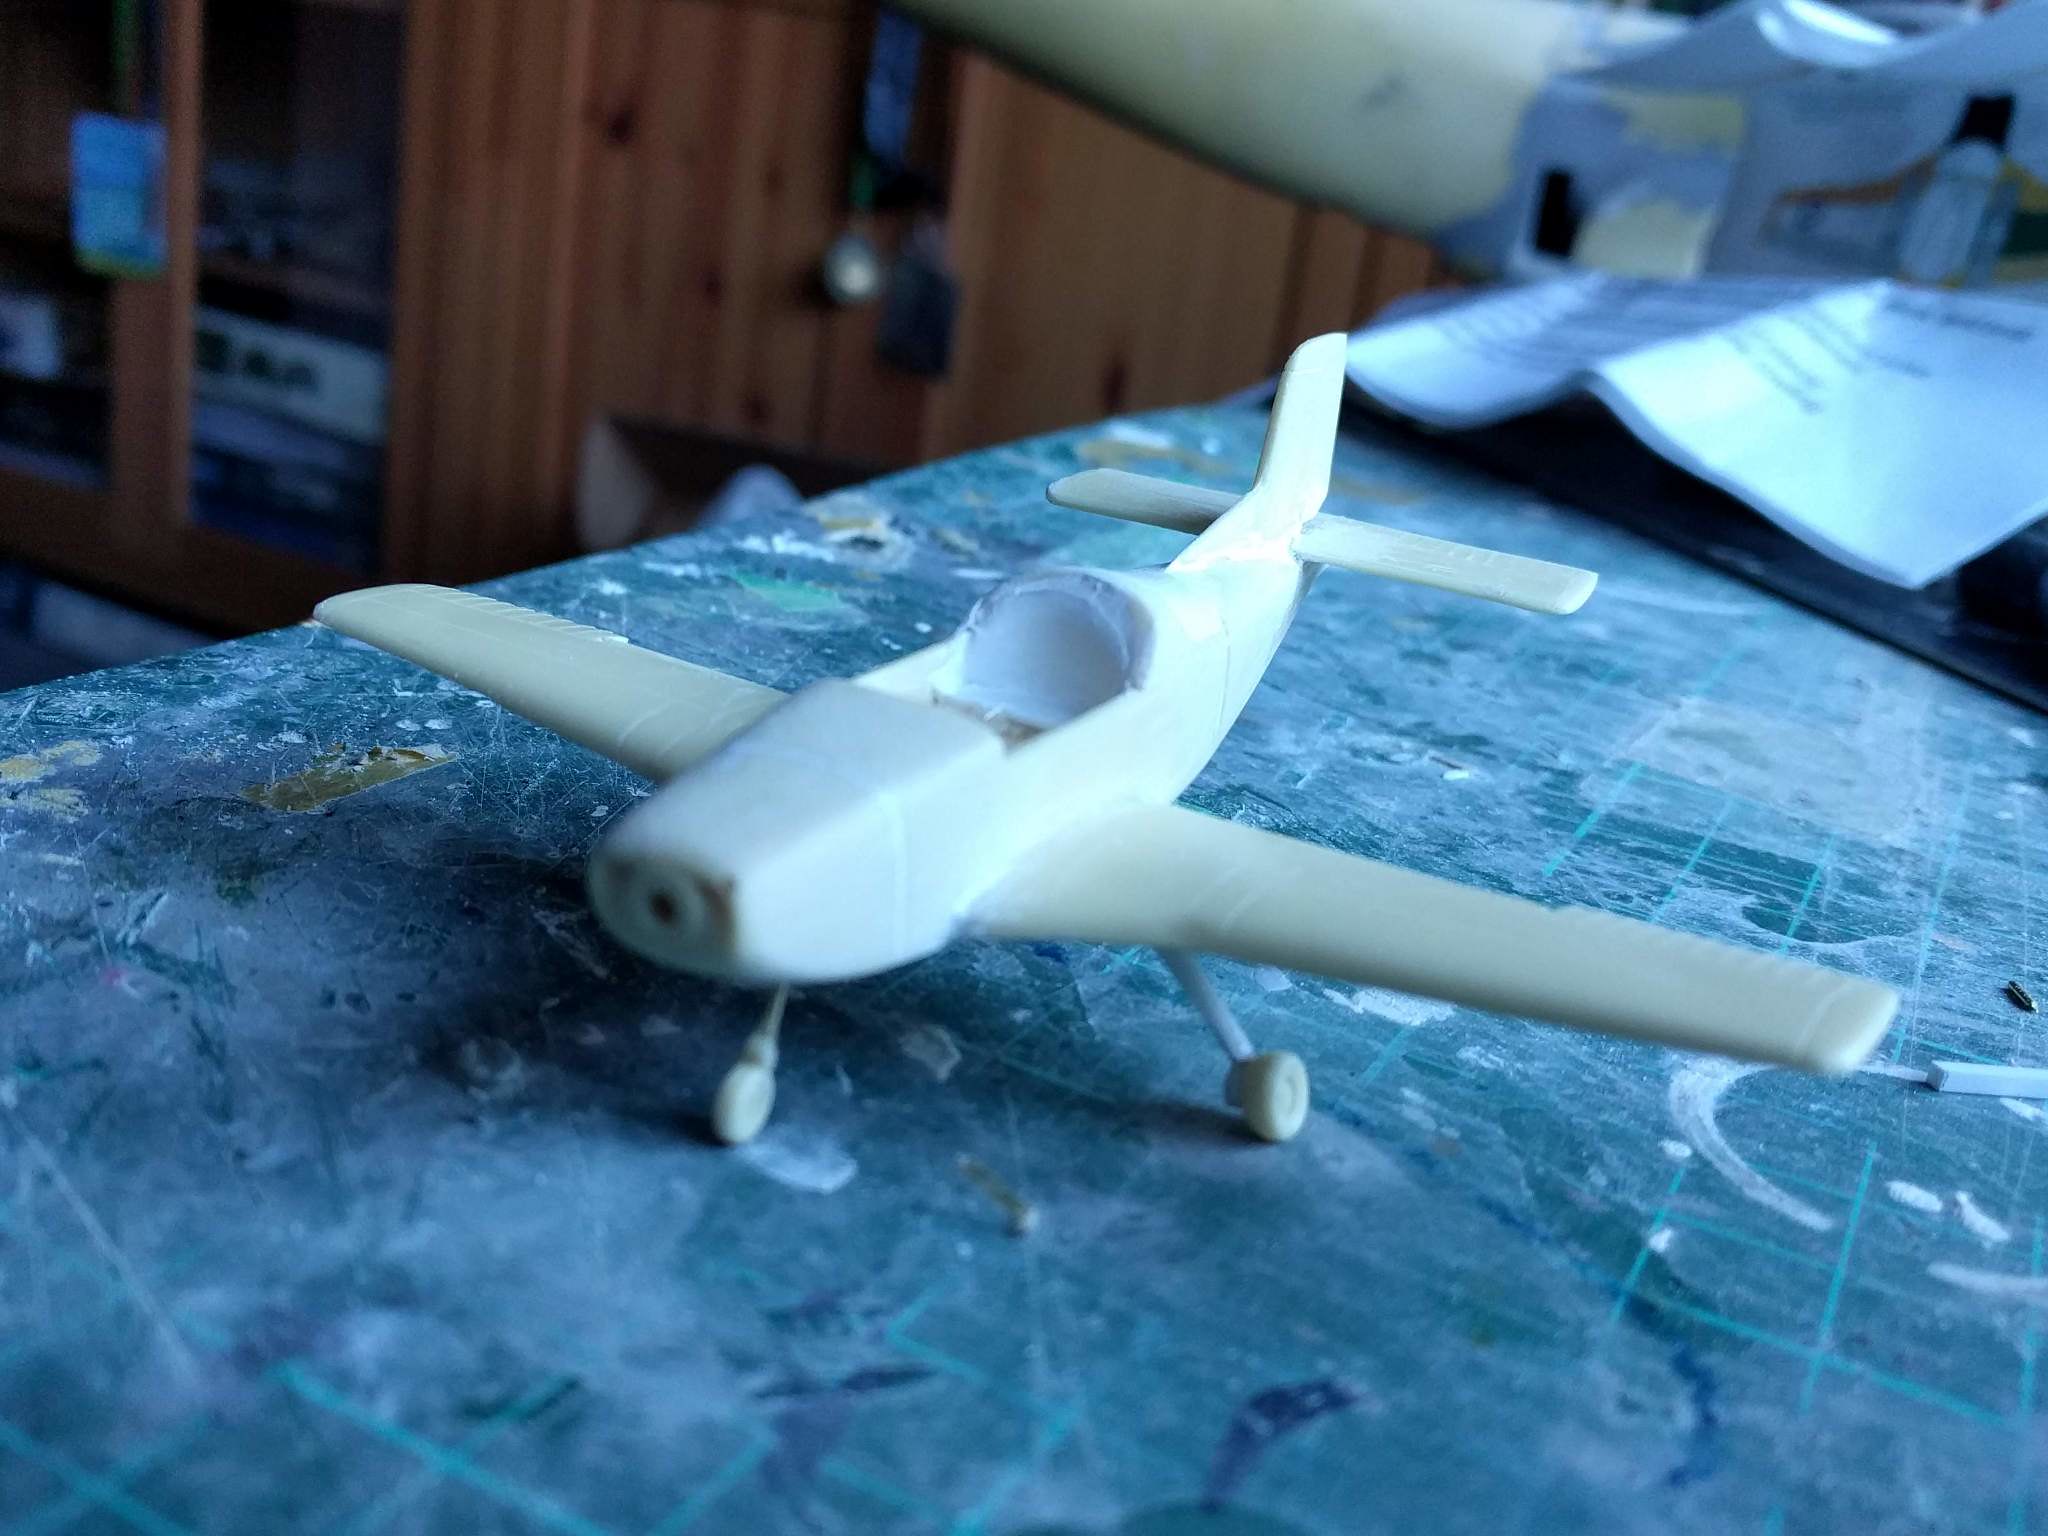
Next was the gear, The resin looked flimsy so I recreated the main legs with styrene and brass wire
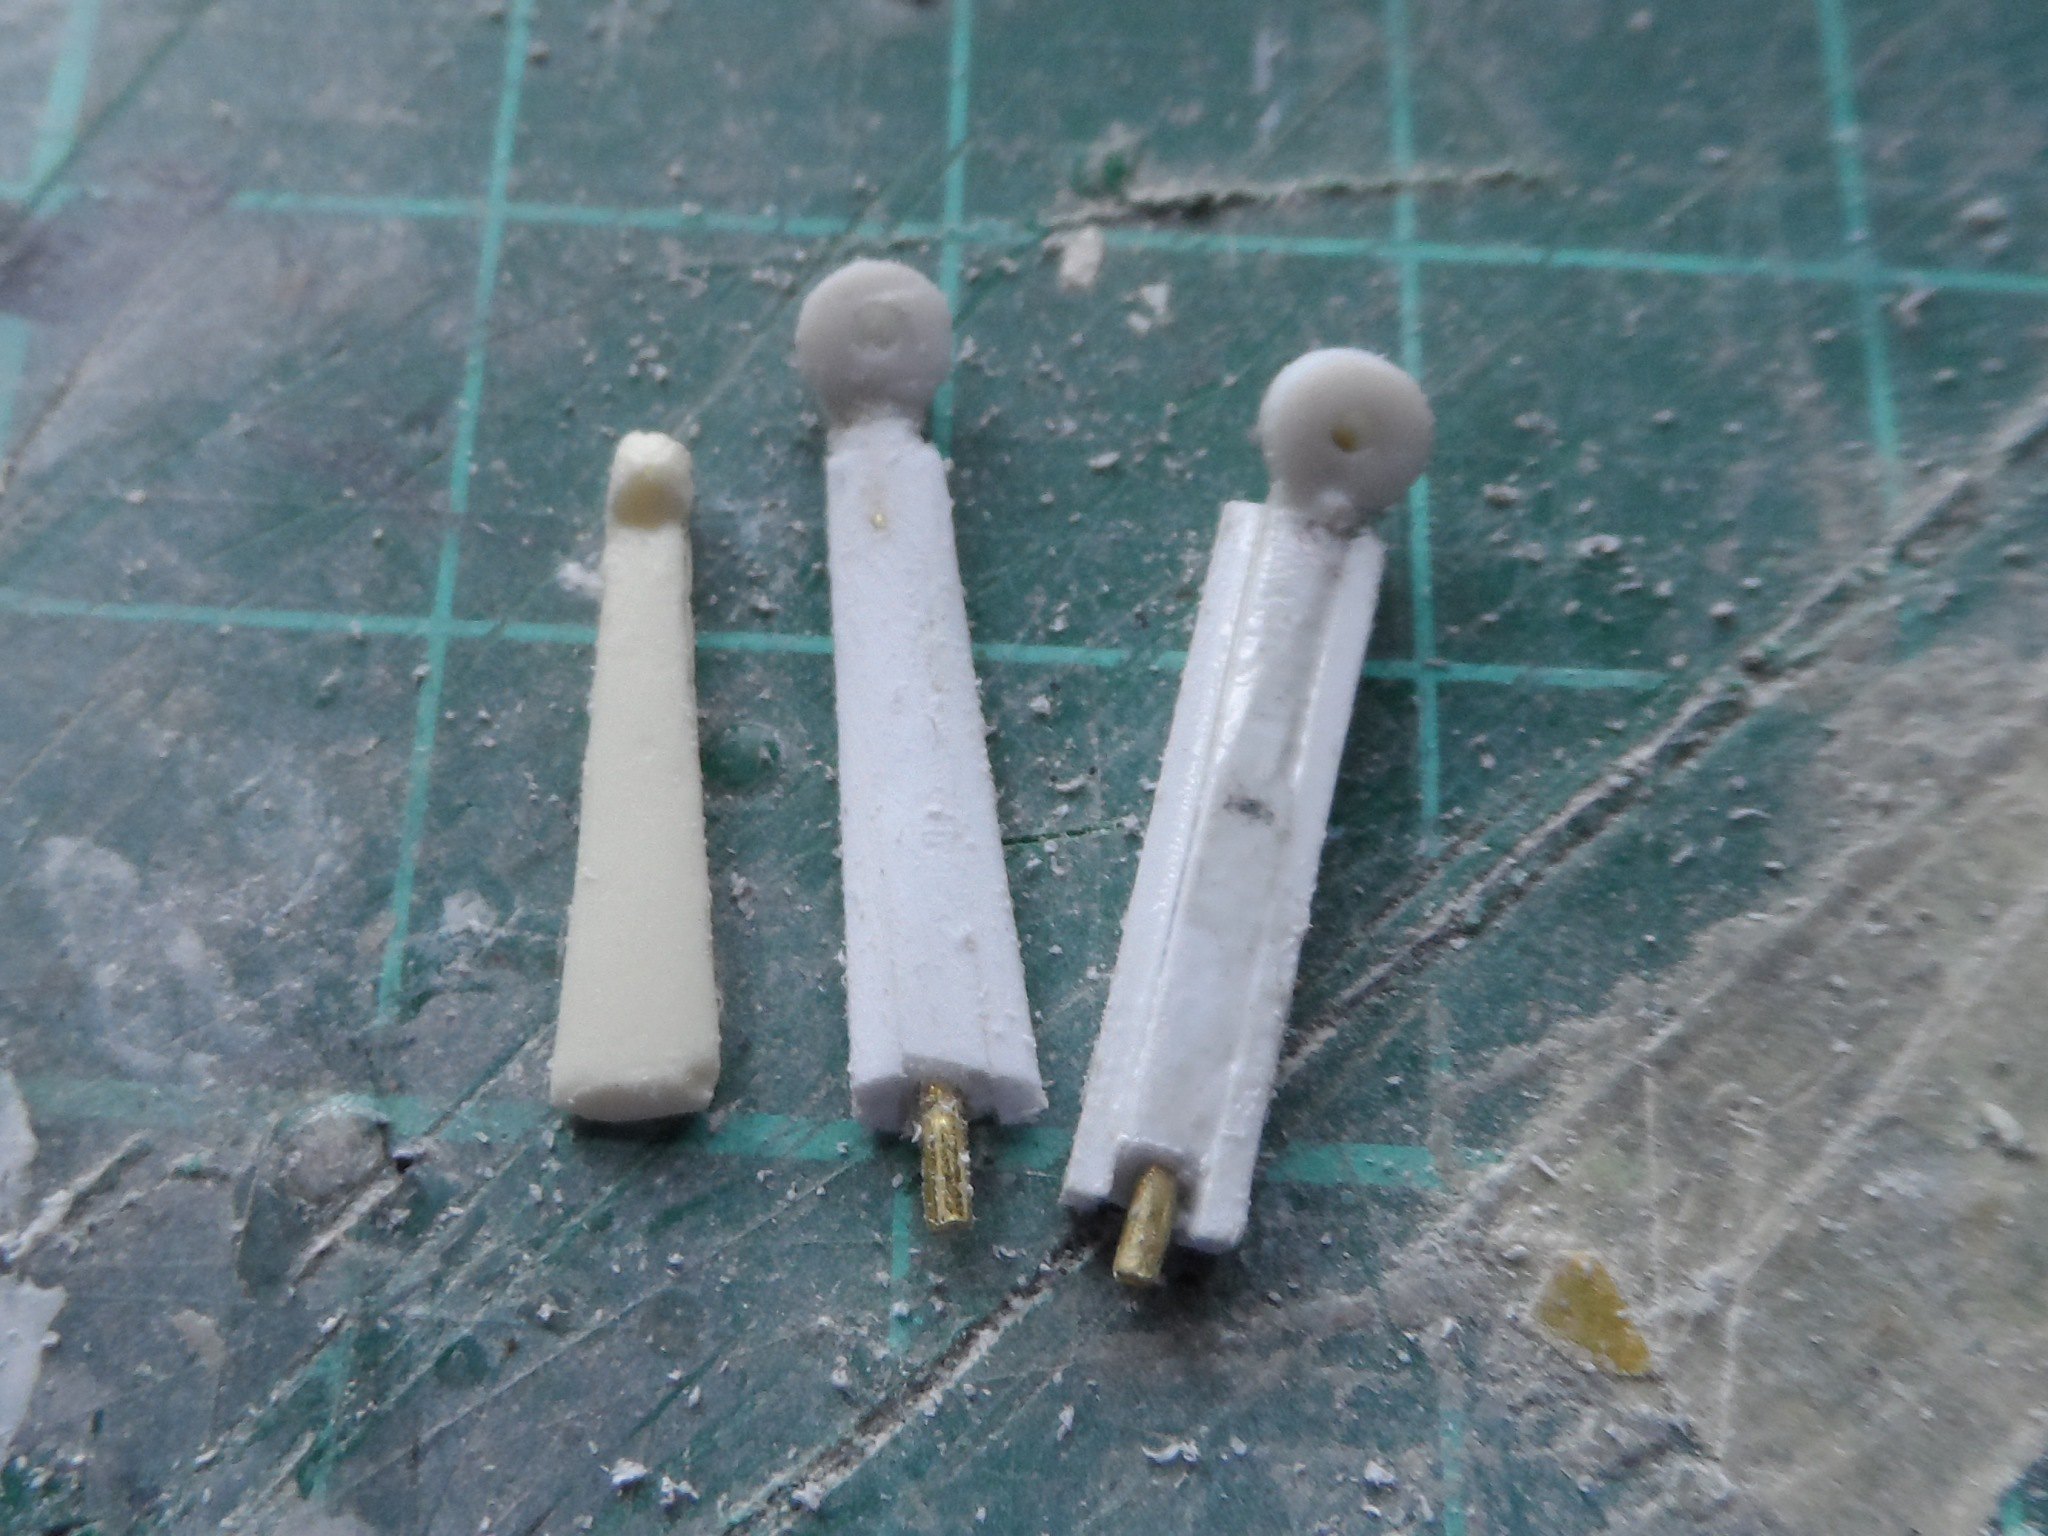
resulting in this
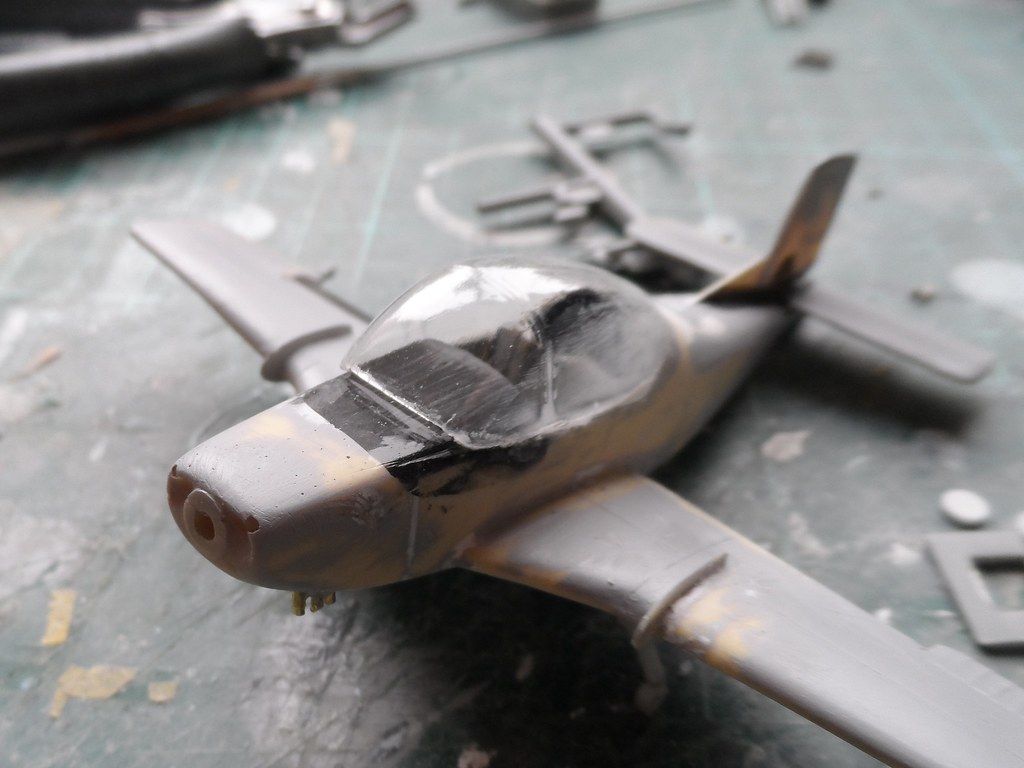
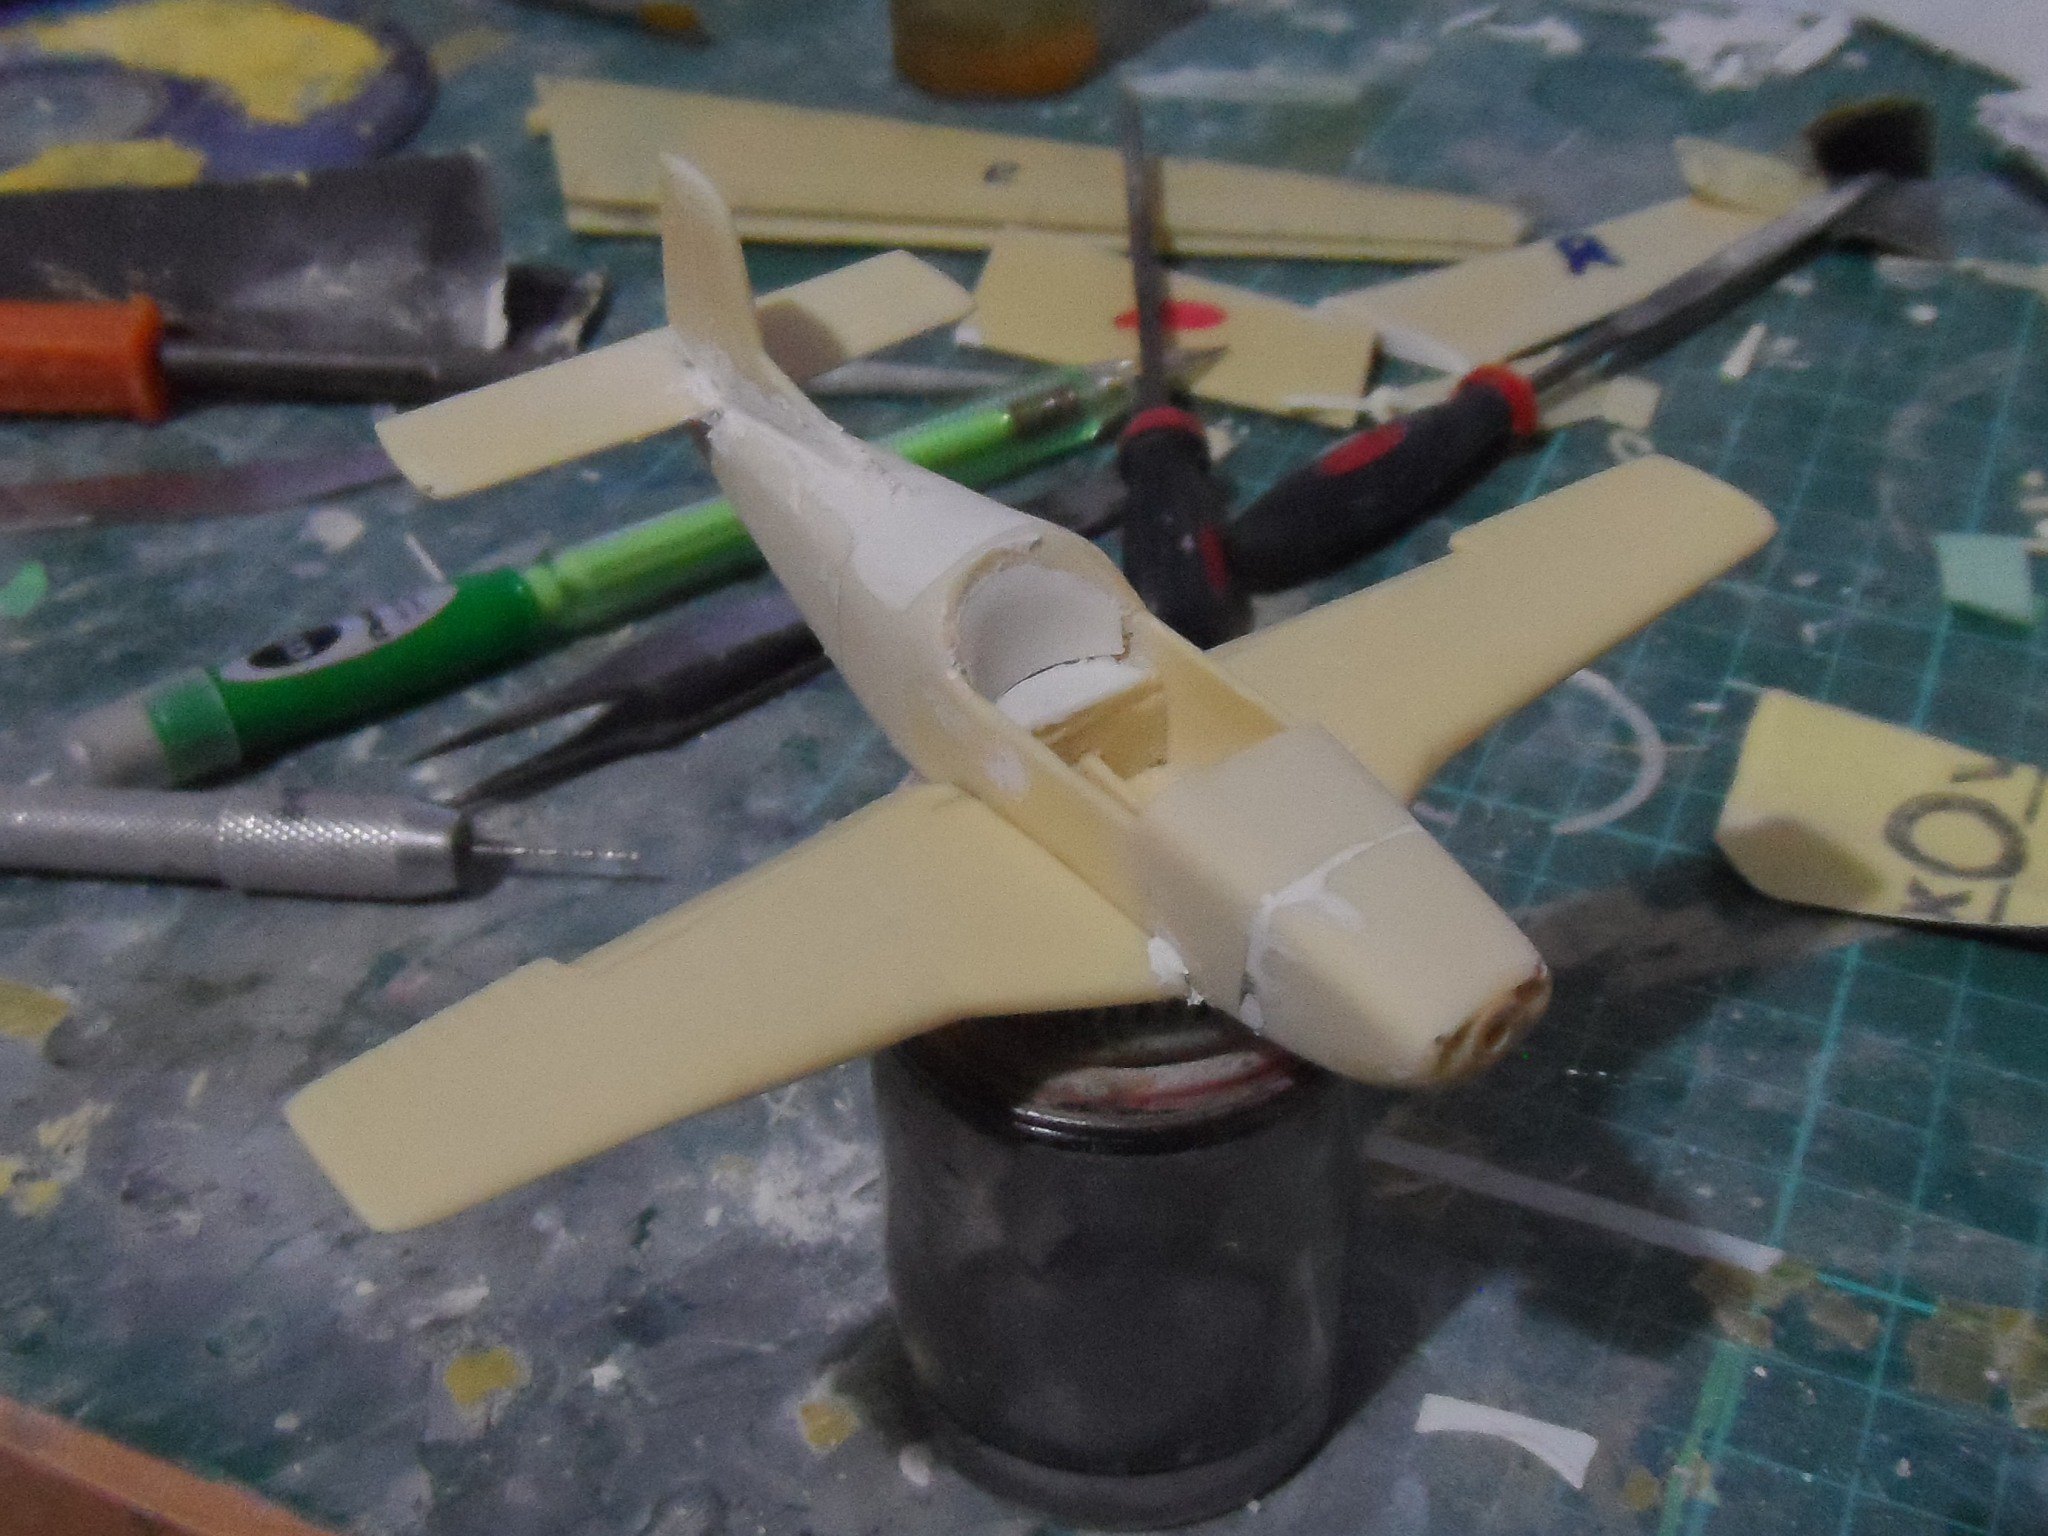
That is as far Ias I got, next will be the canpoy and starting to figure out haow the cockpit parts go in.
I started the Kiwi resin kit a couple of weeks ago as part of a BritModeller Trainers Group build.
Work has progressed quickly but I am losing interest as my AModel G-550 and C-37B have arrived (must resist the temptation!)
I have a connection to the build subject A19-49 as it was the first CT-4 I jumped into at 1FTS as part of a misguided notion to become a RAAF Navigator last century.
The kit is all resin with a vac form canopy
I started by removing the pore stubs from the pieces with the trusty razor saw
Such a small little piece of resin compared to the C-17 I am working on, that's the horizontal stab for size reference
I started with pinning the main parts for some joint strength
Studying some diagrams and images I found the rear fuselage need putty!
Since I was putting it on its wheels I had to make sure it was not going to be a tail sitter, so I drilled out the nose piece and the forward section of the main fuselage piece
and filled it with lead
But that was not enough, so I cut the rear fuselage in half and drilled those parts out as well
and then stuck it all back together
Next was the gear, The resin looked flimsy so I recreated the main legs with styrene and brass wire
resulting in this
That is as far Ias I got, next will be the canpoy and starting to figure out haow the cockpit parts go in.