Page 1 of 4

Cessna 195 on floats

PostPosted: Wed Aug 22, 2018 5:16 am
by Uros
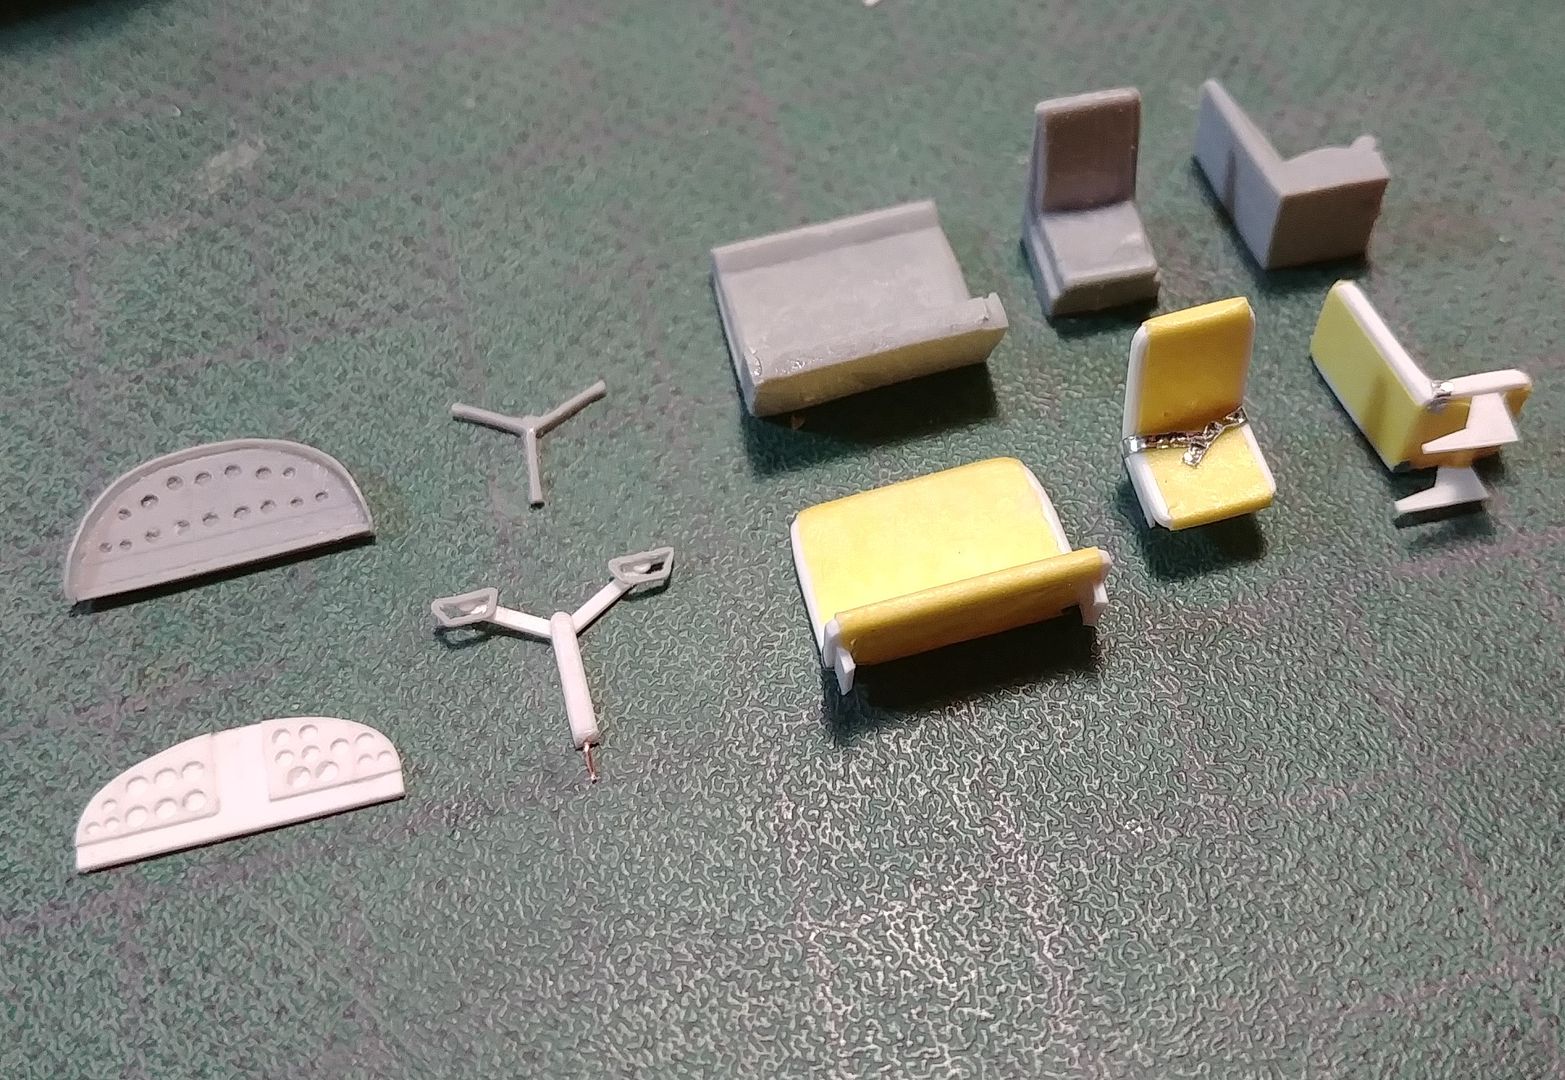
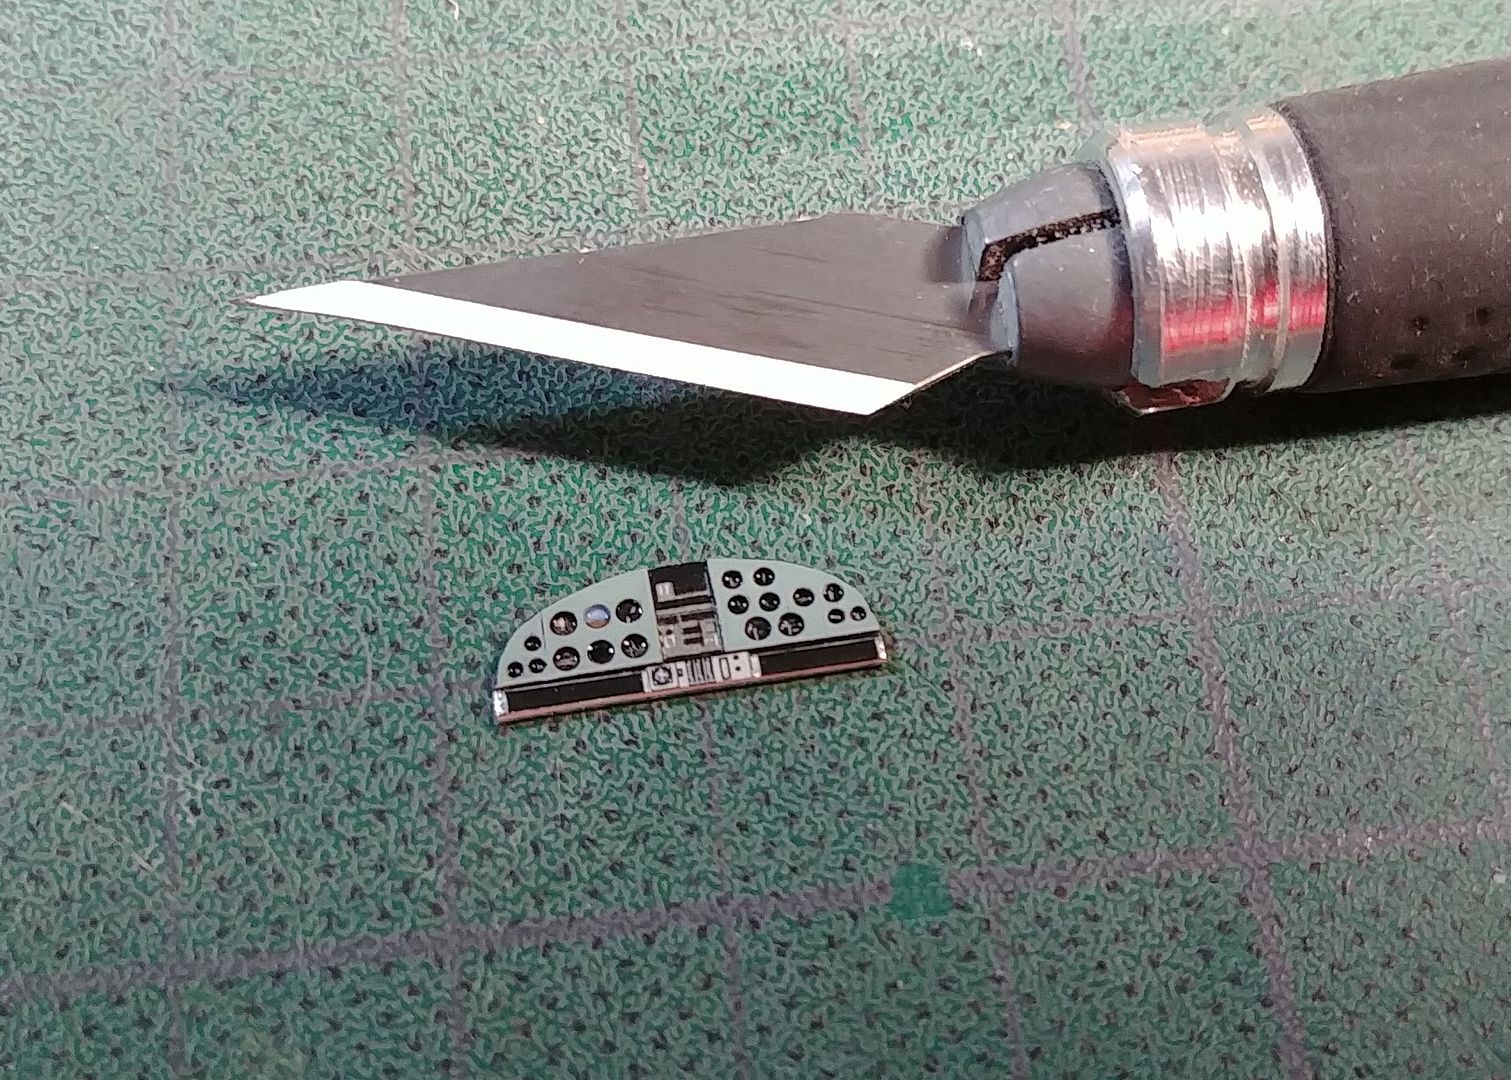
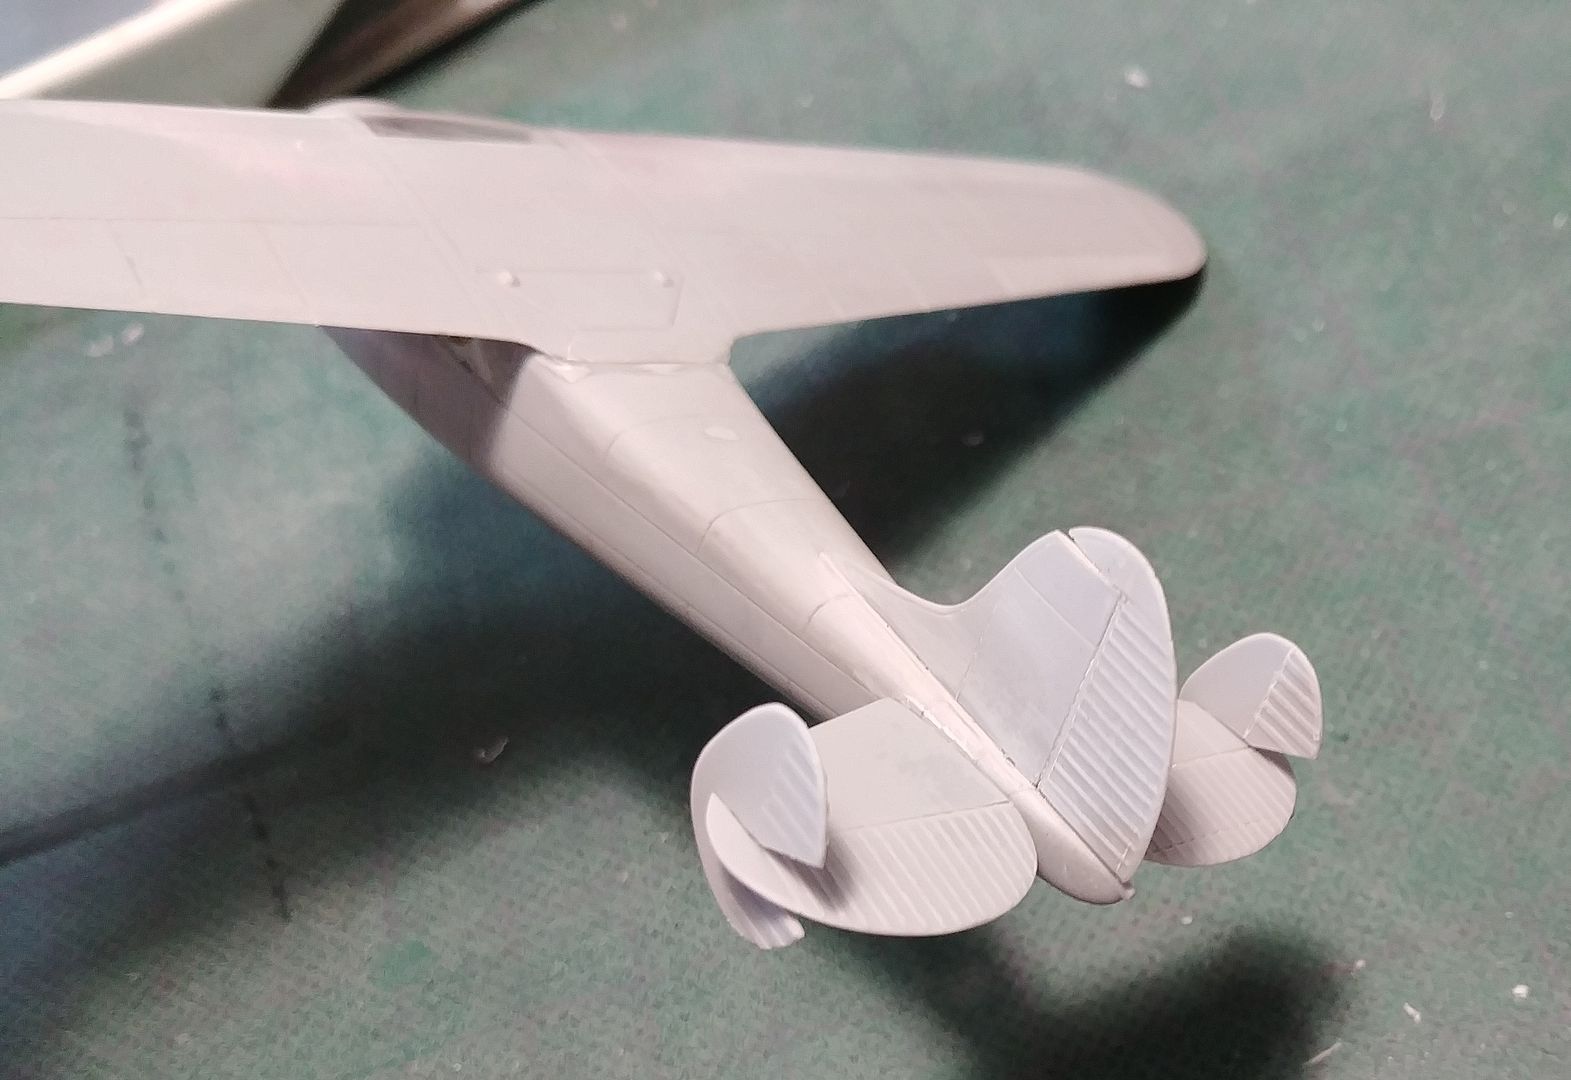
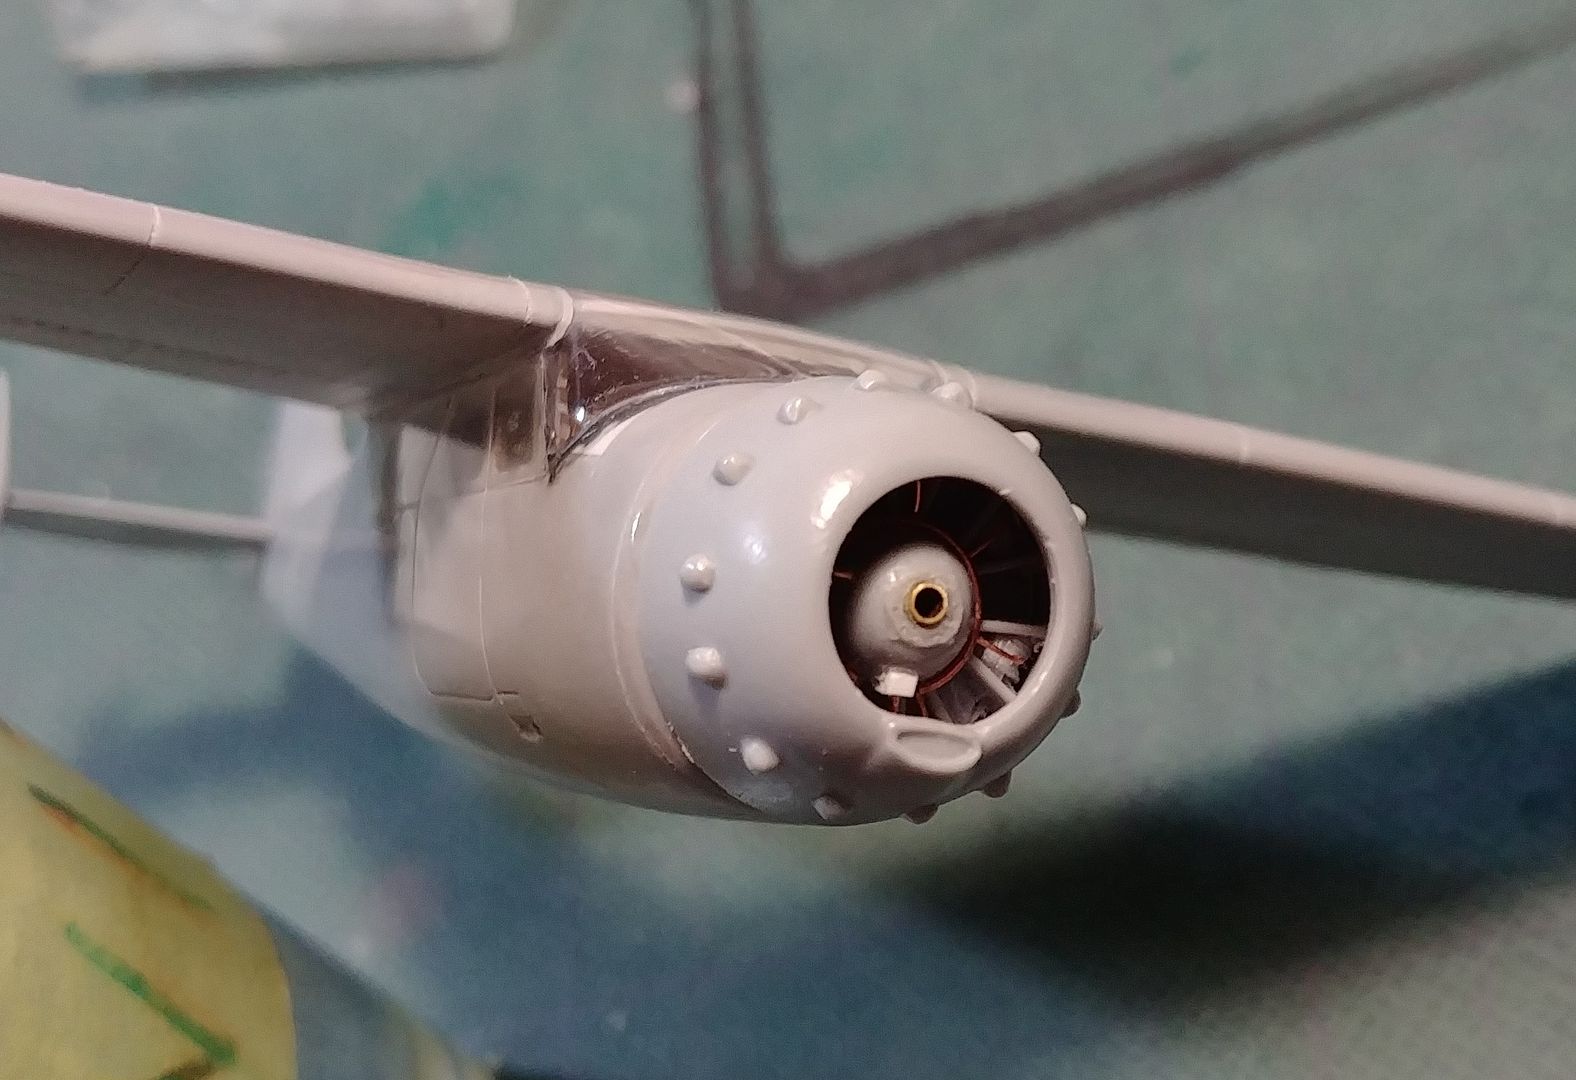
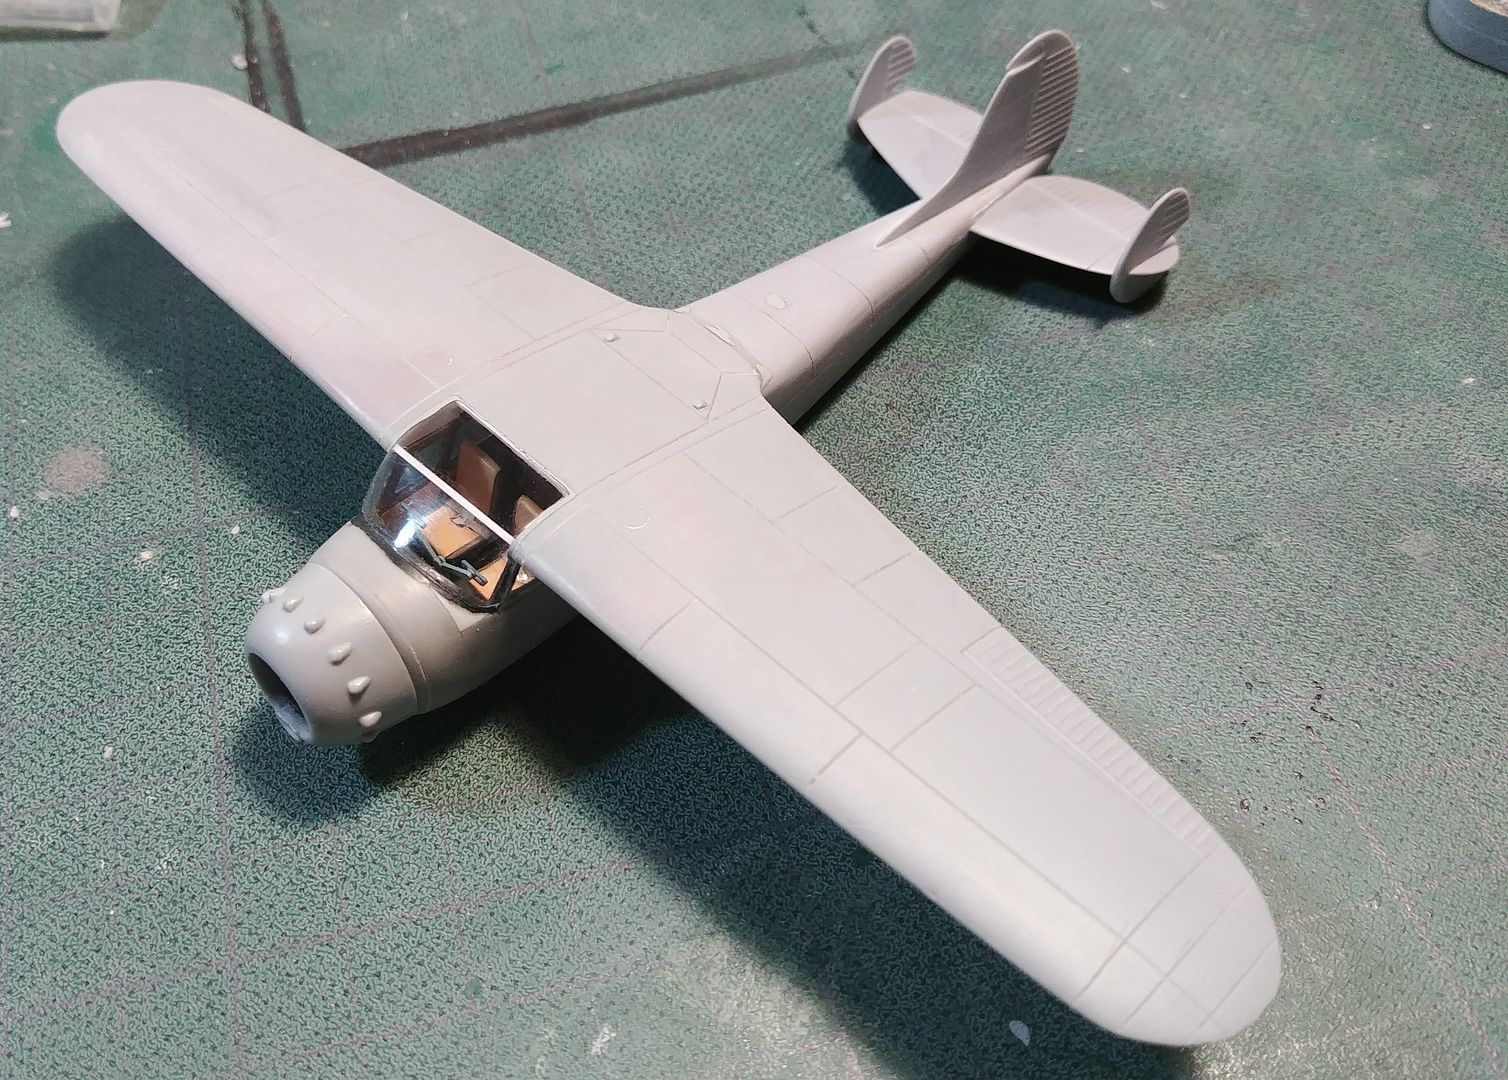
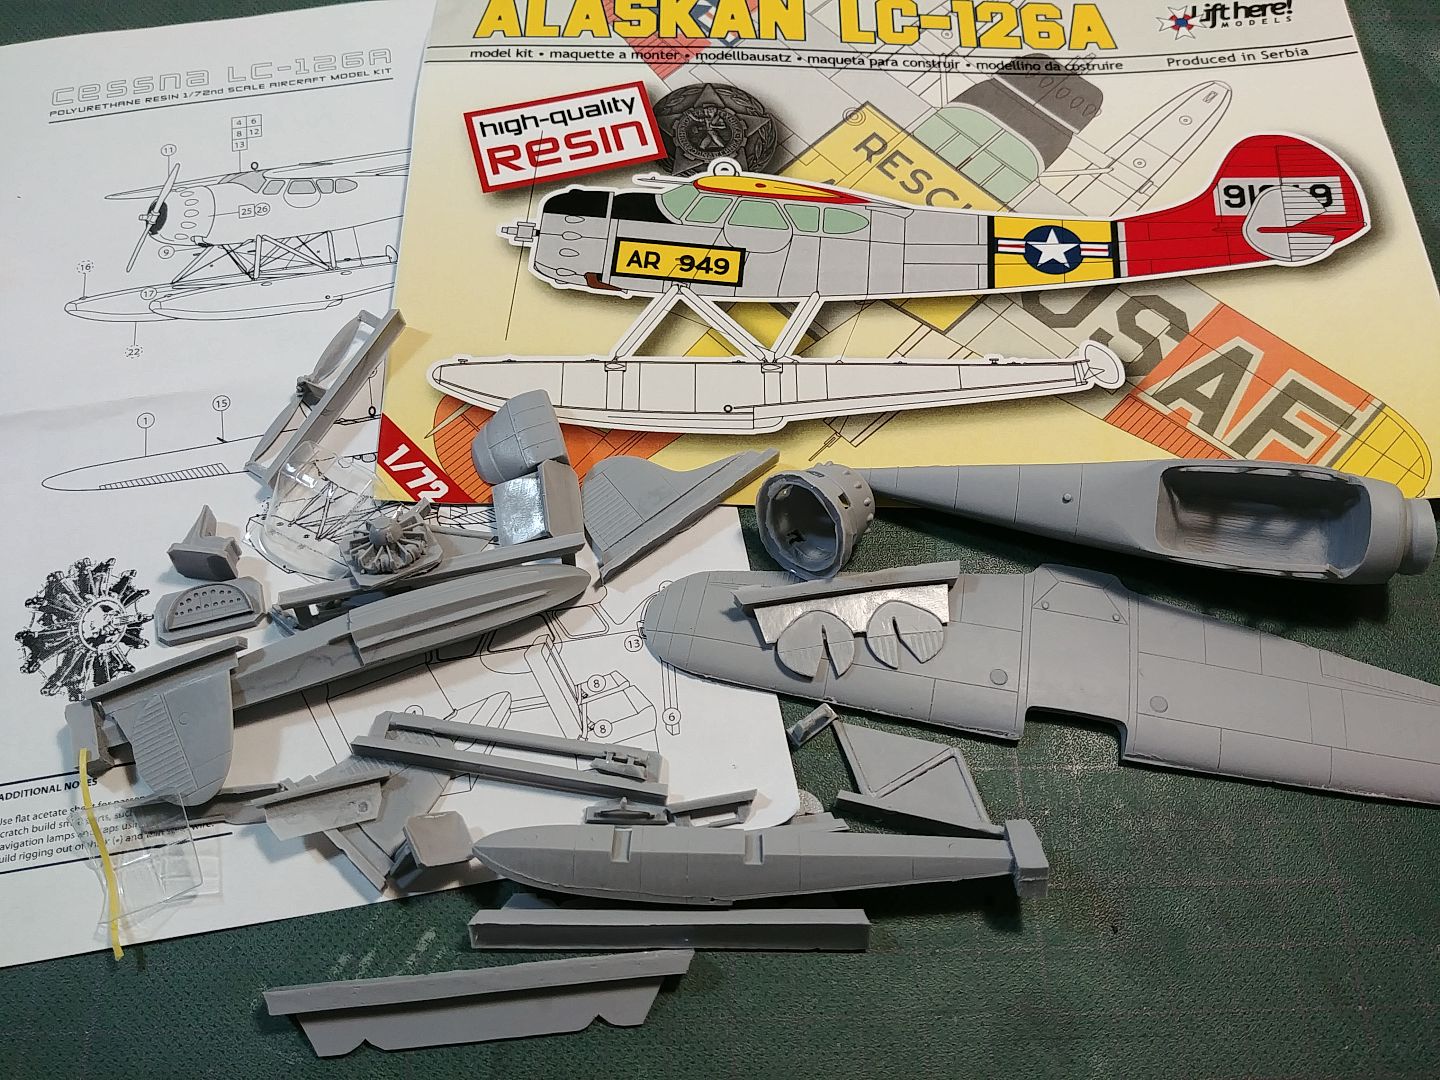
I love floatplanes and have a few in the stash, but have never built any. Time to change that! Kit is from Lift here Resin in 1/72nd.
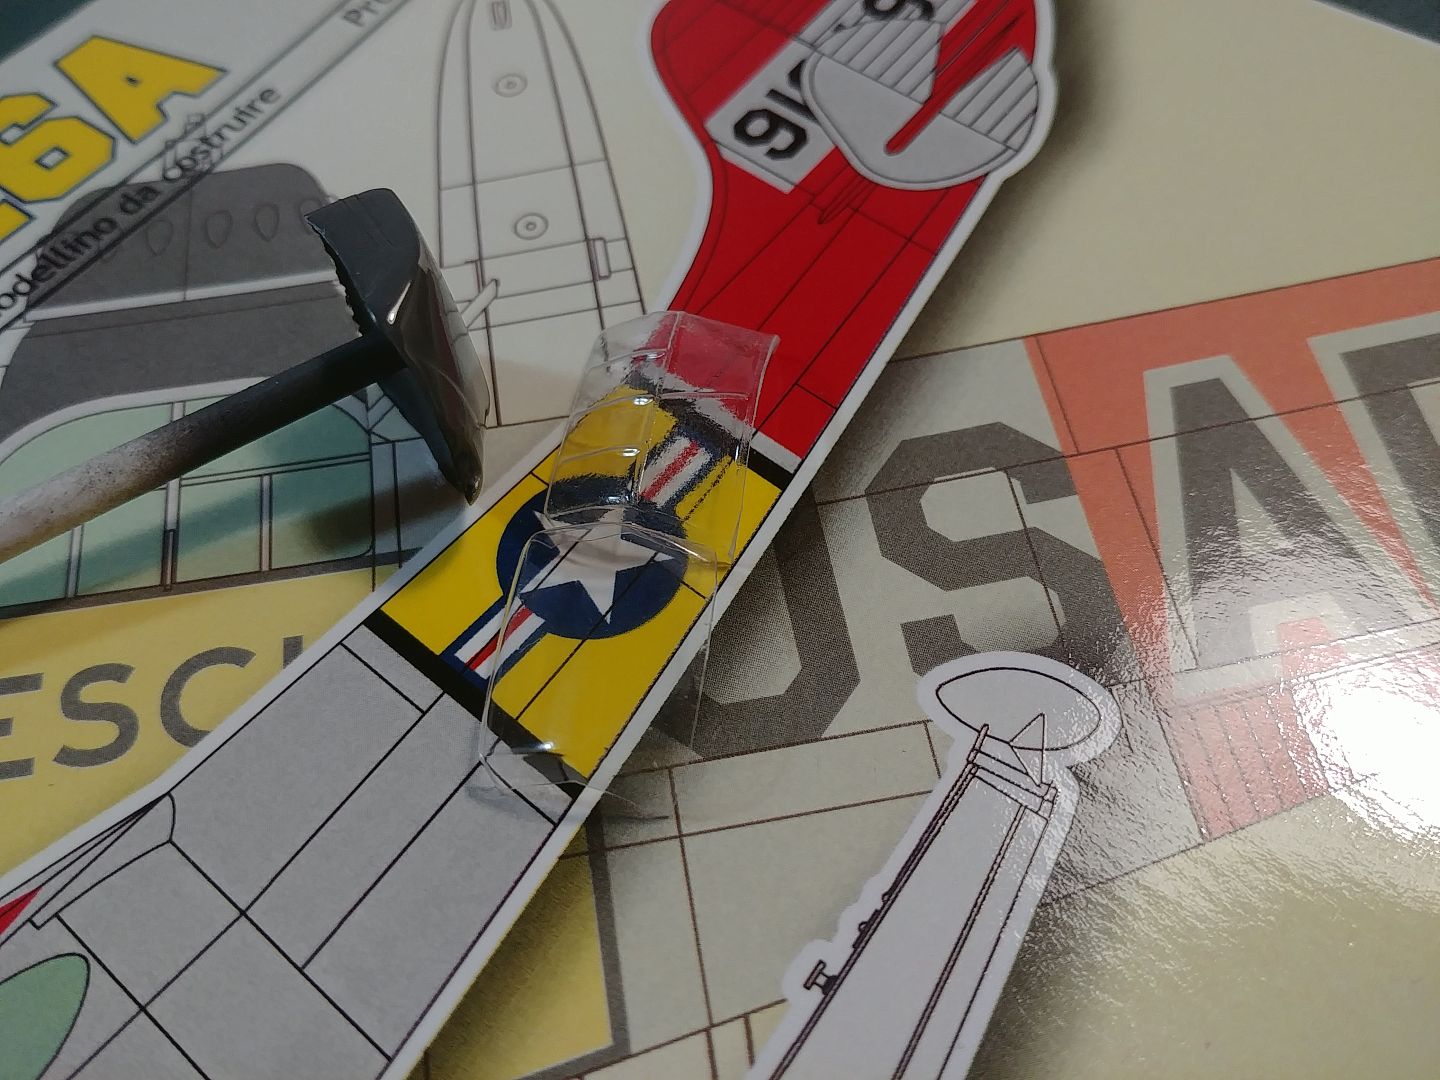
I'll make a civil vesion of this.
Image

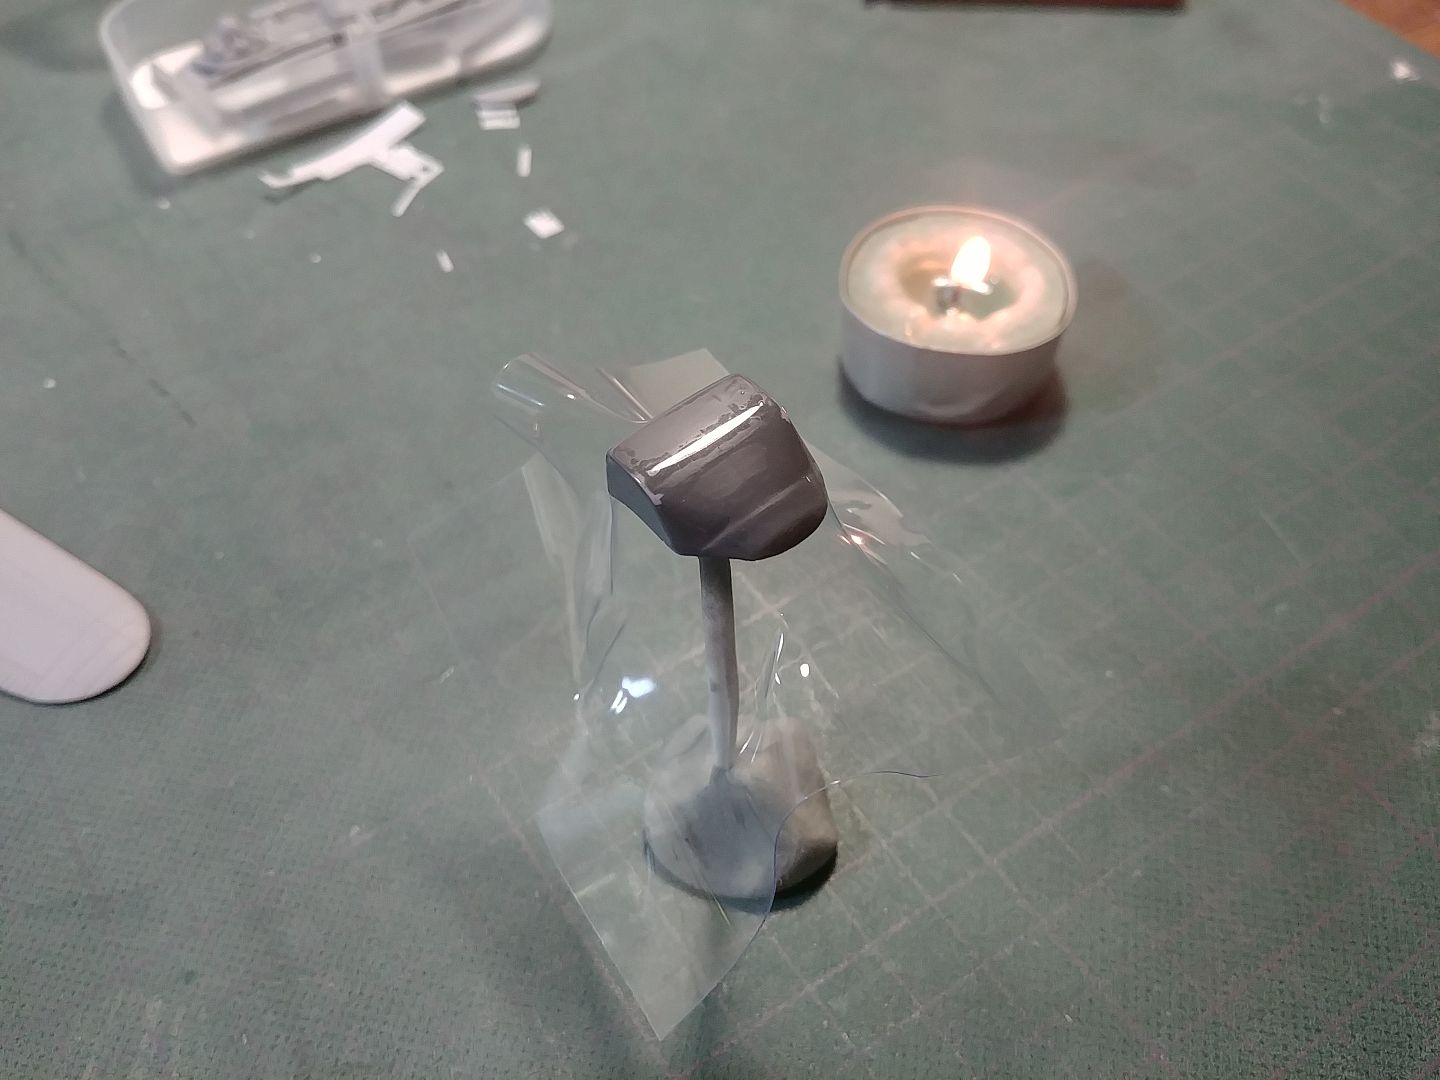
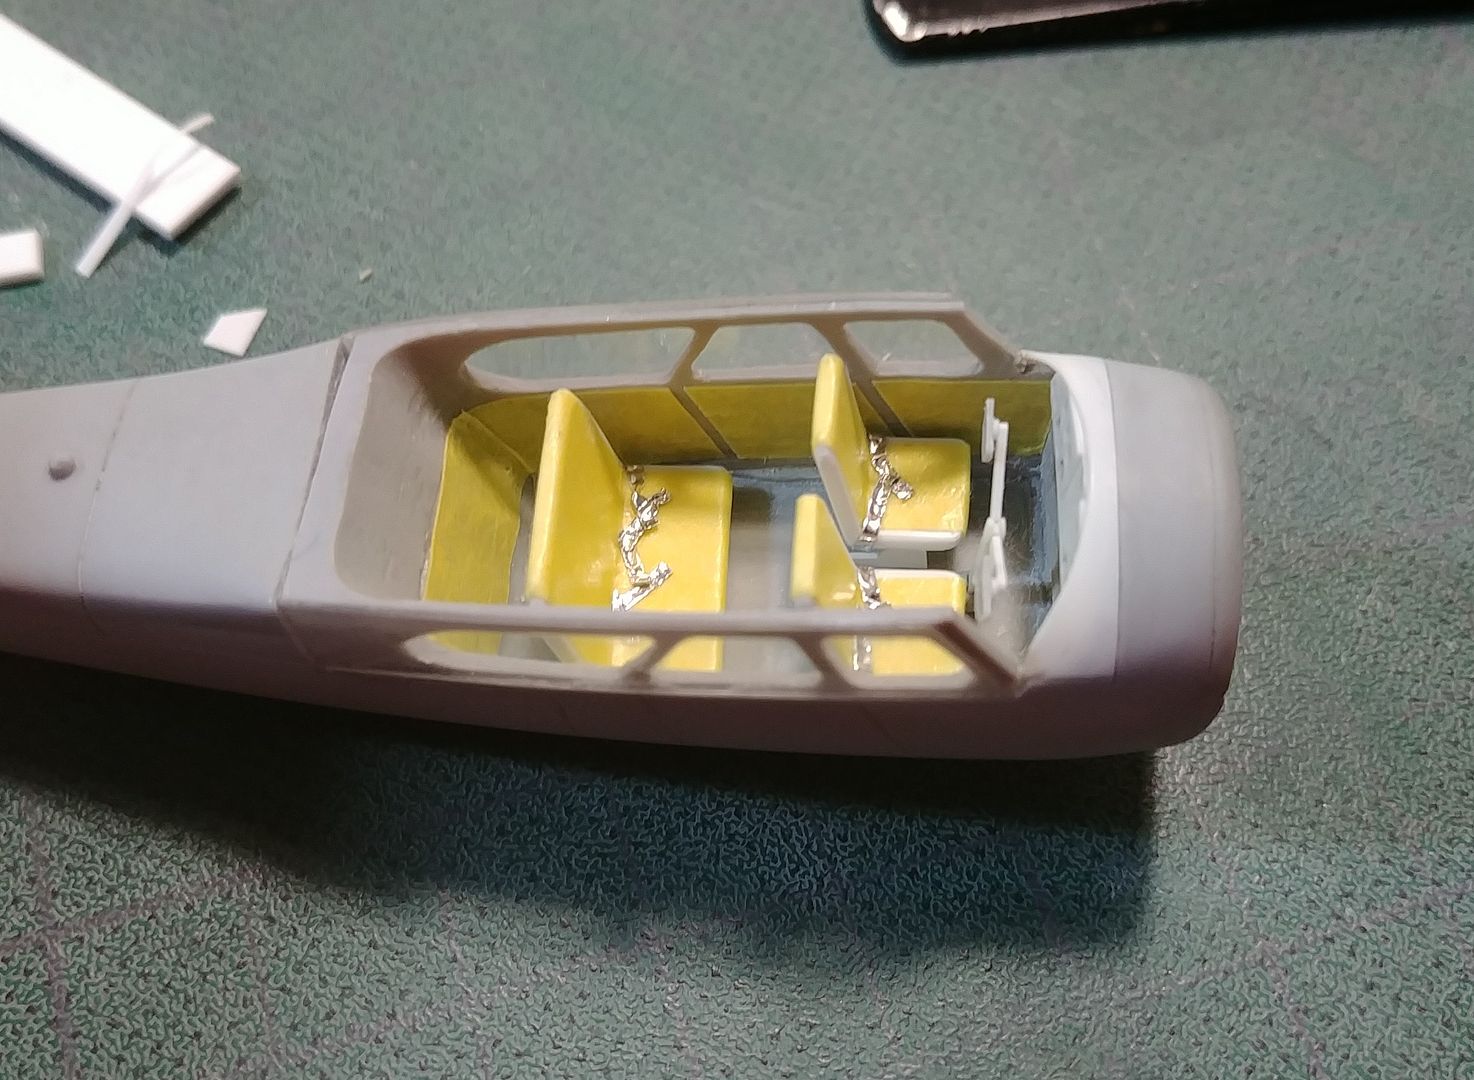
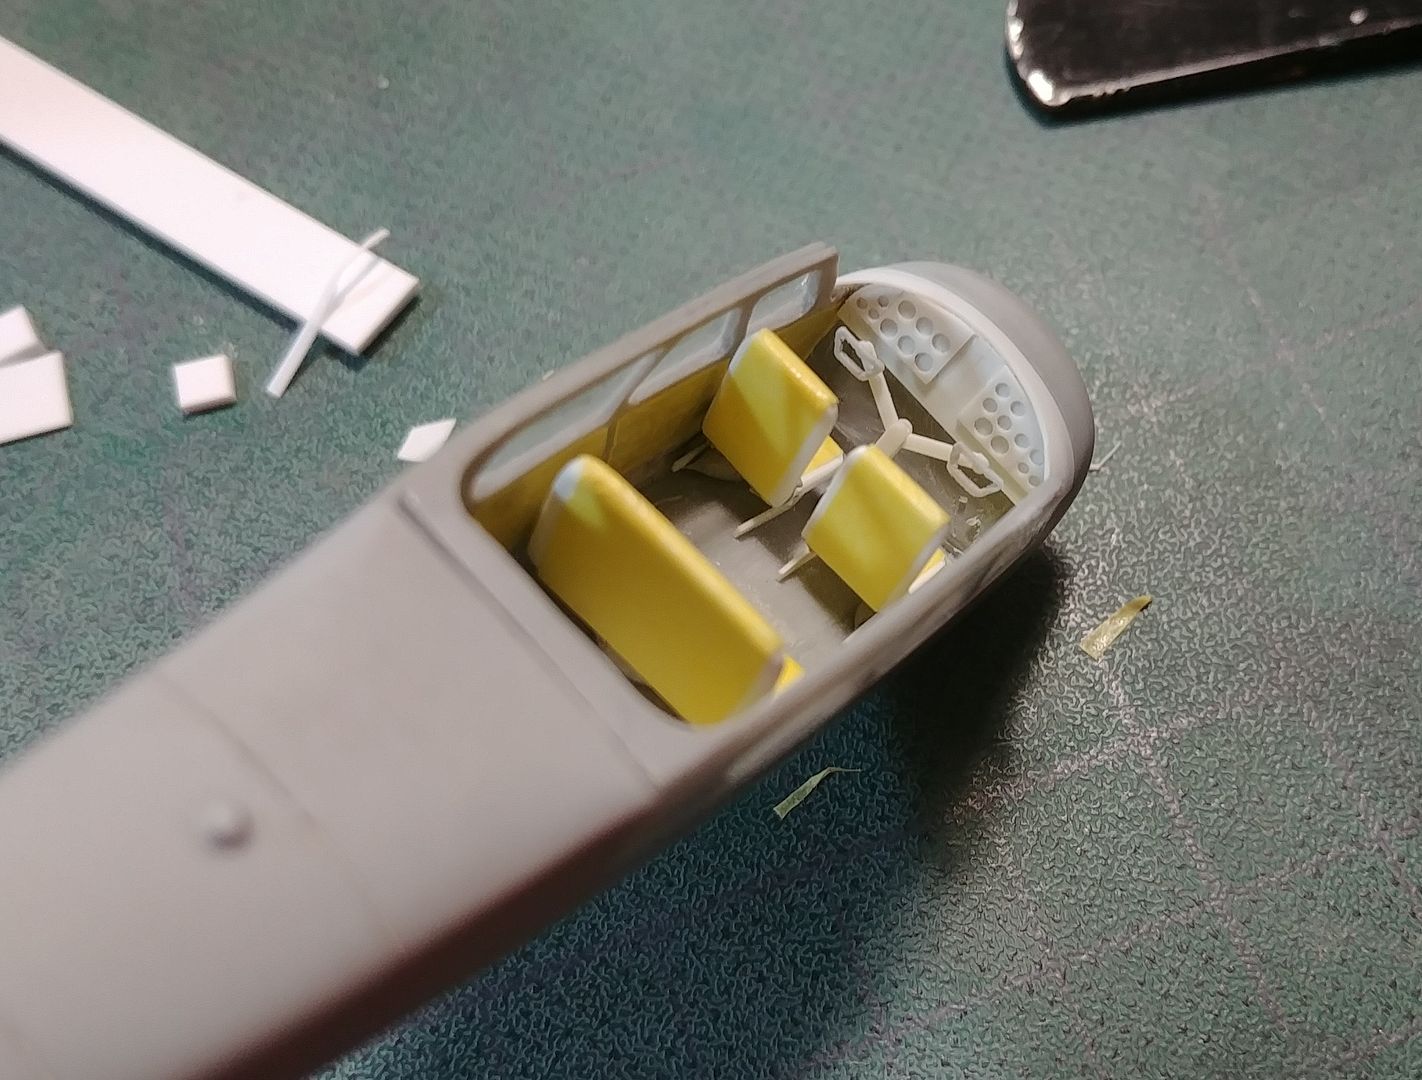
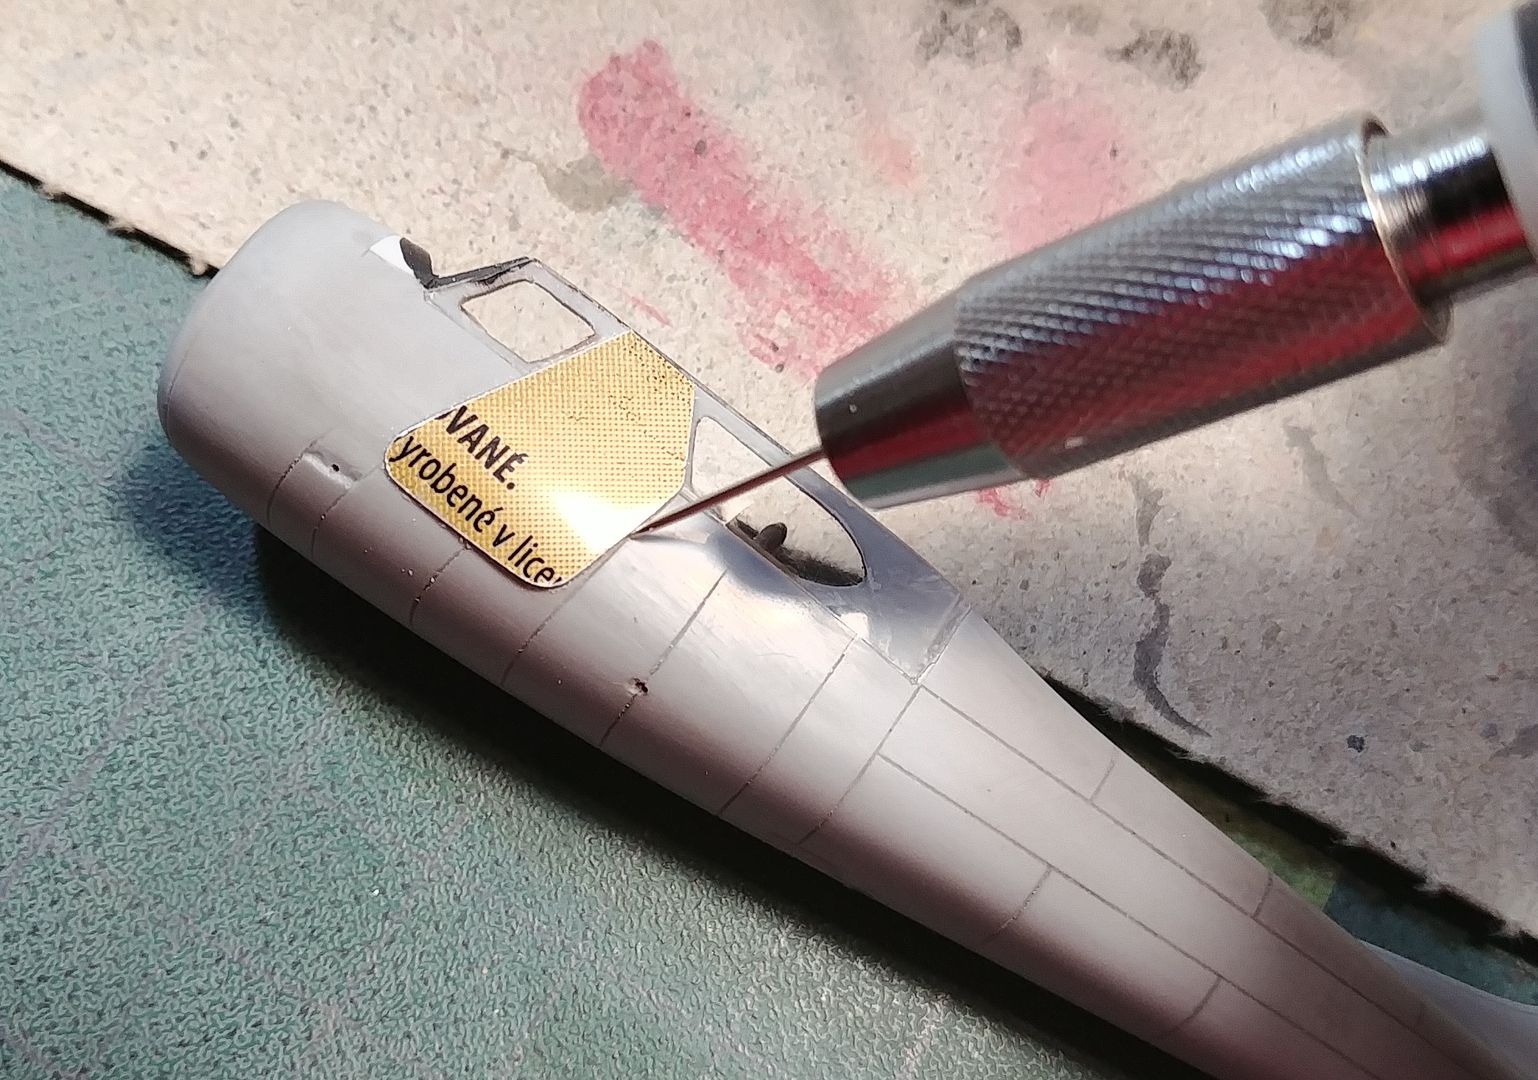
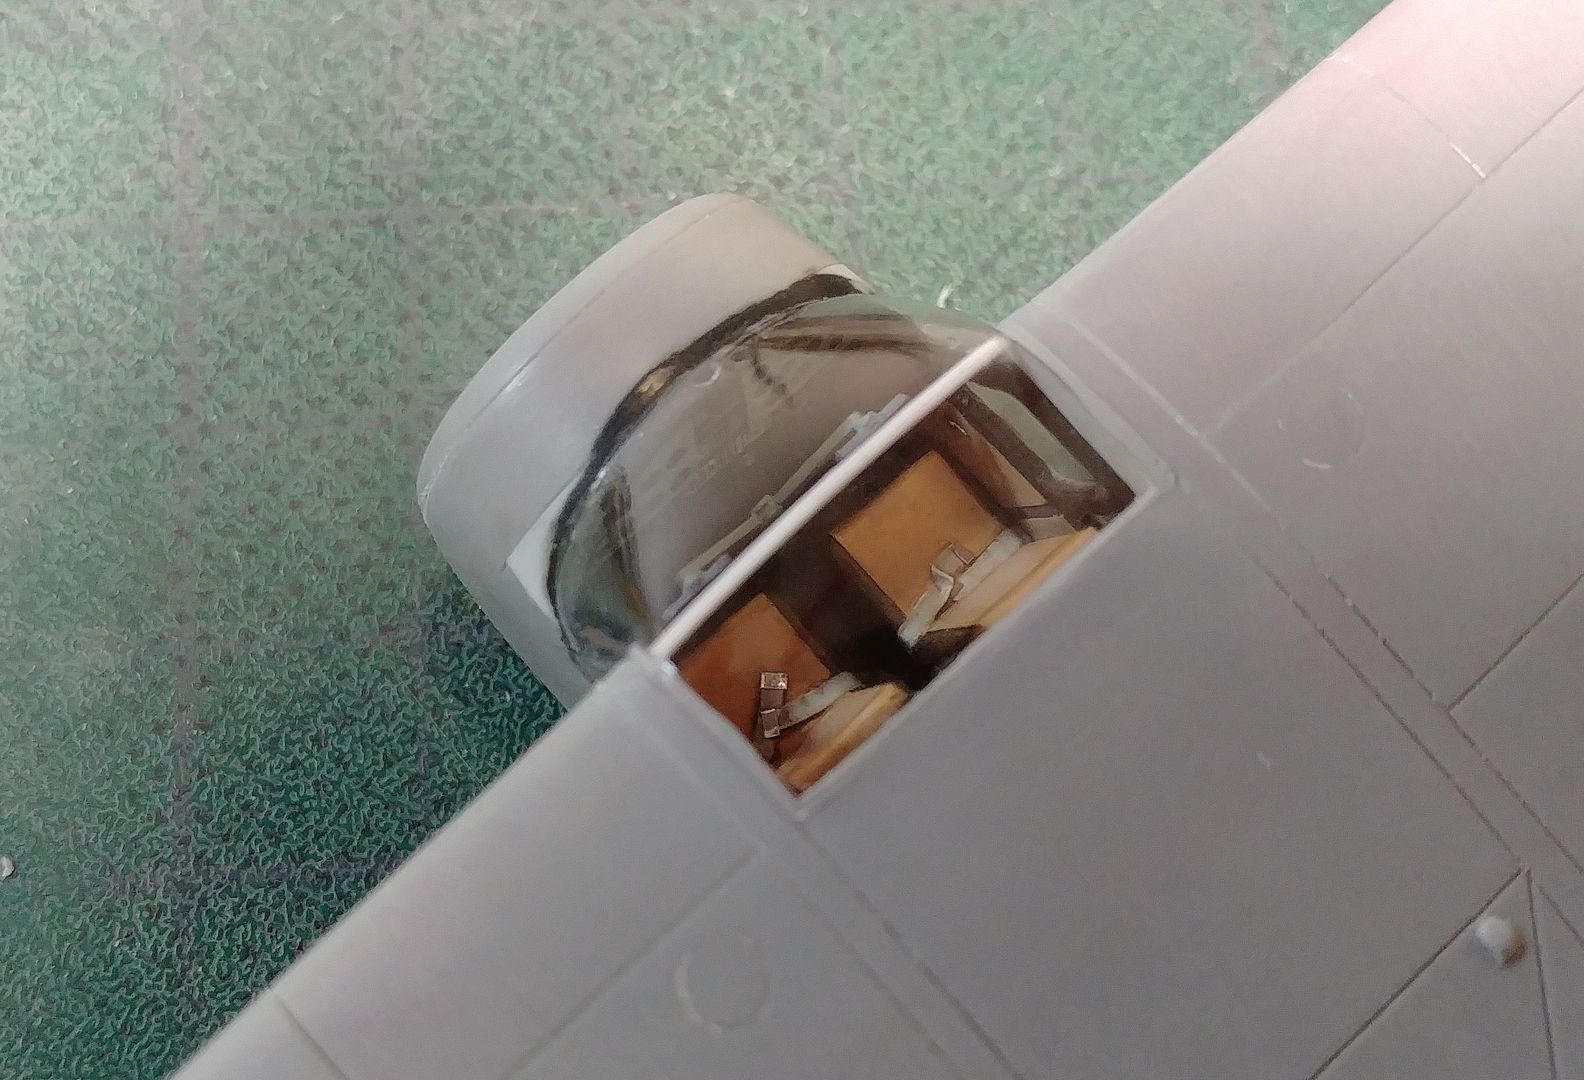
I started with side windows.
I cut out entire side panel,
Image
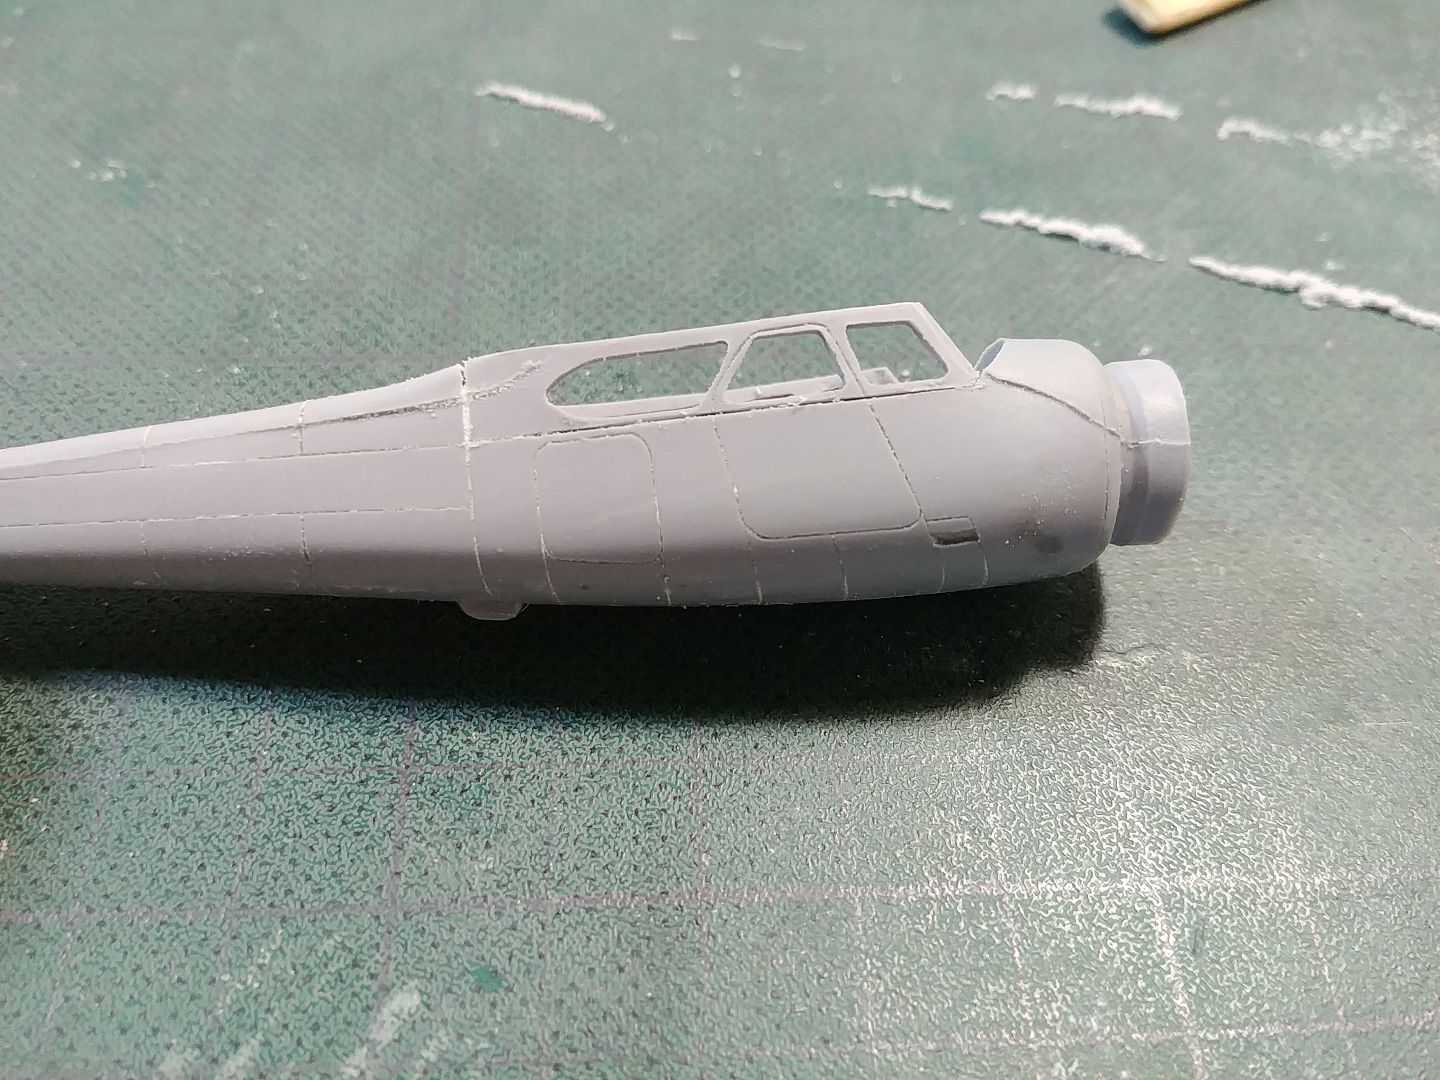
and sanded it on the side,
Image
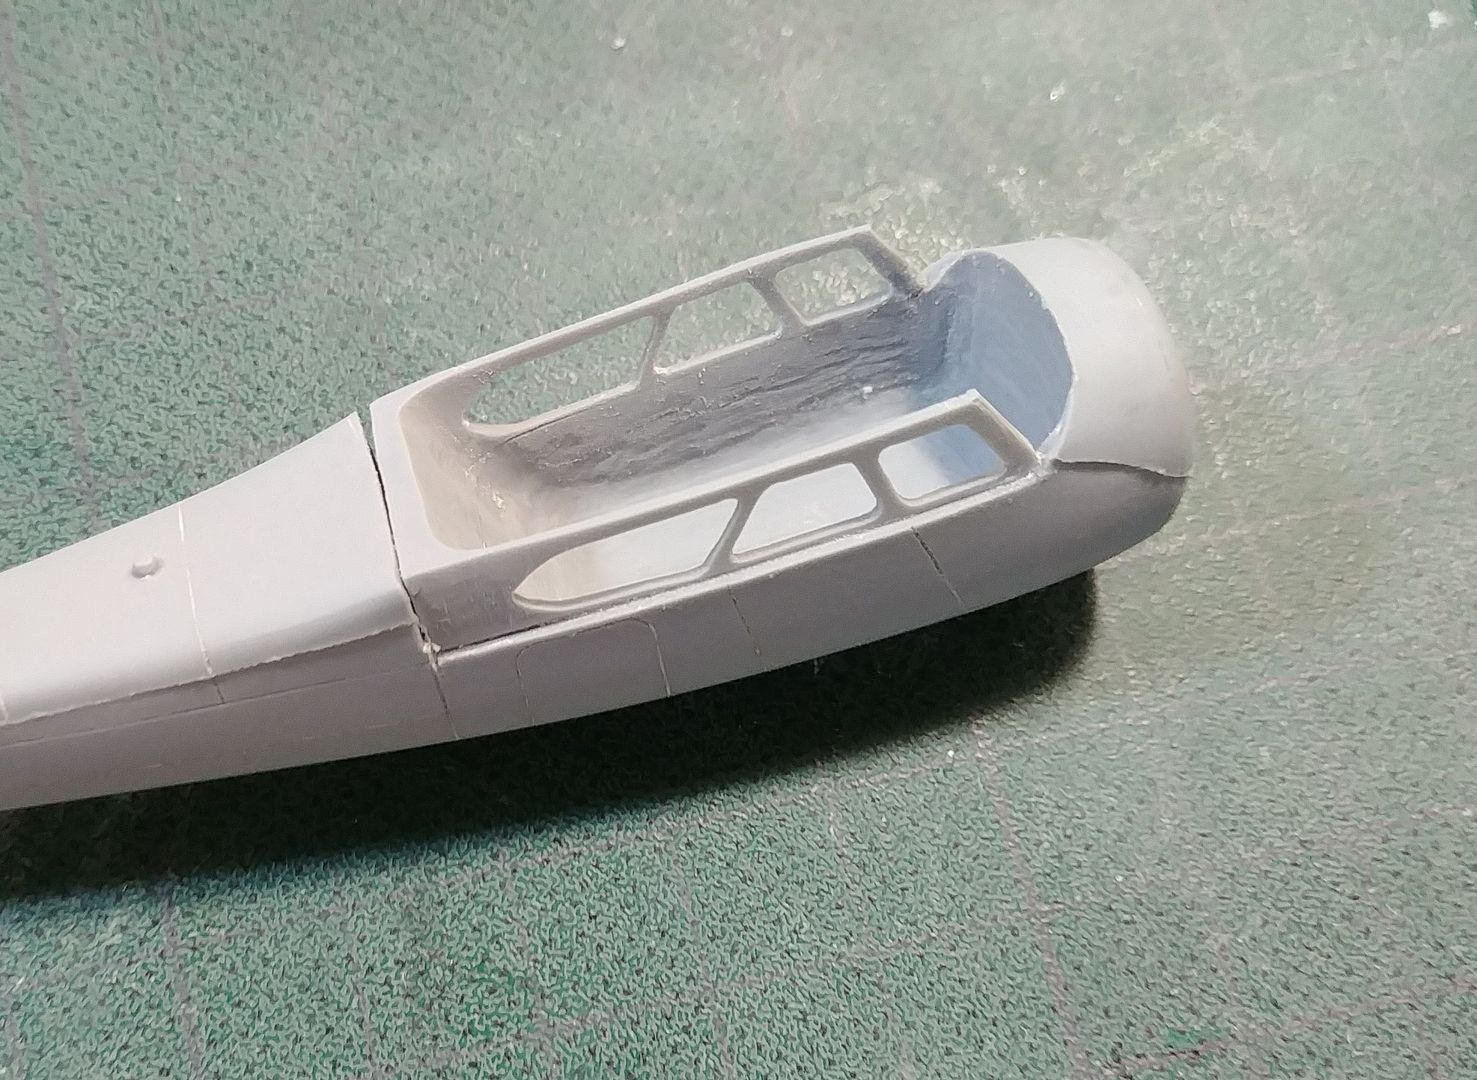
to insert clear styrene.
Image
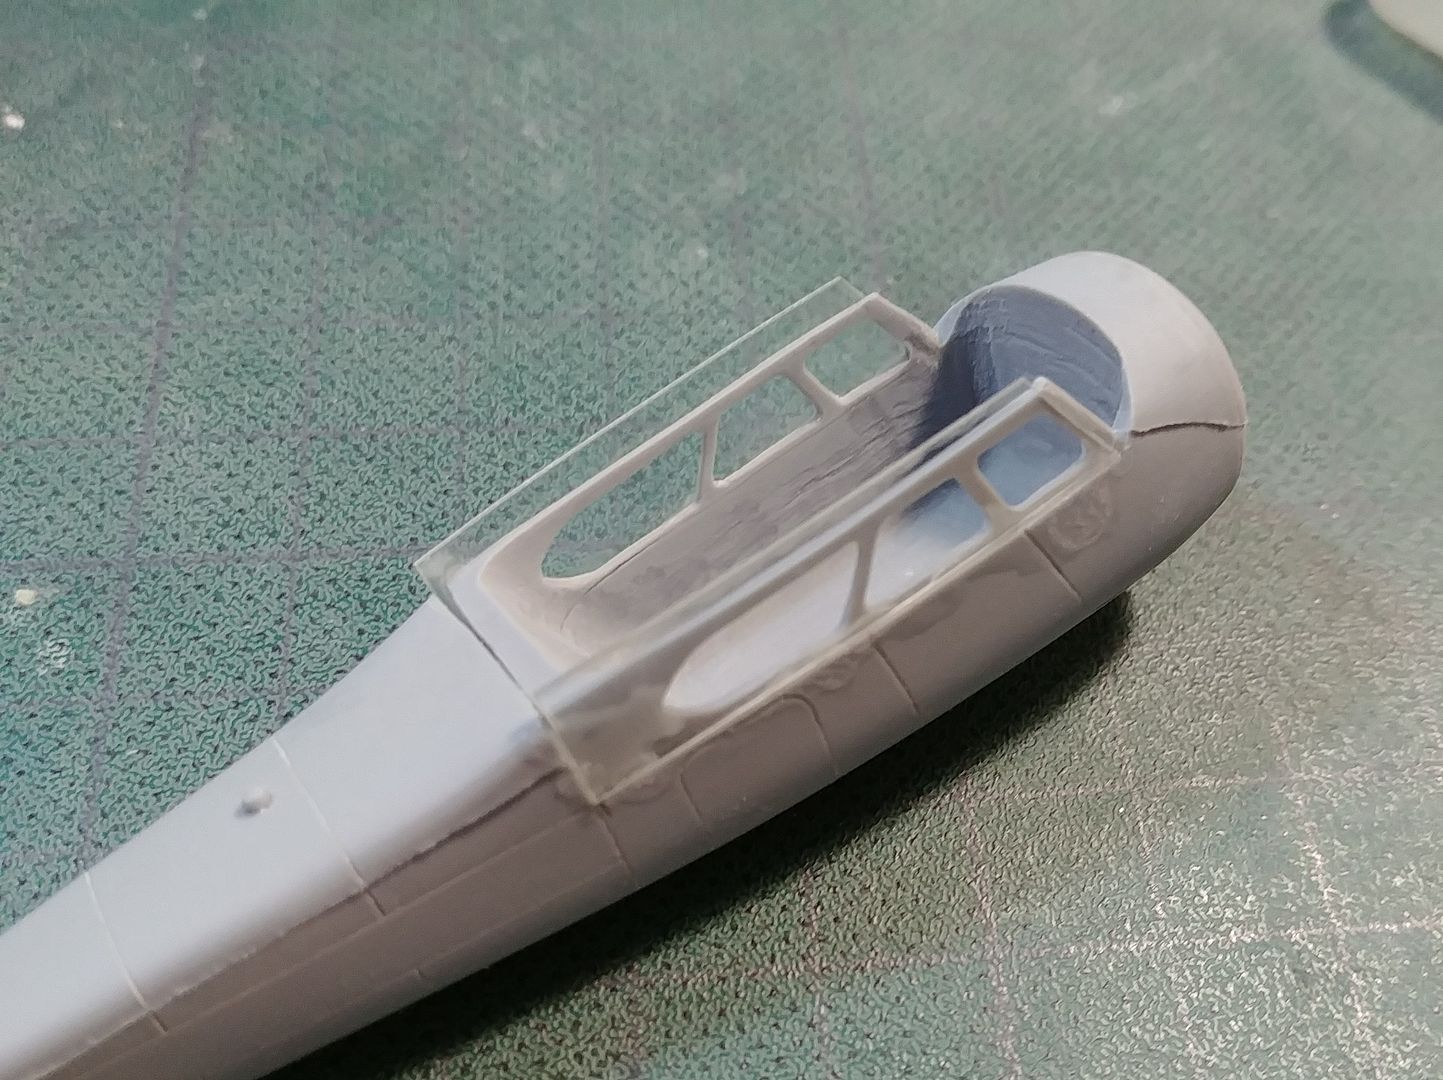
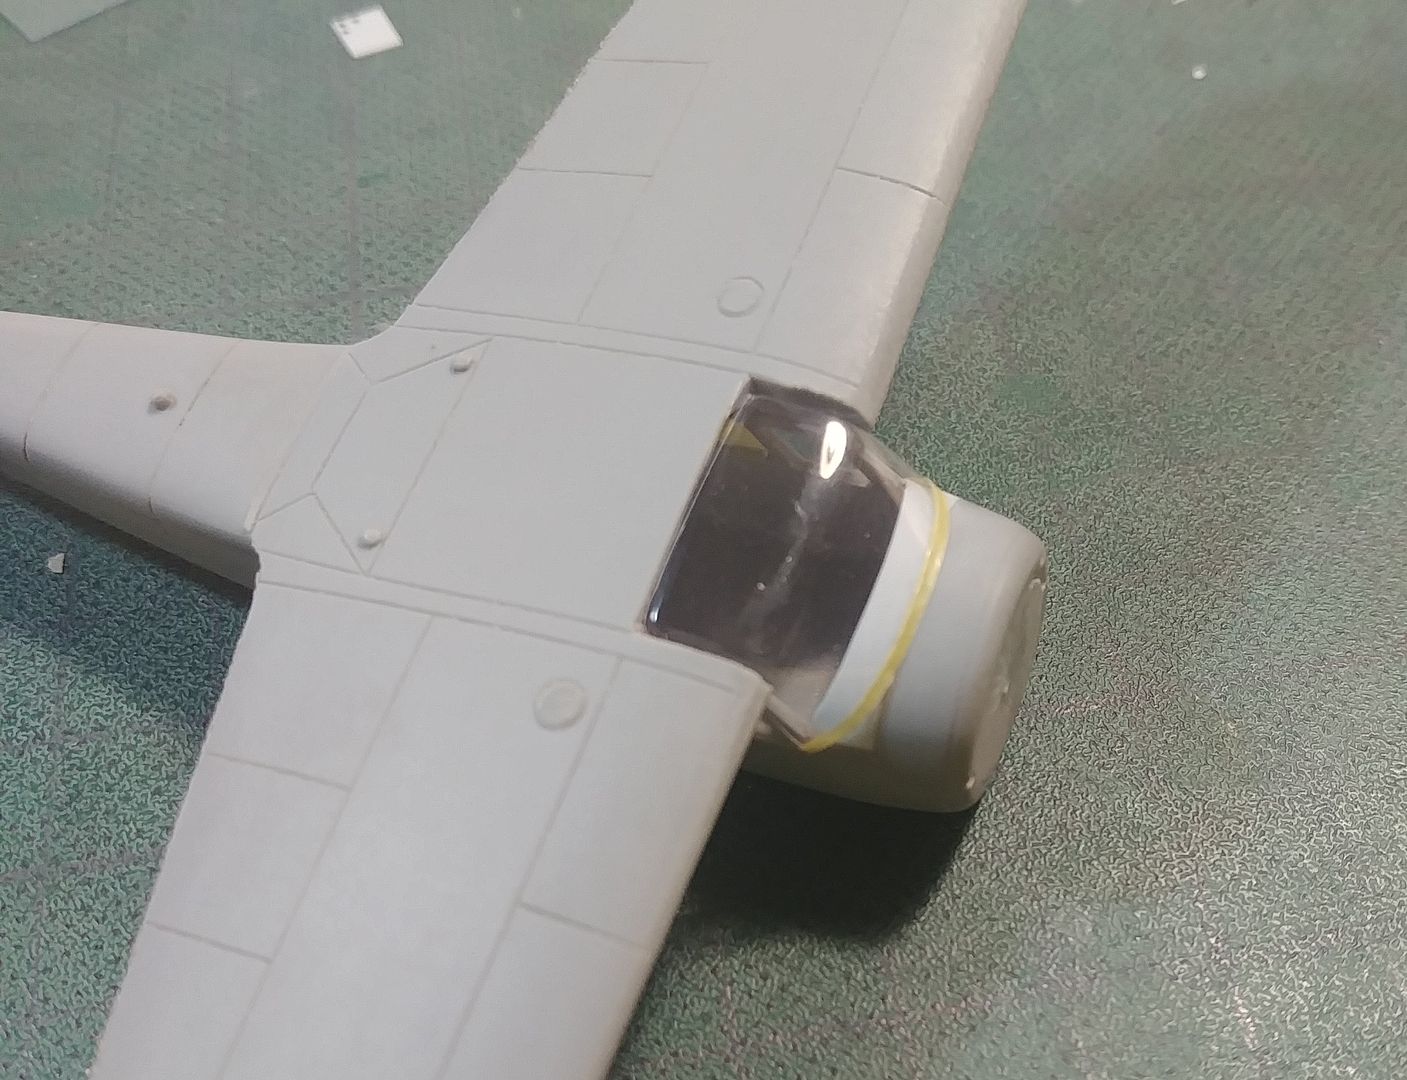
I glued it with superglue and sanded it flush.
Image
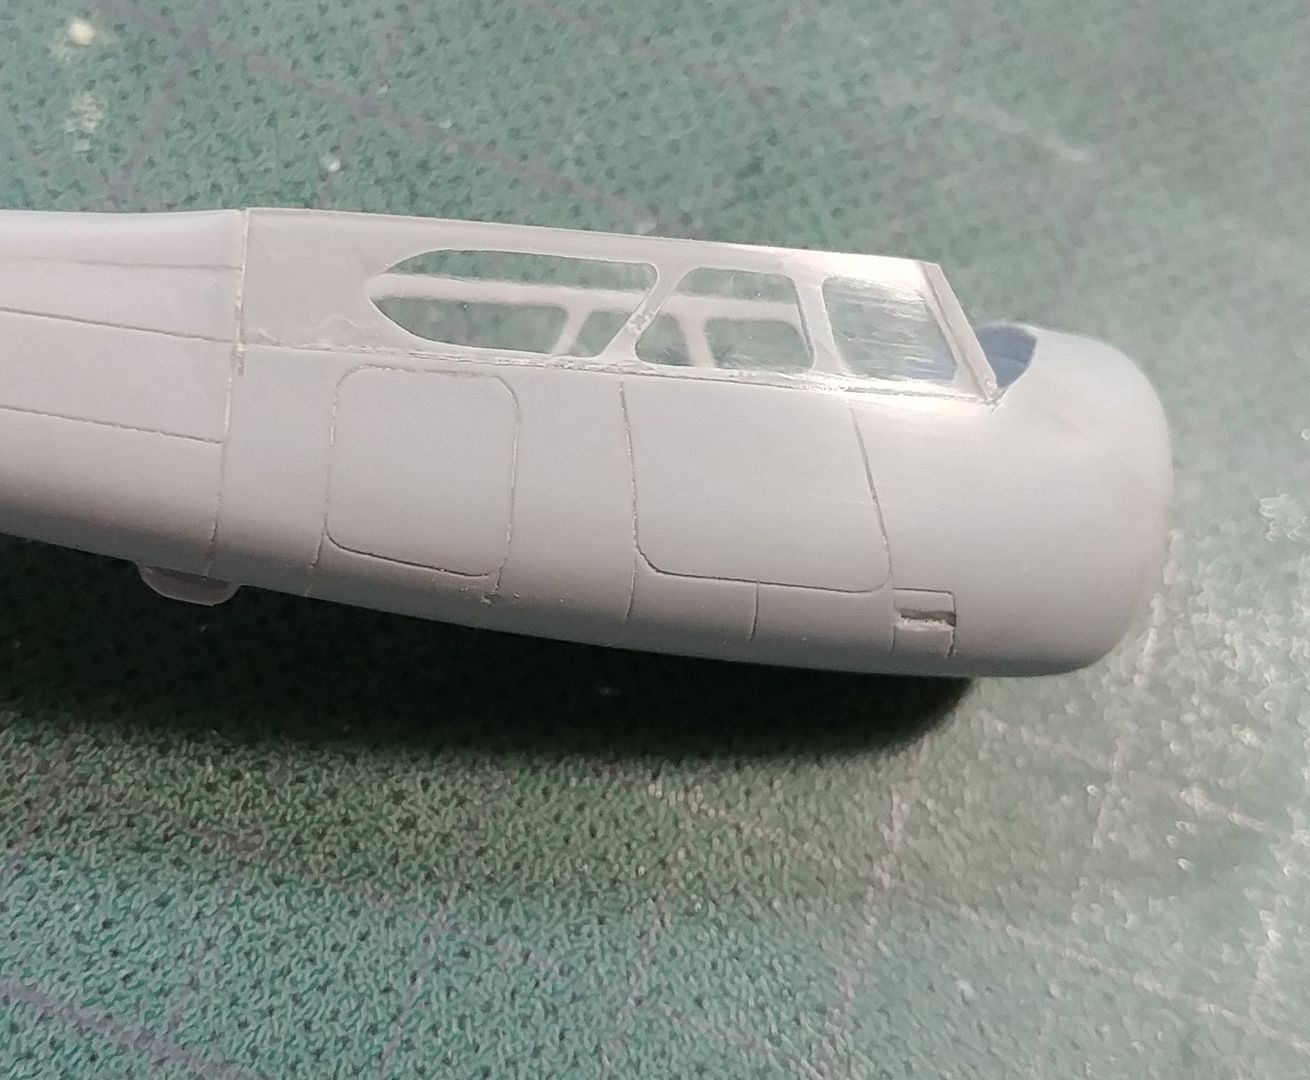
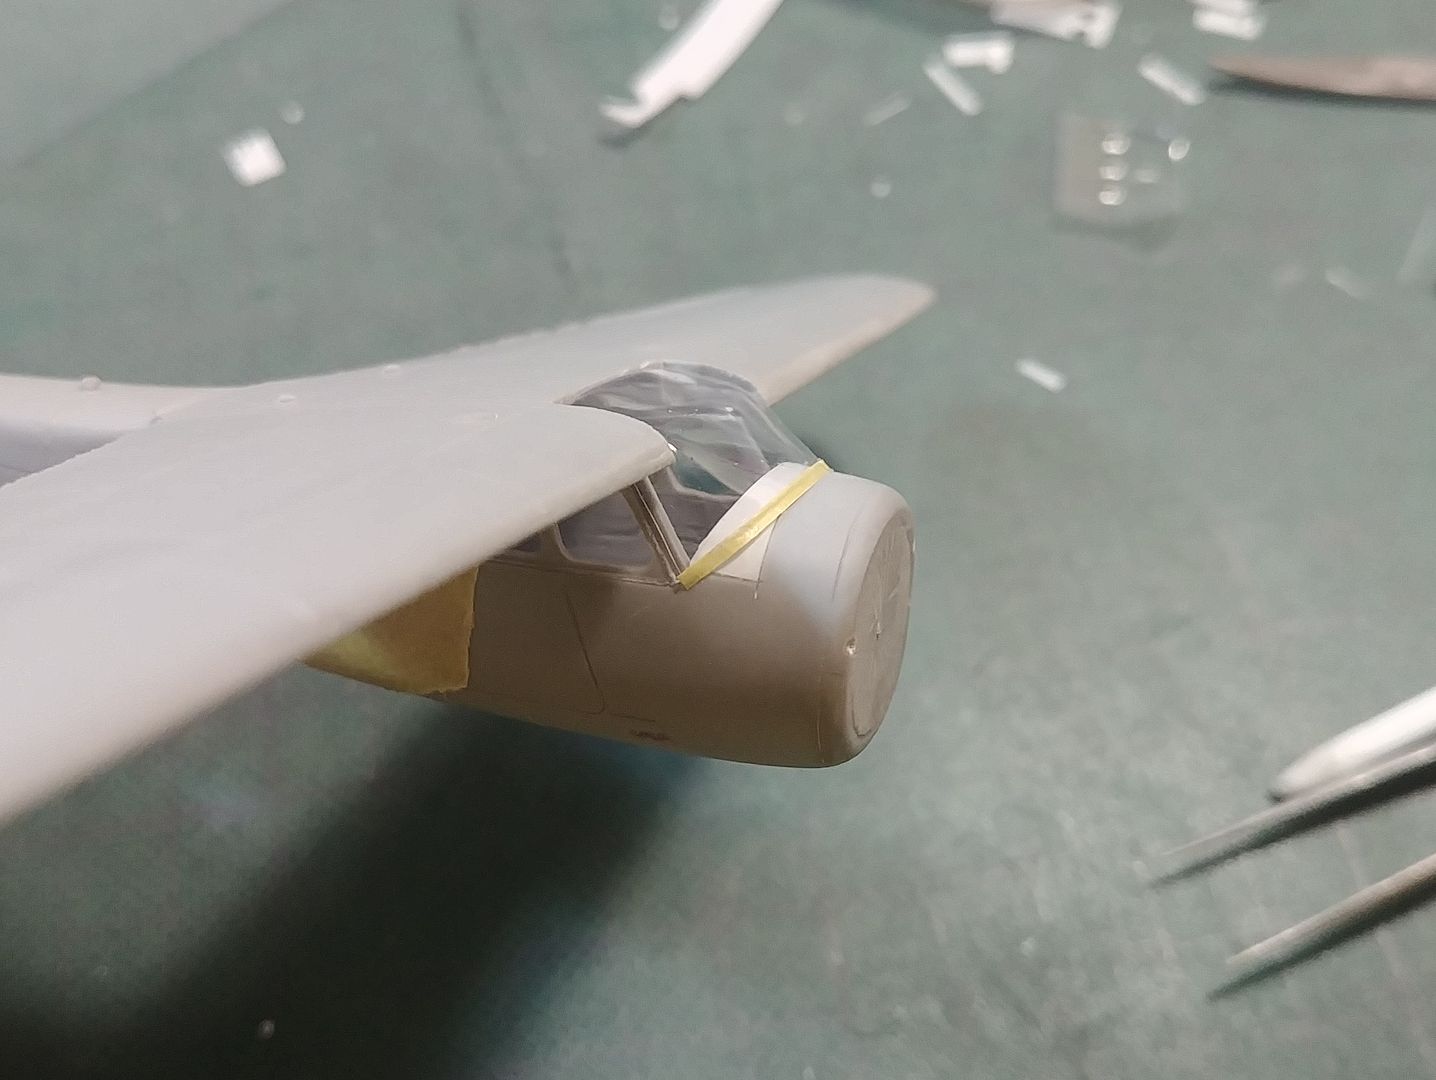
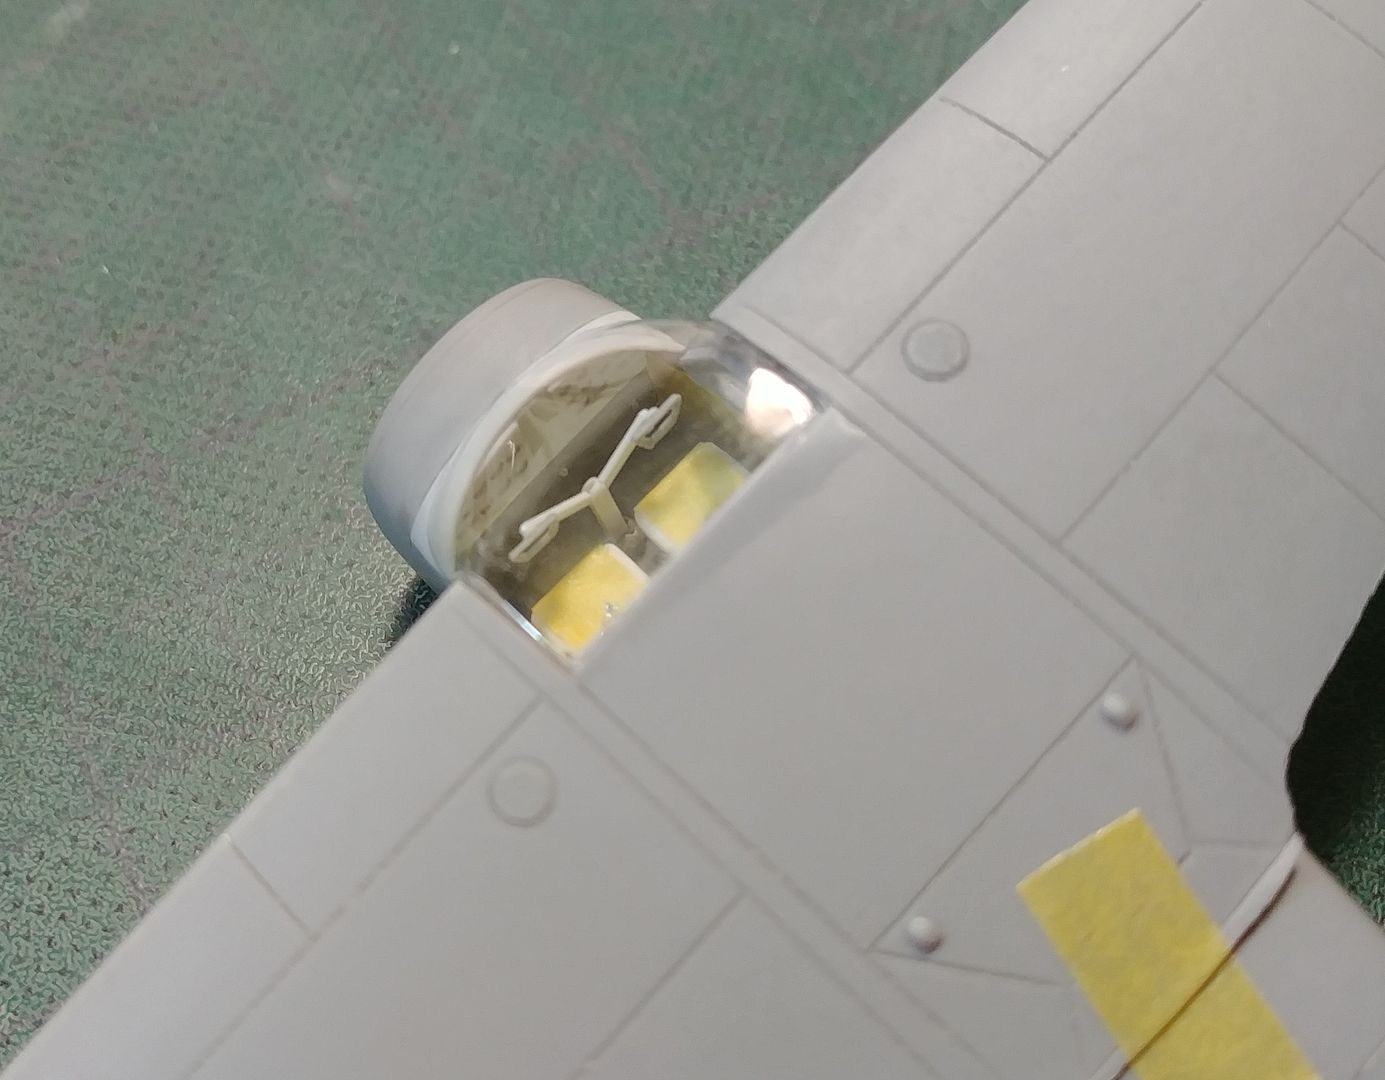
Next I will tackle the windshield...

Till next time!

I've also started with B737, but there is not much to show yet. When I do, do I post it in chalenge build thread or open a seperate one?
Thank you for looking in!

Re: Cessna 195 on floats

PostPosted: Wed Aug 22, 2018 7:45 am
by Cap'n Wannabe
Mmmmmm......Cessna 195!

Re: Cessna 195 on floats

PostPosted: Wed Aug 22, 2018 9:02 am
by RayS
Nice start Uros, I like the way you attack your build, I would not think to do the clear parts like this. FOllowing with interest.

I like the idea of doing the Cessna in civil marking but that USAF scheme looks nice too.

As for your 737 build, I prefer to see a separate thread so updates are not buried in a common thread, I missed most of Brad's build due to that reason.

Re: Cessna 195 on floats

PostPosted: Wed Aug 22, 2018 5:15 pm
by Adam the Akrodude
Nice start on a very interesting project there Uros!

Re: Cessna 195 on floats

PostPosted: Sun Sep 02, 2018 6:28 am
by Uros
Thanks guys!
Ray, USAF scheme is nice but some of the decals are prited with silver and it wouldn't look good on a NMF model. I know it's not a good argument but that's what I think. :D
So here is what I have for now.
I thermoformed new windshield. I used the form provided in the box. I just sanded and polished it. Two original windshields were not clear enough.
Image
Image
Image
Image
It took me only four tries to get it right :laugh:
I schratched new parts for the interior. Originals are ok, but theese are better.
Image
Image
Image
Image
Dials on the IP were paited black and schratched with a neddle to make pointers. With a drop of Future I made "glass" on them. Decals from spares box vere used to make the radio.
Image
Everything paited before I glued the wing piece over it.
Image
Image
Ceesna that I am doing has doors on both sides, so I made template and scribed them.
Image
Wings are glued on now, more of that next time.

Thanks for looking in!

Re: Cessna 195 on floats

PostPosted: Sun Sep 02, 2018 9:10 am
by Graeme H
Some fantastic modelling as always, really liking this one

Re: Cessna 195 on floats

PostPosted: Sun Sep 02, 2018 9:14 am
by RayS
Your scratch built interior is great, so much more detail. The instrument panel is a work of art IMHO

I have never tried plunge moulding, how did you heat the plastic, using the candle in the sbackground?

Re: Cessna 195 on floats

PostPosted: Mon Sep 03, 2018 7:54 pm
by hrtpaul
That's wicked as mate. You got some mad skills :) :) :)

Re: Cessna 195 on floats

PostPosted: Wed Sep 12, 2018 5:23 am
by Uros
Thank you very muck everyone!
Ray, you are right. I hold a piece of foil over it for a few seconds and then press it down on the mould. Material that works best for me is clear foil for overhead projectors, similar to this one.
Image
It's realy easy to work with. Tricky part is to cut it out precisely as it's very thin and dificoult to sand. Usualy it takes a few tries to get it right.

So, here I am with the build. Wings are on, all gaps puttied and lost panel lines rescribed.
Image
Image
Image
Tail pieces assembled. I repositioned control surfaces.
Image
I added a bit of details to the engine.
Image
Image
And this is how it looks at the moment.
Image
I didn't fell like masking windows, so I started with floats asemlby but have nothing to show yet.

Thank you for looking in!

Re: Cessna 195 on floats

PostPosted: Wed Sep 12, 2018 9:19 am
by RayS
Thanks for the tutorial on smash moulding. I might have to give it a try when the need comes along :D

Some more great progress there, you work in progress pictures looks so tidy compared to mine!