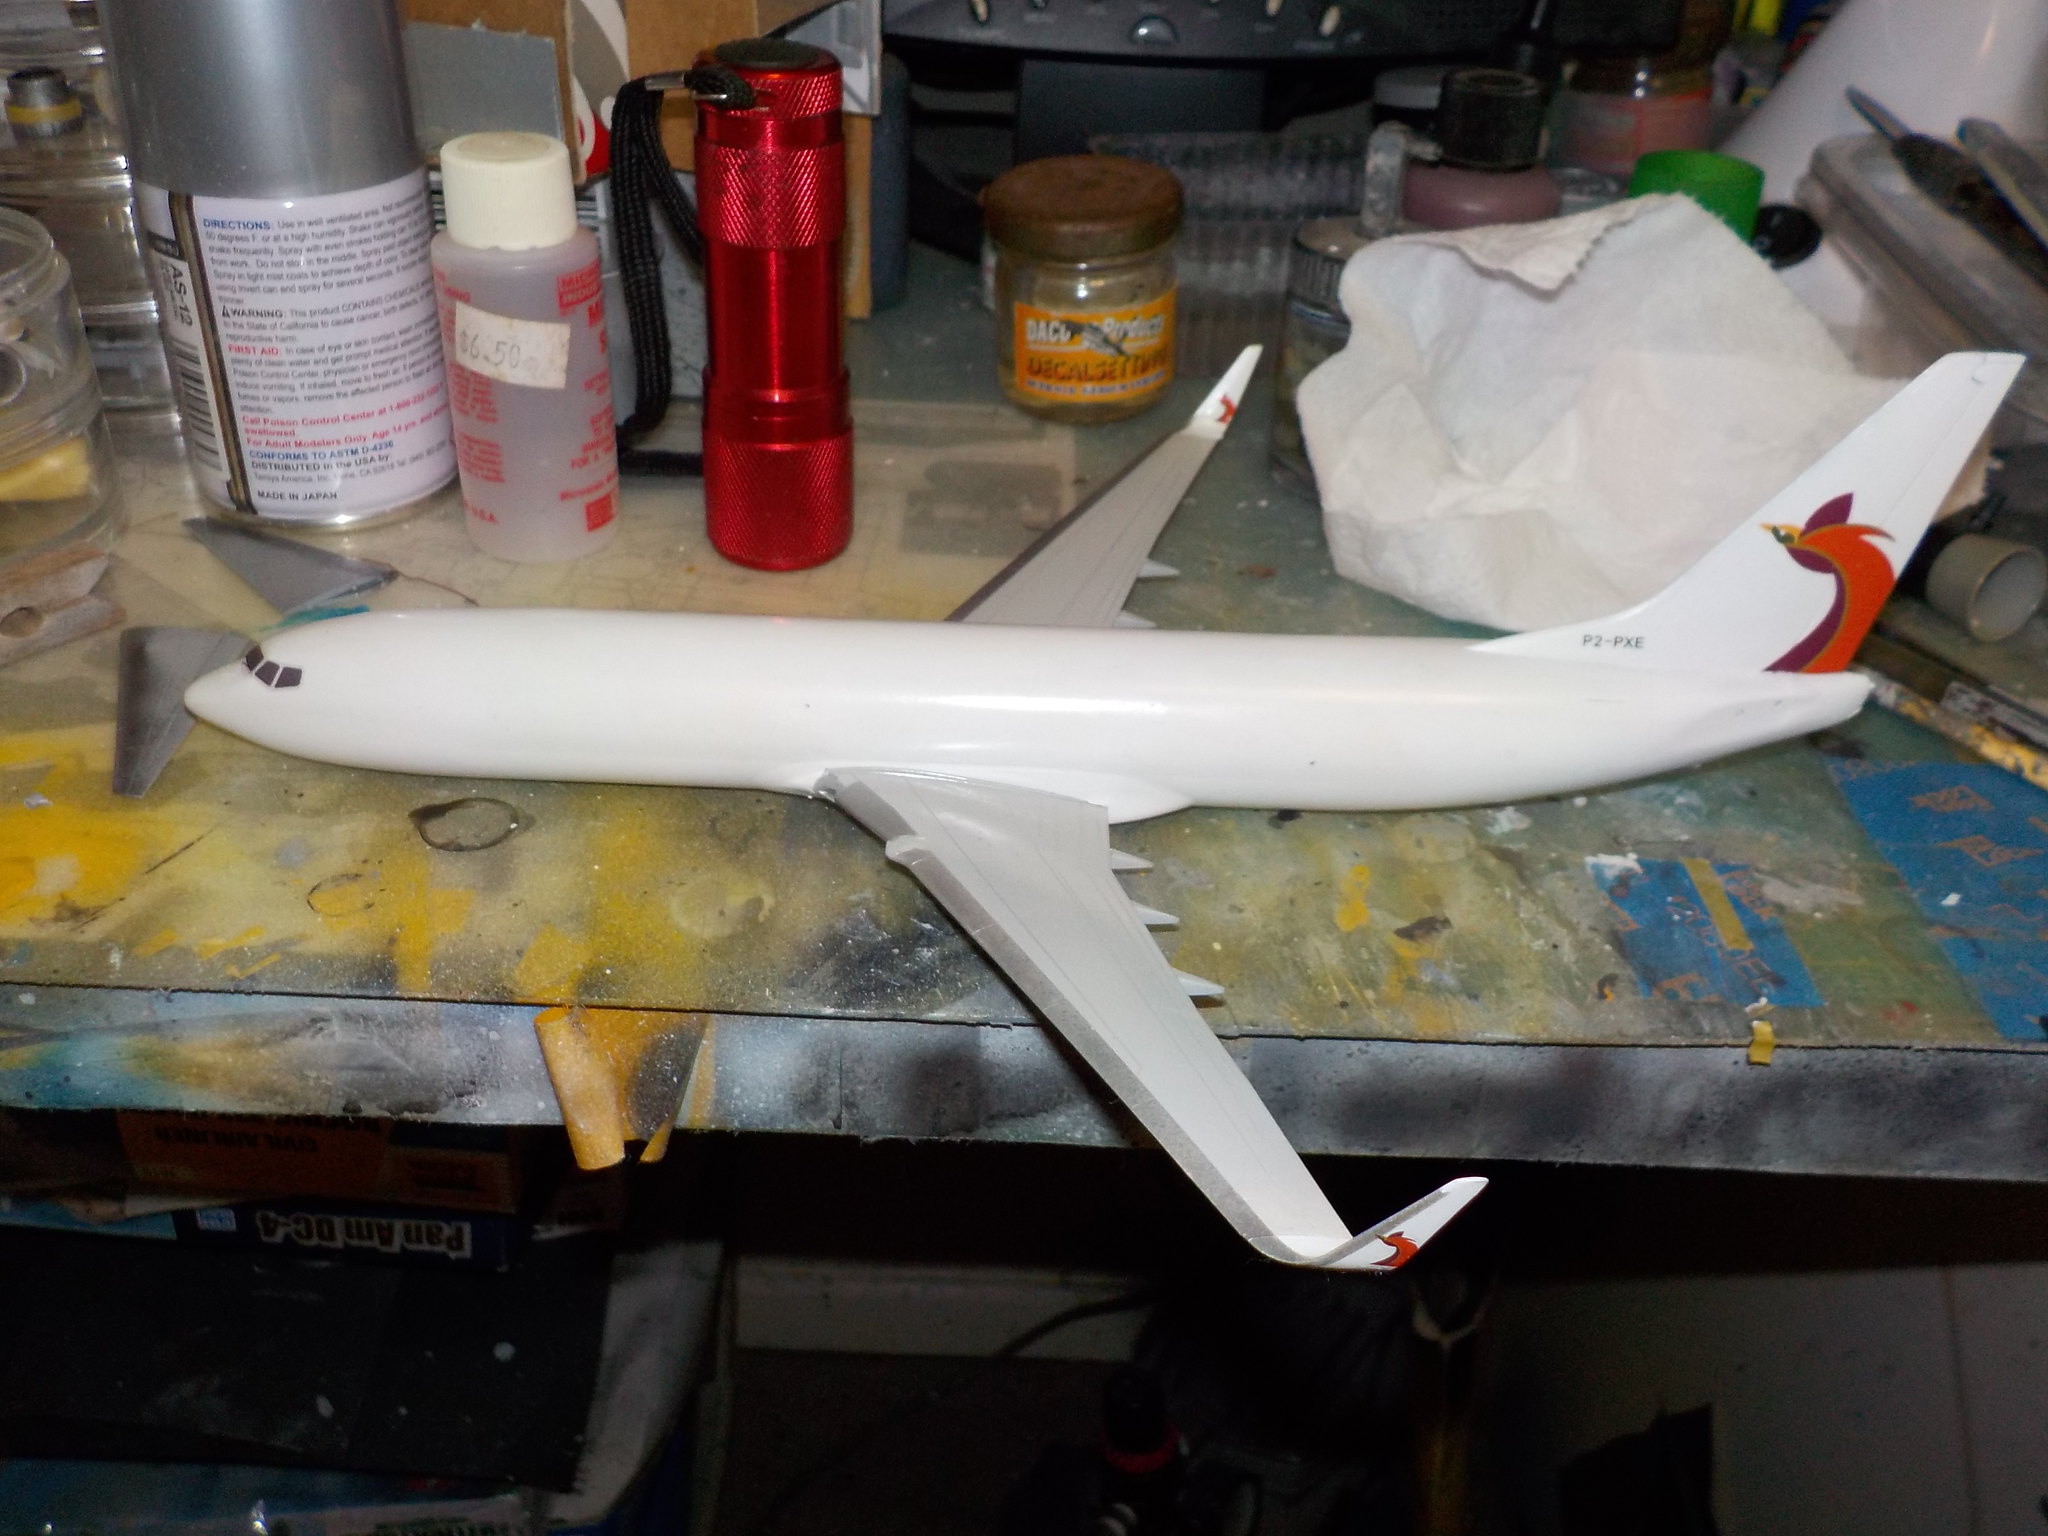
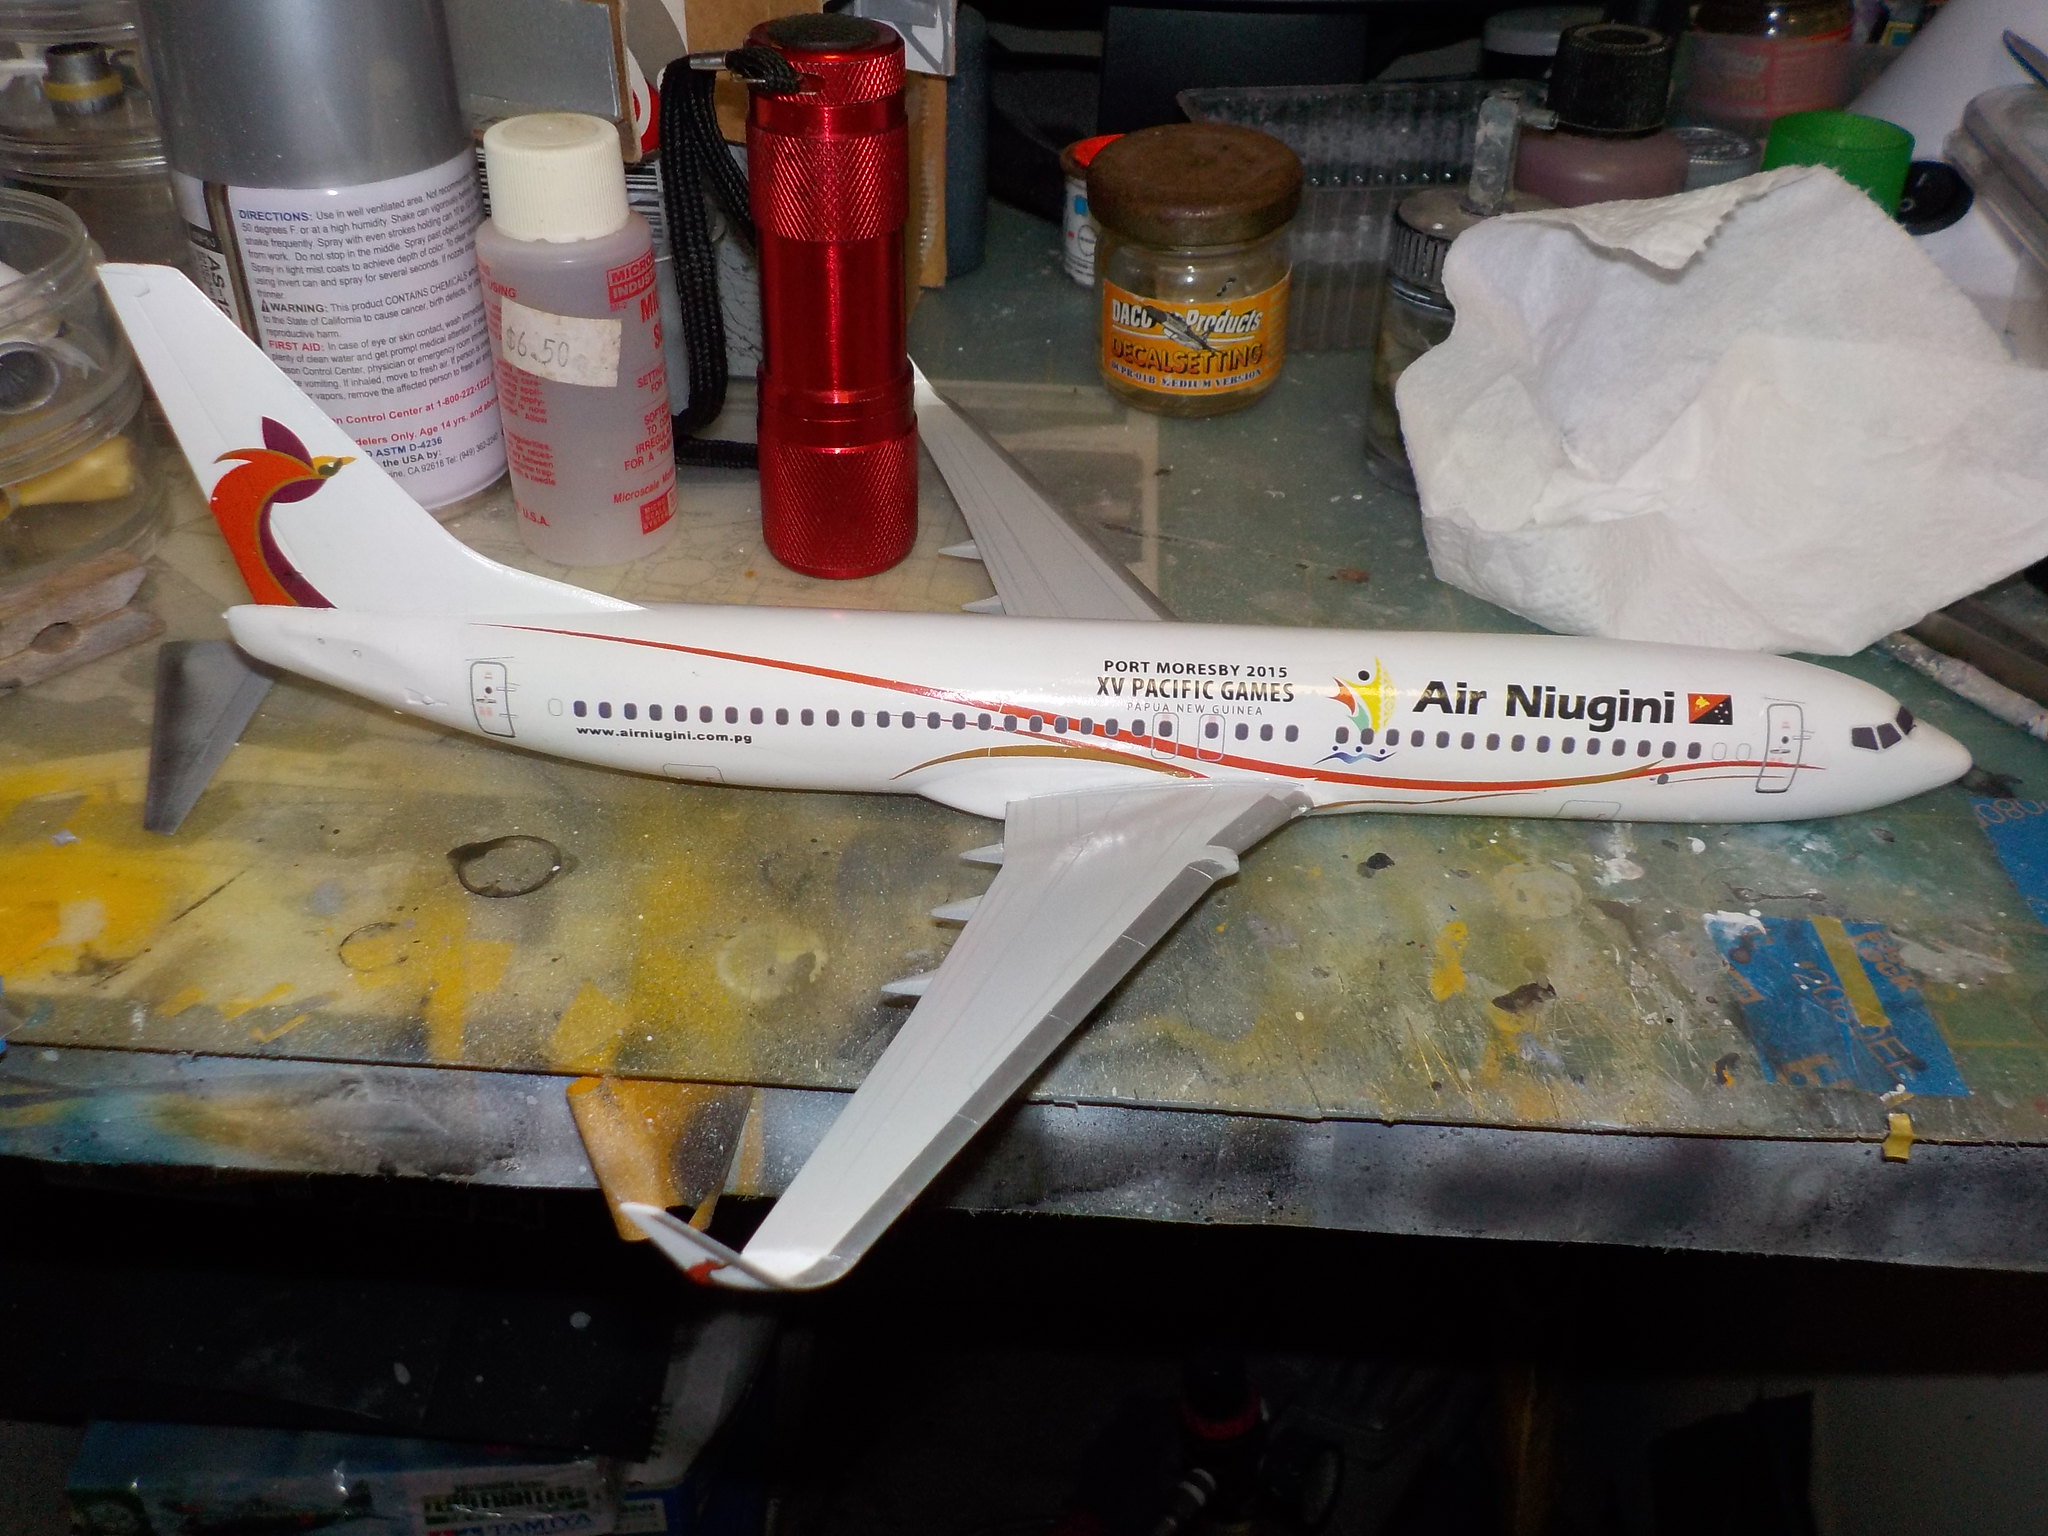
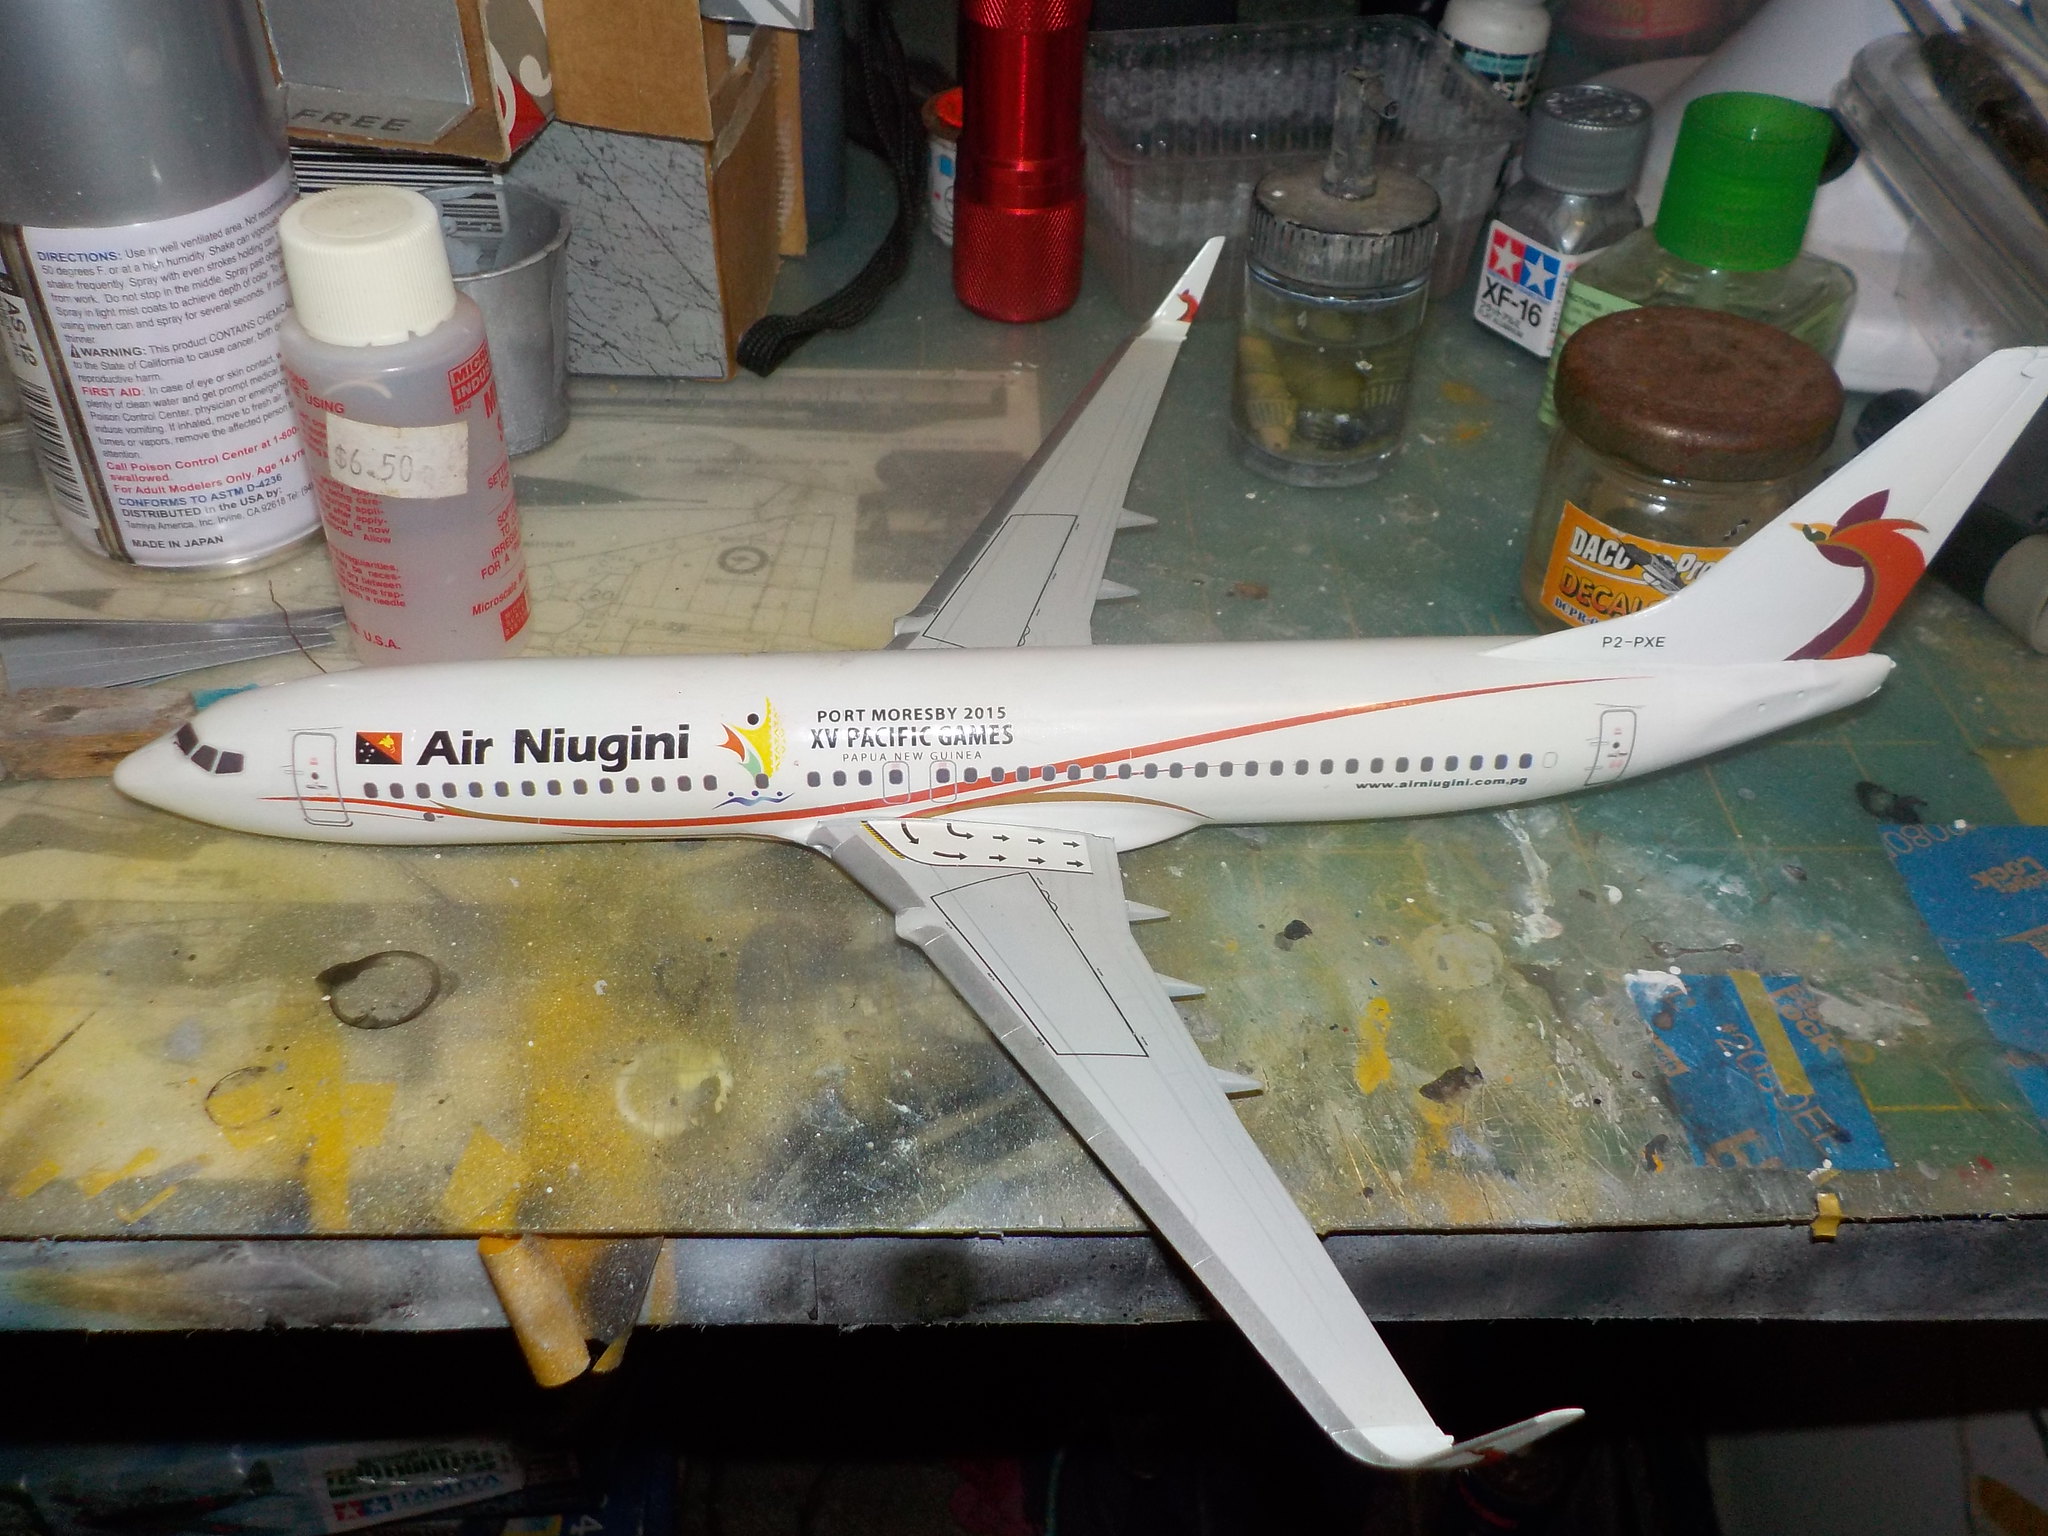
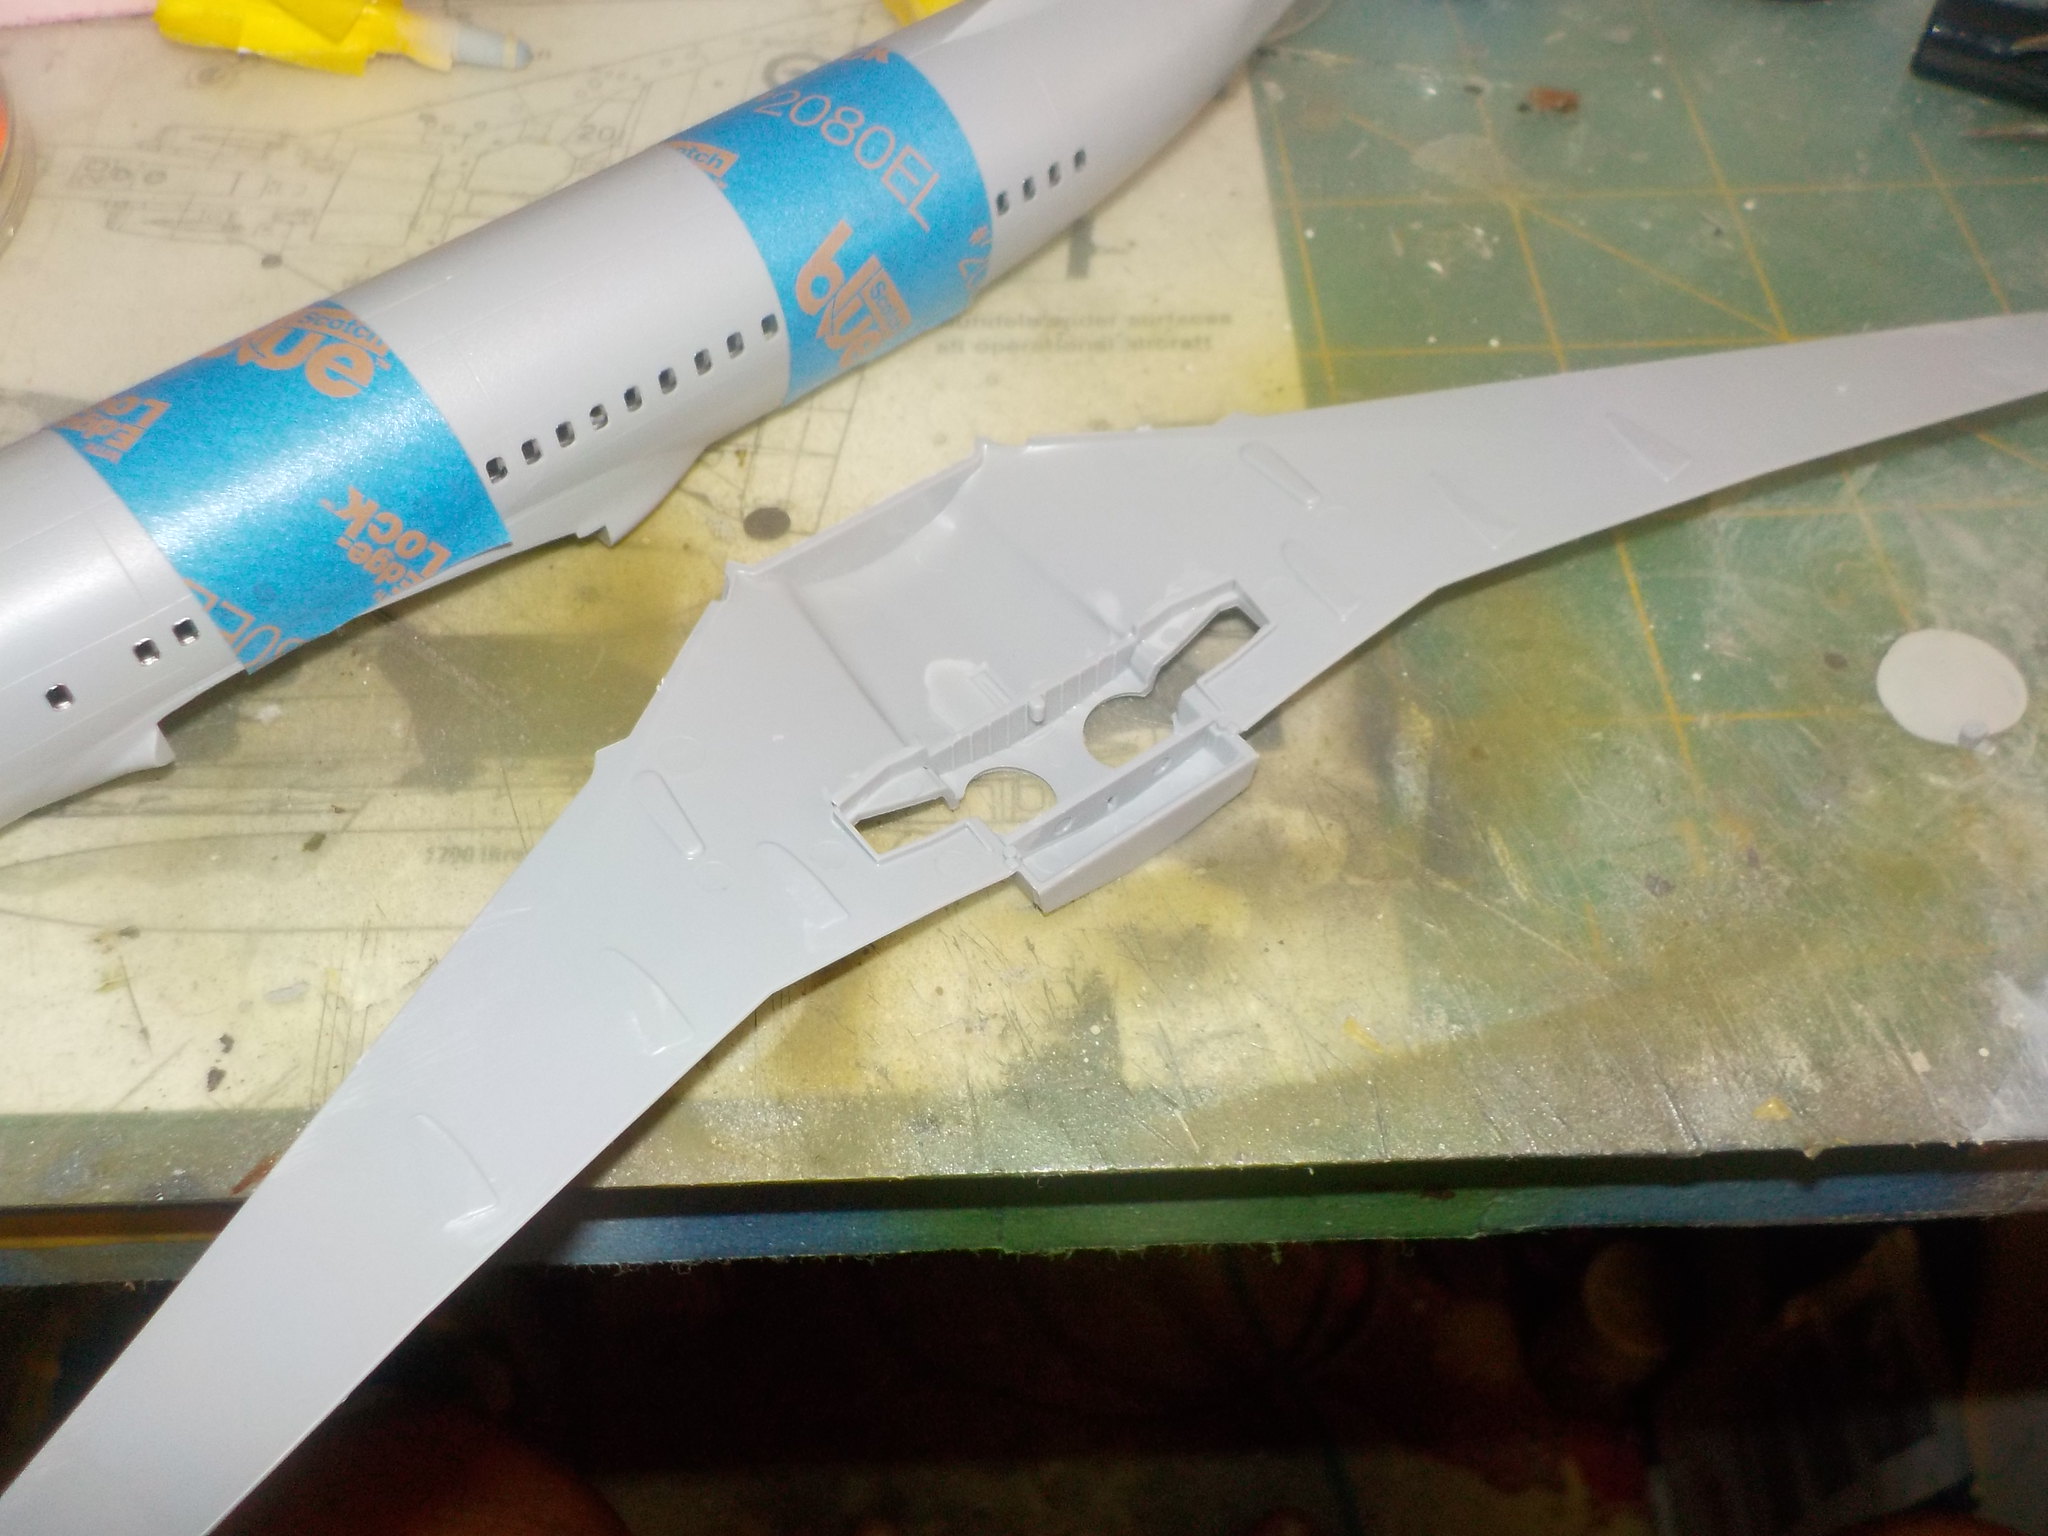
Well, I got the fuselage sorted and then decided on putting the wings together, very easy, although the plastic is very thin and flexible, this kit is a real beauty compared to the Revell one.
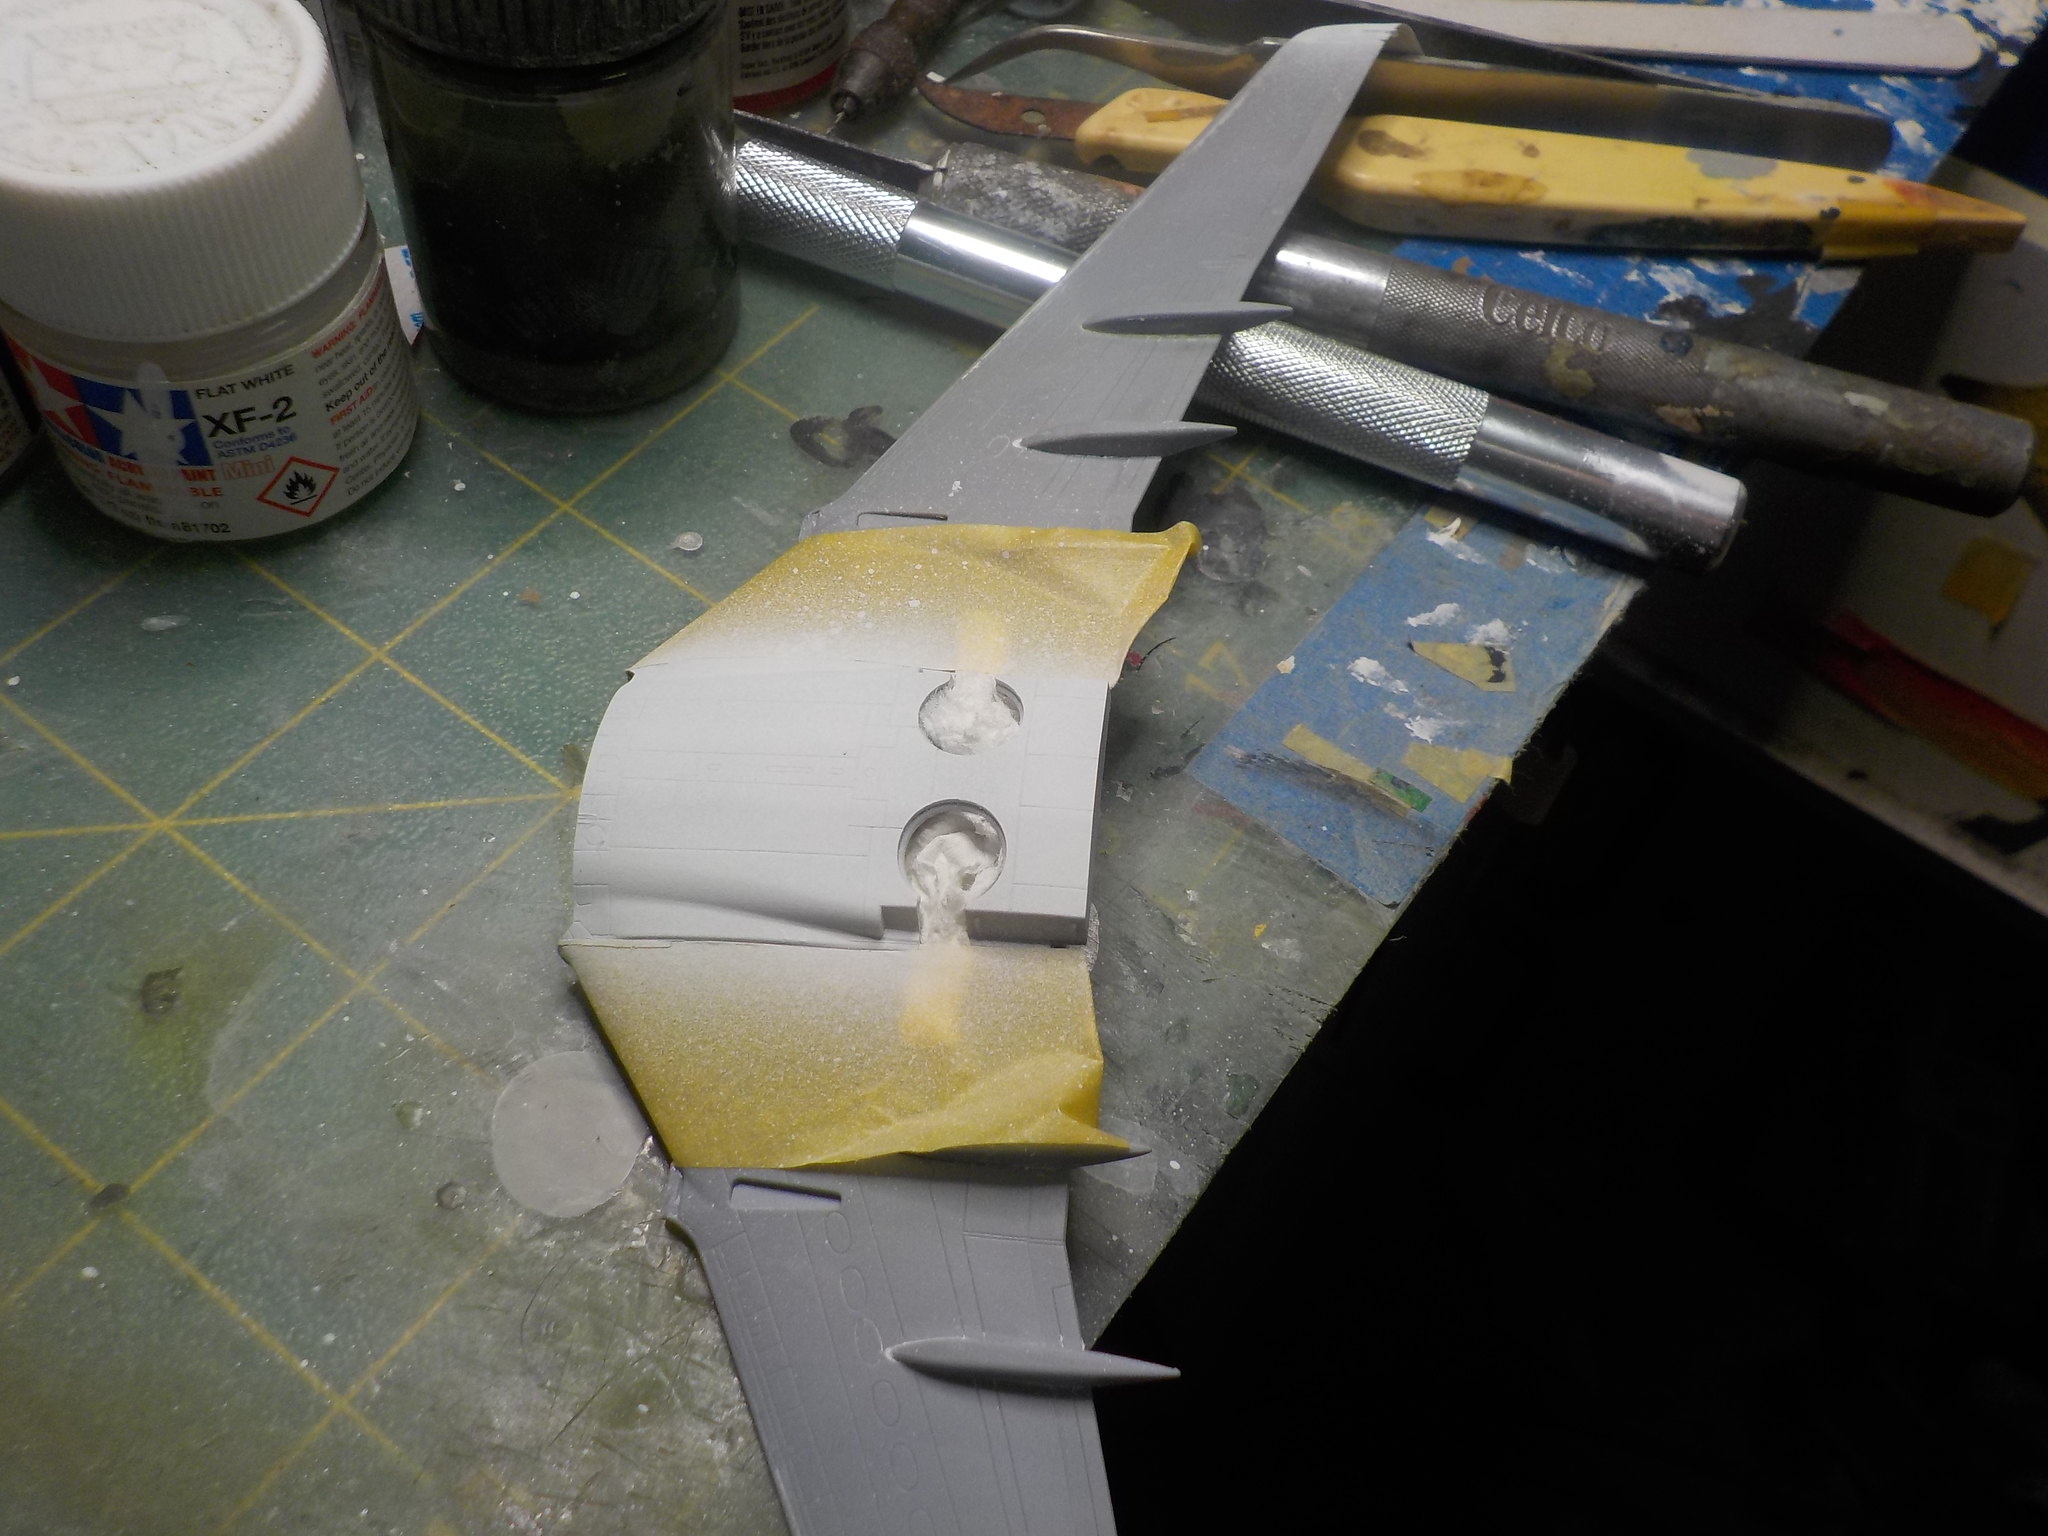
I added the flap track fairings, which leave a small gap at the front and a couple didn't sit down properly, I used some Vallejo Acrylic Filler, I didn't like this stuff at first, but now that I have developed my own technique, I find it very useful.
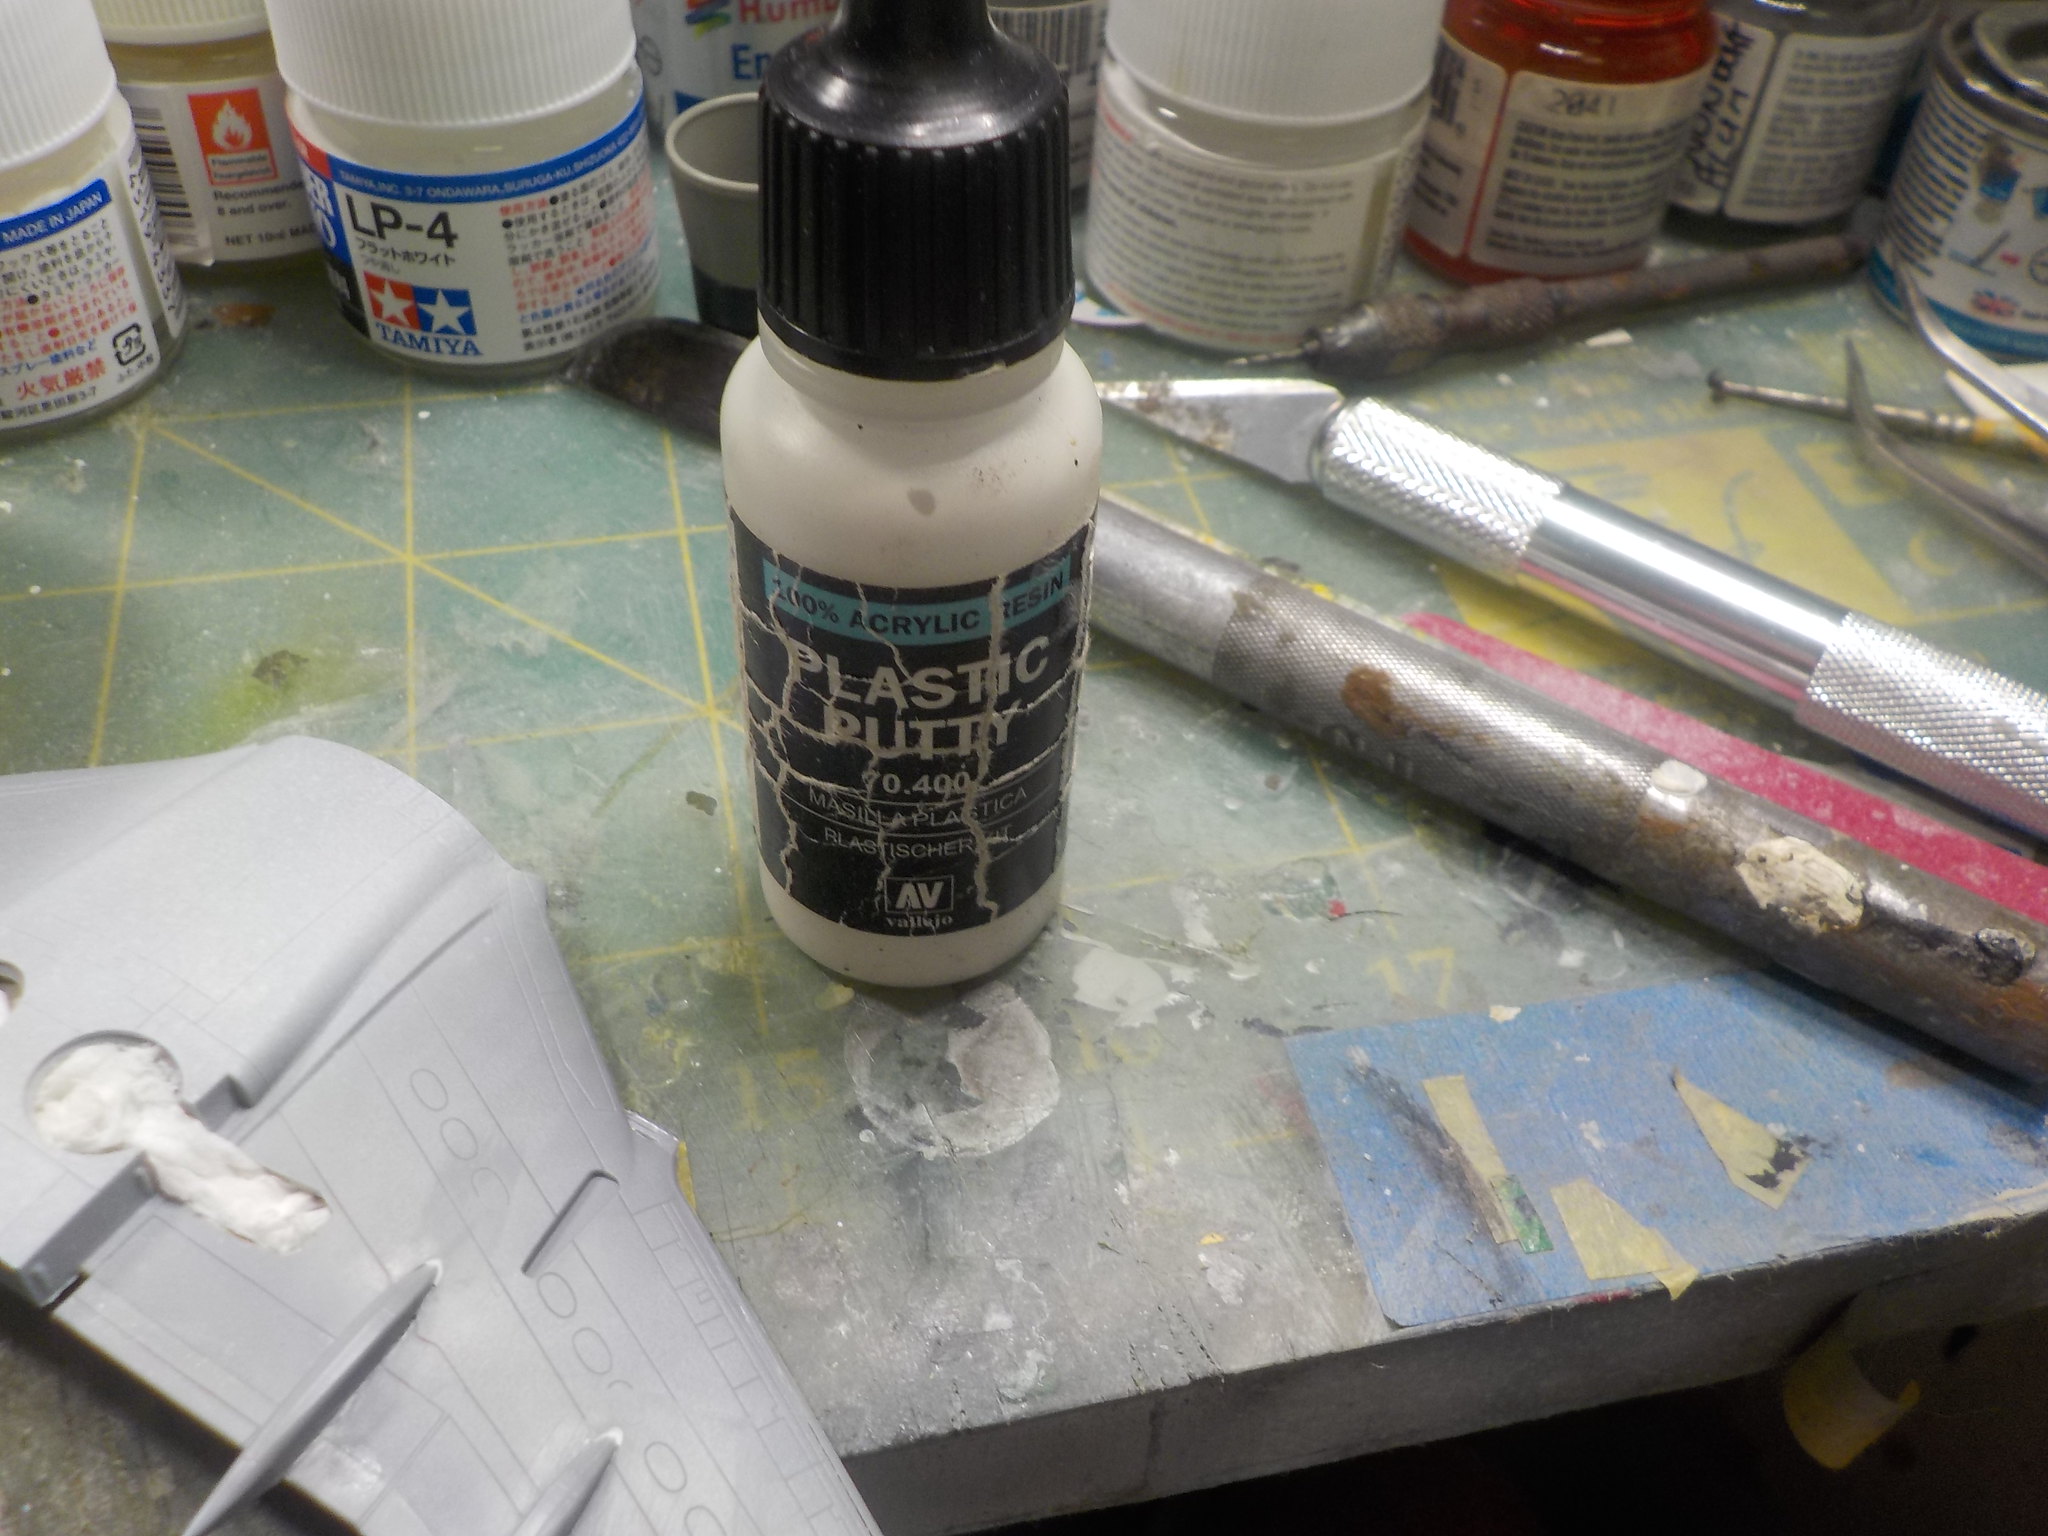 DSCN1179
 by
qfa_tsv, on Flickr
I like to put it on, and almost immediatly wipe the excess off, so no sanding required.
added
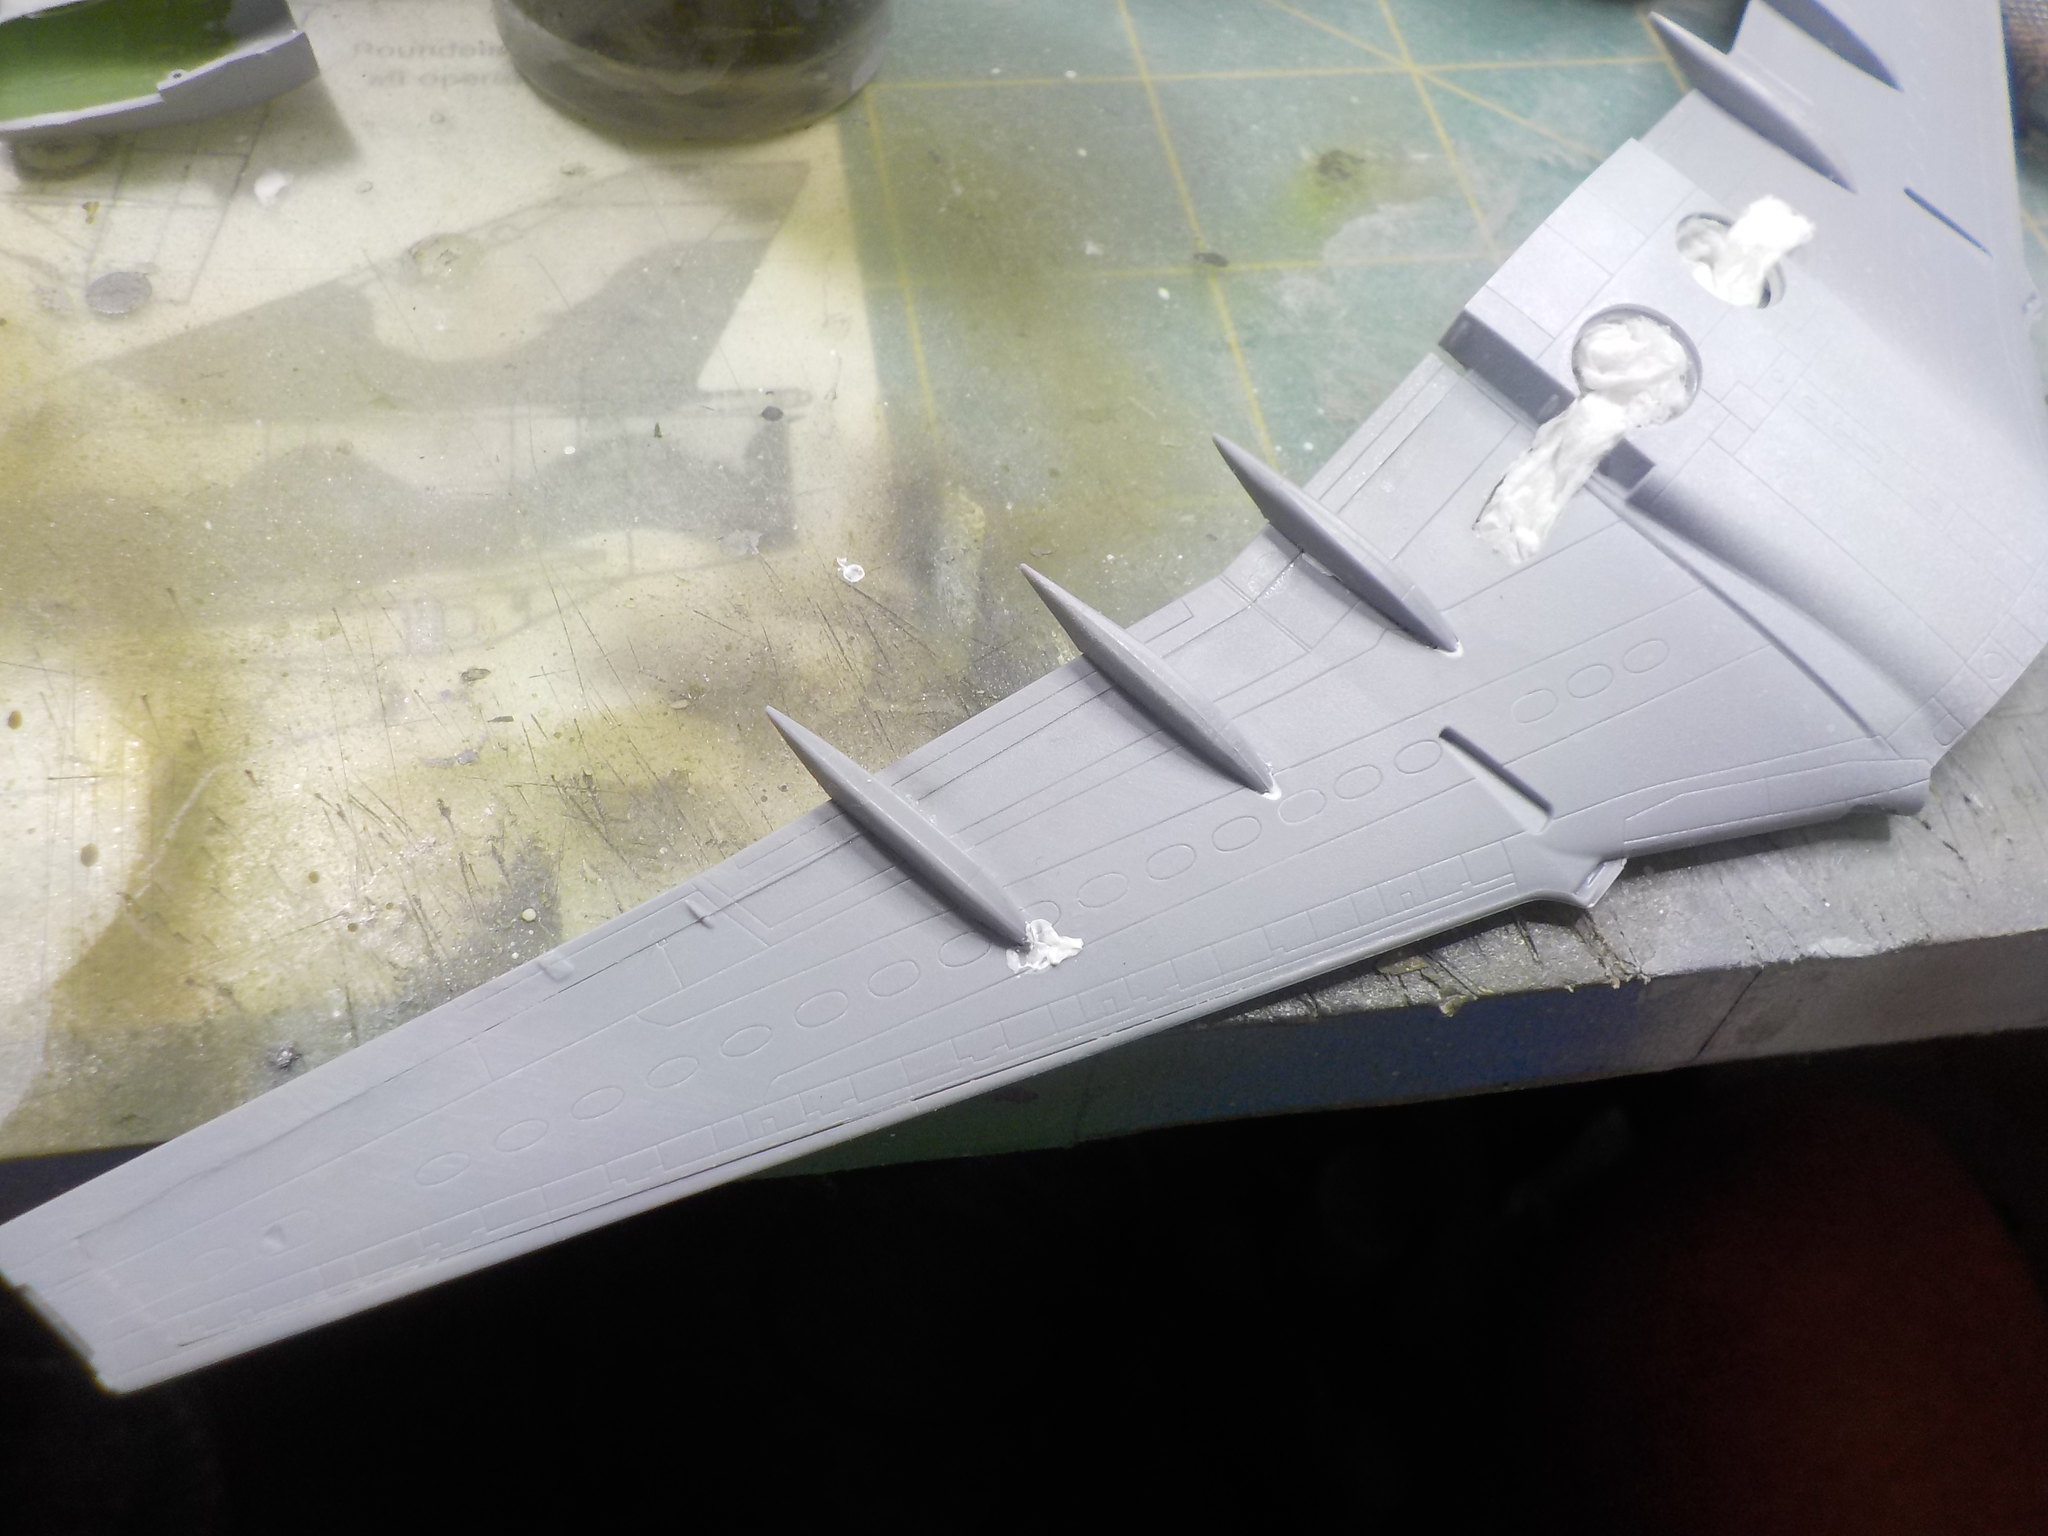 DSCN1176
 by
qfa_tsv, on Flickr
removed
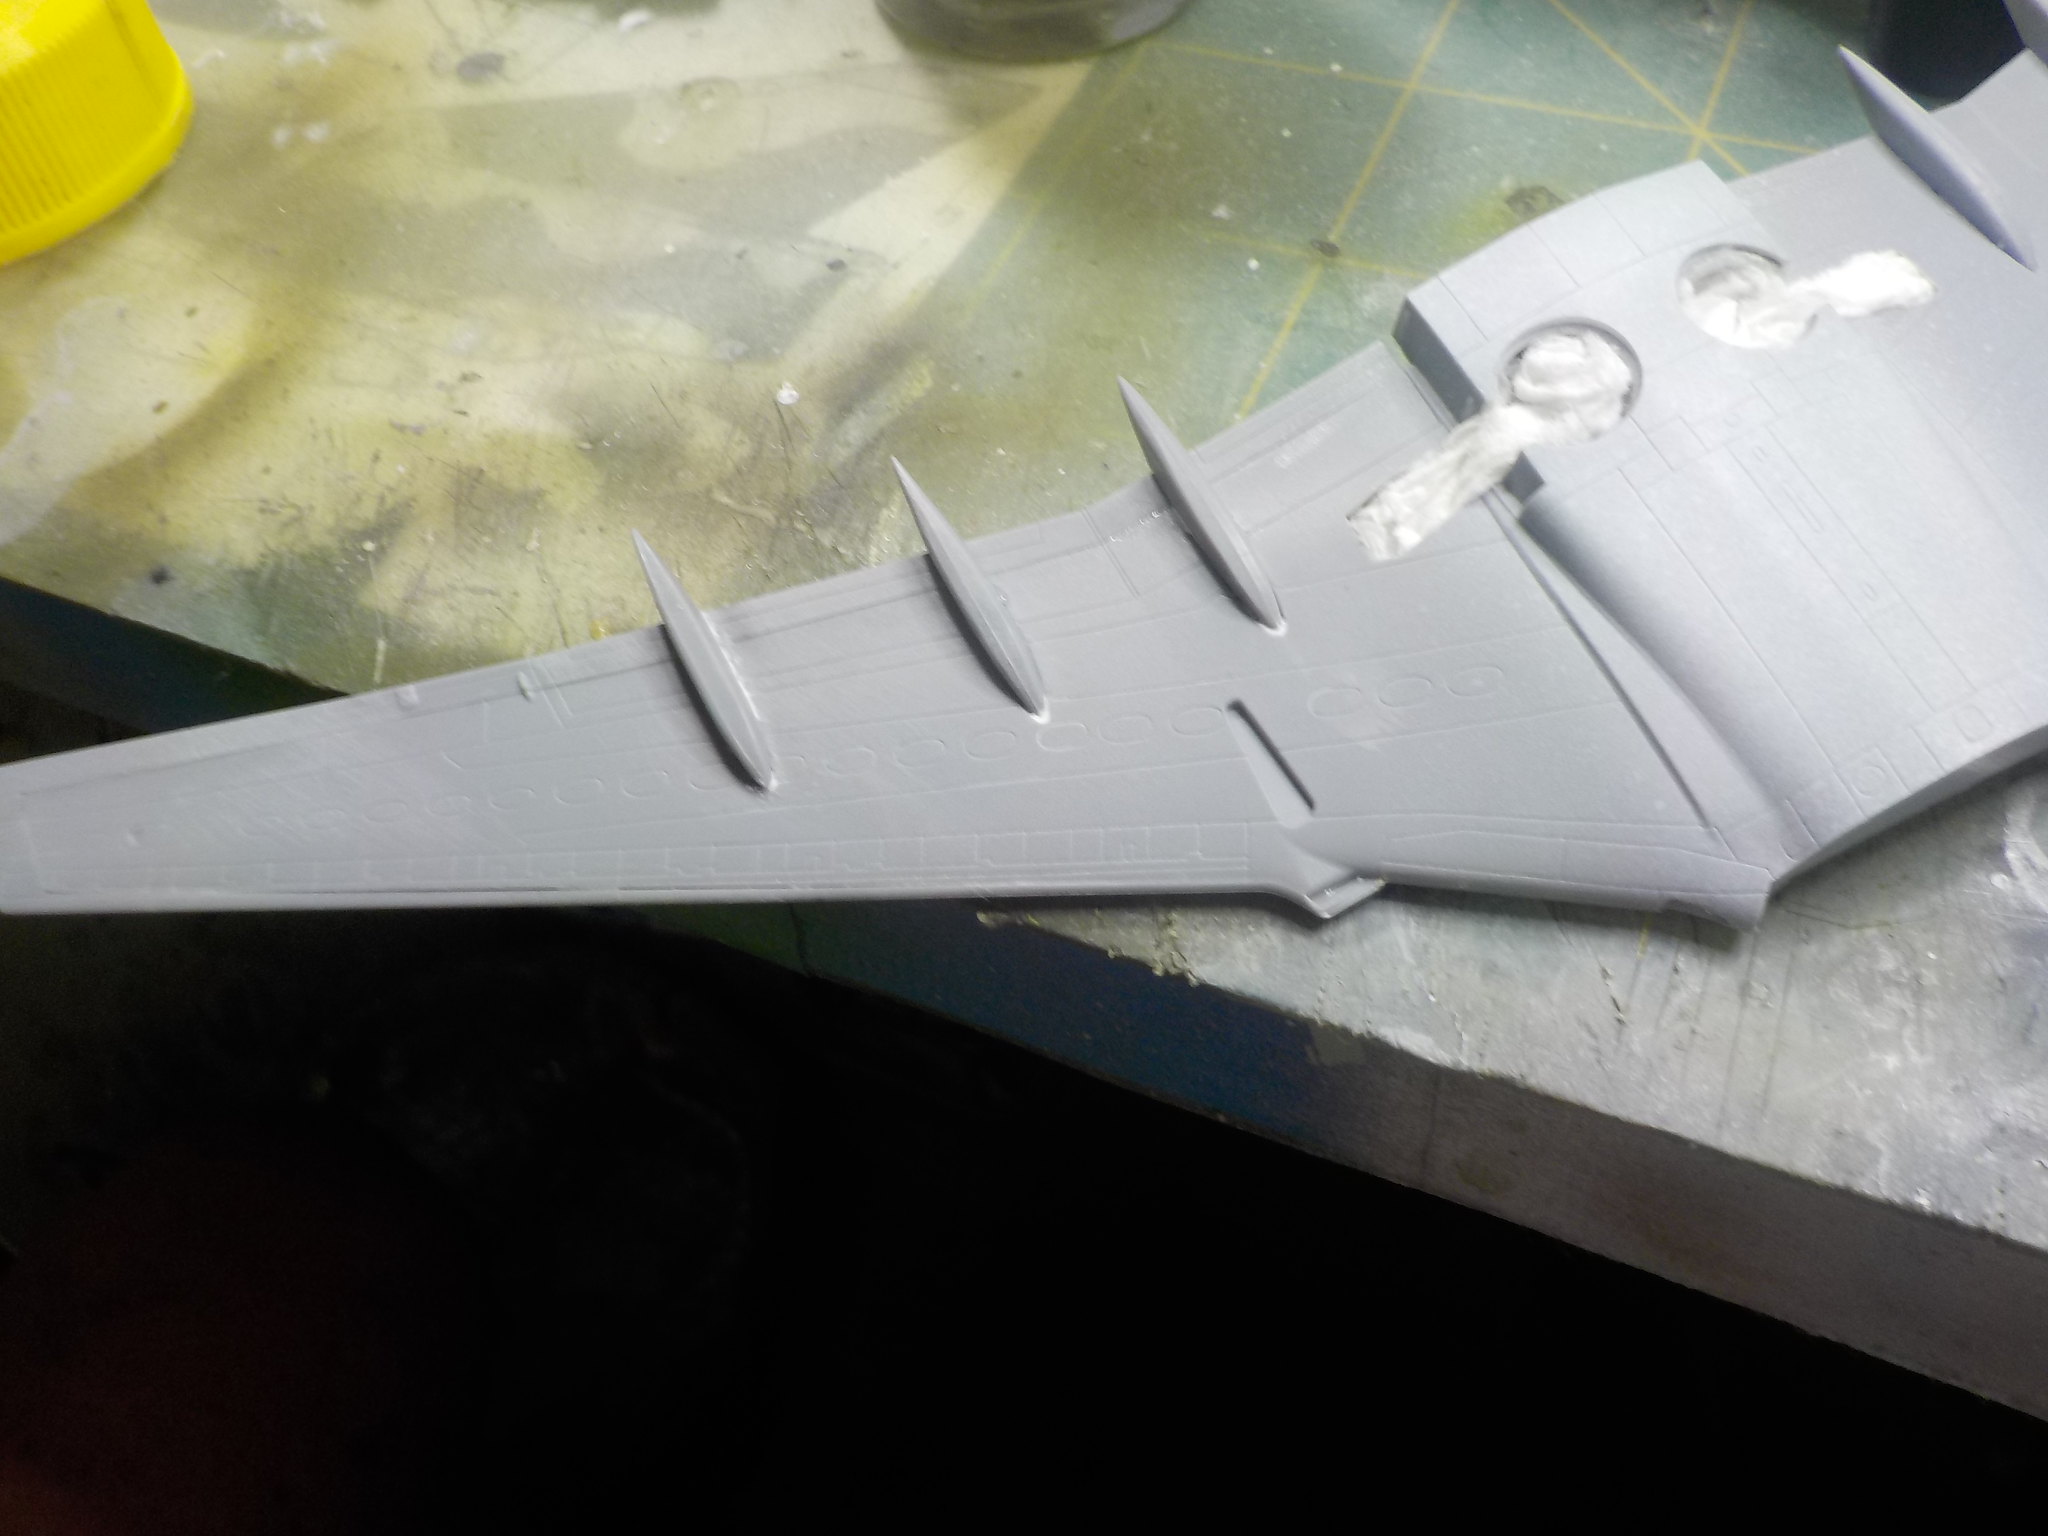 DSCN1177
 by
qfa_tsv, on Flickr
and some on the gap between the wing and fairing, which is always such a bugger to fill and sand off
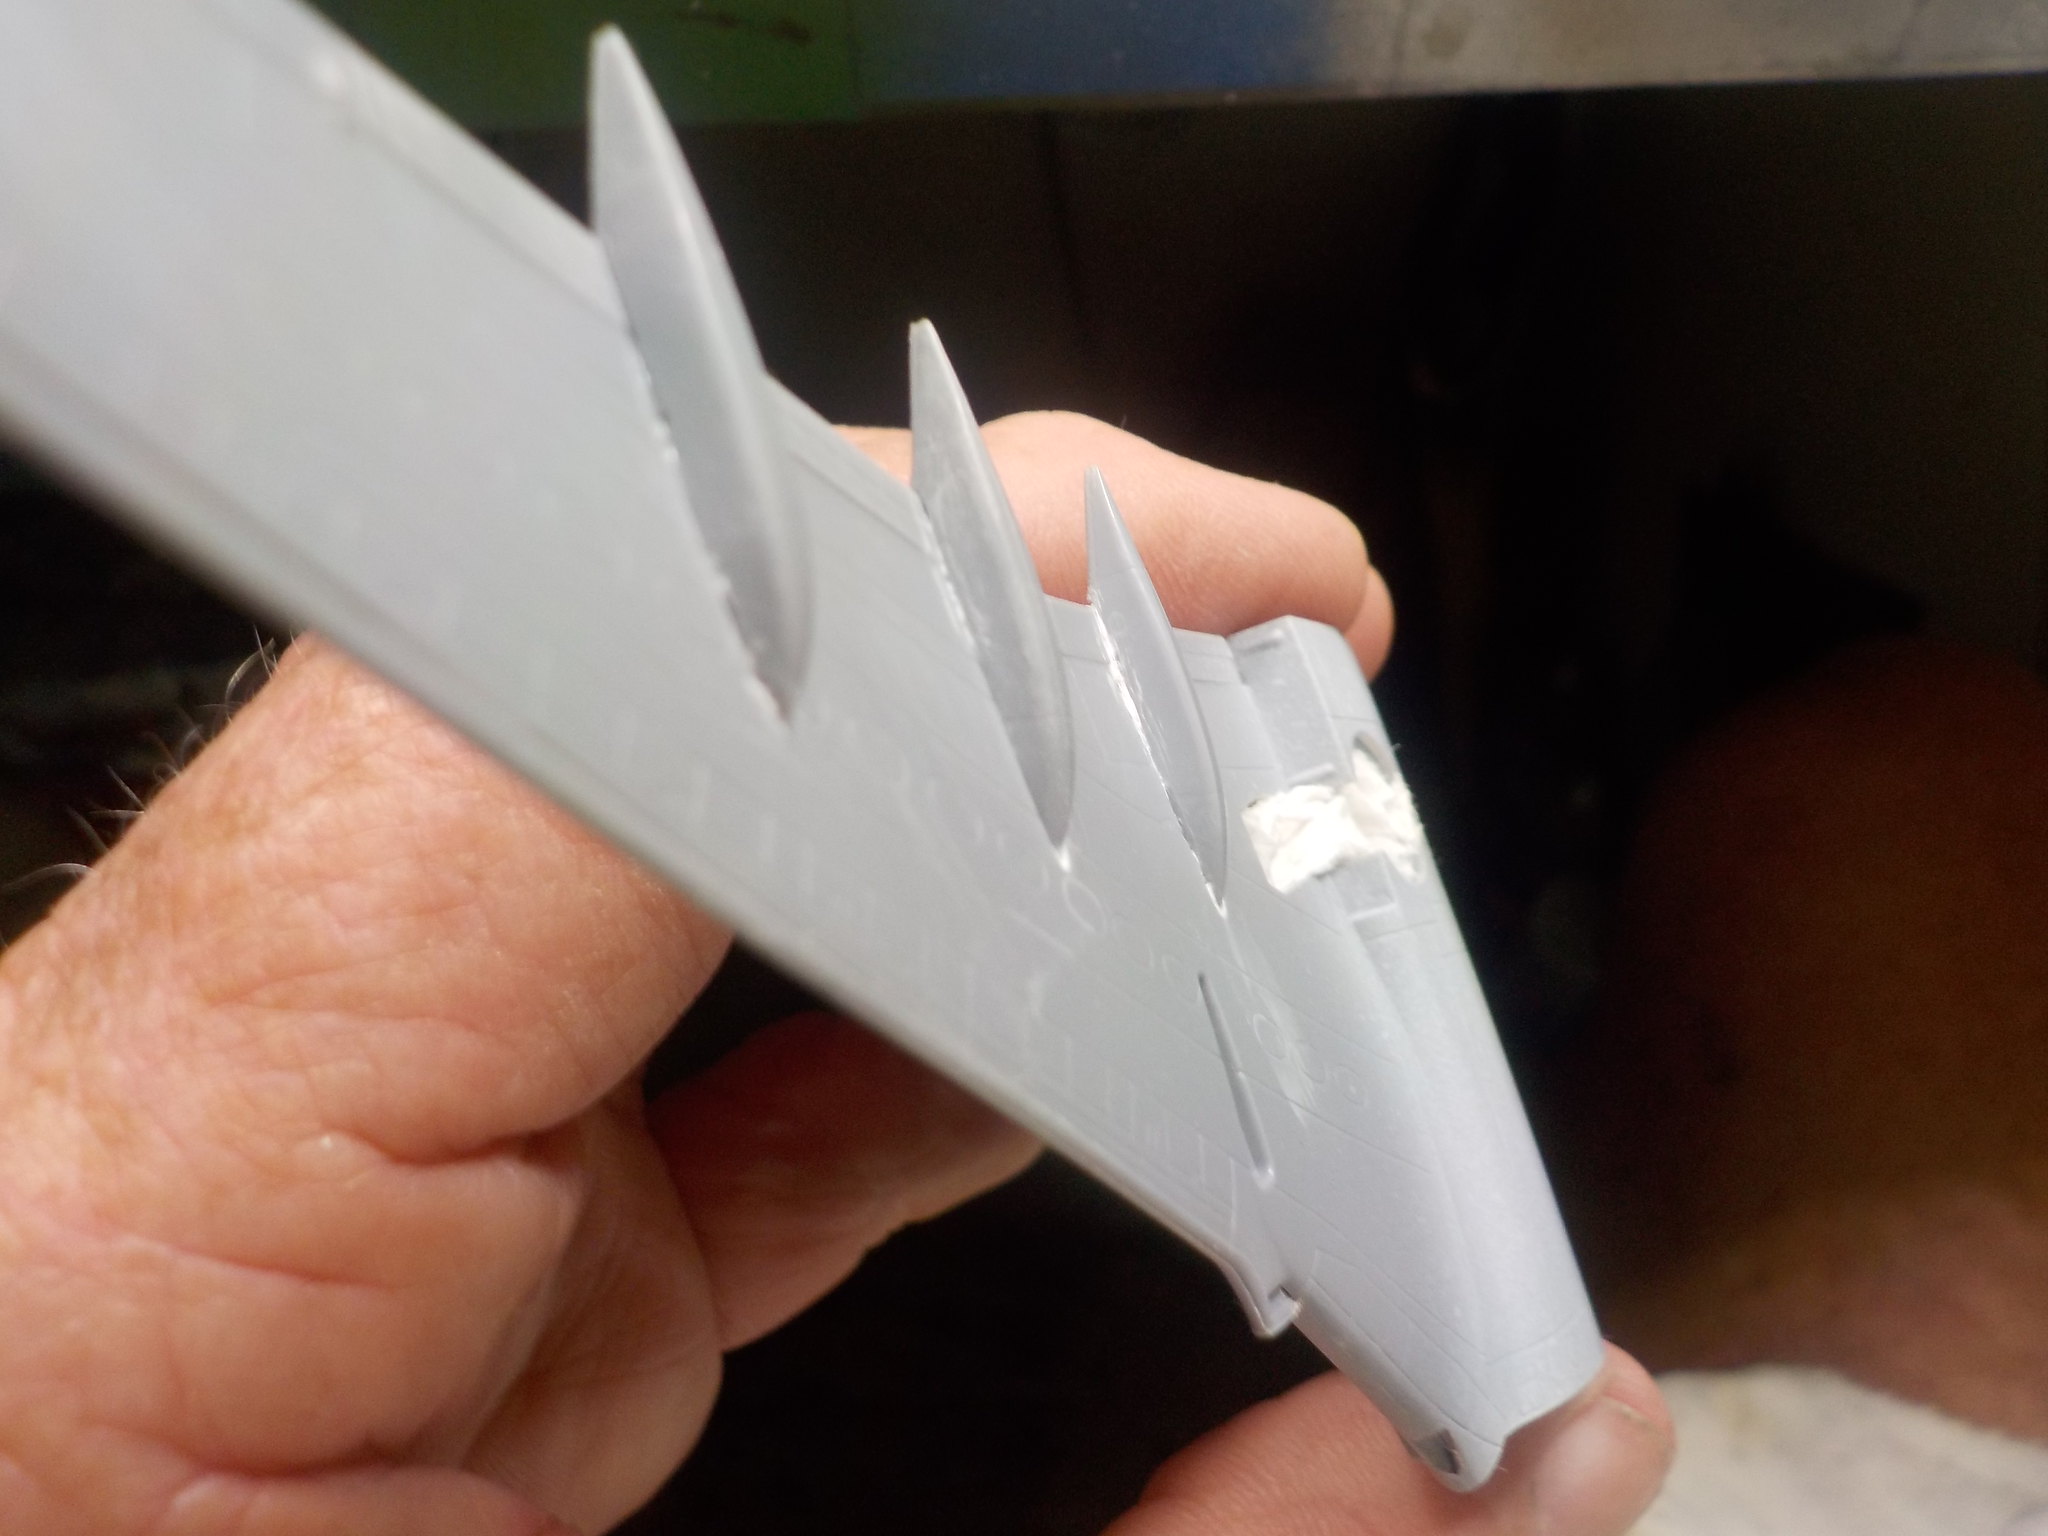 DSCN1178
 by
qfa_tsv, on Flickr
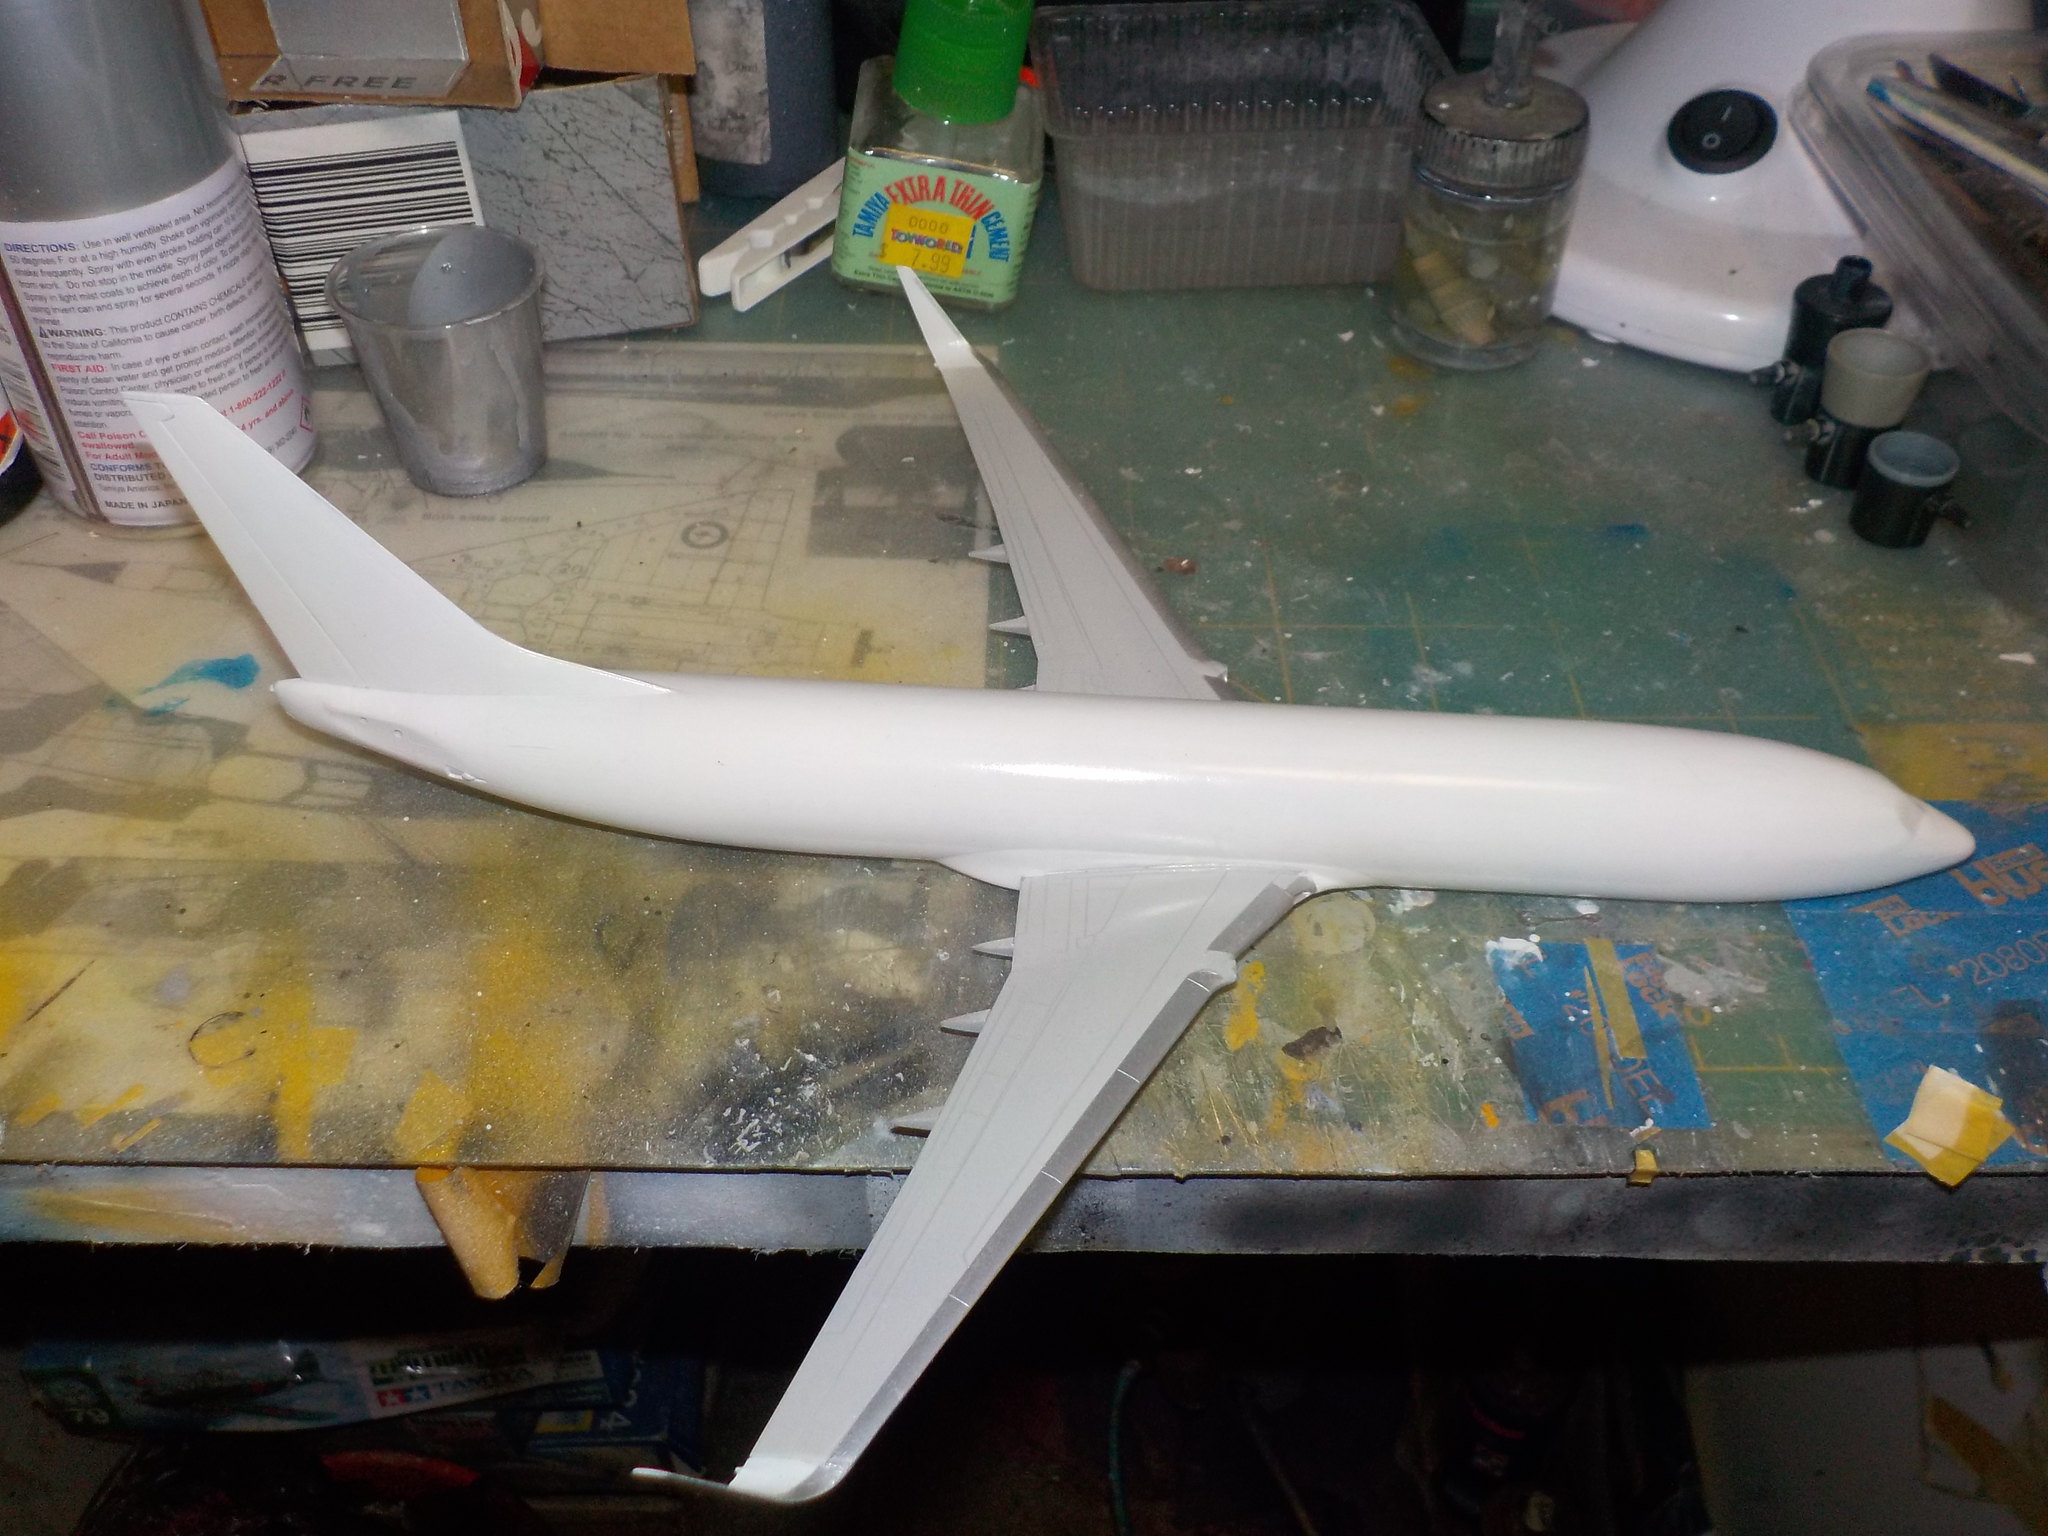
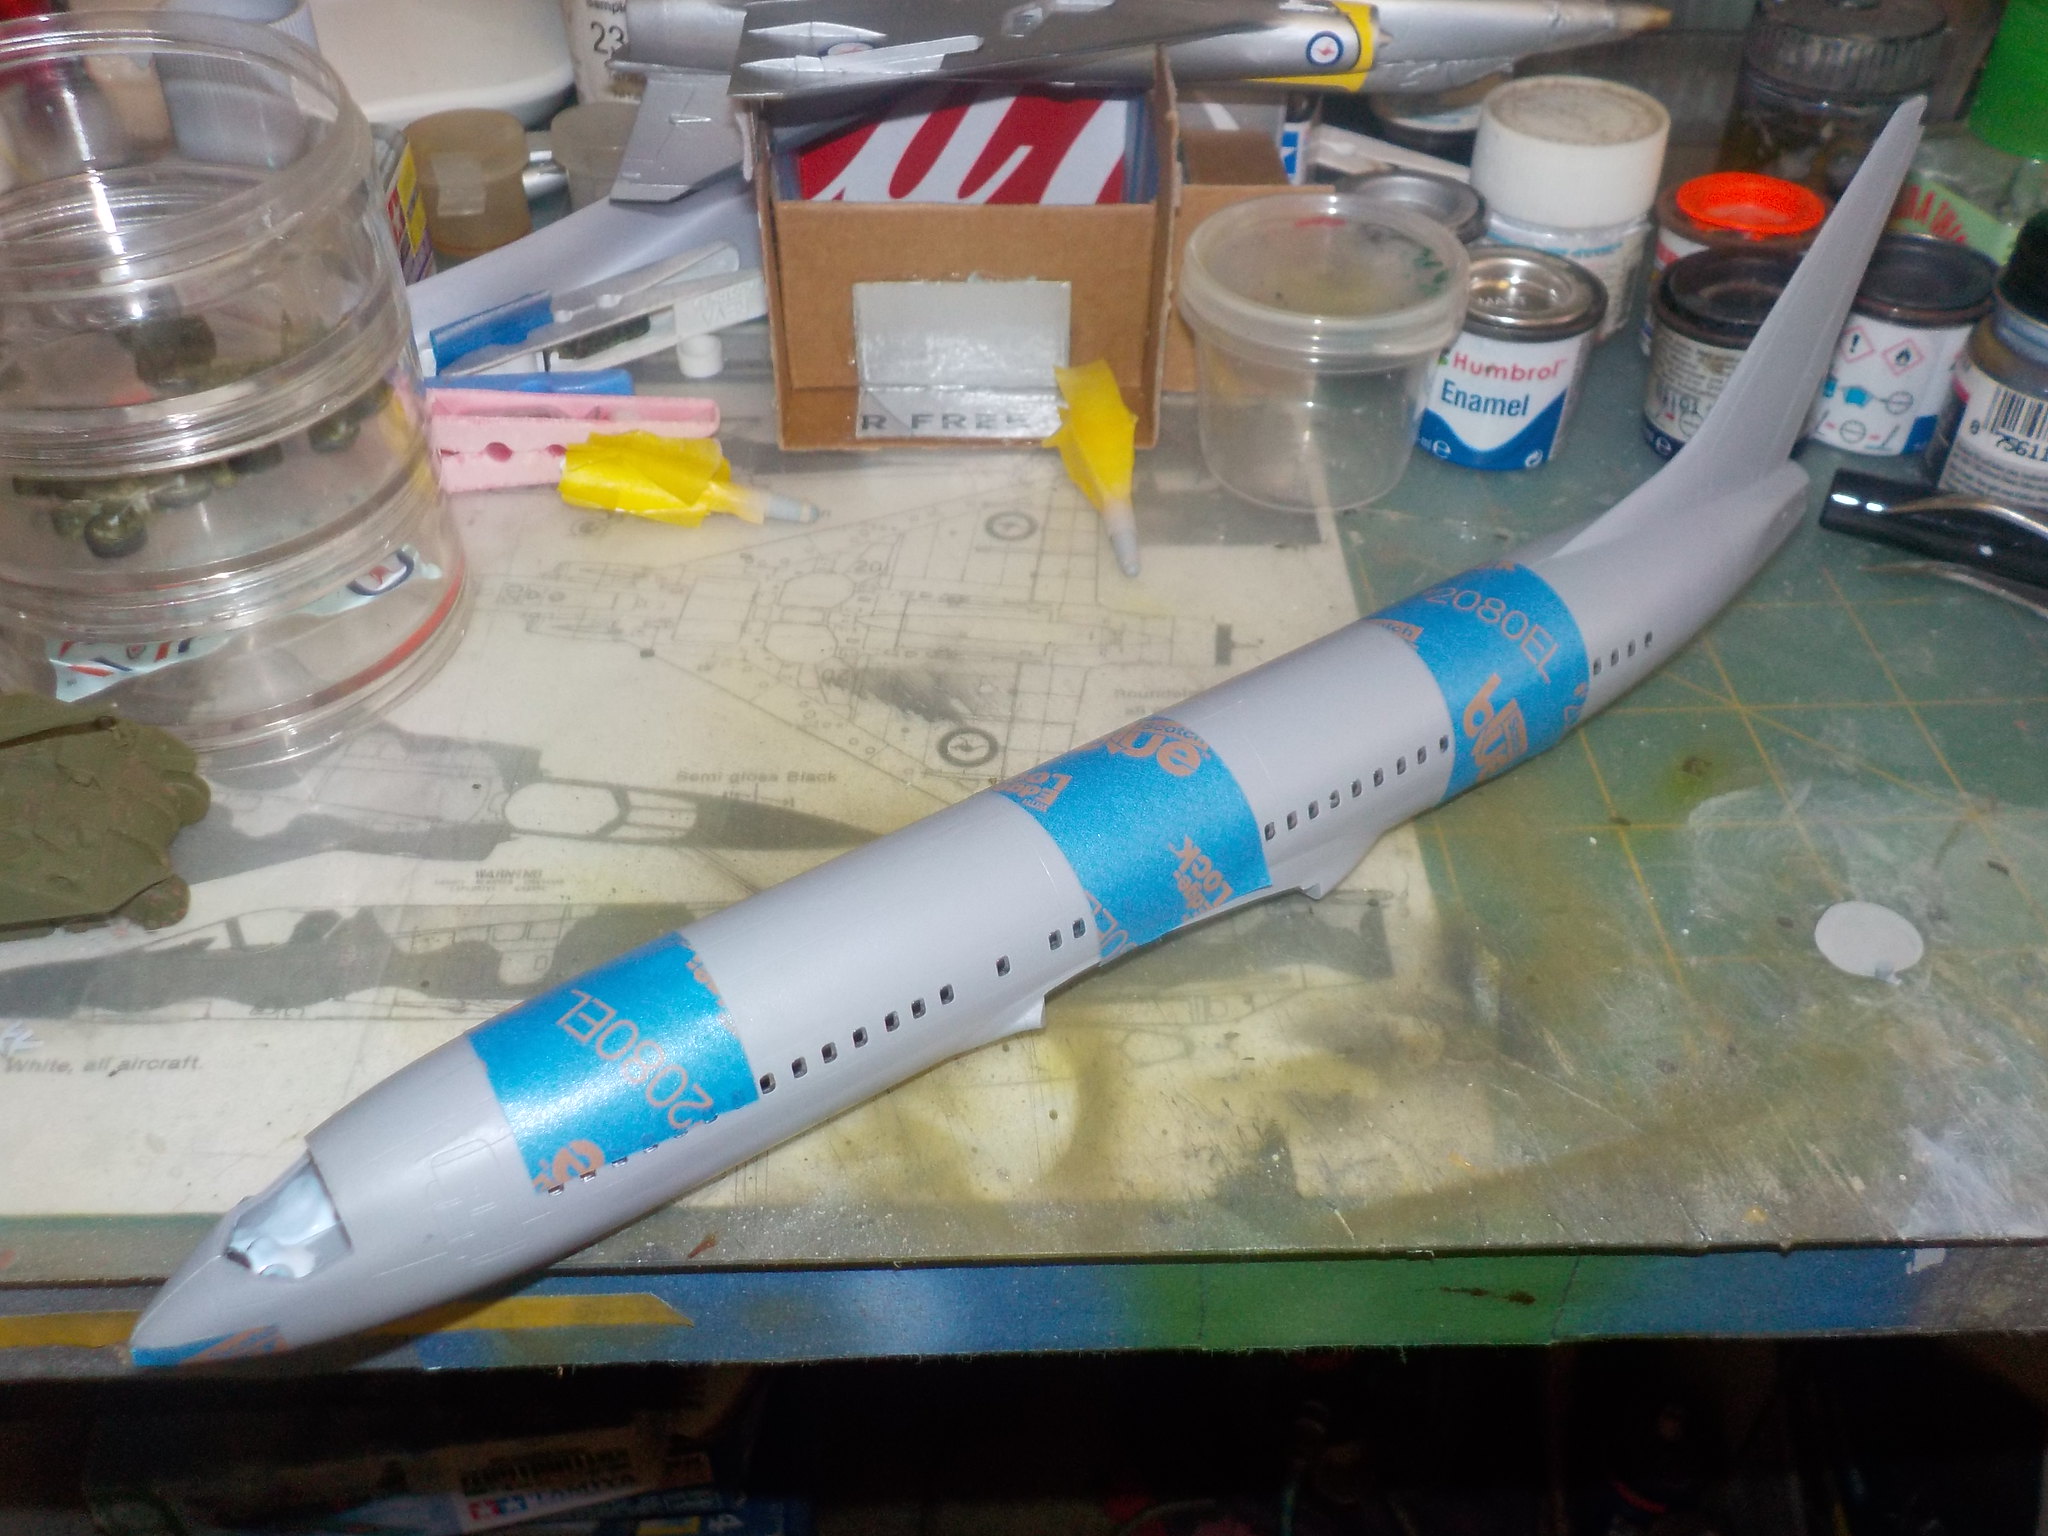
Now I had tried the wing to fuselage fit, and it is really good so decided to paint separately to cut down on the masking will have to wait to see how that turns out.
I had read that Tamiya had released a new line of lacquer paints that is supposedly the stuff from the spray cans.
So sent off the BNA who had it in stock to try some out, as you do, was amazed at the Aust Post notifications that went into my inbox, dispatched last Thursday, notified it had arrived on Wednesday, but the email was from Tuesday, and when looking at my email later on Wednesday, said delivered, so went and opened the front door and there it was, blimey that was good.
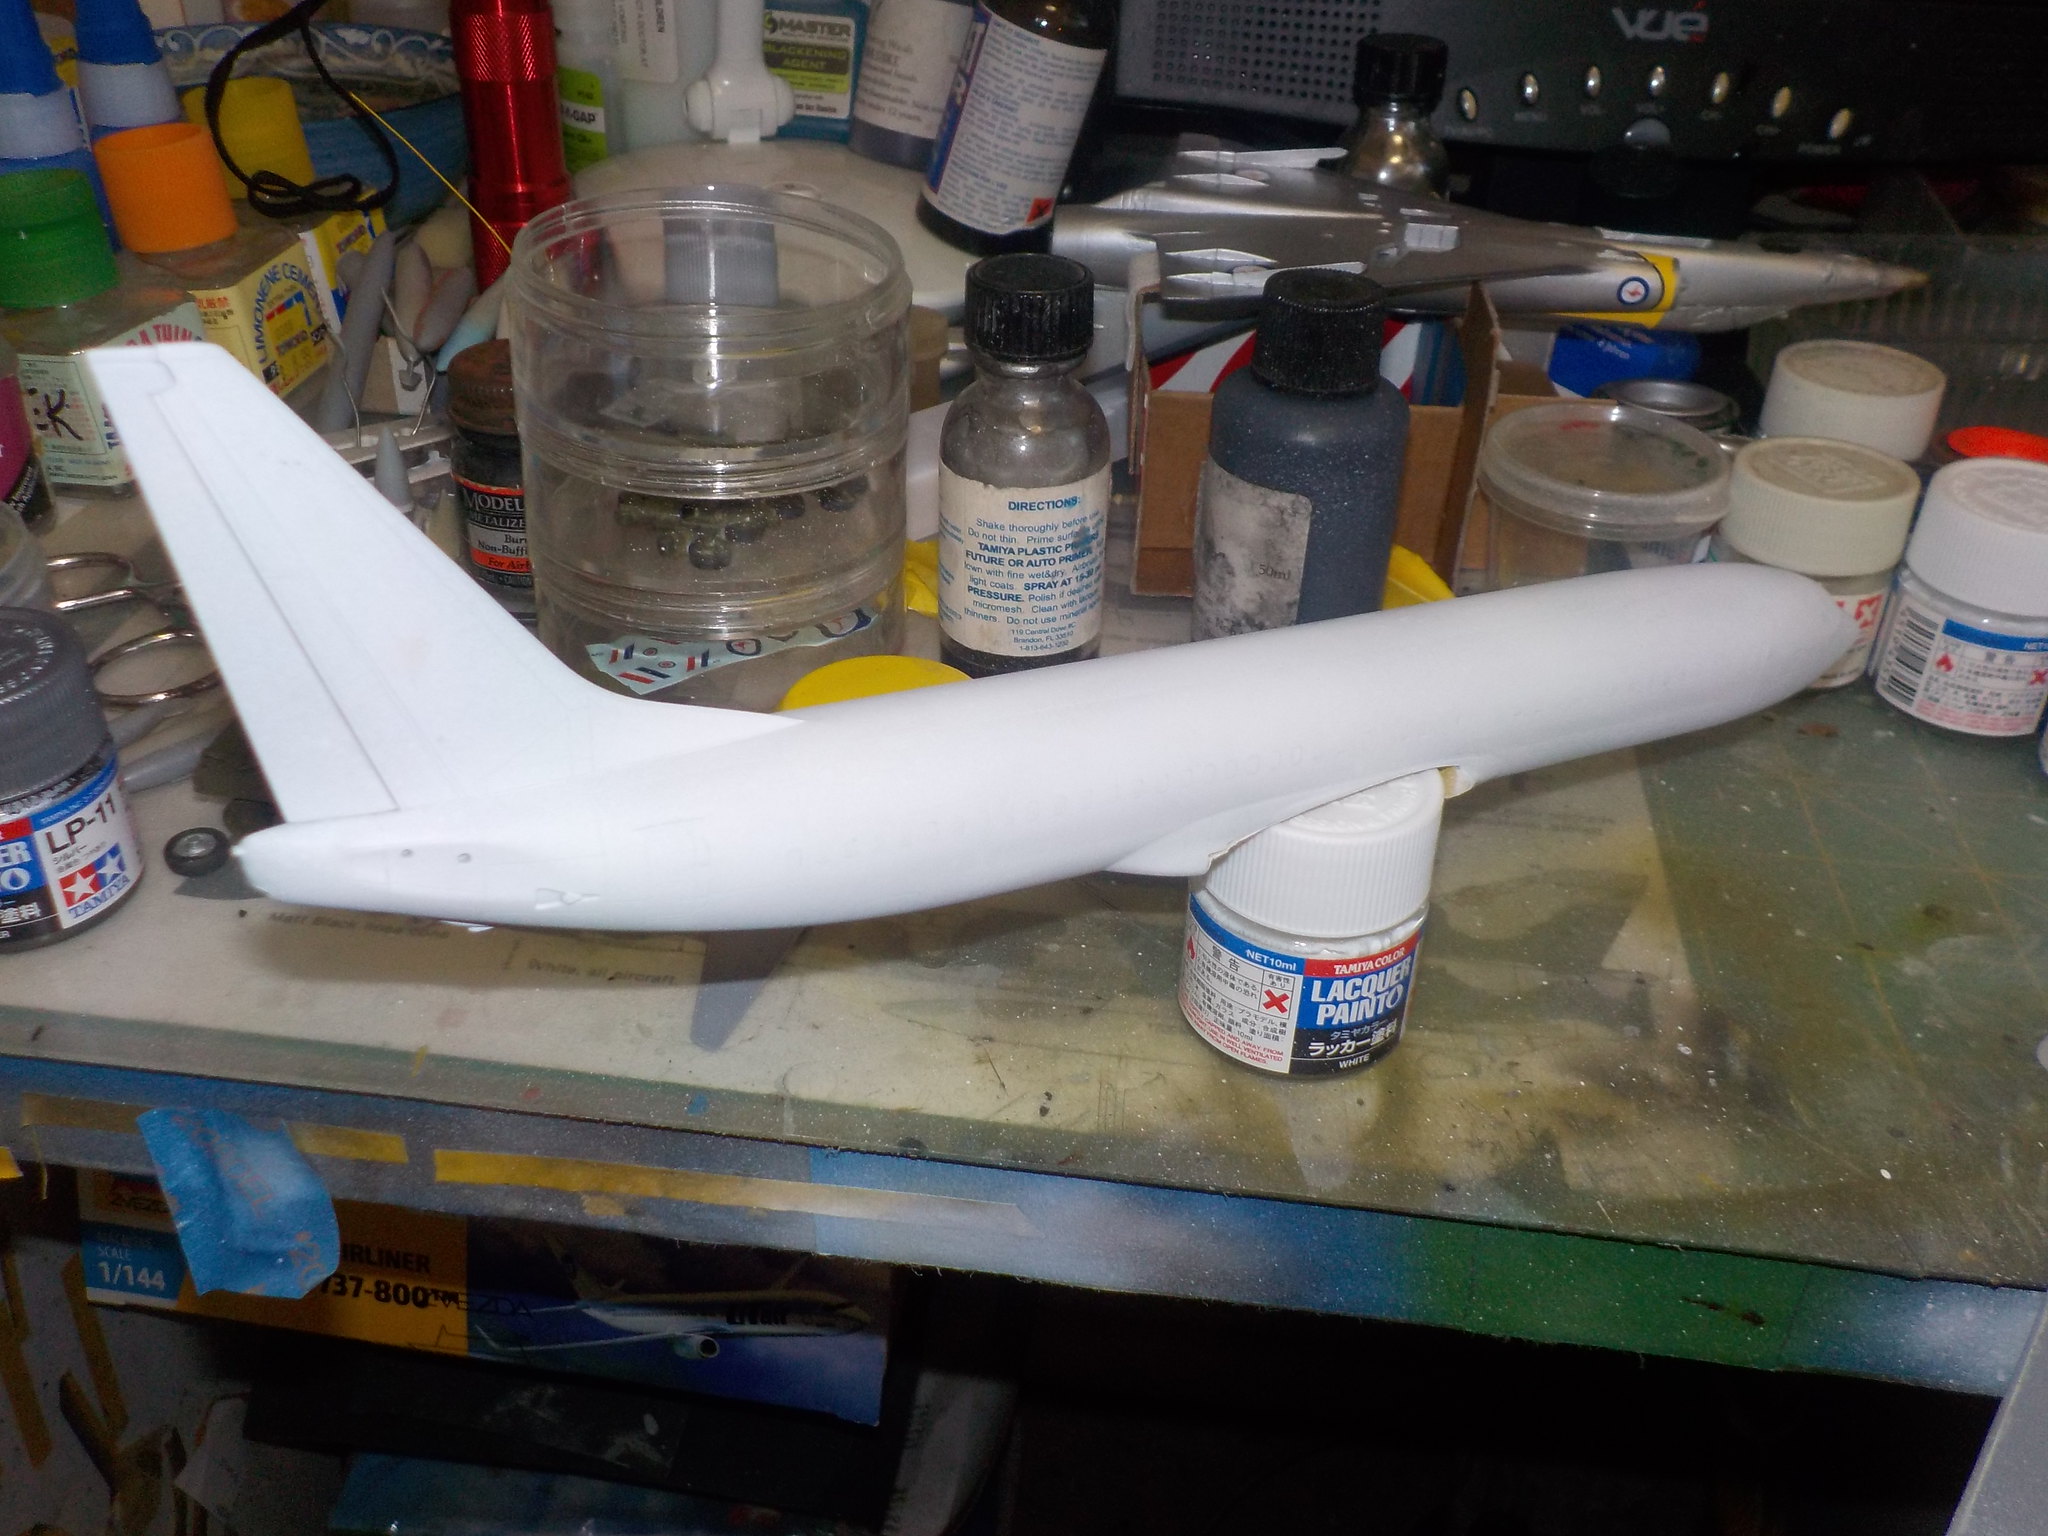
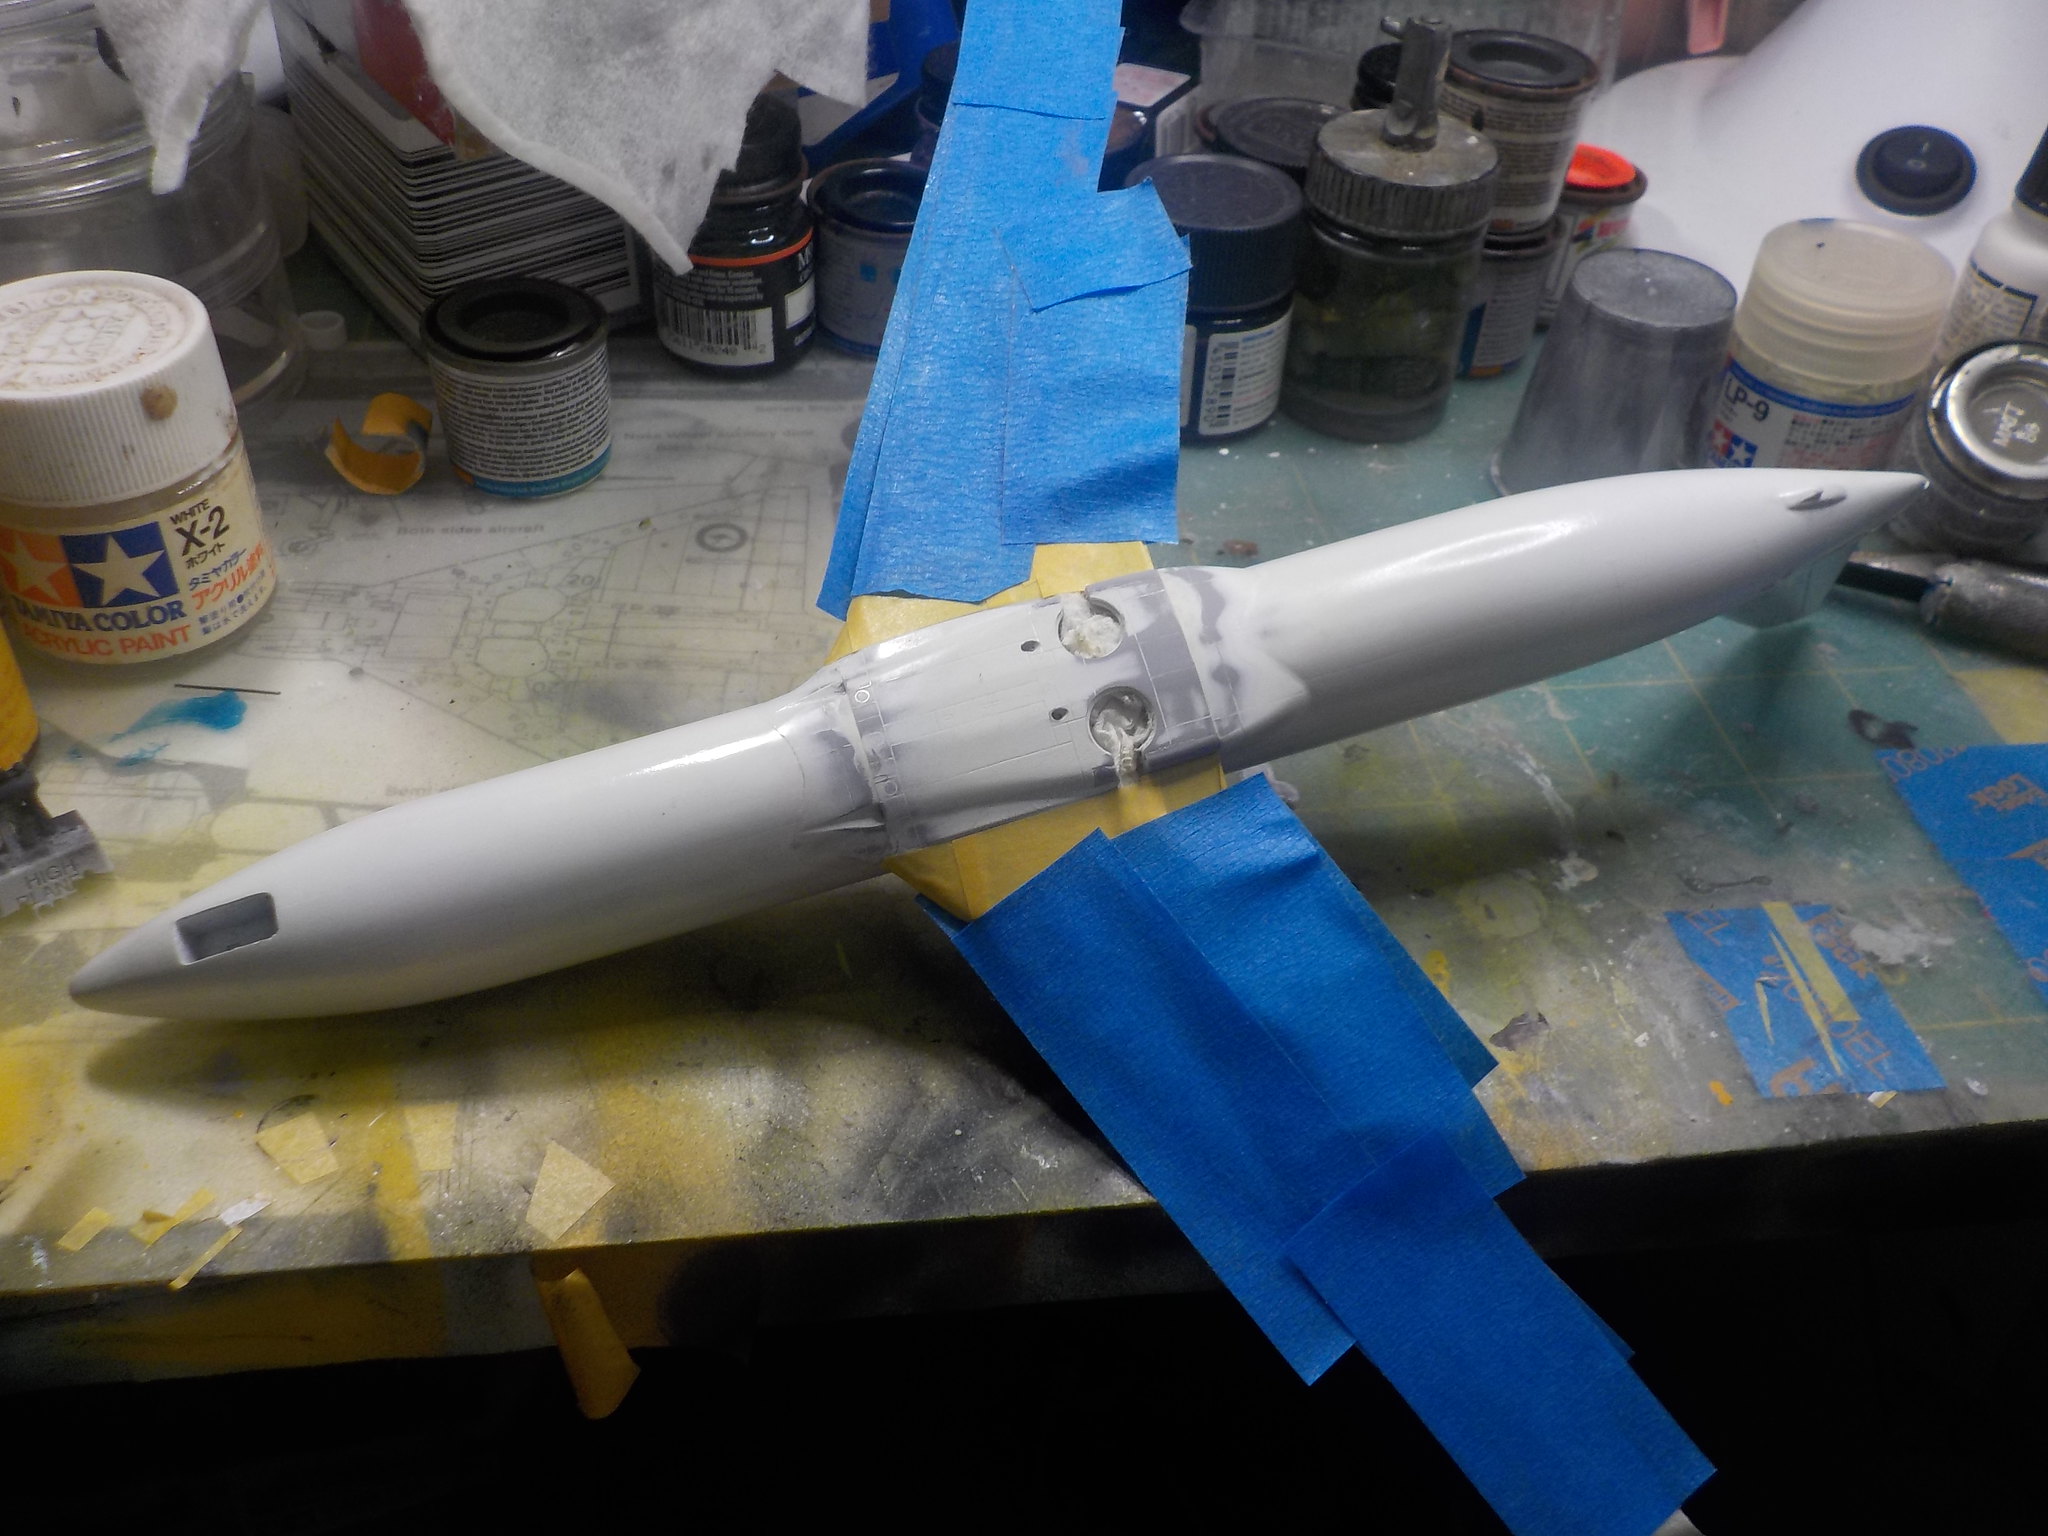
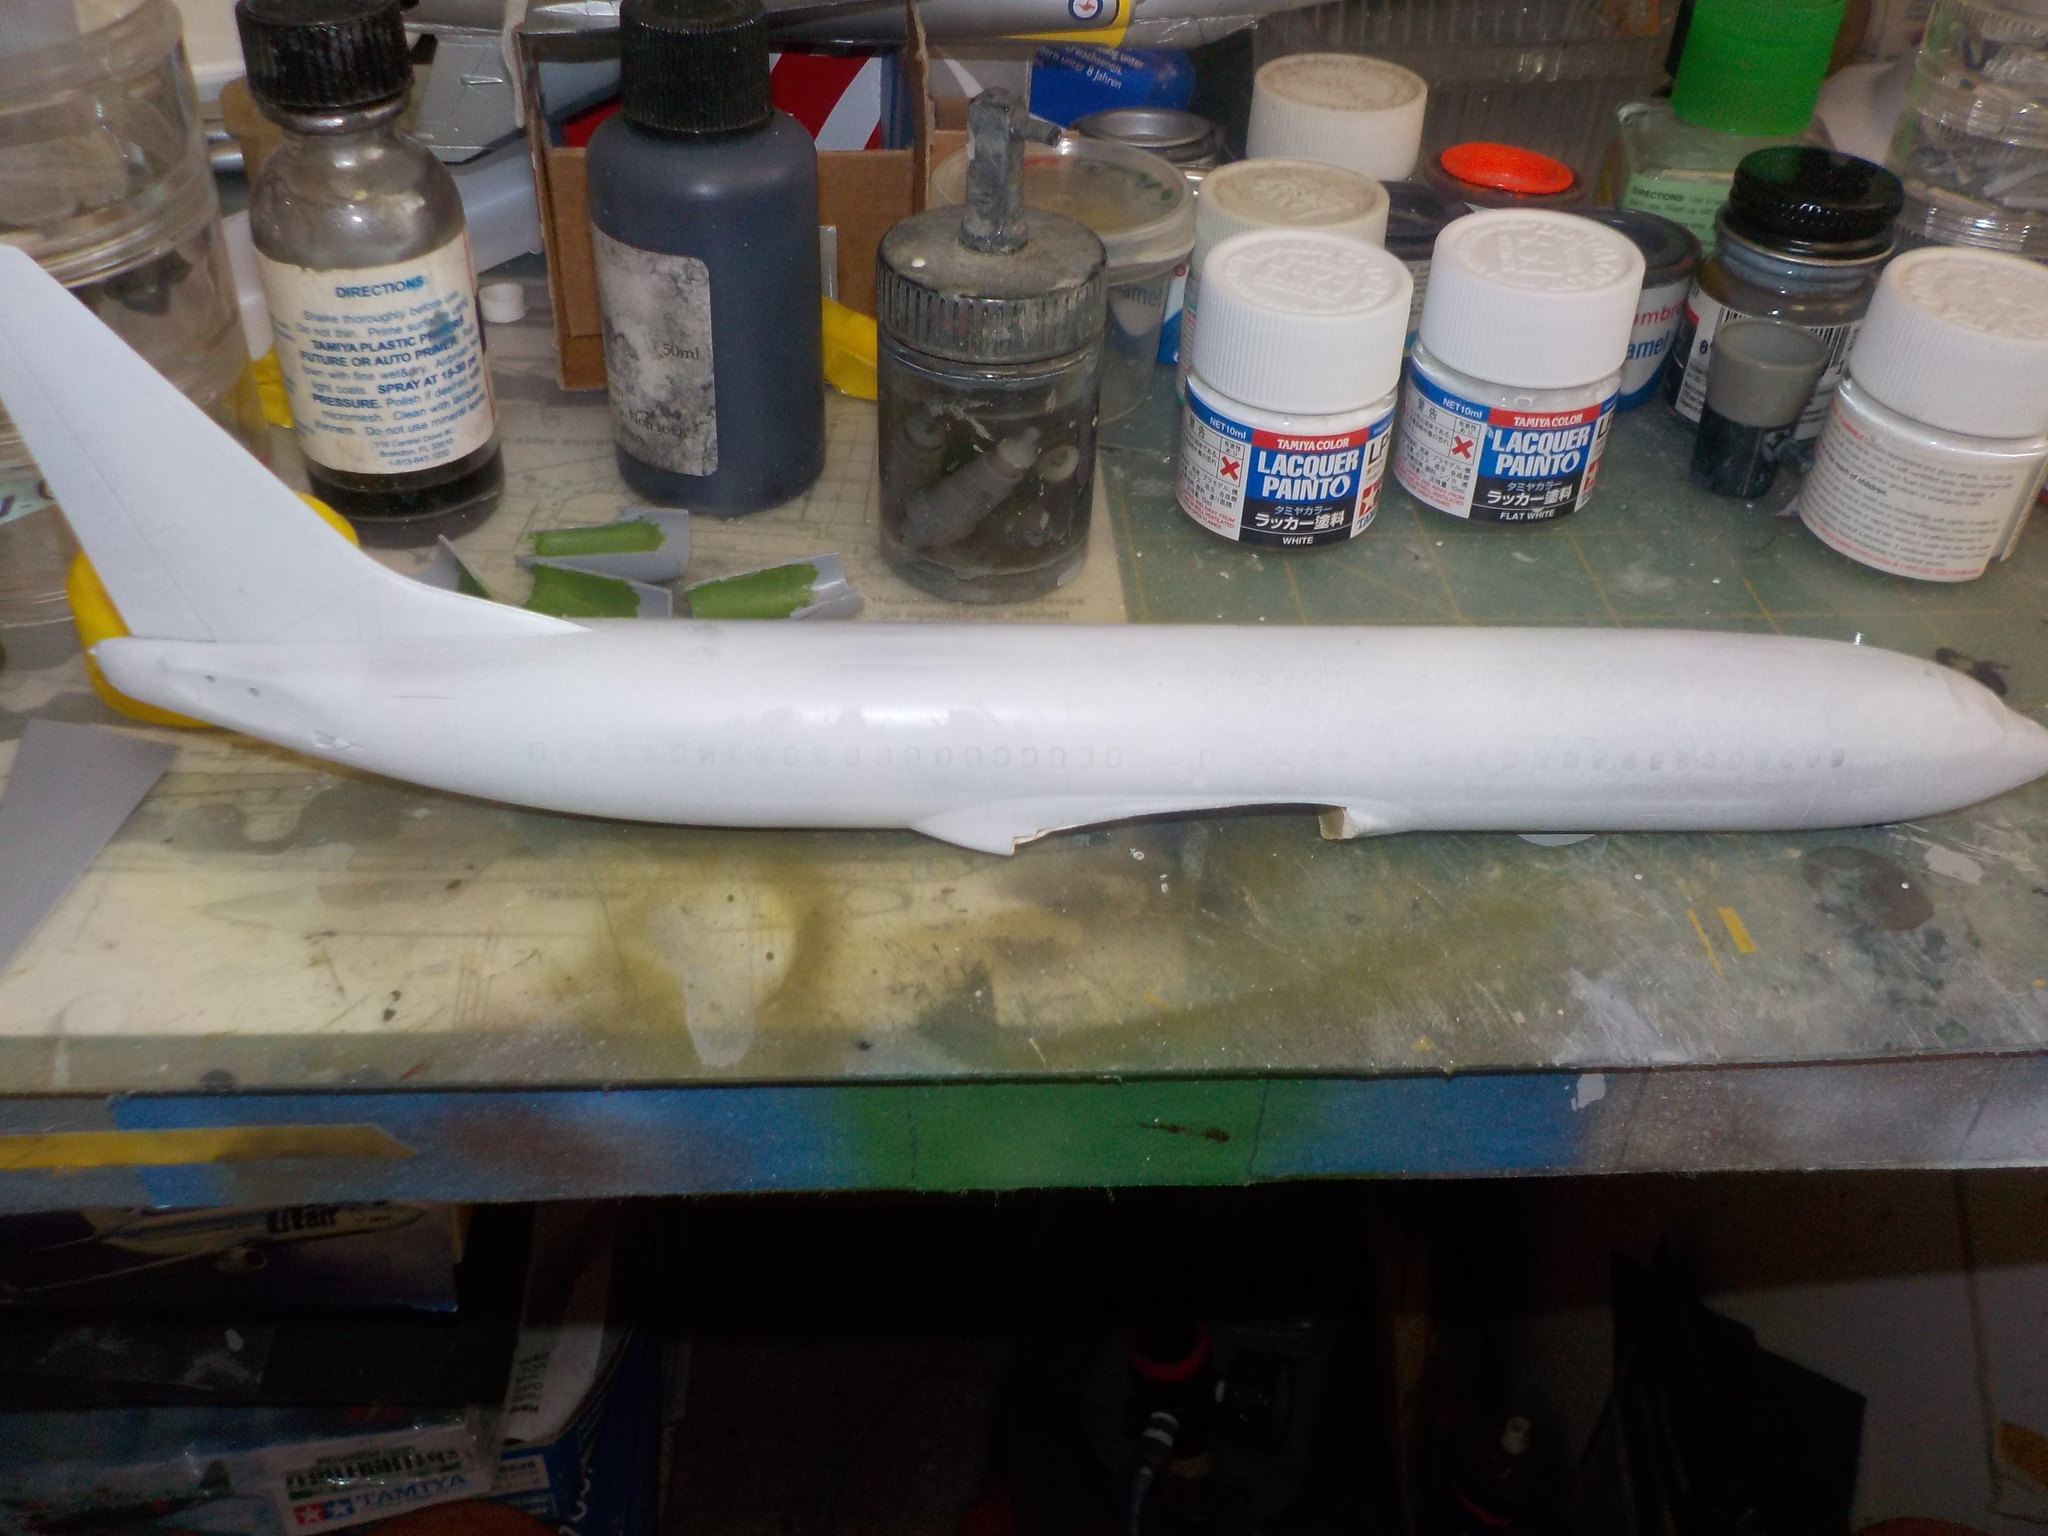
Pity I can't say the same thing about the paint, it is very thin in the bottle, but I did thin it just a little, but it sprayed something shocking, I tried higher pressure, lower pressure, different airbrushes, tried thicker, thinner yet more, it always came out splotchy, and no opacity at all.
This is the forward fuselage that has been sprayed with the flat.
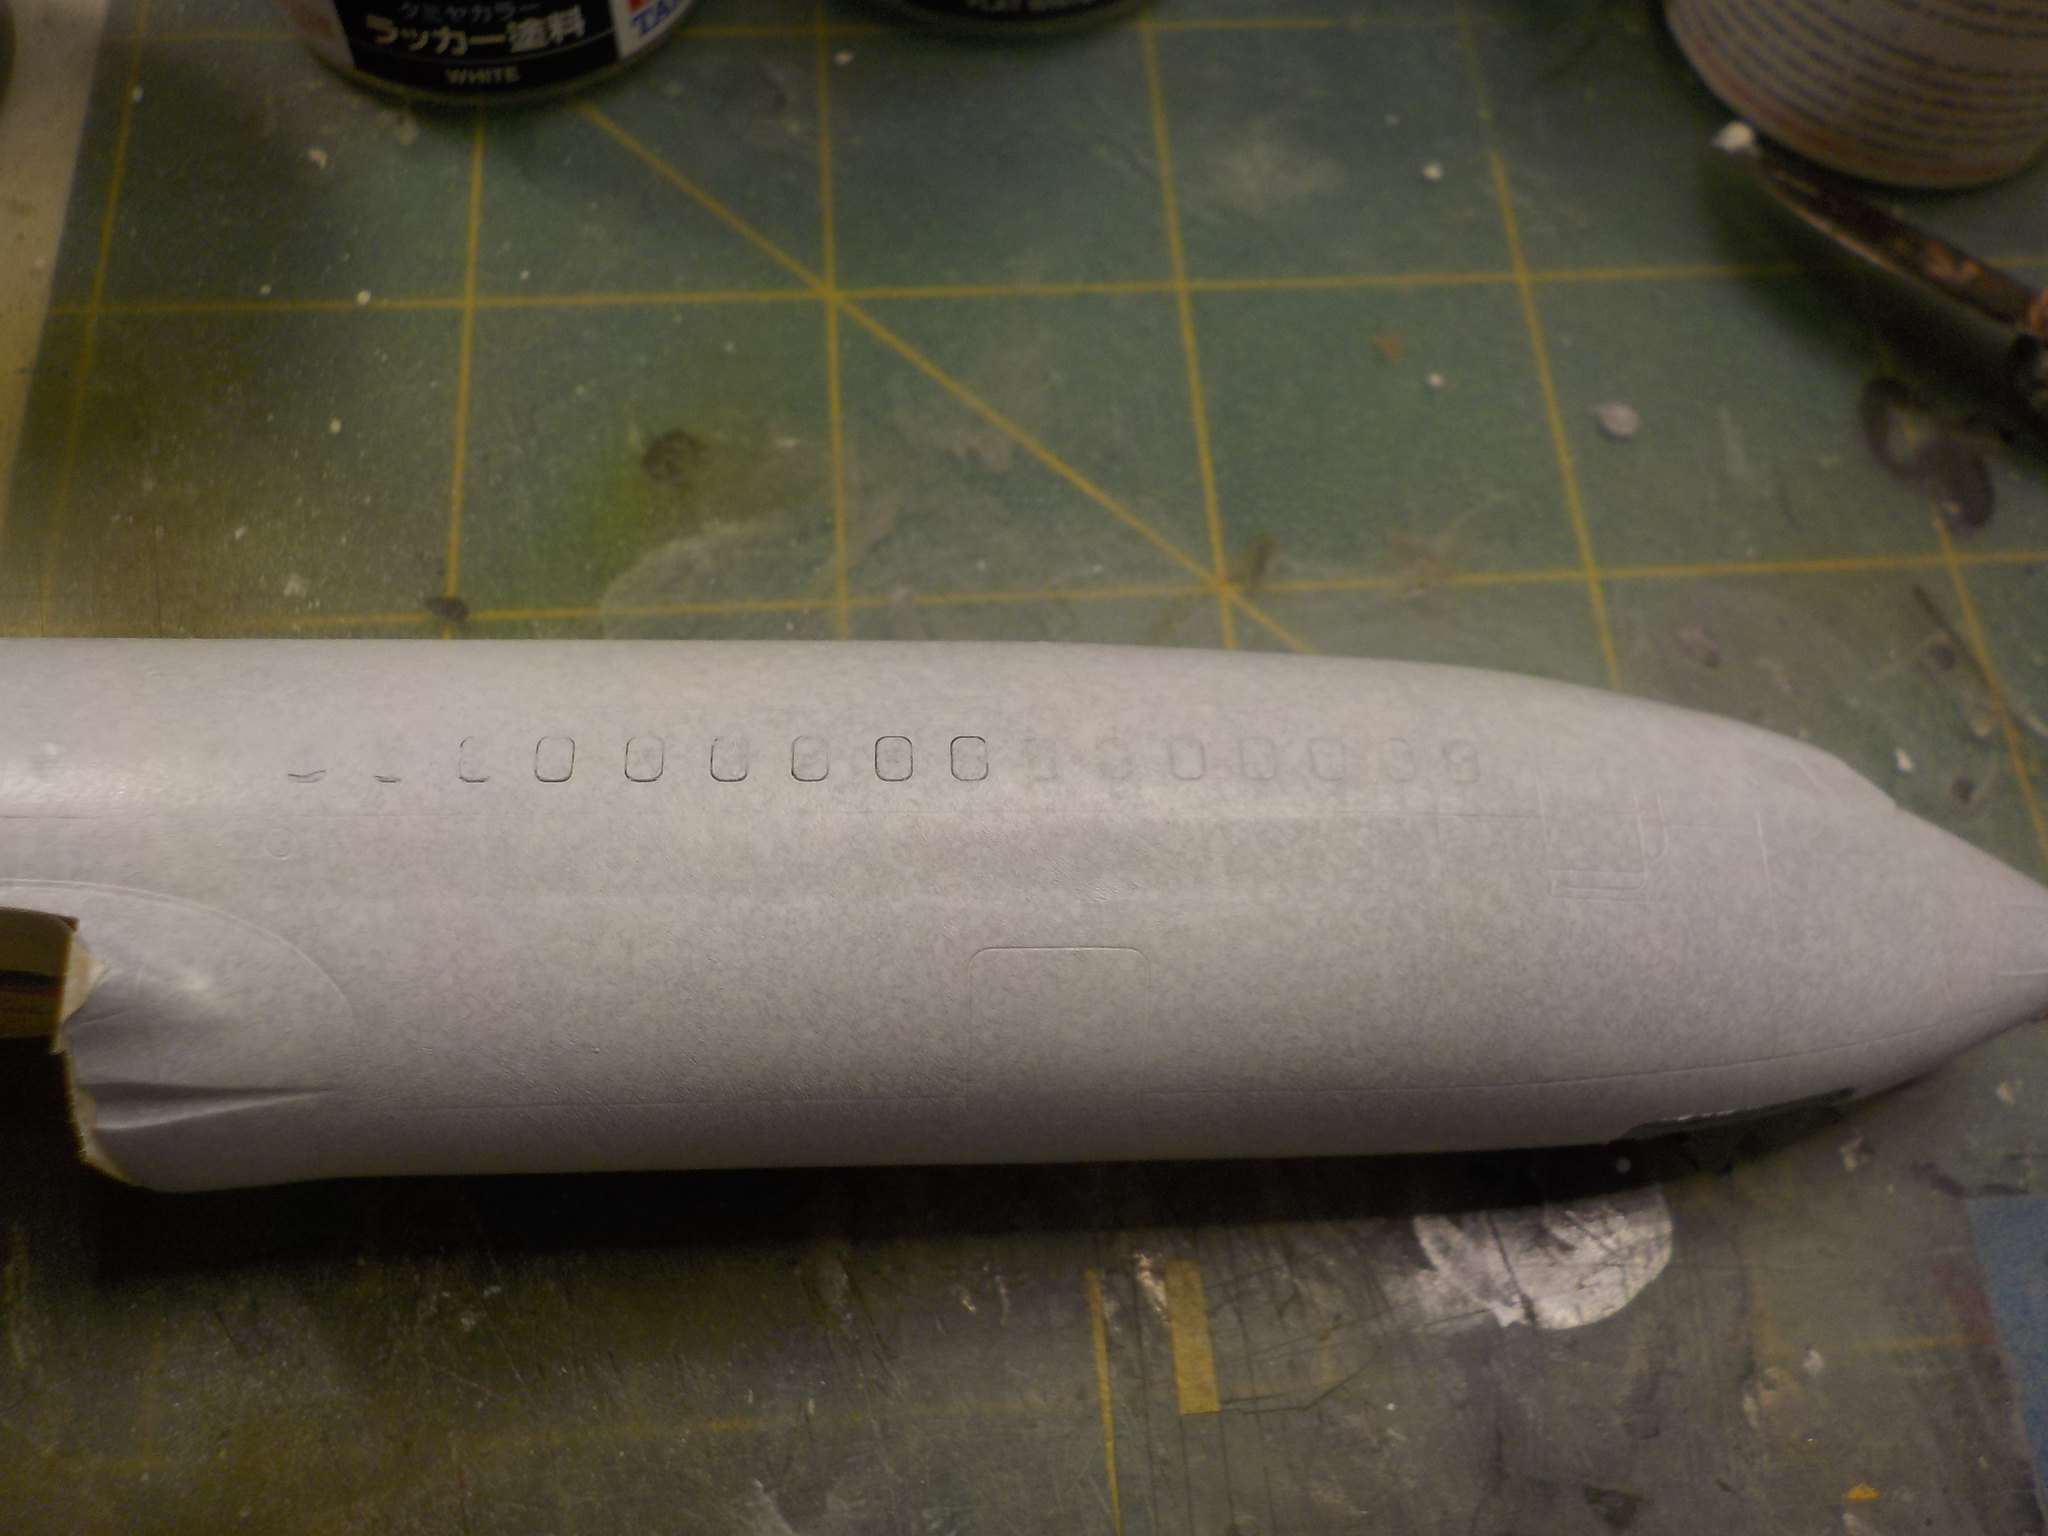 DSCN1185
 by
qfa_tsv, on Flickr
You can see I have used the Vellejo to fill some of the windows, worked a treat, although I'm not sure it would have been needed as I will use decals for the window
Where it is at the moment
 DSCN1188
 by
qfa_tsv, on Flickr
 DSCN1170 by qfa_tsv, on Flickr
 DSCN1172 by qfa_tsv, on Flickr
 DSCN1173 by qfa_tsv, on Flickr


