1/48th scale HPH Concorde

Show us what's on the bench

1/48th scale HPH Concorde

Postby Ericg » Fri Sep 18, 2015 8:51 pm

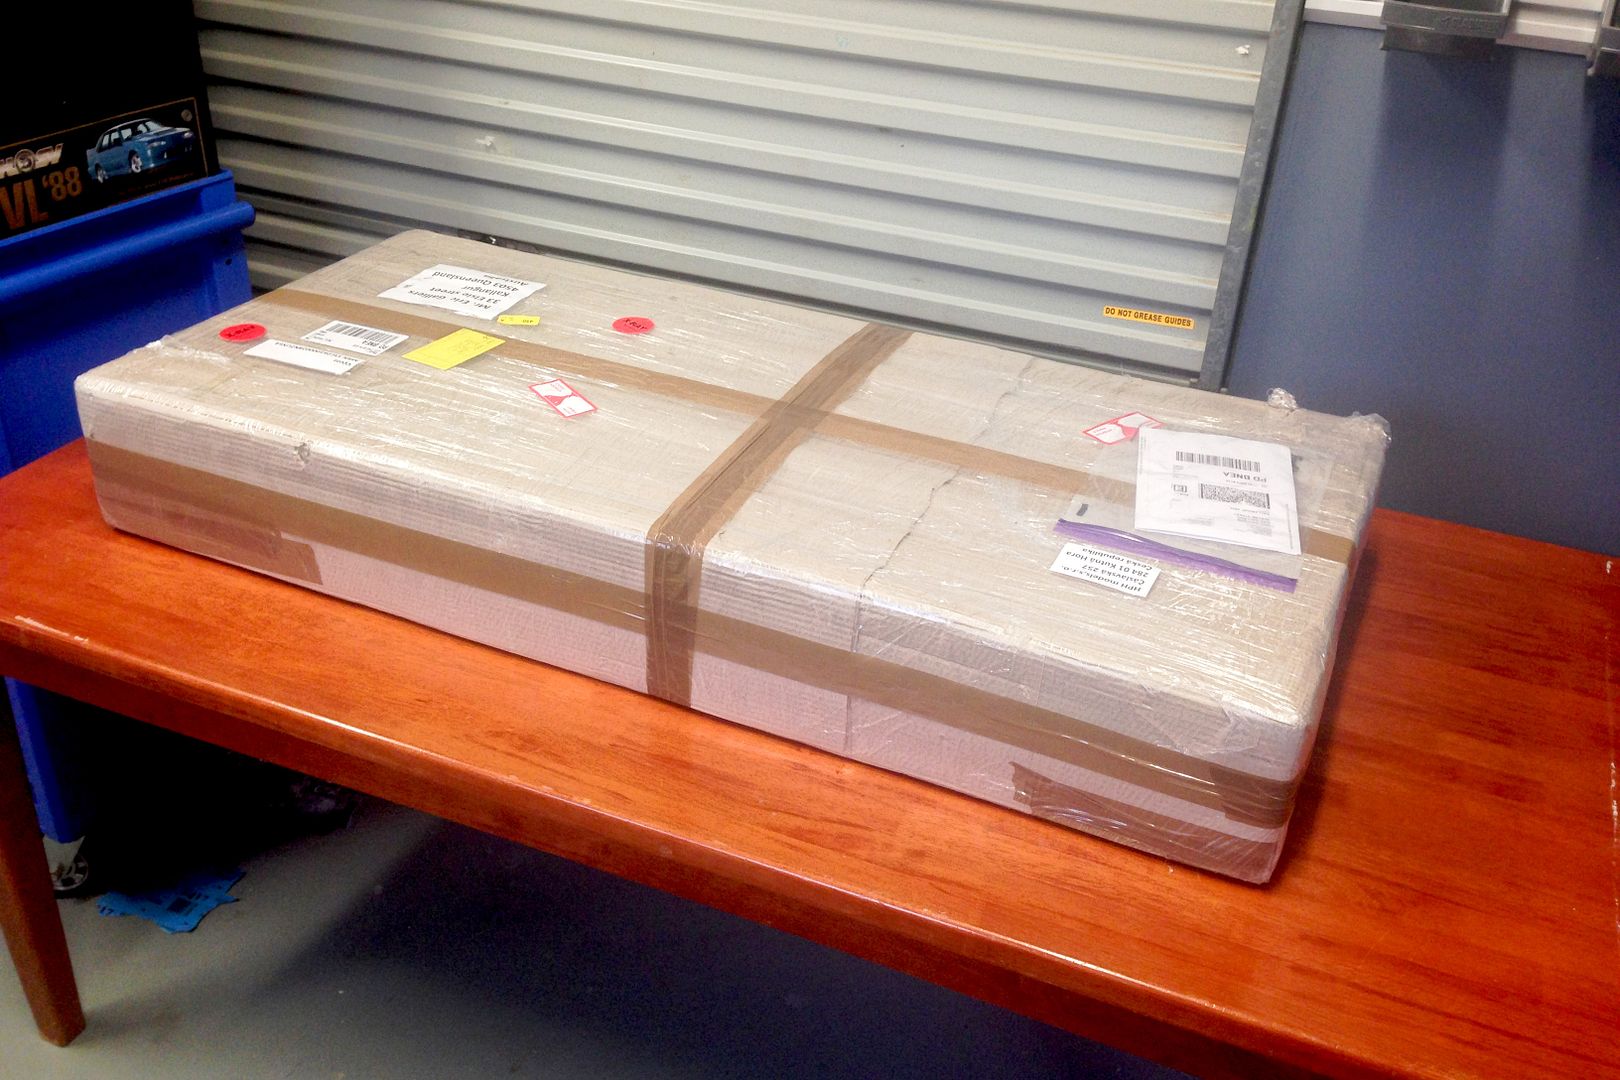
I took delivery of the Hph 1/48th Concorde today after seeing it travel across the world from the Czech Republic via Germany, France, China, Singapore then finally into Australia through Sydney and then up to Brisbane. It took 8 days and arrived in perfect condition. Being keen to get started on this project as soon as I received it, I had my workshop cleared of the 12 or so large scale planes that I am working on and a table set aside that I would be able to place the model on when I wasn't working on it.

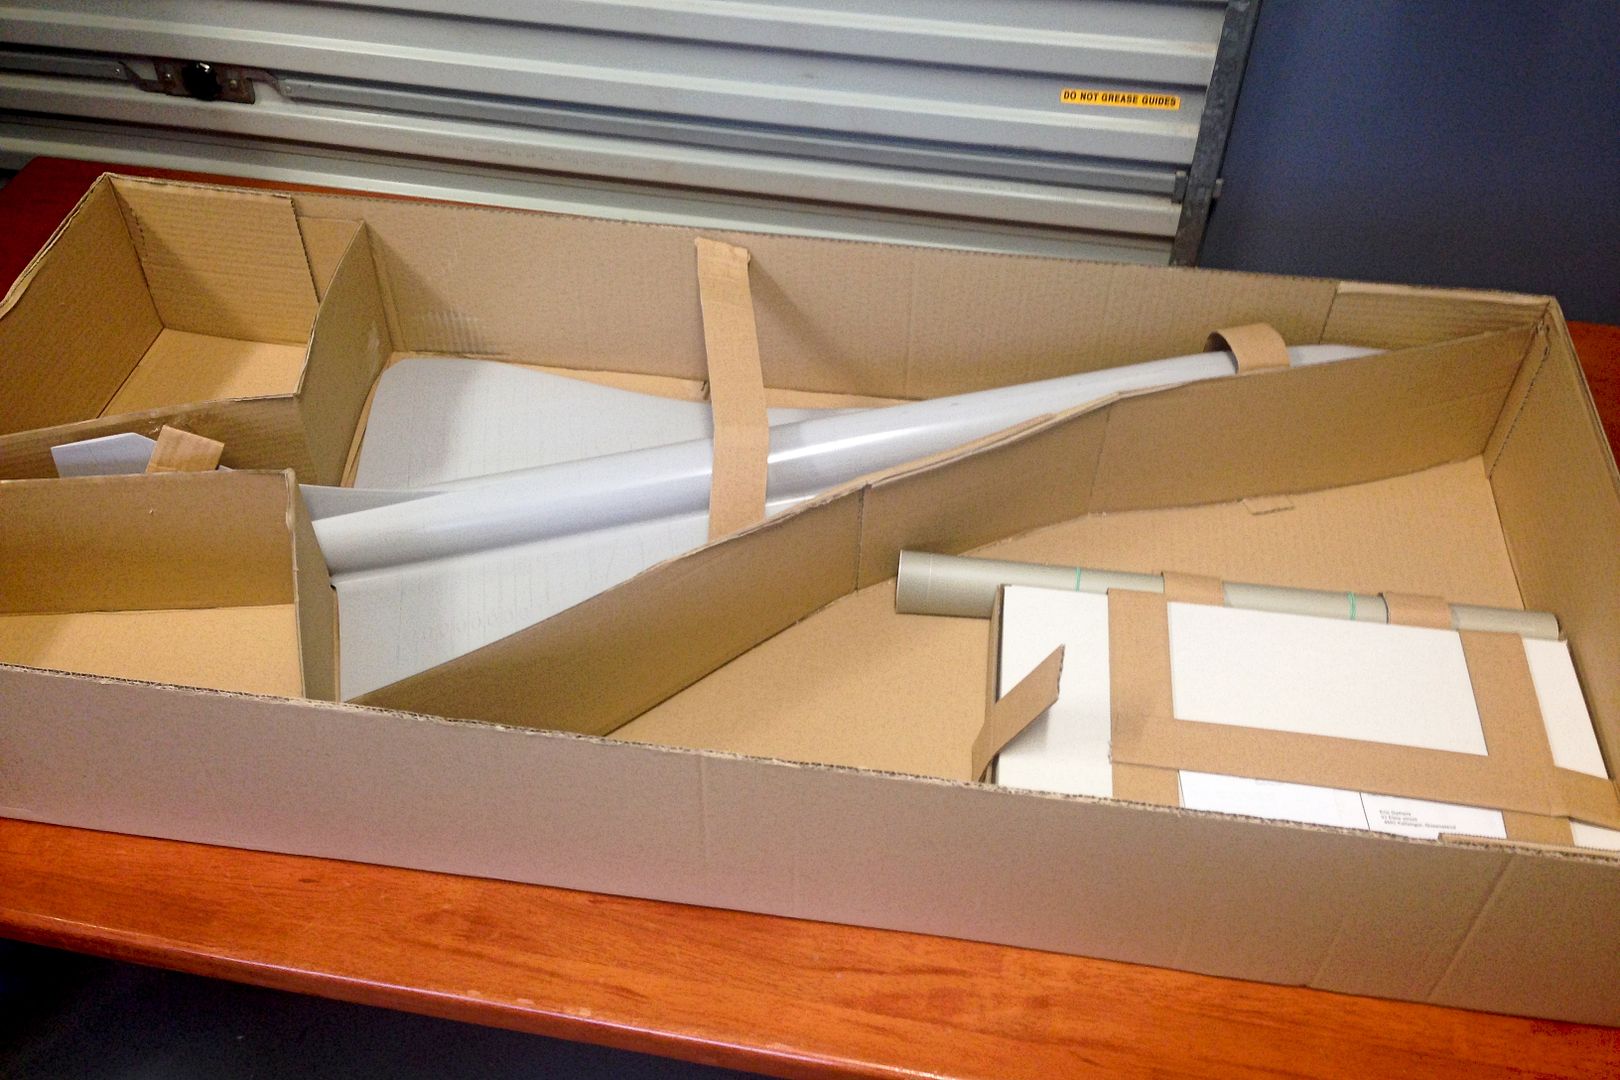
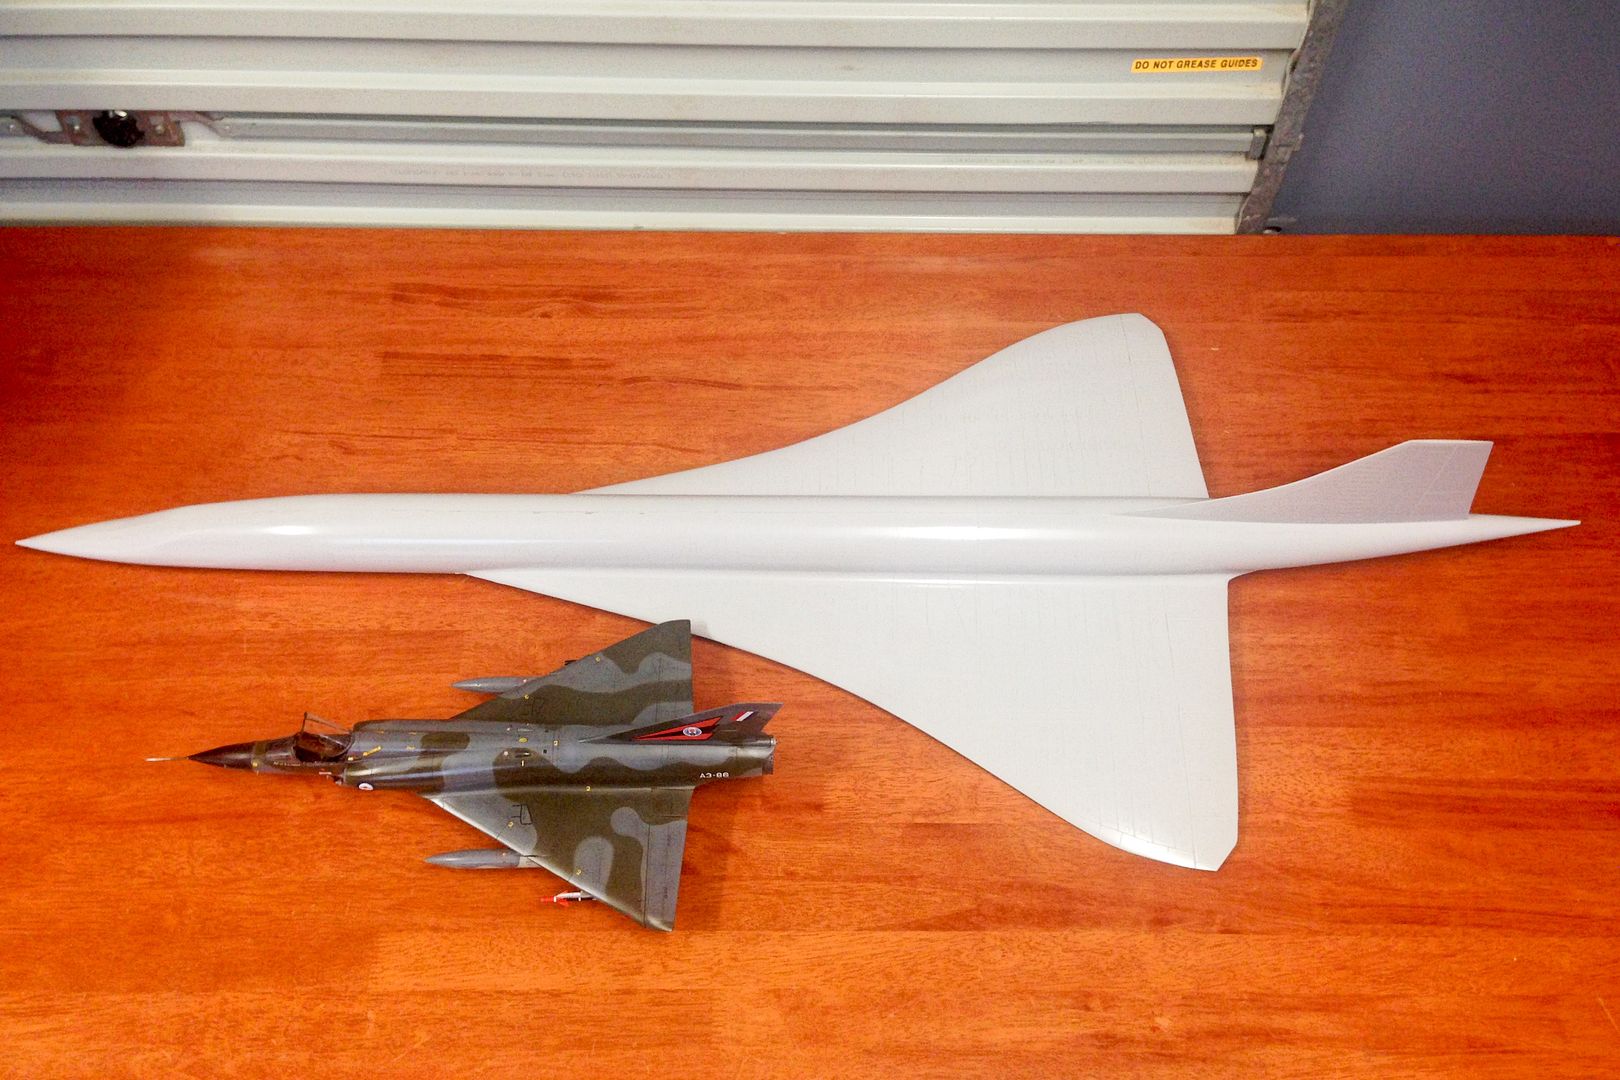
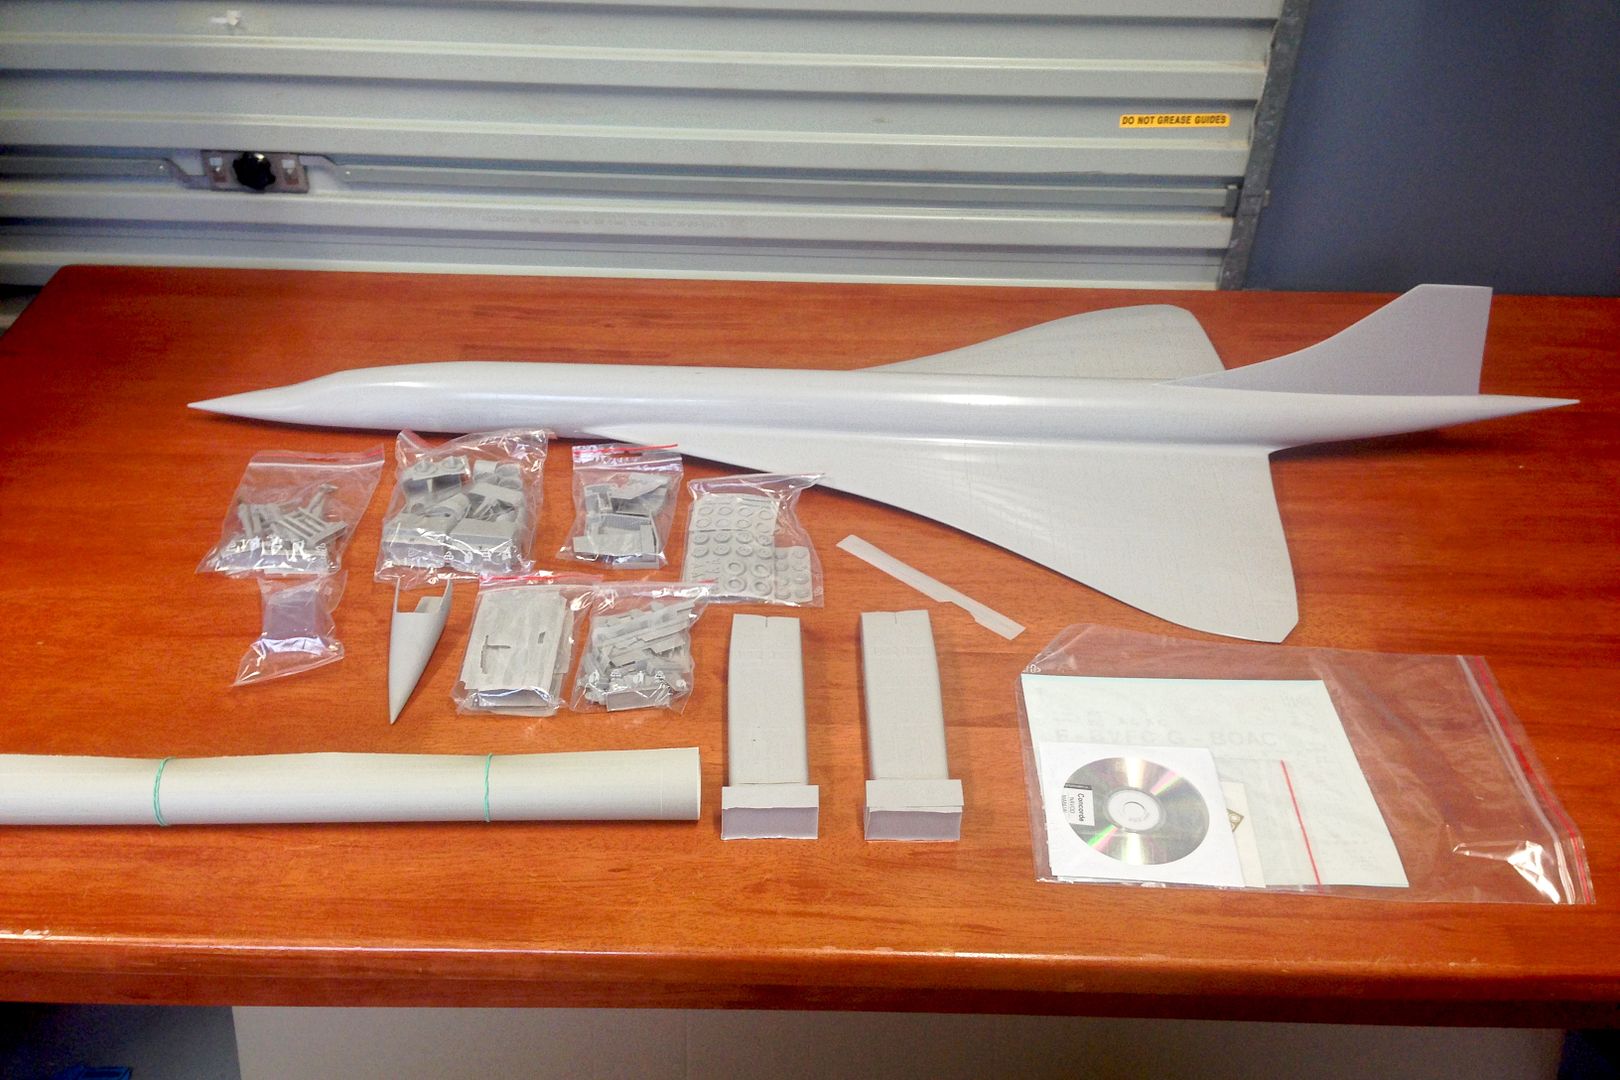
The model comes as a one piece Fiberglass body as can be seen in the following pics and is 128cm long. The instructions are on a DVD and all other parts are in resin, with water slide decal stencil data and an extensive mask set for the two liveries that one must choose from.

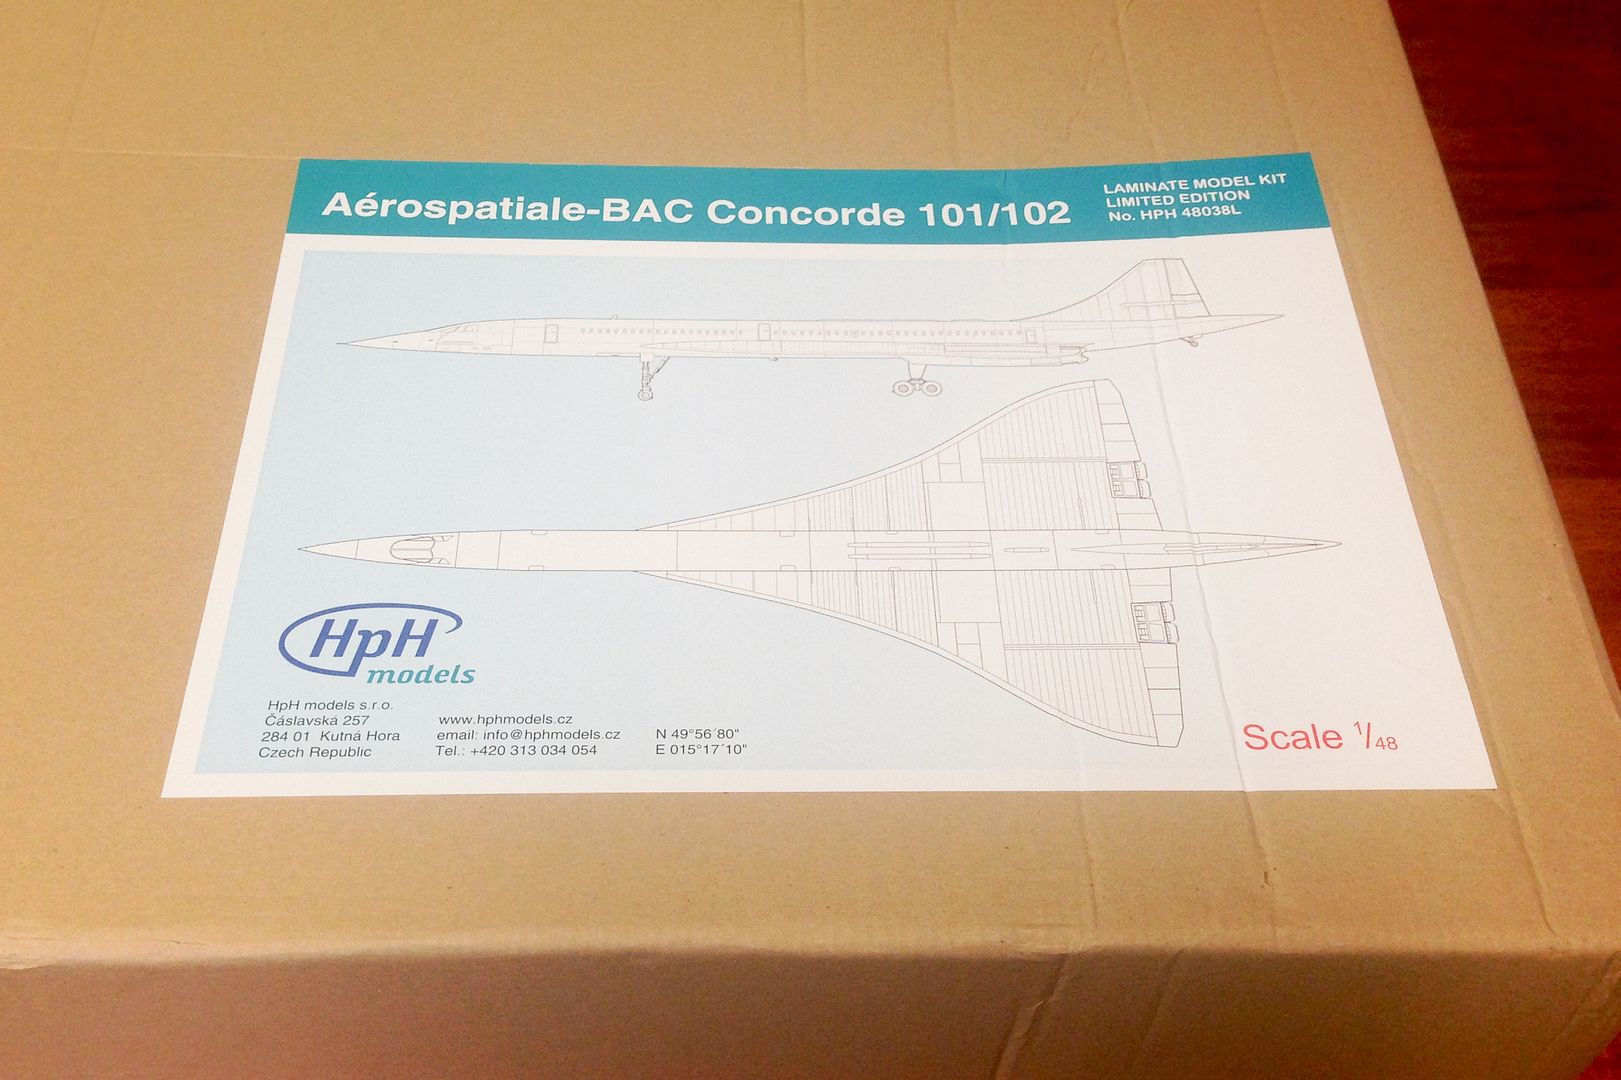
A very nicely packed and rather large box.
Image

Image

Image\

Here it is next to my 1/32 Mirage for size comparison.
Image

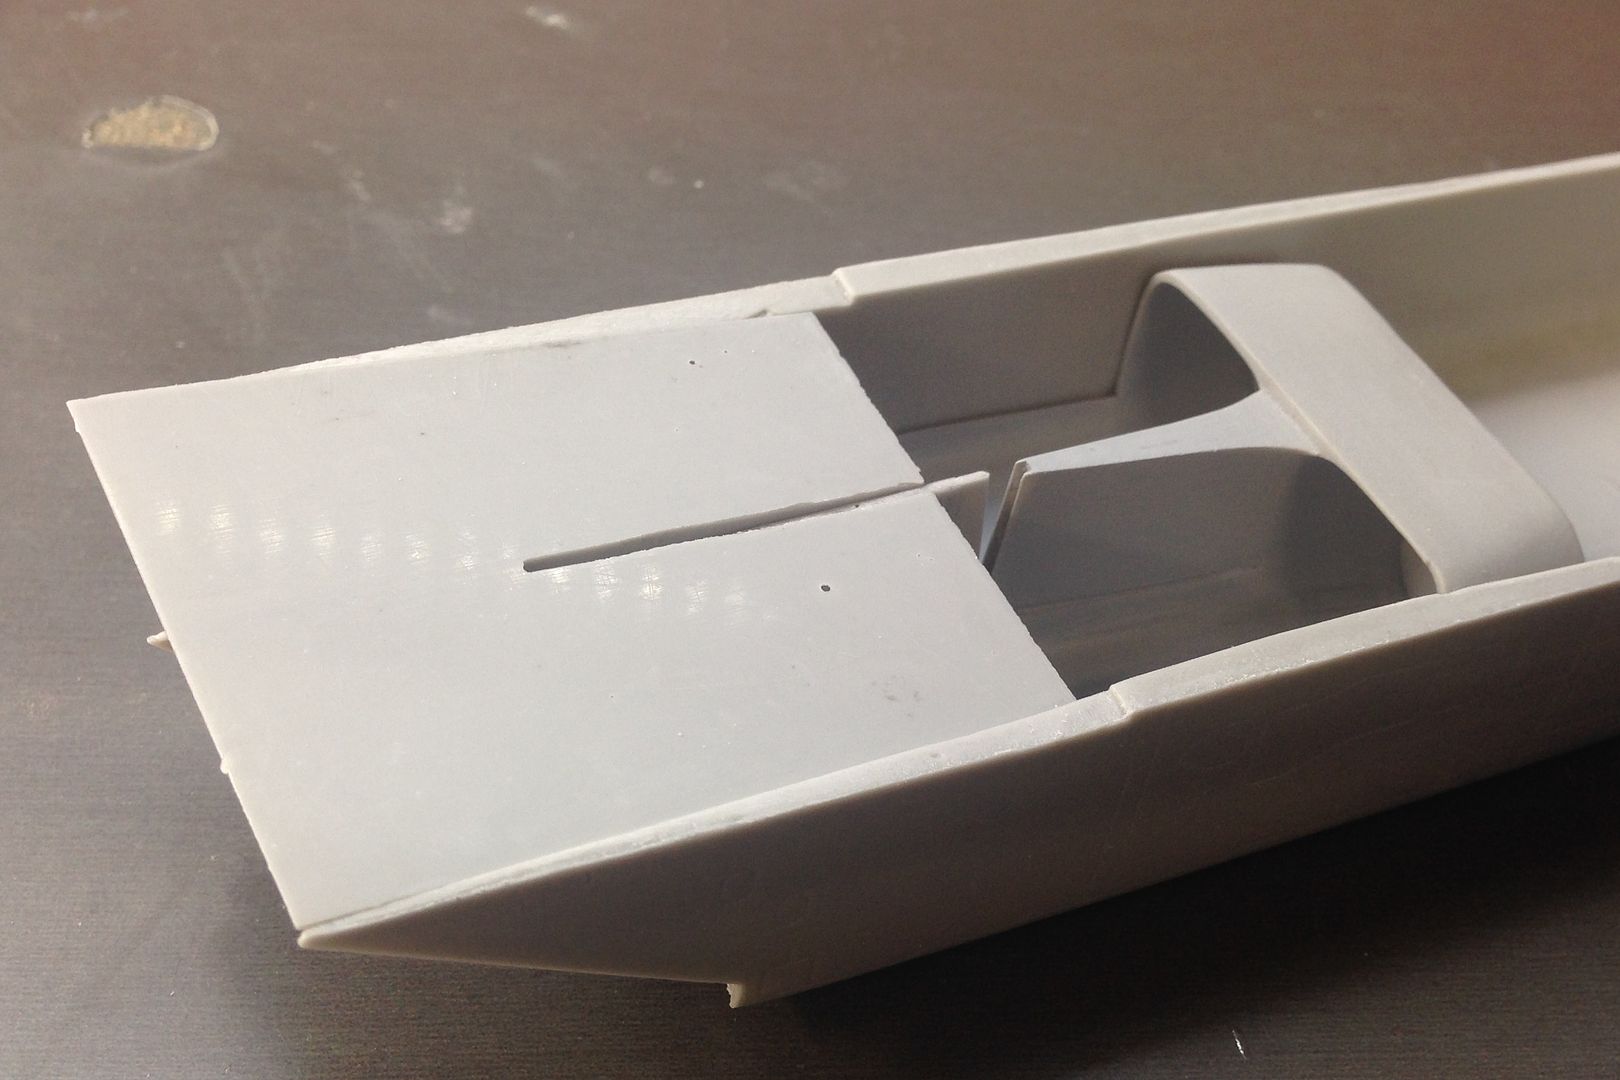
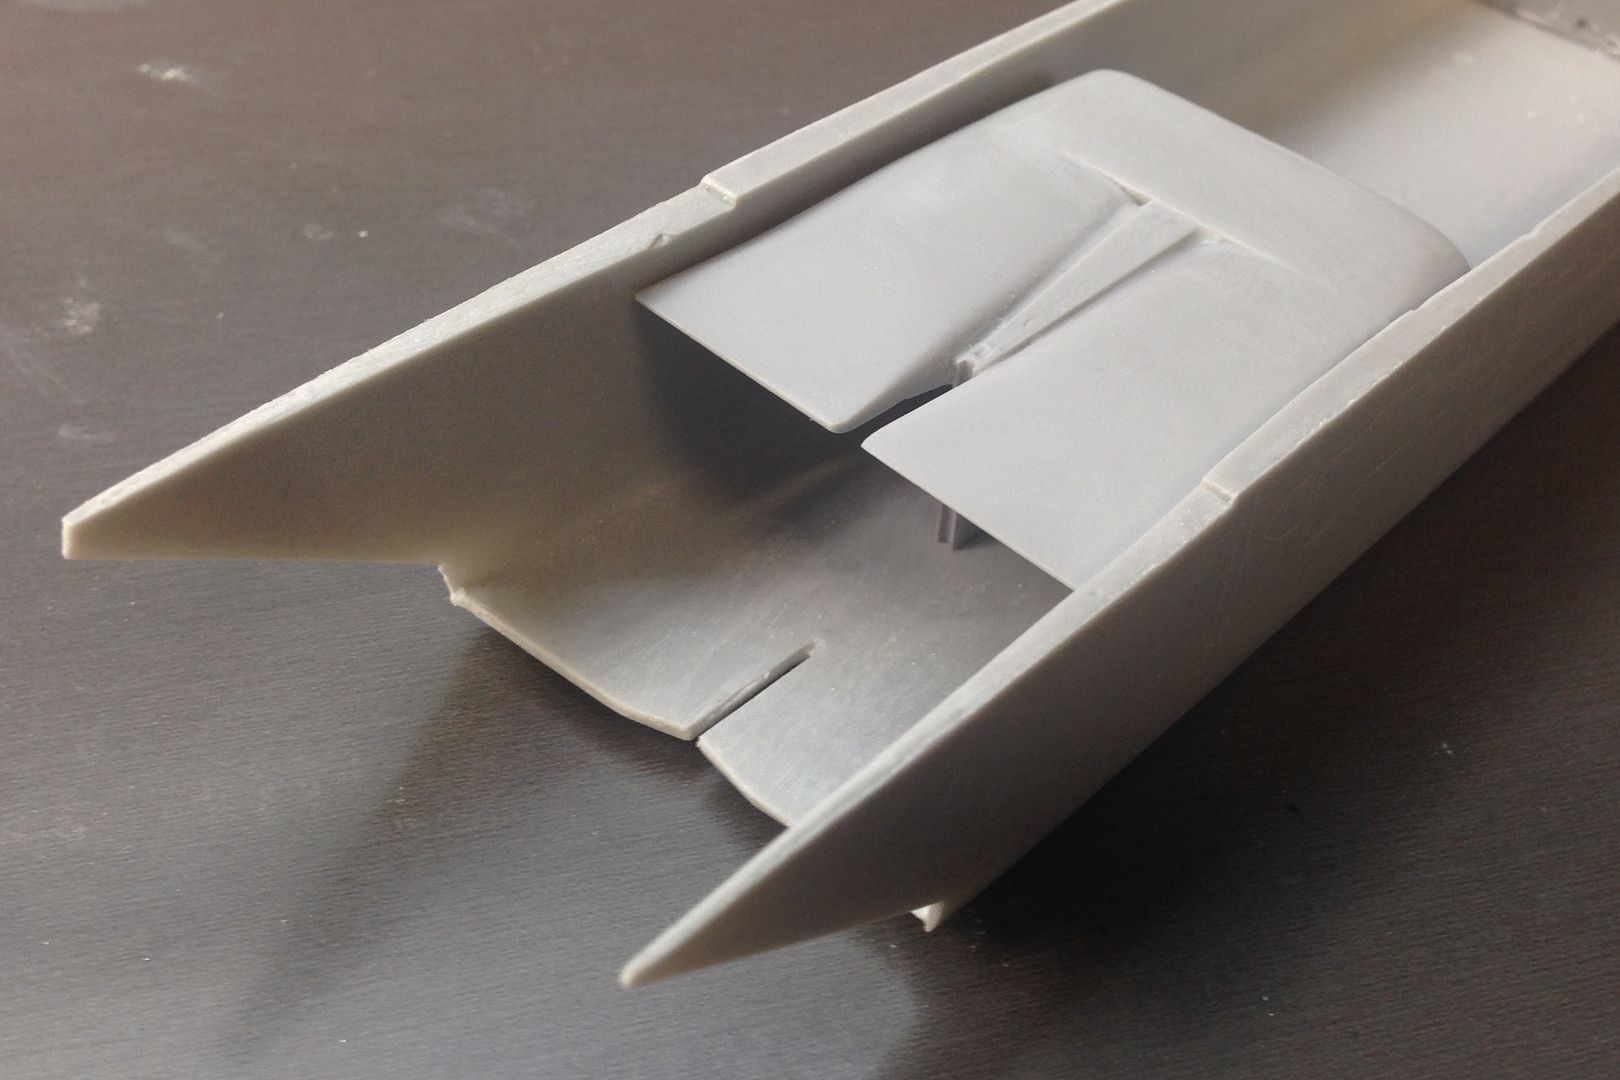
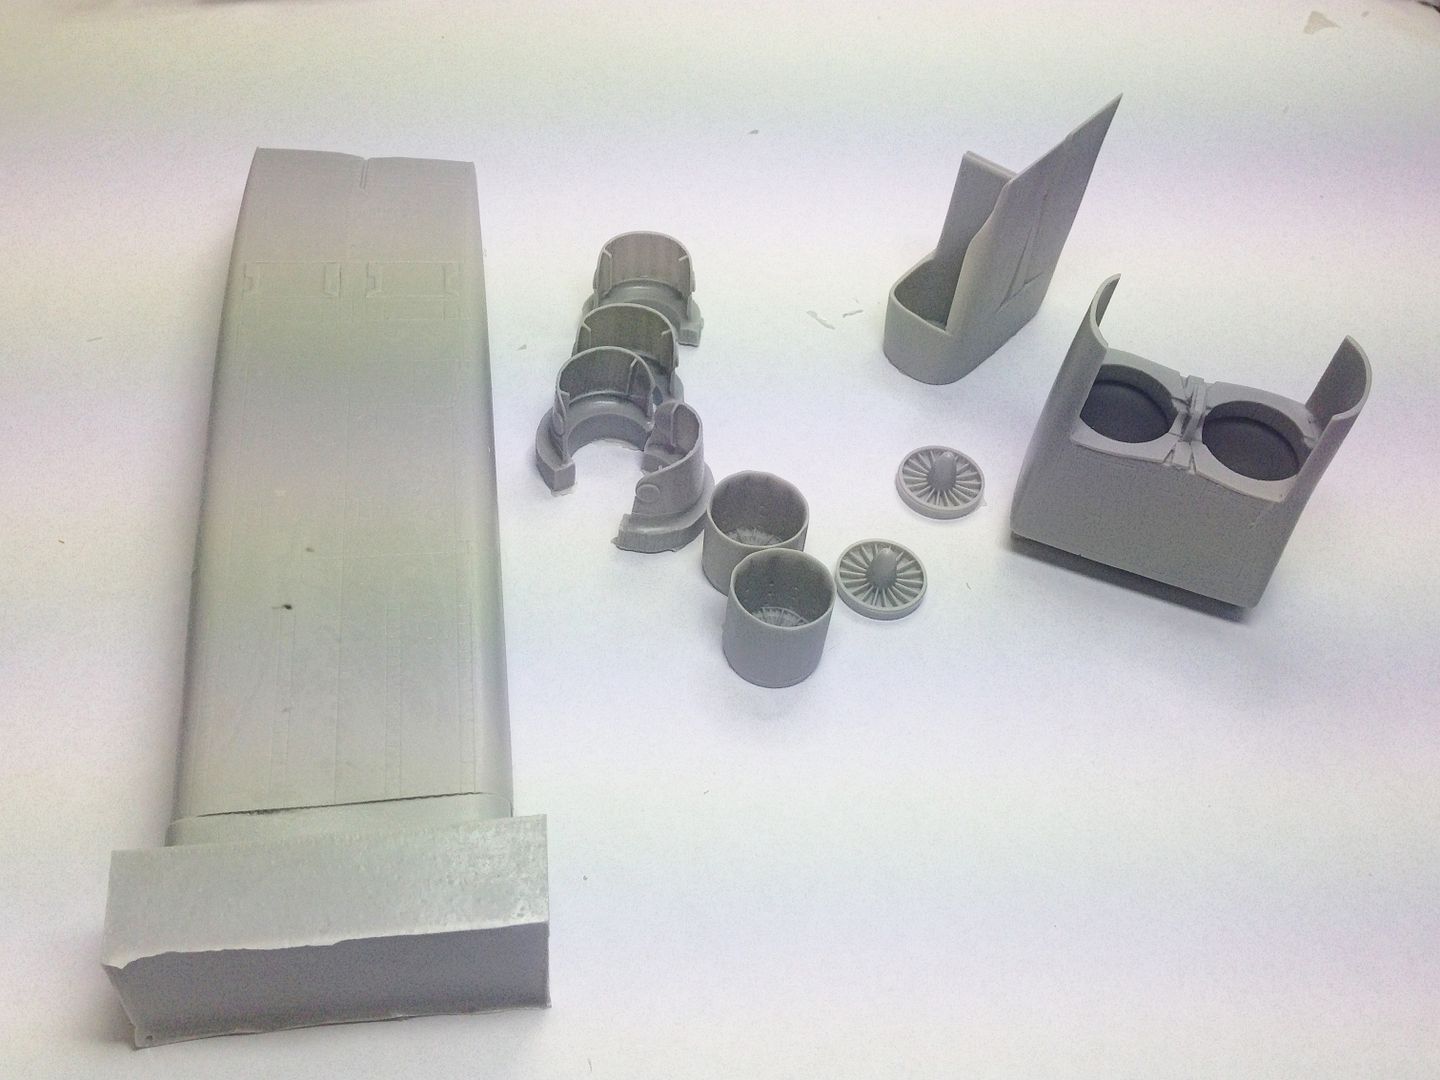
The contents. Don't be fooled by the fact that the model is mostly one piece. Most of those resin parts have to go into the fuselage from the outside through rather `expensive if you mess them up' cuts.
Image

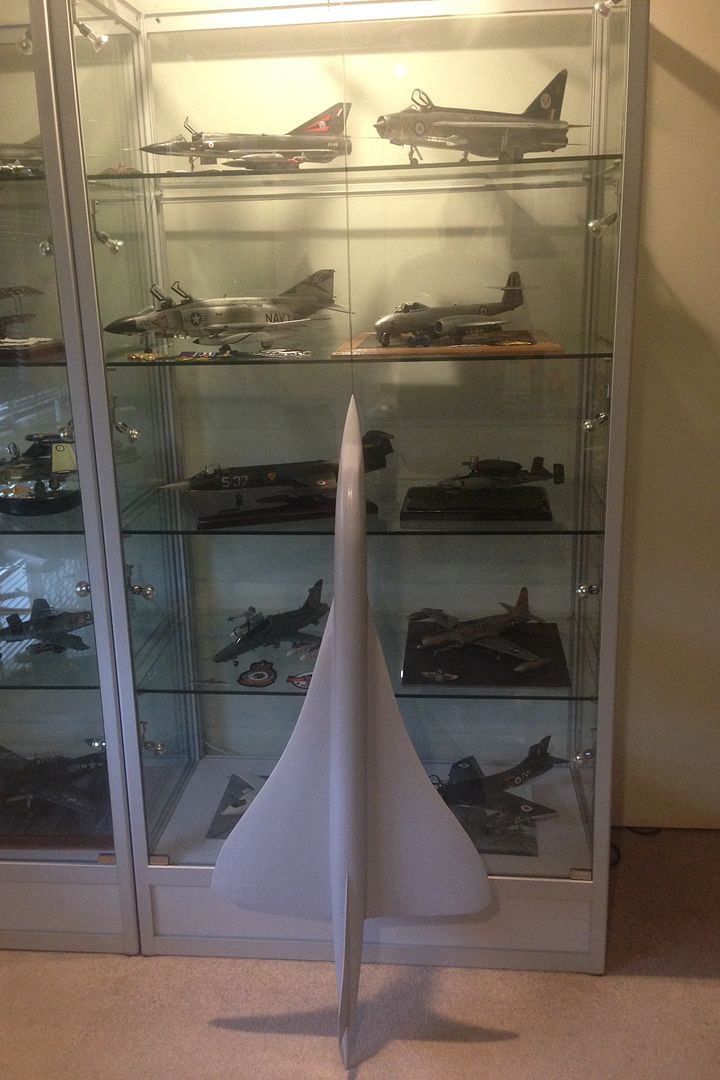
Well I guess call it wishful thinking that it was going to fit here:
Image

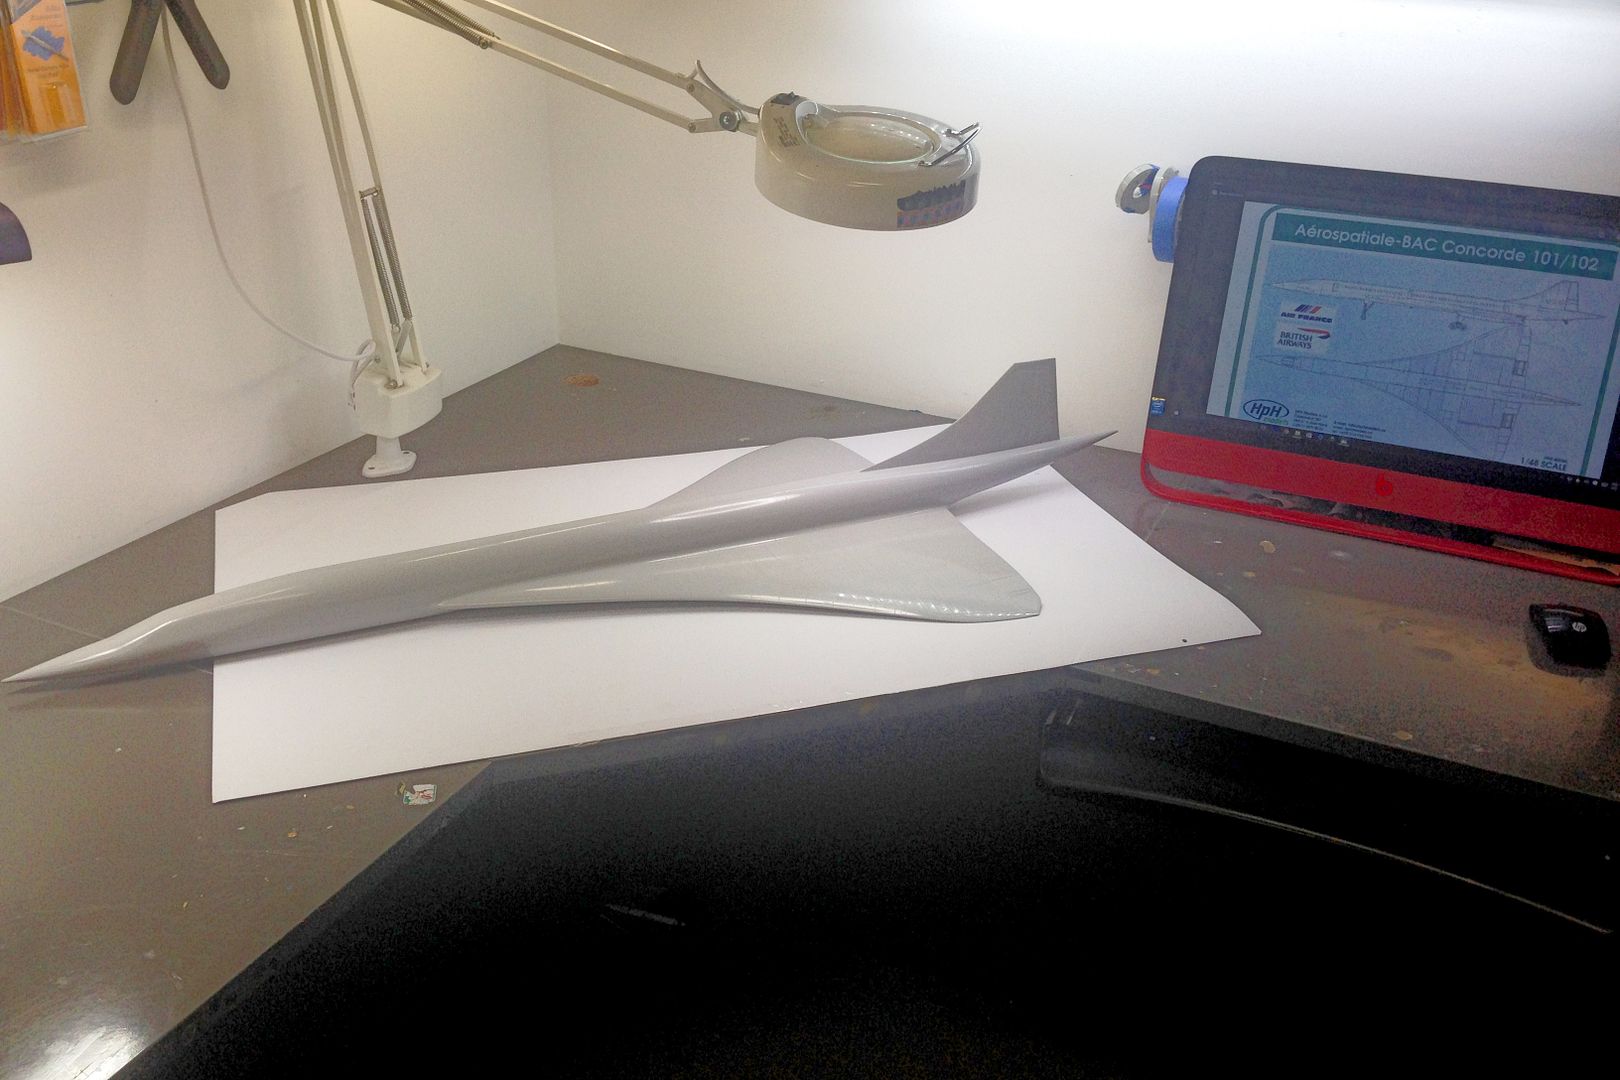
Onto the build. I am still thinking of which way to depict this model and am doing only the essential cuts at this stage, meaning making space for the engine nacelles.
Image

Image

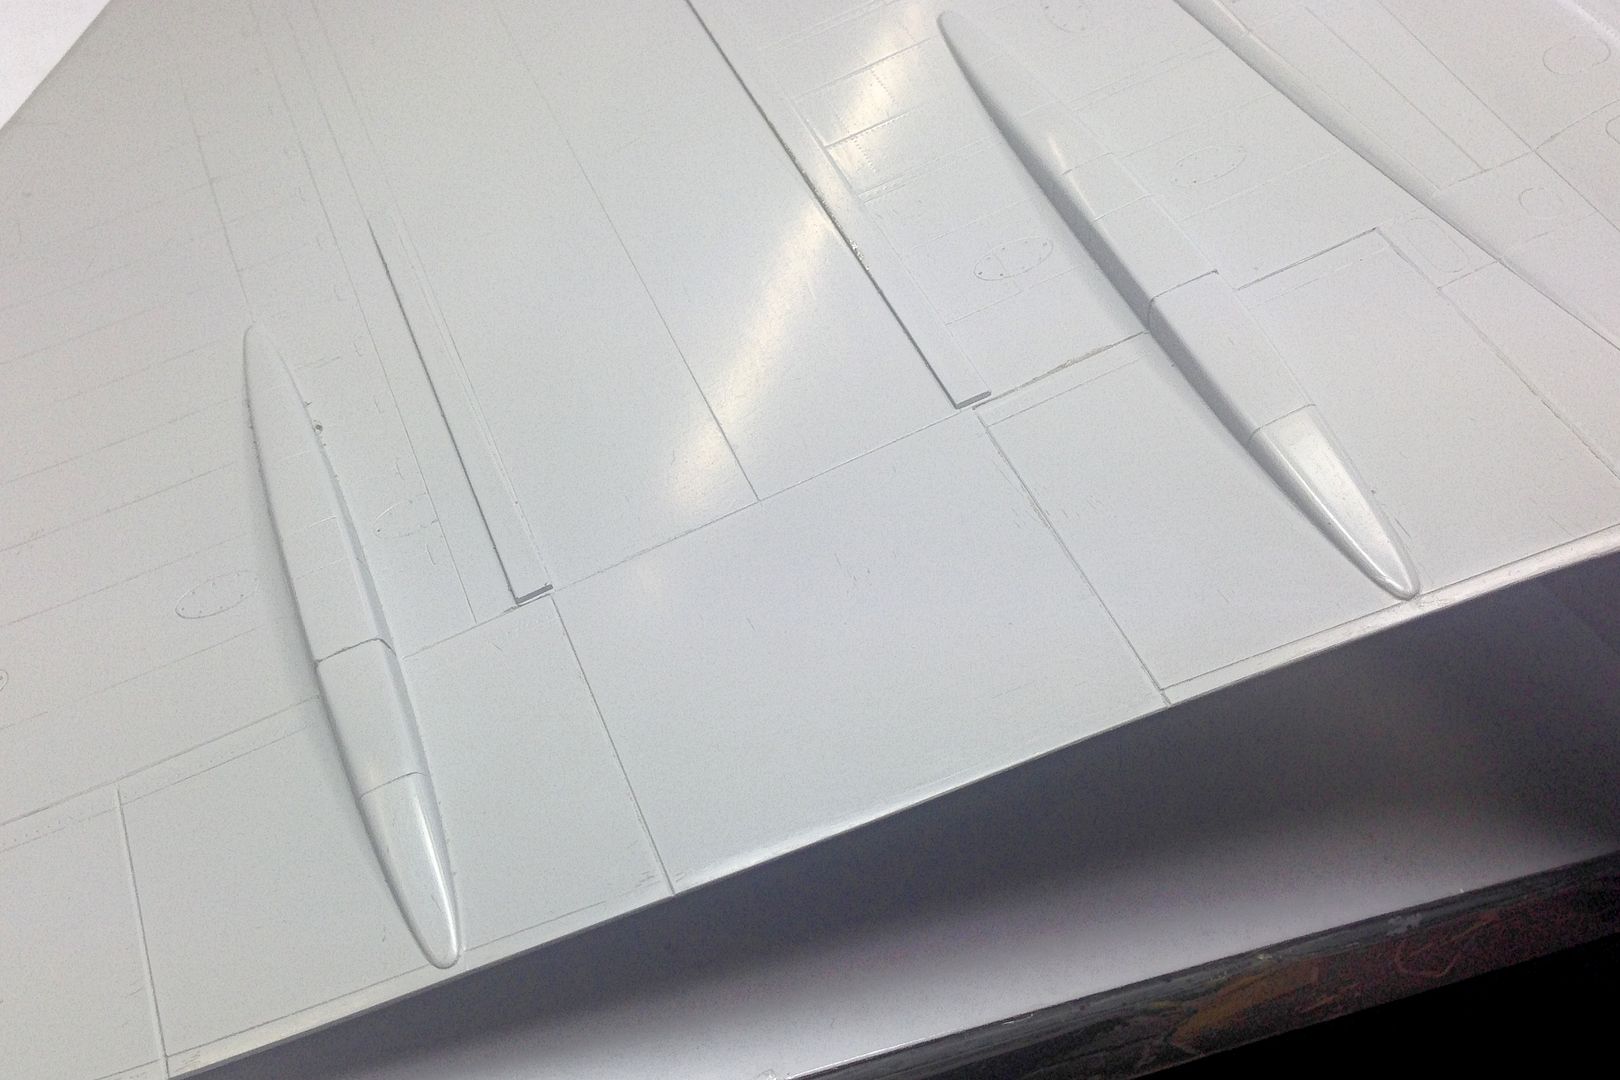
The surface detail on the model is really nice.
Image

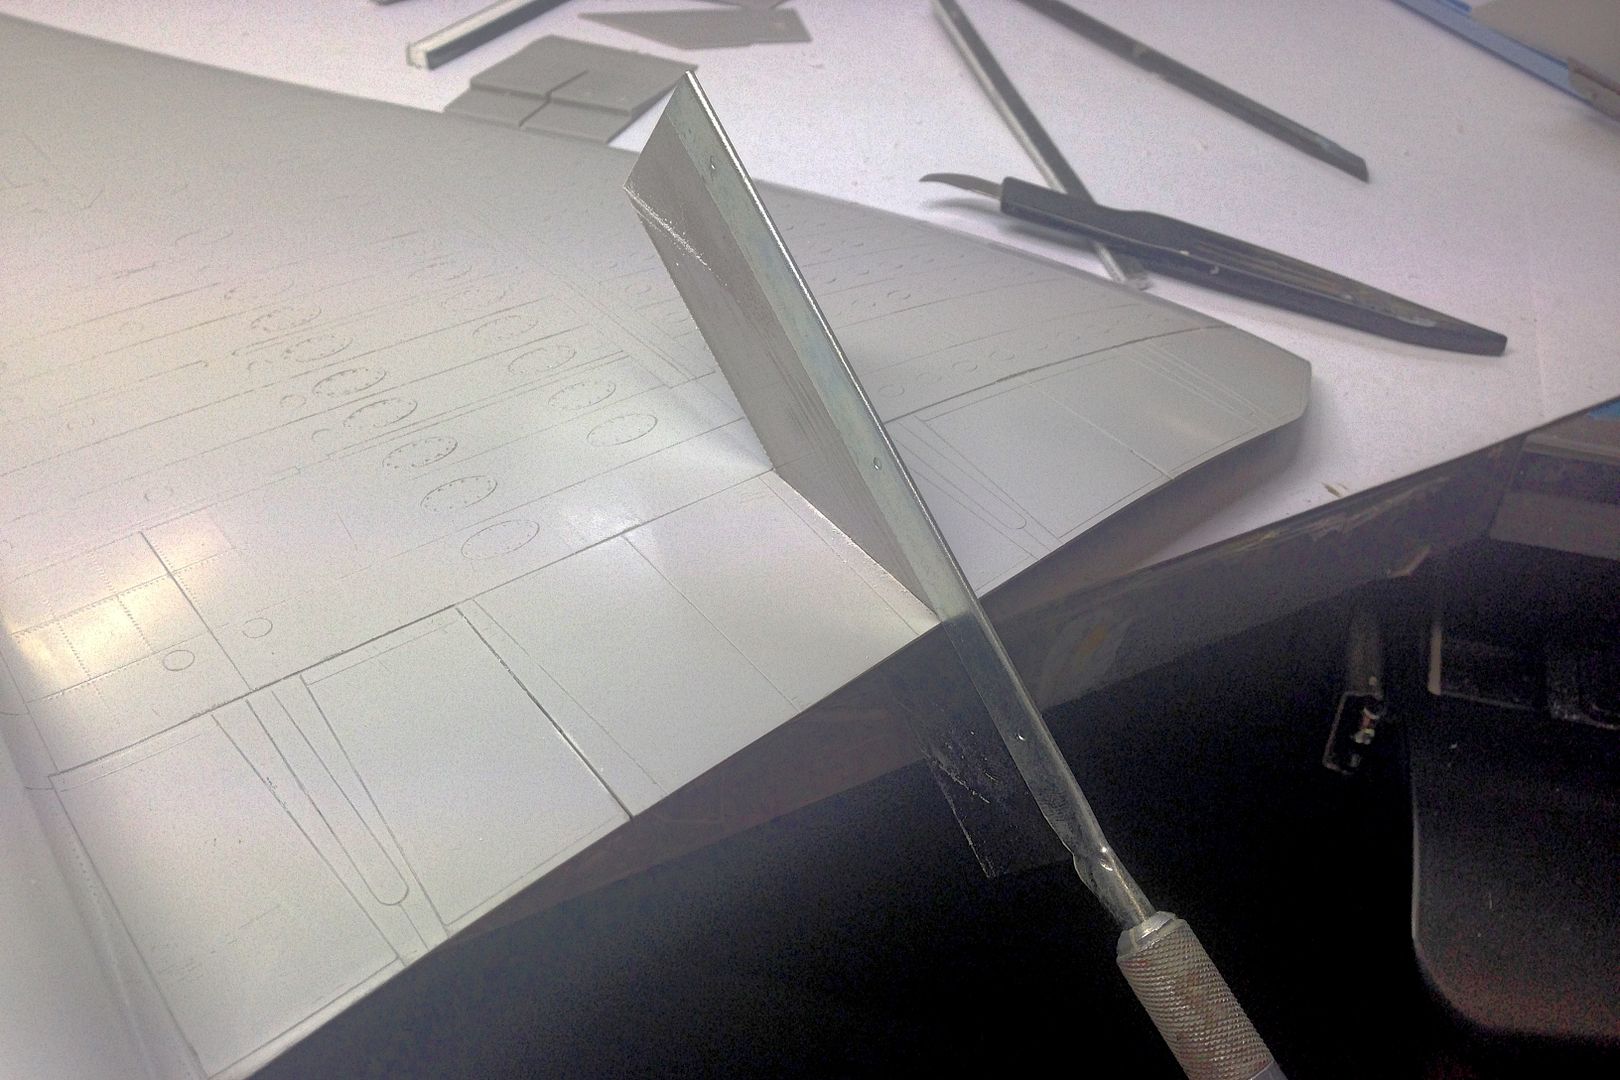
Now lets get stuck into it with a razor saw
Image

The first of many parts that need to be removed from the model body.
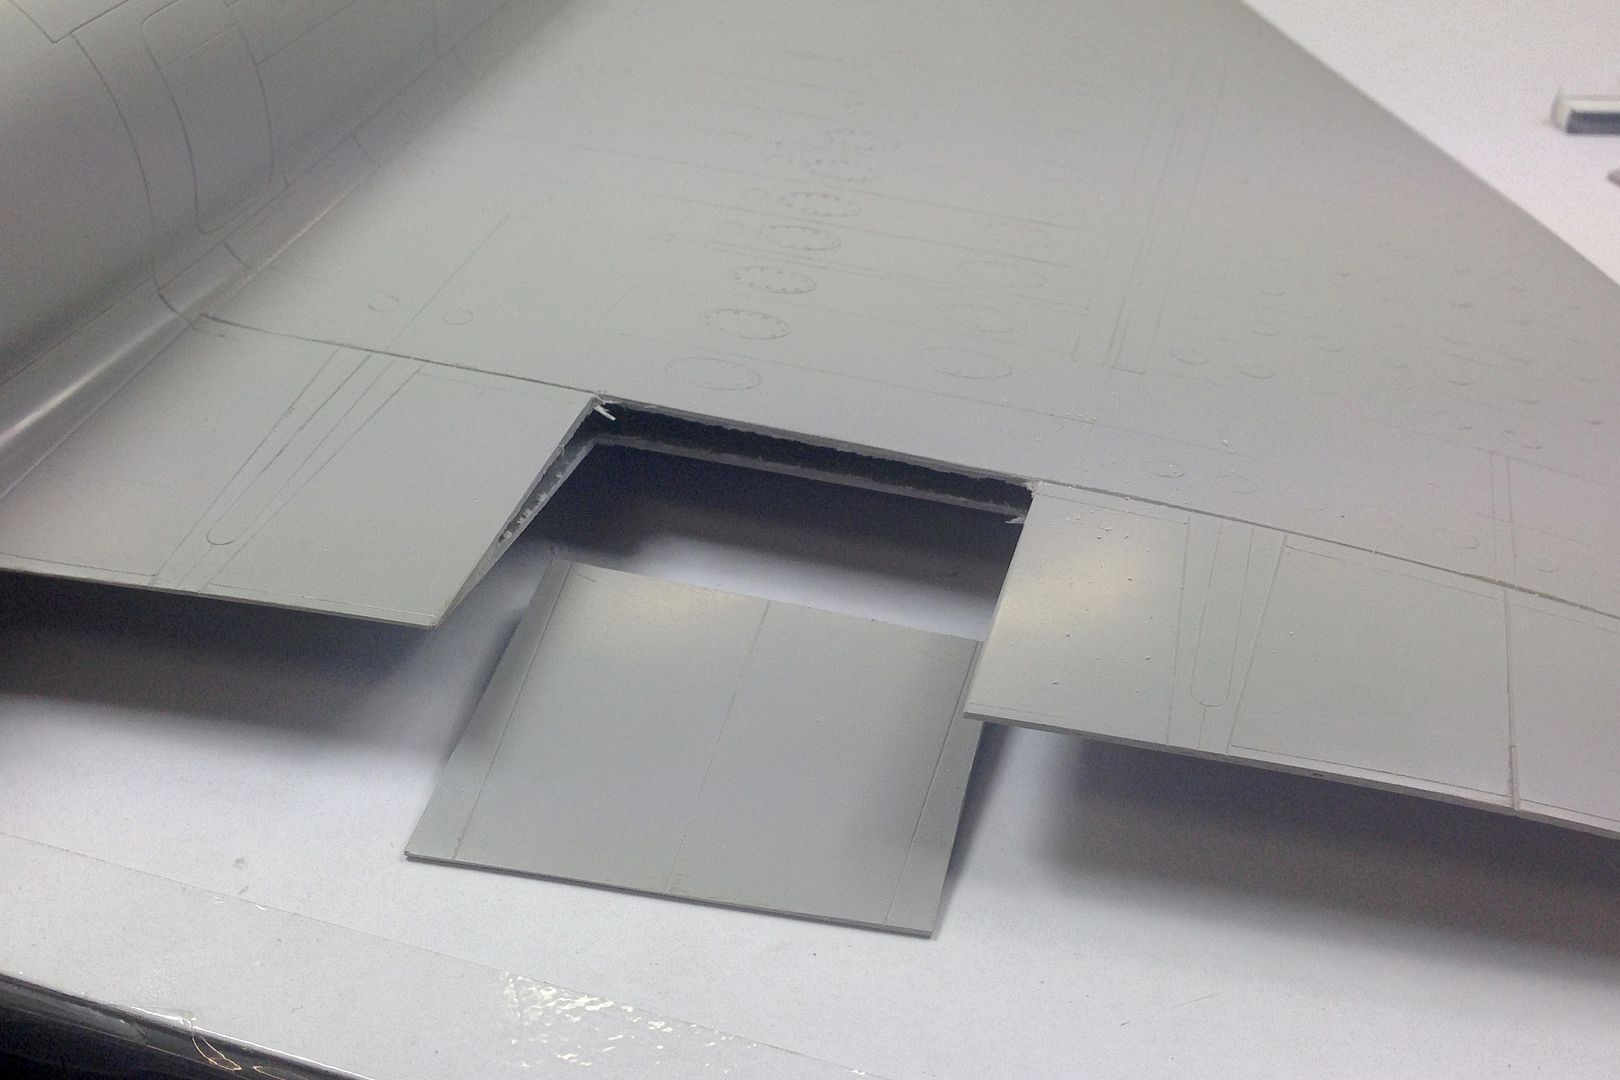
Image

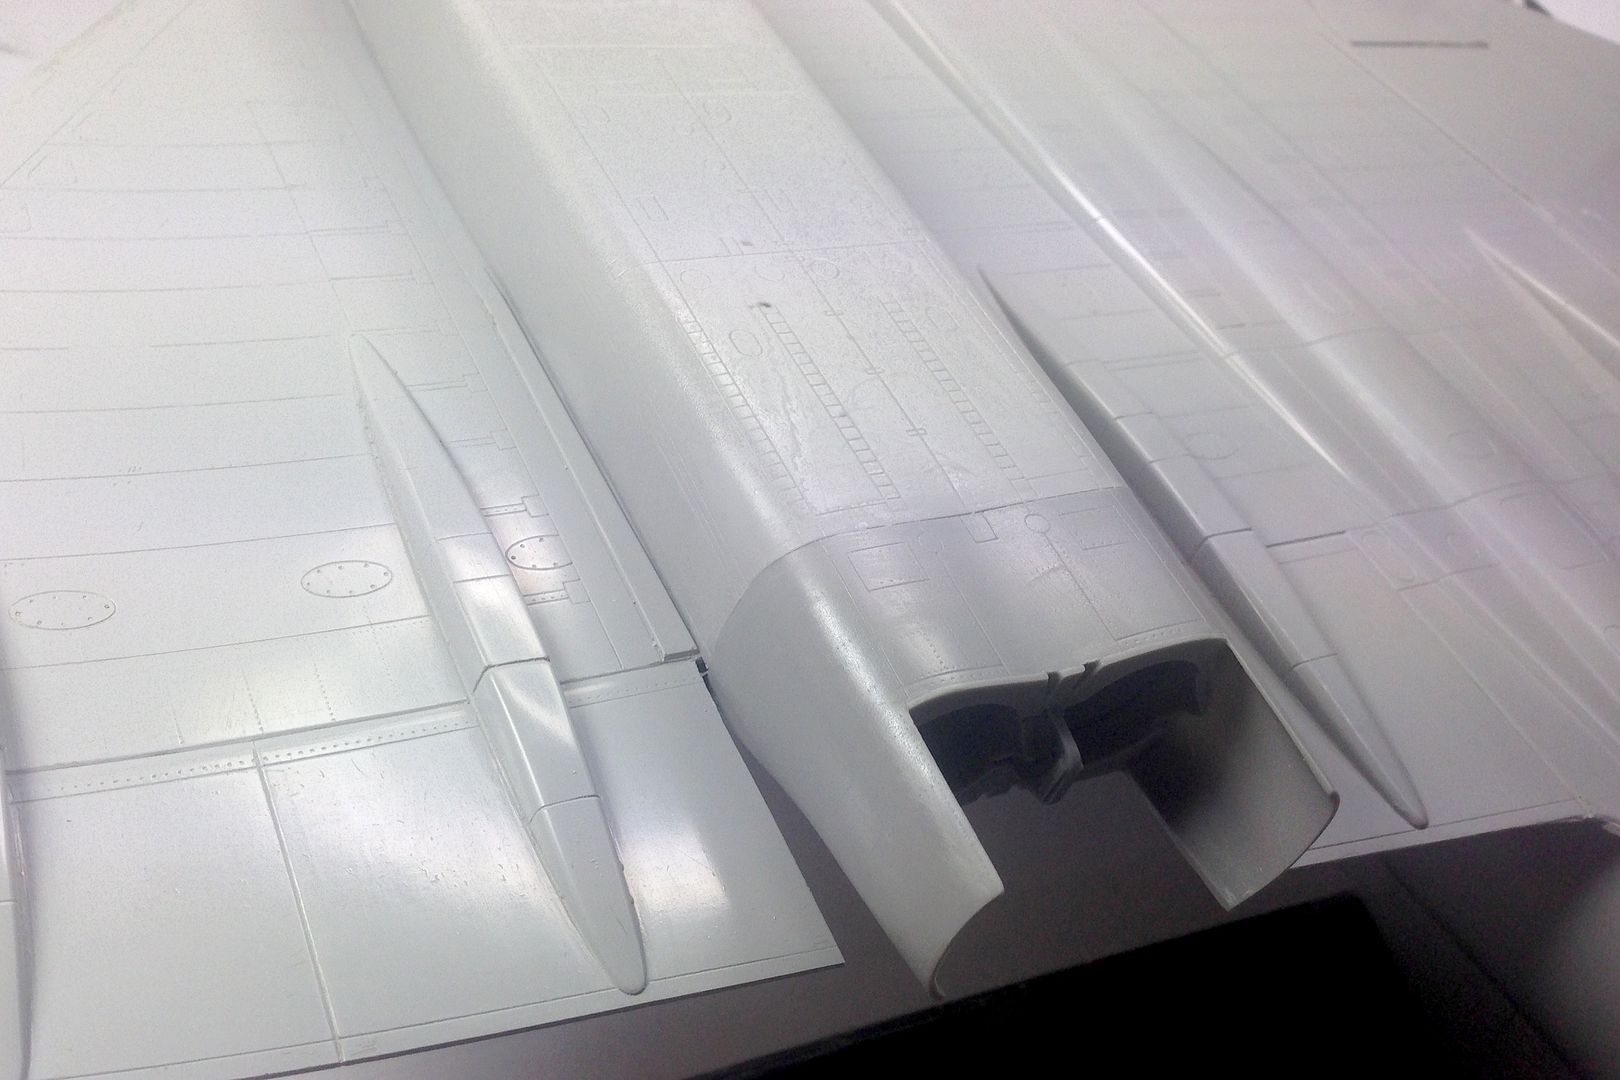
The nacelle is a nice fit into the space.
Image

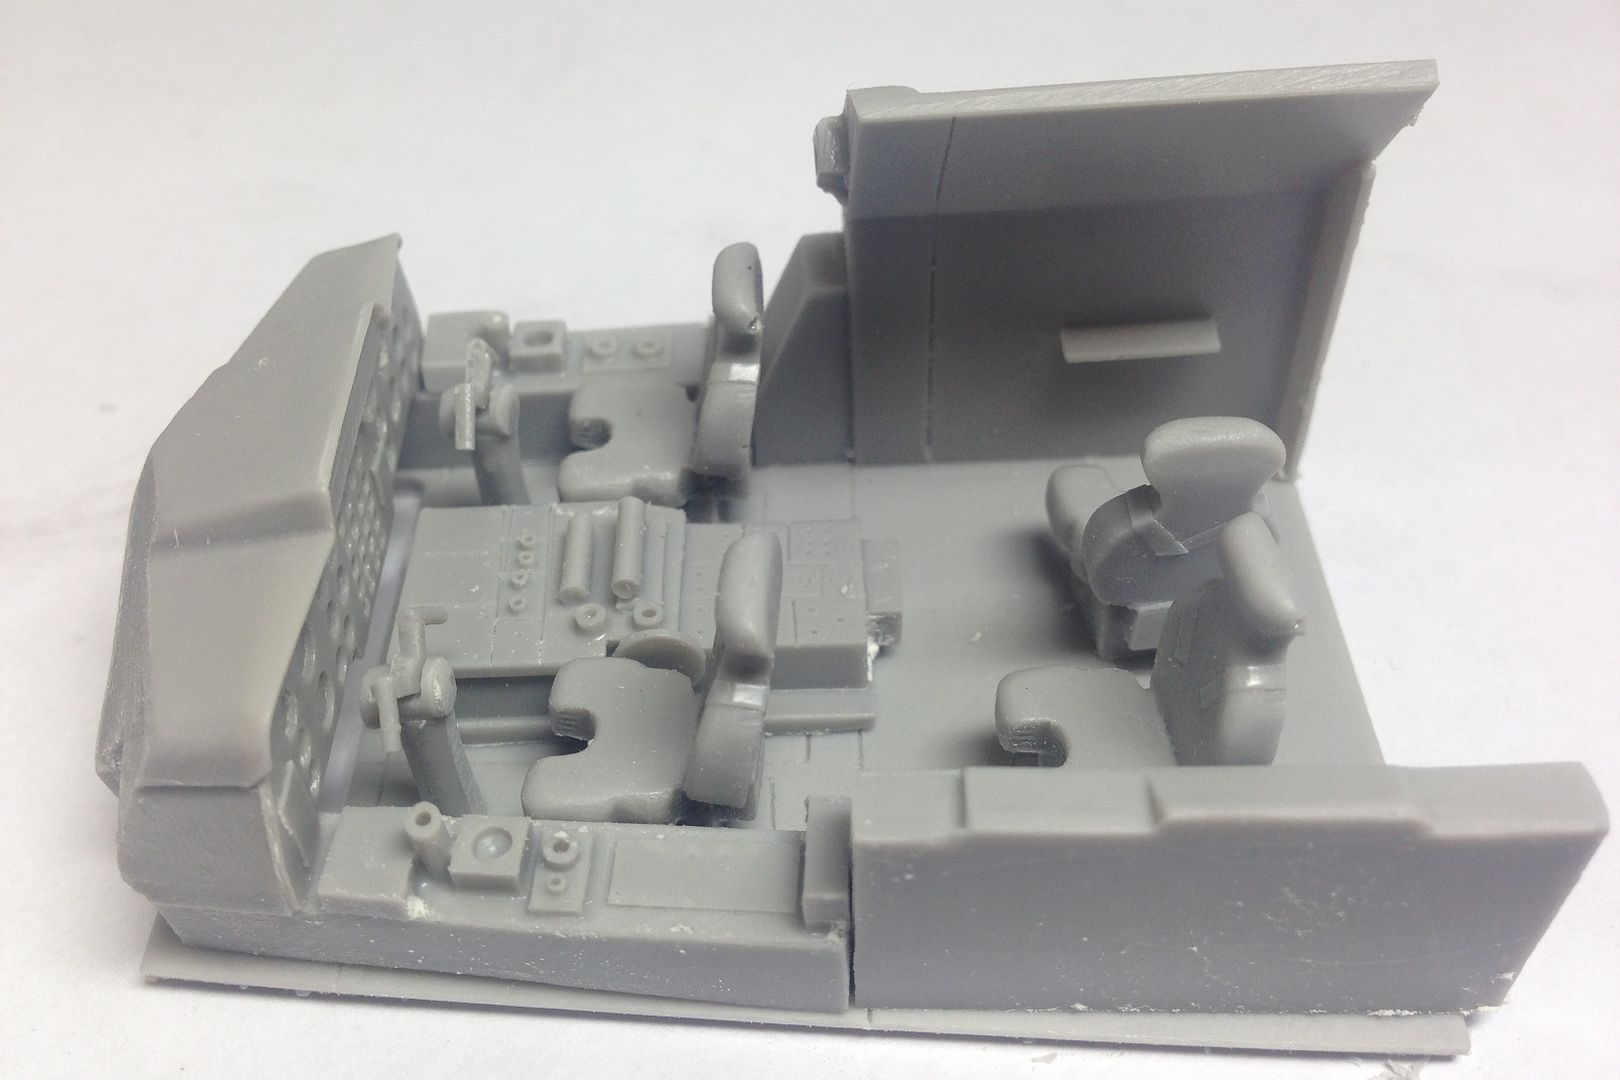
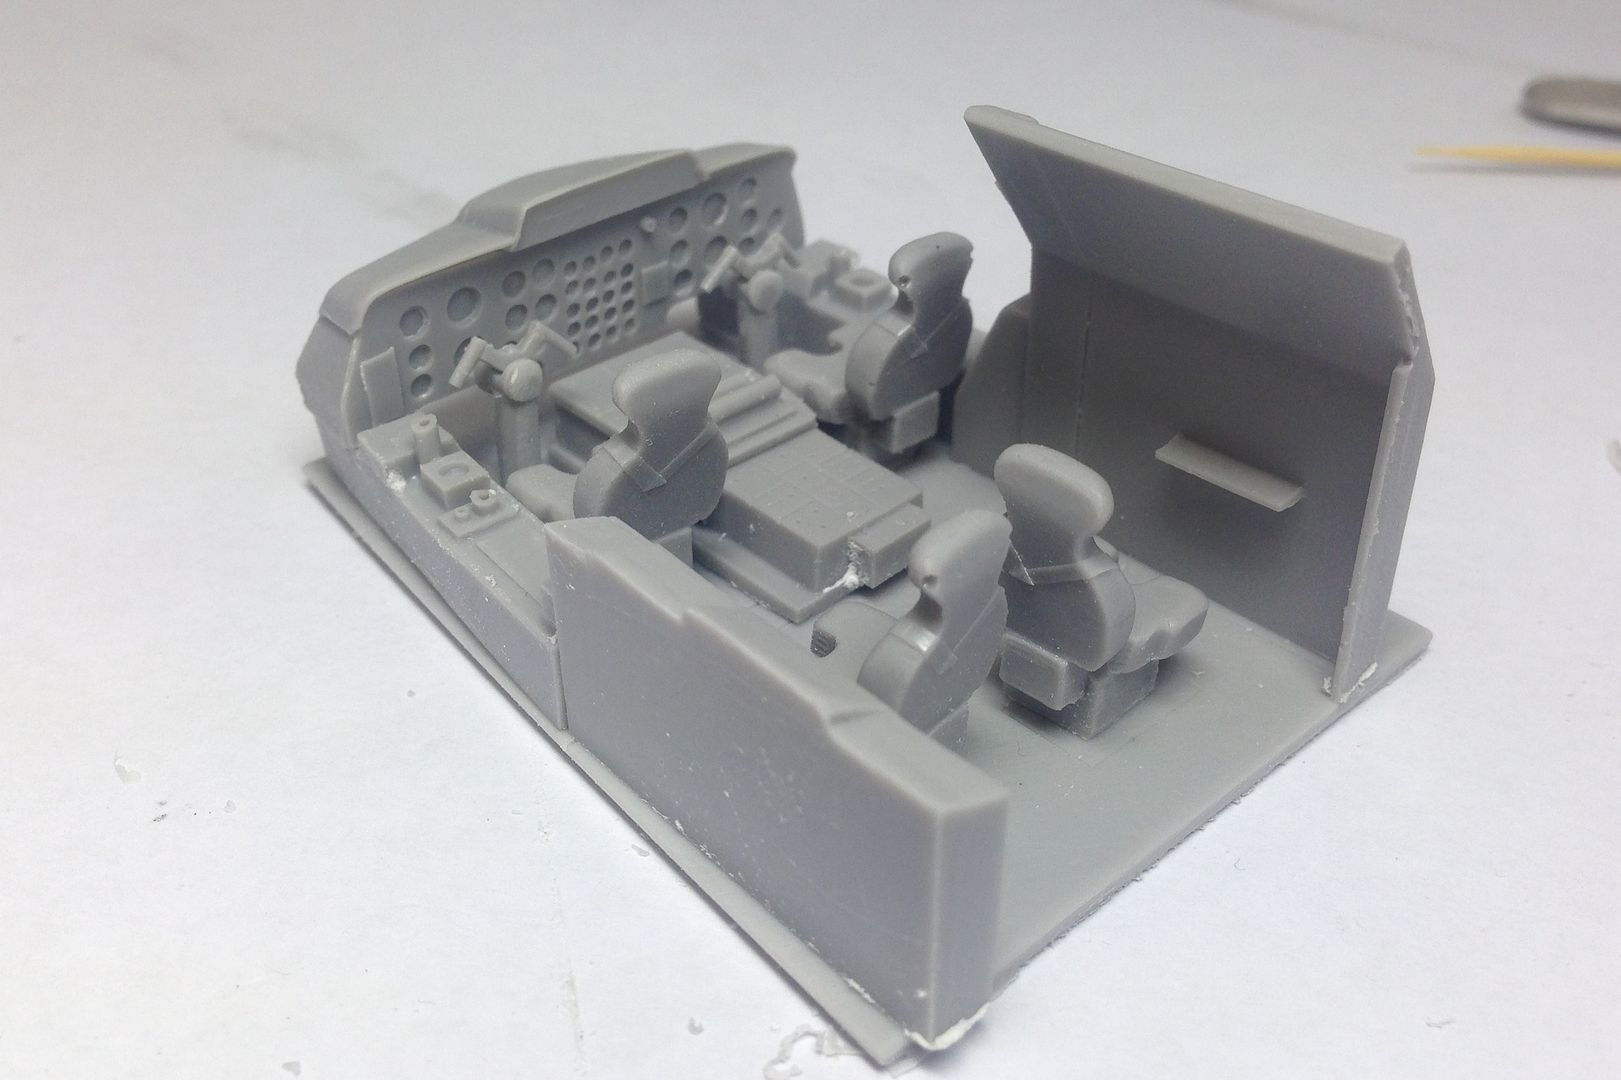
Here is the cockpit with the casting blocks removed and dry fitted. I will need to explore how much of this will be seen through the yet to be opened up fuselage before I go any further. There are a couple of bubbles that will need to be addressed and possible extra detail depending on what can be seen.
Image

Image
Ericg
 
Posts: 214
Joined: Mon Apr 14, 2014 7:30 pm

Re: 1/48th scale HPH Concorde

Postby tor lives » Fri Sep 18, 2015 10:52 pm

AWESOME!!!!
Geez.....I am looking forward to this Capt Eric :D
TOR
tor lives
 
Posts: 4270
Joined: Mon Apr 14, 2014 11:01 am

Re: 1/48th scale HPH Concorde

Postby RayS » Sat Sep 19, 2015 8:16 am

Looks like a nice kit Eric.

I have a friend in the US who got one of these. Though his delivery experience was not a nice as yours. When his arrived there was a huge crack in the wing/fuselage join. Apparently most kits the US importer (UM Models) got were like this and he is having issues getting any postal service to fork out the insurance.
Ray

Image
User avatar
RayS
 
Posts: 2187
Joined: Thu Apr 17, 2014 10:24 am
Location: RAdelaide!... YPAD

Re: 1/48th scale HPH Concorde

Postby Adam the Akrodude » Sat Sep 19, 2015 12:56 pm

OMG! That is the ultimate scale lawn dart! C'mon, admit you ran around the house with this model making jet noises - I bet! Hey, I would have! :D

OK, so I may have "over-waxed lyrical" in my initial post over at Model Talk but I take nothing back - this project is EPIC!

So, is the fuselage hollow? Where do you make the cut to slide in the cockpit? I also assume the side windows are decals?

Fascinating that the surface detail is so fine and these are fibreglass(?) fuselage/wings - WOW! I guess given the enormous size of this model, some glass fibre must be required to give it some strength and reduce the change of warping huh. I'm intrigued with whatever technology HpH have used to mould this "one piece" model. Has some pre-assembly been done? :?

Best of British luck ol' boy with this build. We'll all be watching! :D

Cheers

Adam
Adam the Akrodude
 
Posts: 2819
Joined: Mon Apr 14, 2014 1:02 pm
Location: 100,124,672,897 Bifrost Rd, Valhalla, Asgard

Re: 1/48th scale HPH Concorde

Postby Ericg » Sun Sep 20, 2015 11:44 am

Adam,

The fuselage is hollow, and the nose has to be cut off so that the cockpit can be assembled like a `ship in a bottle'. Of course if the nose was left up and the model depicted in supersonic cruise, the cockpit windows could be painted black, but I don't want to do that. The cabin windows are provided as paint masks.

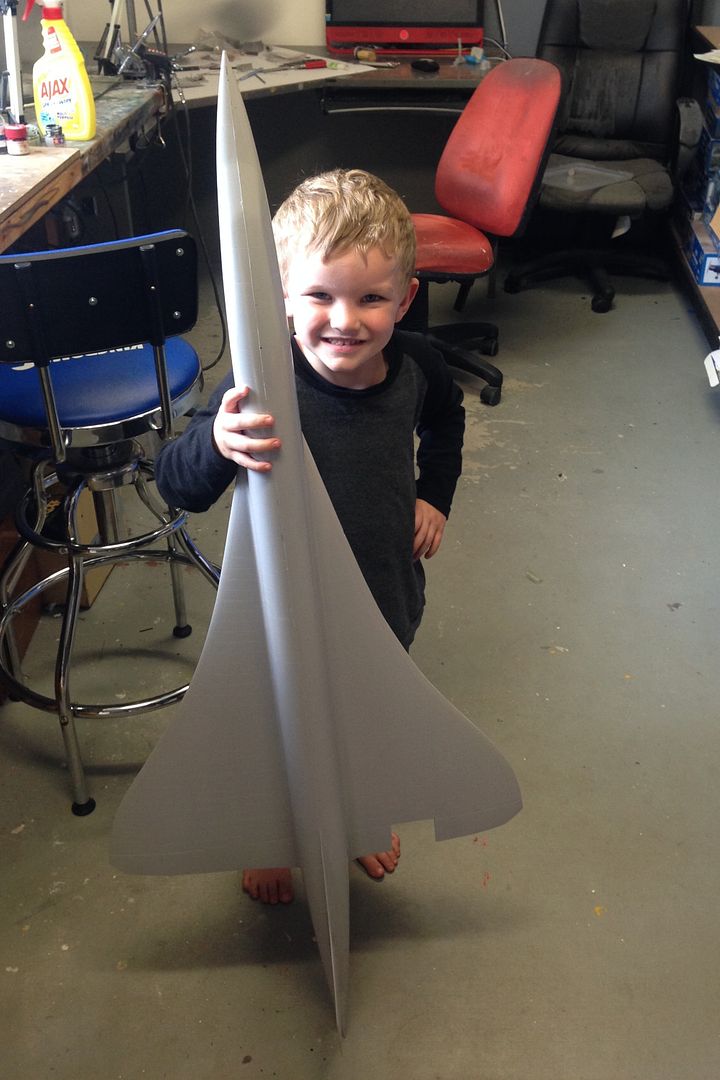
I left my workshop for a break and came back to find my 4 year old boy had slipped in and was flying this around the room making jet noises..... gotta love it!

Image

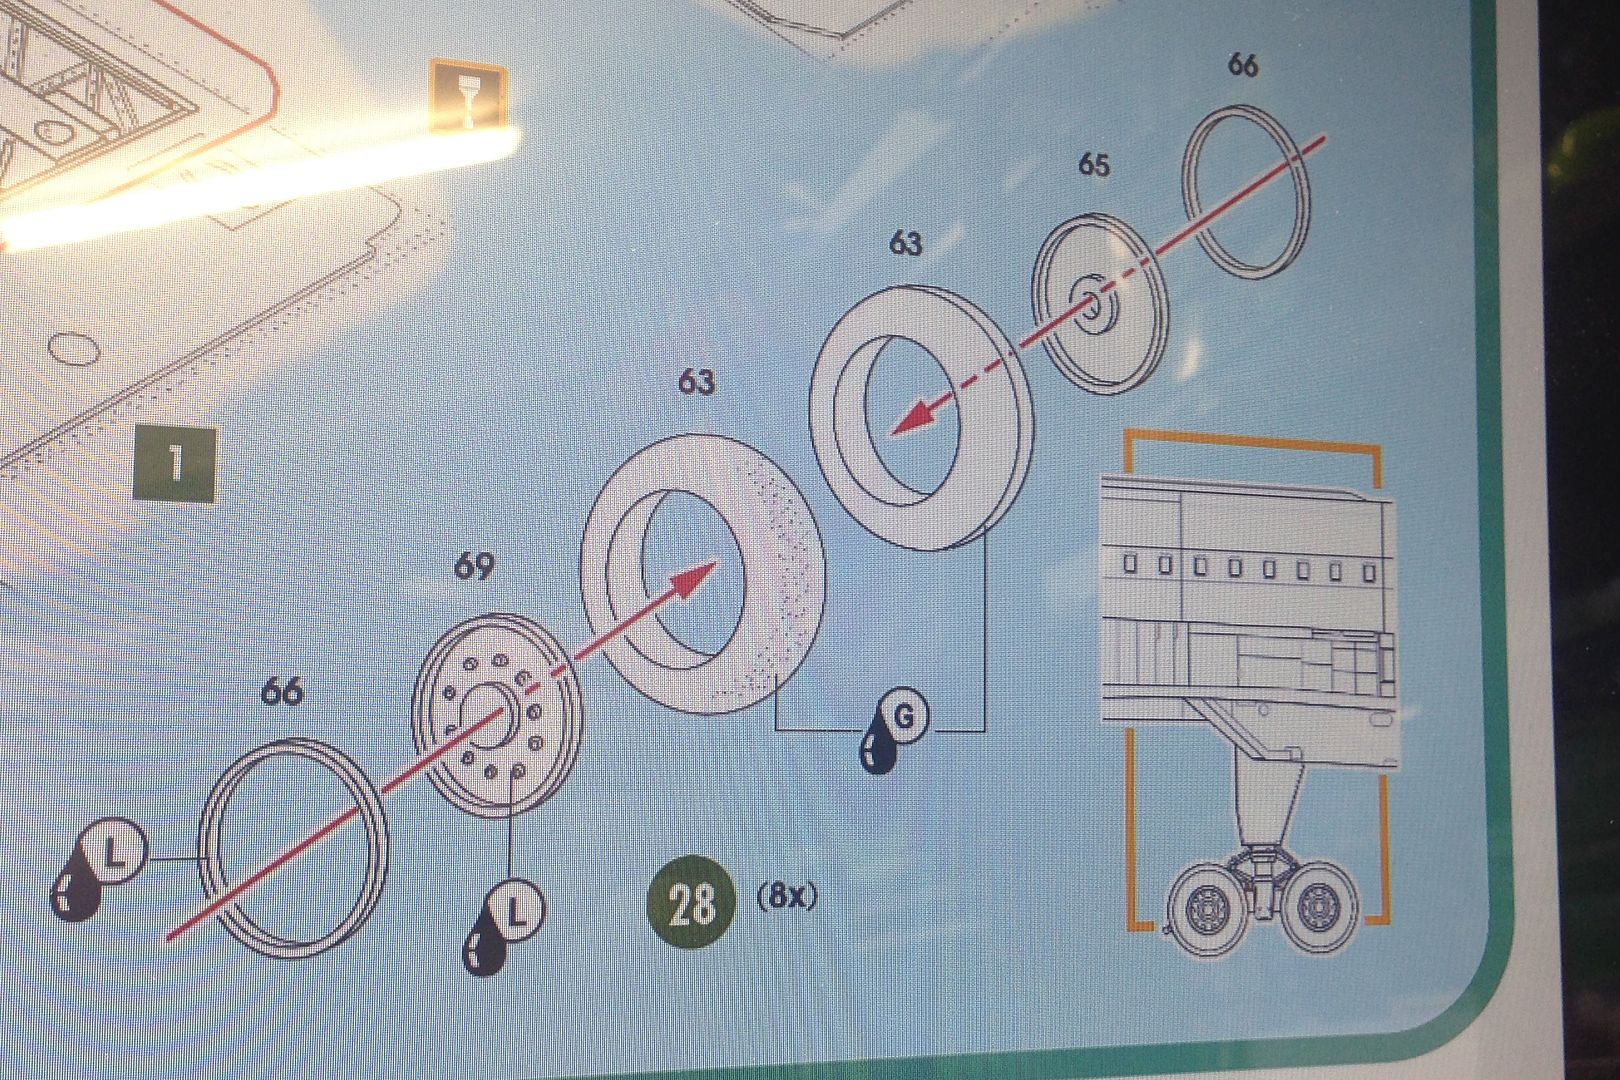
I have been working on some of the detail parts and have found a few issues. I will present them here not as a critisism of the kit, rather as a way around the problems for other builders of the model. A few of these issues that I have identified are as a result of possible mistakes in the instructions which although are quite nicely done, are a little hard to follow. I do stand to be corrected on these points though.

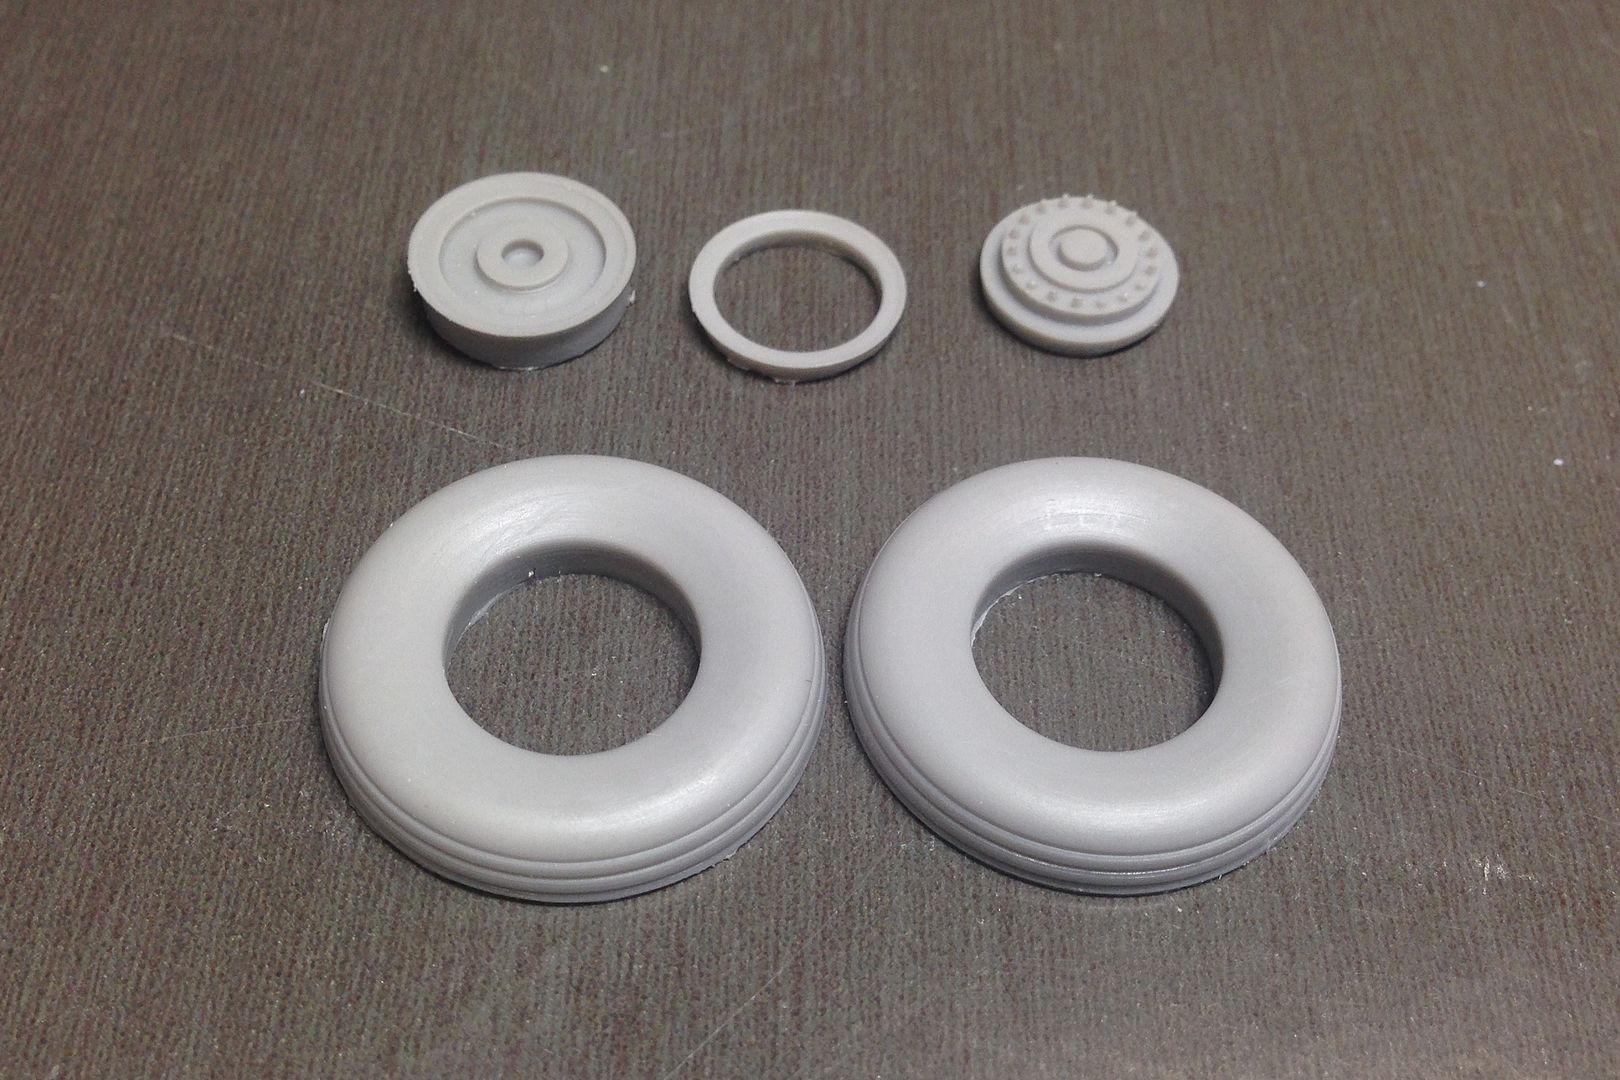
Here is a depiction of the diagram for the assembly of the wheels. Notice how there are two part 66's involved in the assembly of each wheel. As there are 8 main wheels, there should be 16 of these parts. There are only eight as presented in the box, plus there are only eight shown on the breakdown of parts in the instructions. I believe that the part closest to the undercarriage leg (on the right hand side of the screen) is a mistake in the instructions as the hub actually fills out the tire leaving no room for part 66.

Image

Here is the parts required to assemble each wheel.

Image

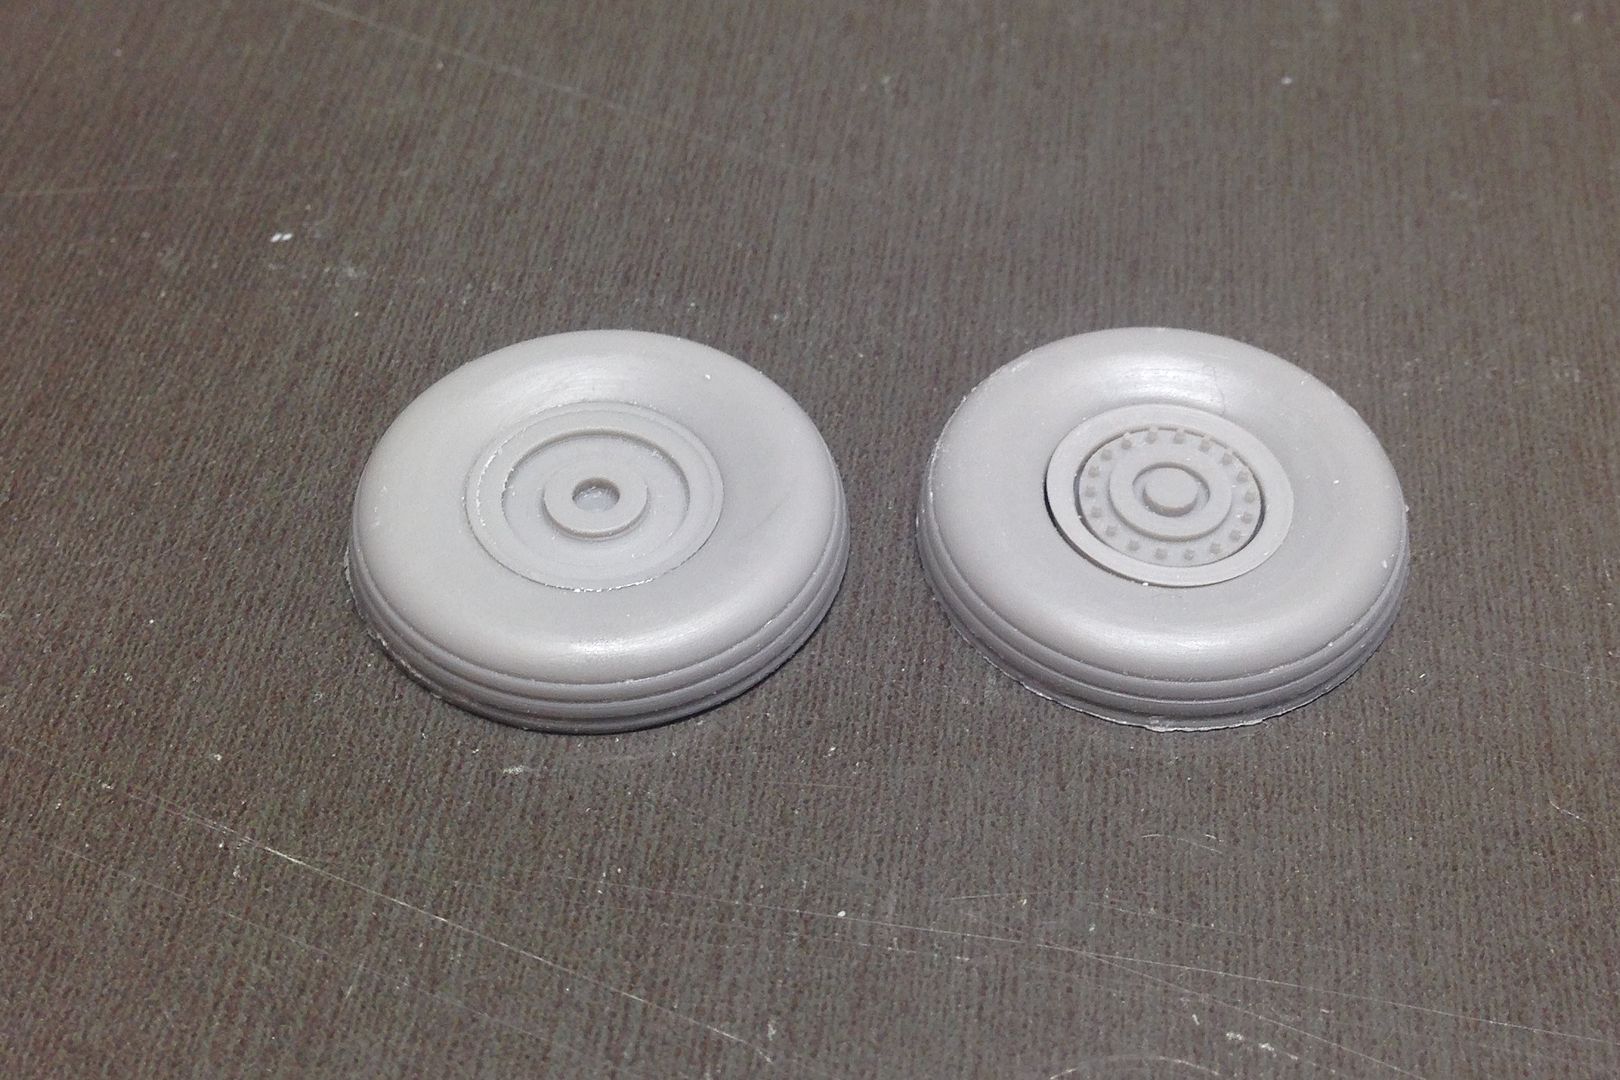
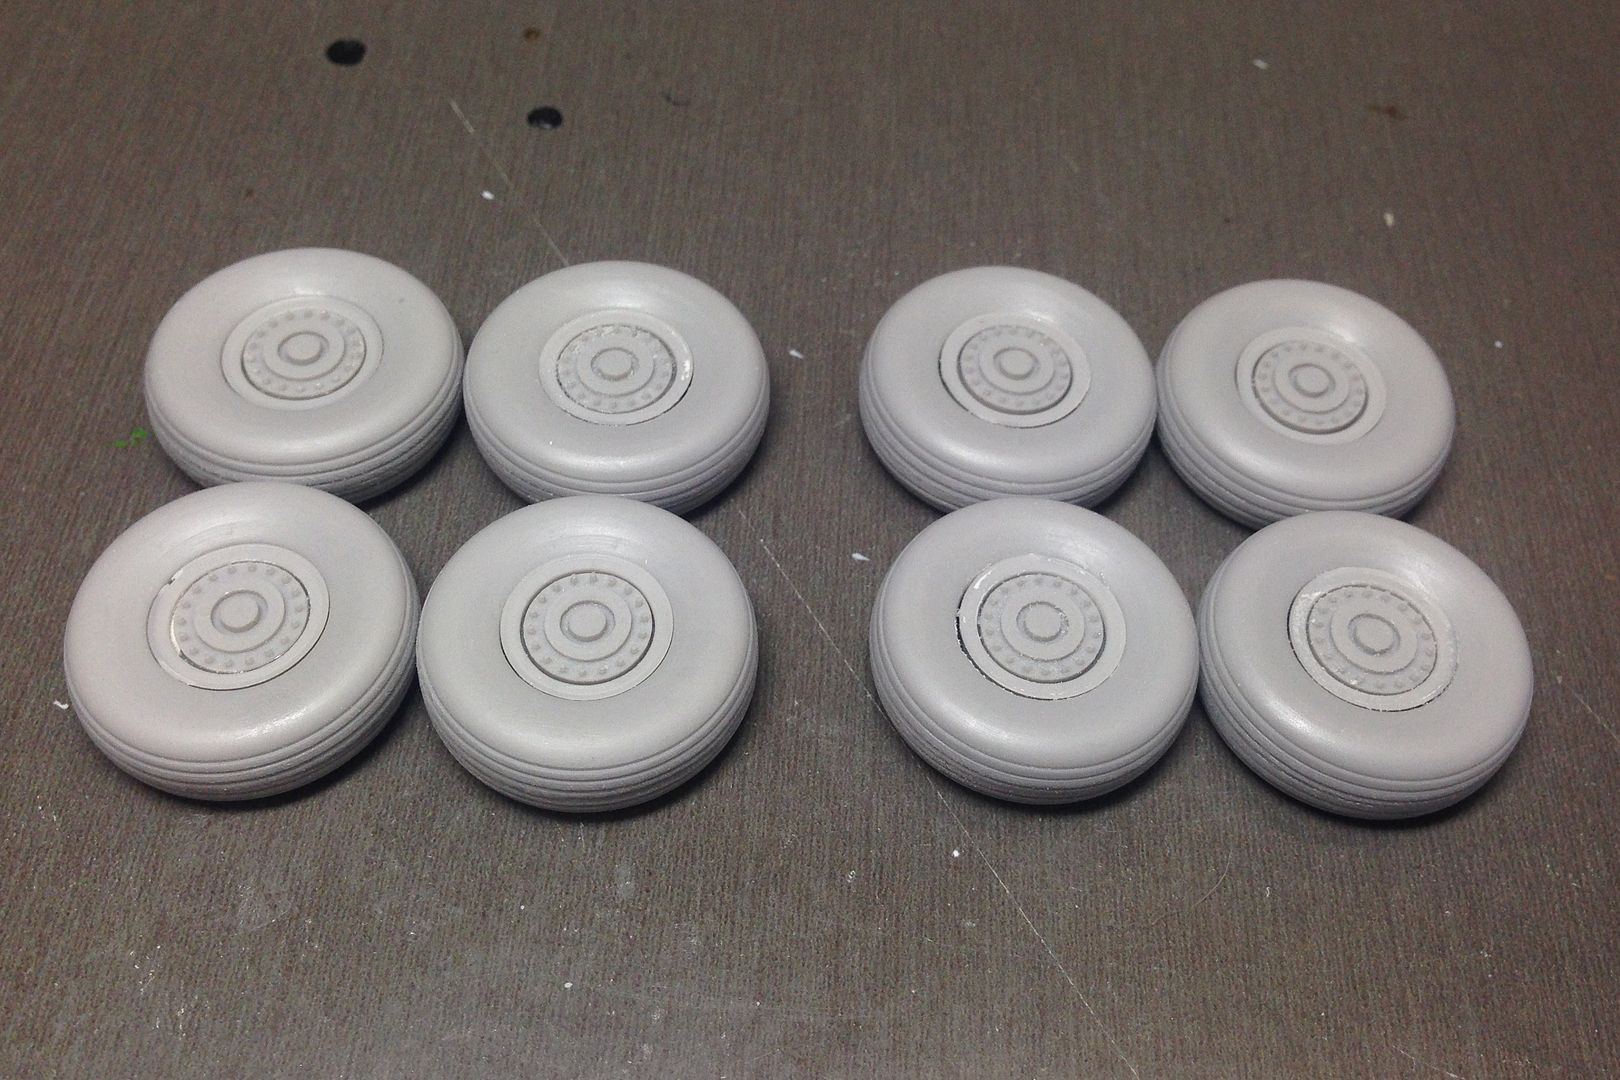
I feel that the parts could have been better done as complete halves of each wheel and would form a much more solid unit. The fit is quite sloppy for something that will ultimately share some of the weight of the model, but with some careful sanding, each part mates together well enough that by filling the voids with superglue, some strength can be obtained.

Image

Image

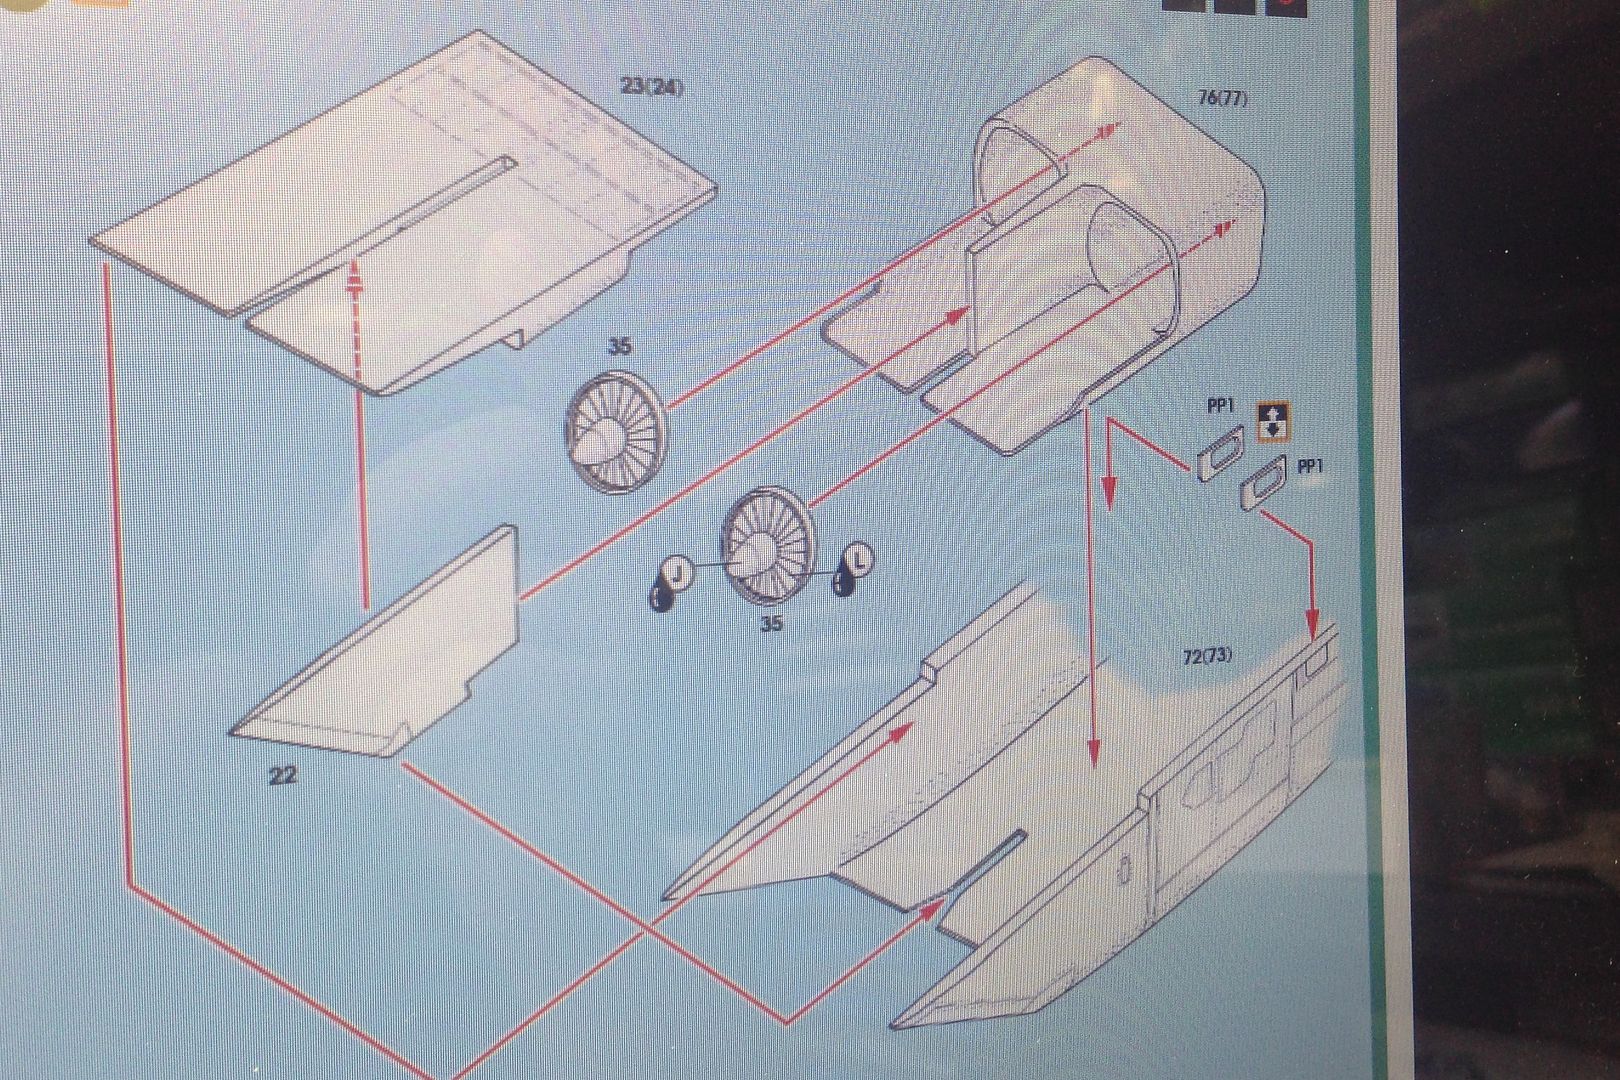
Here is another issue. The way that part 76(77) (the part that holds both of the compressor turbines and is the intake ramp) as depicted in the instructions does not fit into the nacelle at all and leaves a very large gap.

Image

Image\

By reversing it, it fits perfectly (which is why I reckon the instructions are wrong) as it is `keyed' to fit like that and I was able to confirm the orientation through examination of a good walkaround on the net.

Image
Ericg
 
Posts: 214
Joined: Mon Apr 14, 2014 7:30 pm

Re: 1/48th scale HPH Concorde

Postby DesTROYer » Sun Sep 20, 2015 4:21 pm

Very cool Eric. I'll be watching this with interest. Don't f*%& it up ;)

Why didn't they do the wheels as resin? Seems that would have made more sense.
User avatar
DesTROYer
 
Posts: 778
Joined: Tue Jun 24, 2014 9:49 pm
Location: 37.8136° S, 144.9631° E

Re: 1/48th scale HPH Concorde

Postby Ericg » Sun Sep 20, 2015 5:47 pm

I'll try not to mess it up Troy, but I guess there is a first for everything isn't there?

The wheels are in resin, just done differently to the usual casting block where the flat spot usually is.

Eric
Ericg
 
Posts: 214
Joined: Mon Apr 14, 2014 7:30 pm

Re: 1/48th scale HPH Concorde

Postby Ericg » Mon Sep 21, 2015 6:19 pm

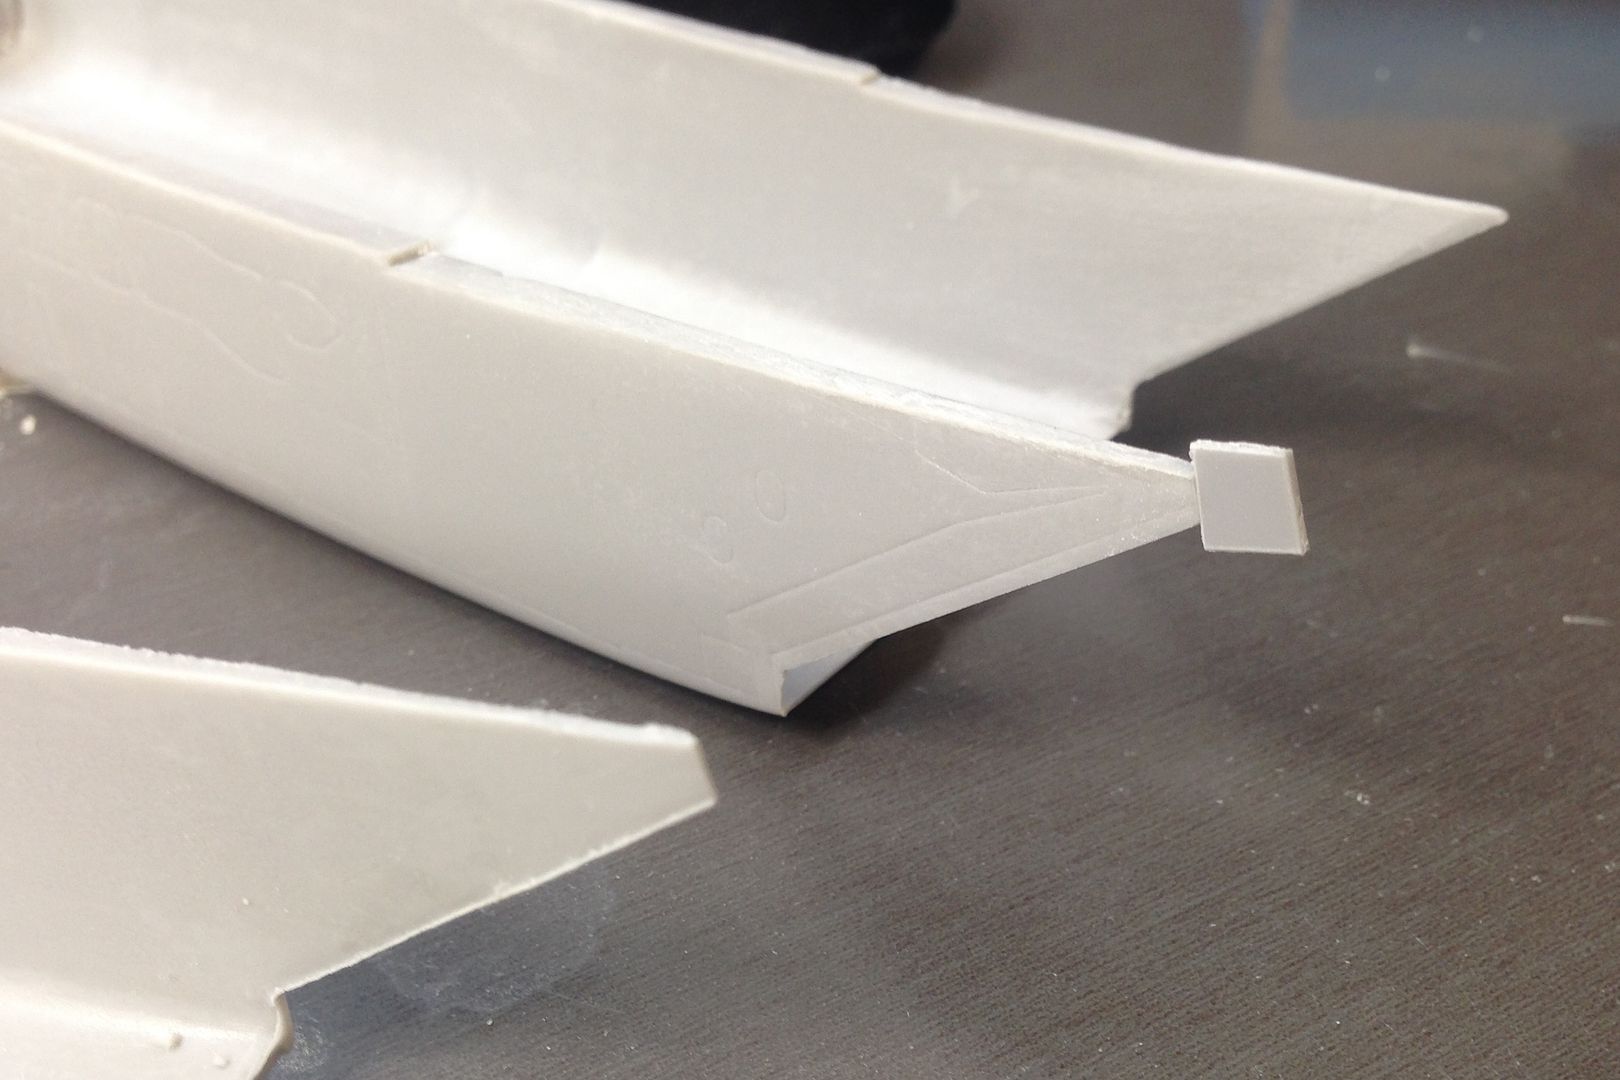
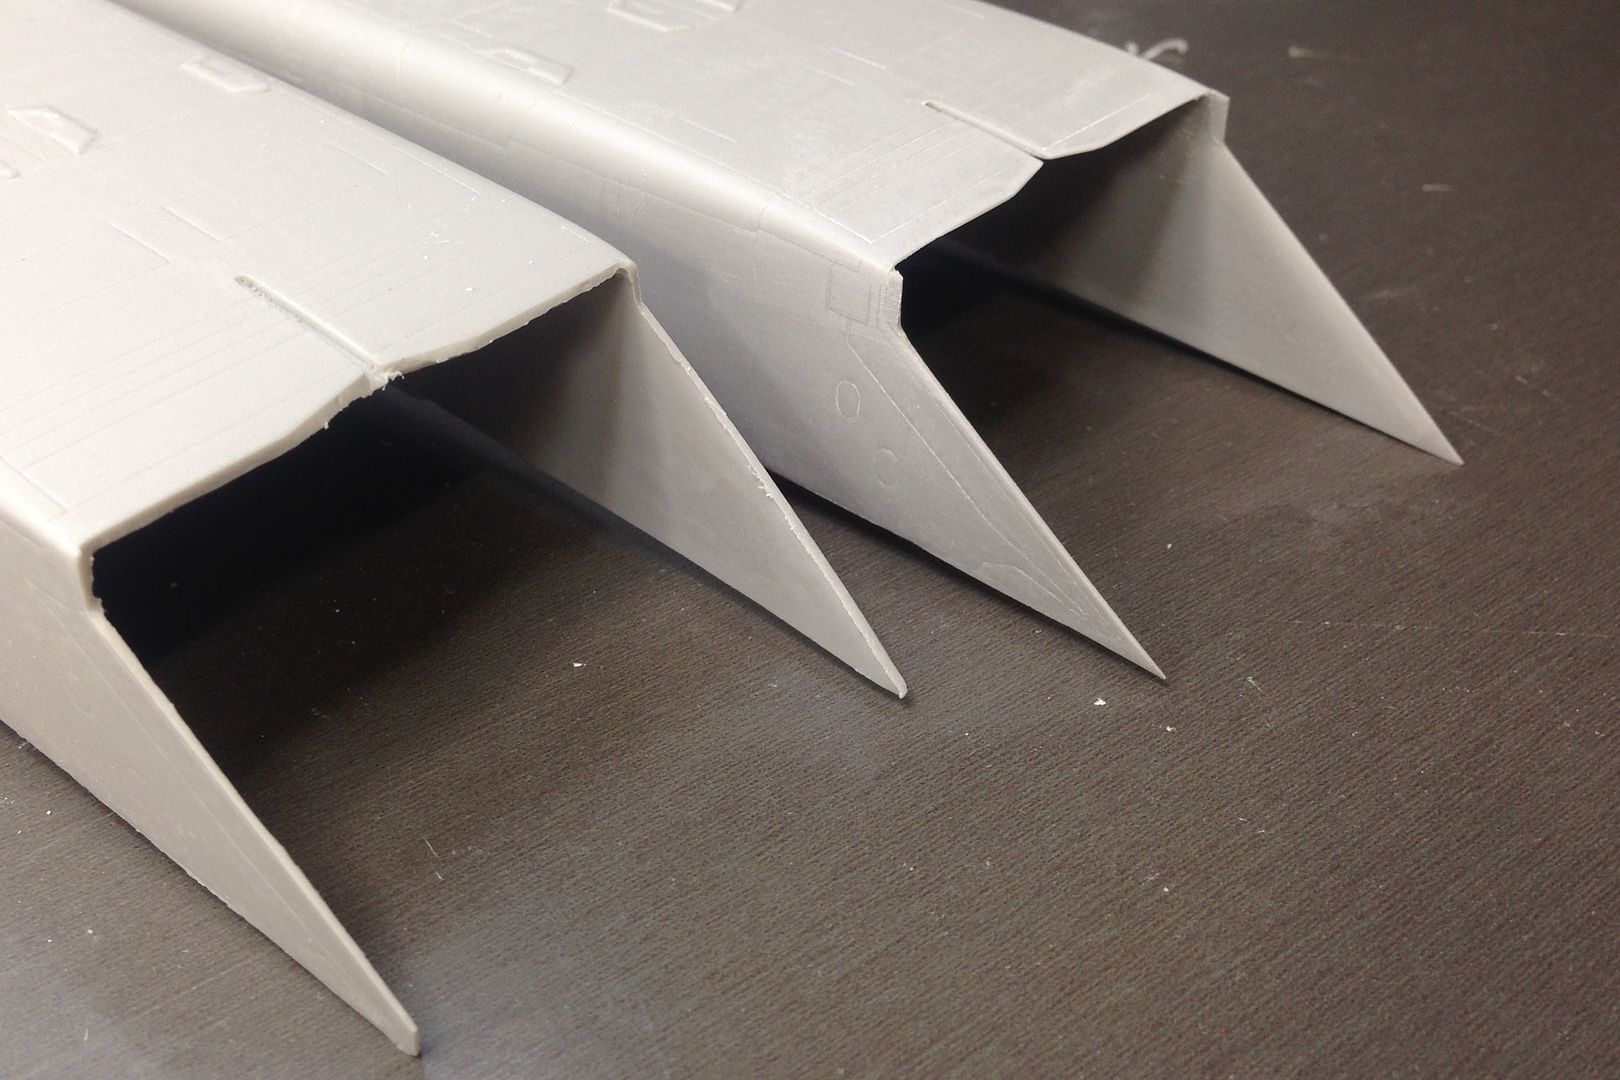
Onto the intakes. These require a little bit of work as the forward corners of the resin parts I think have been slightly short cast. They should be very sharp, as well as the forward bottom lip.

I superglued a small scrap of resin onto each corner

Image

Here you can see the difference between the intake as supplied in the kit and the modified intake(right side)notice how all edges are now sharp.

Image

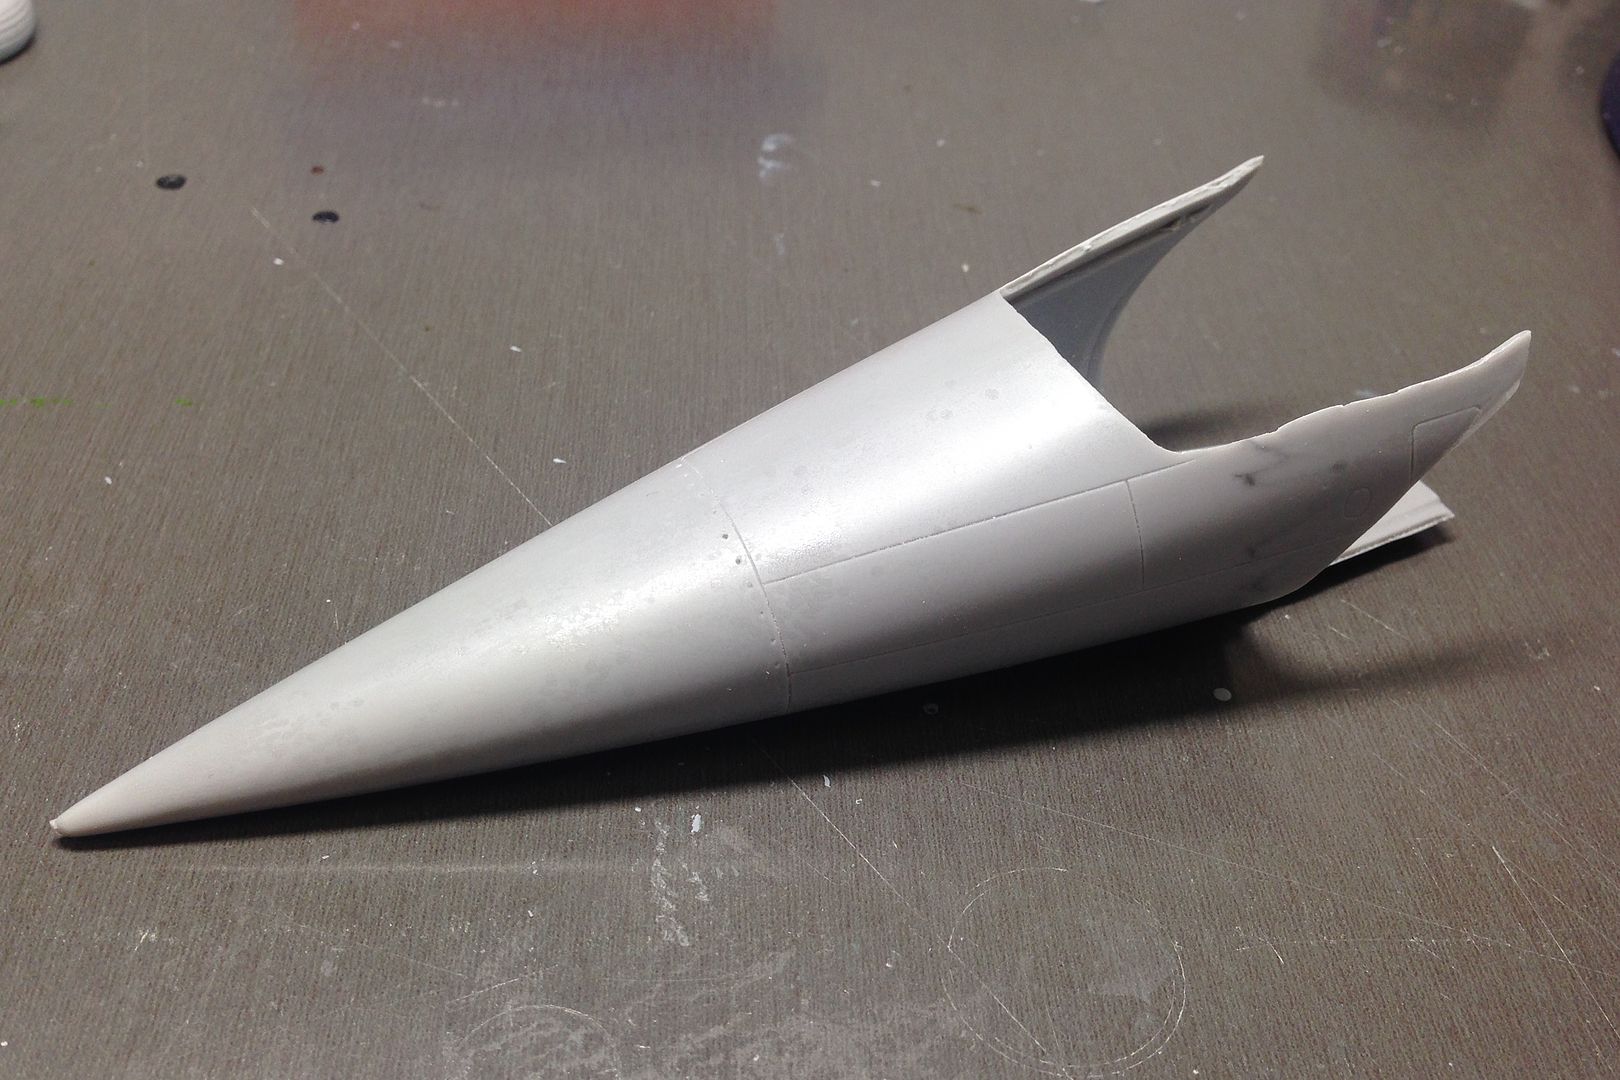
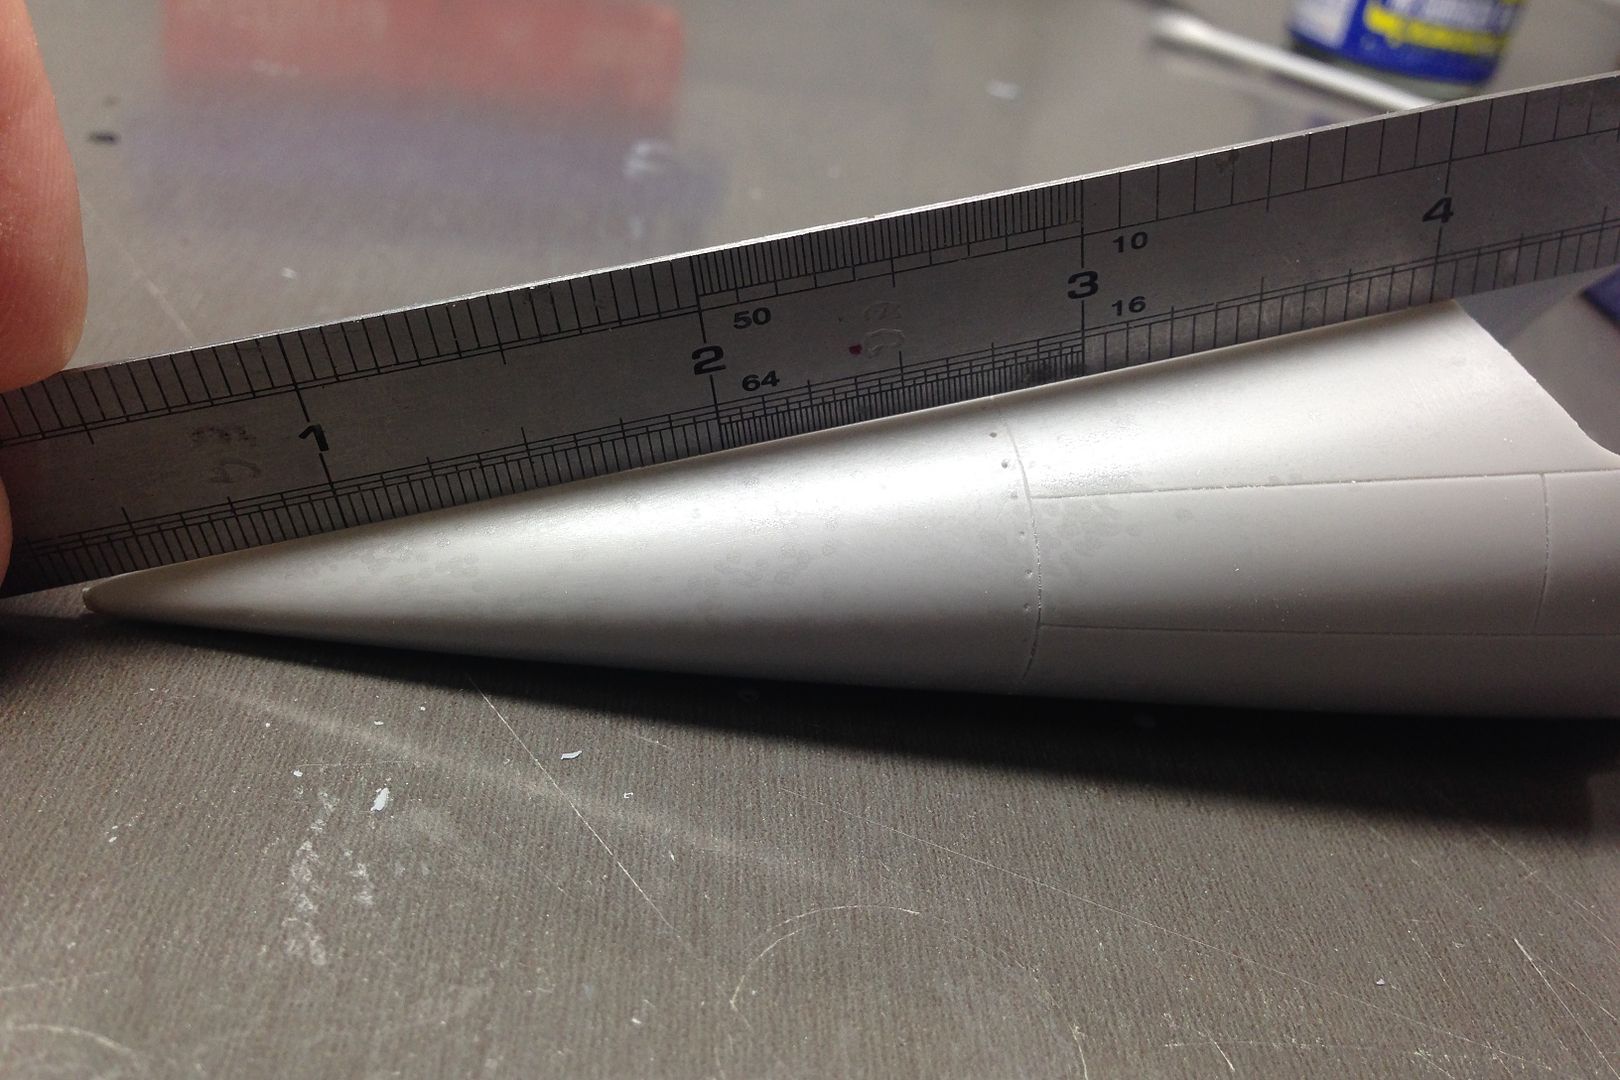
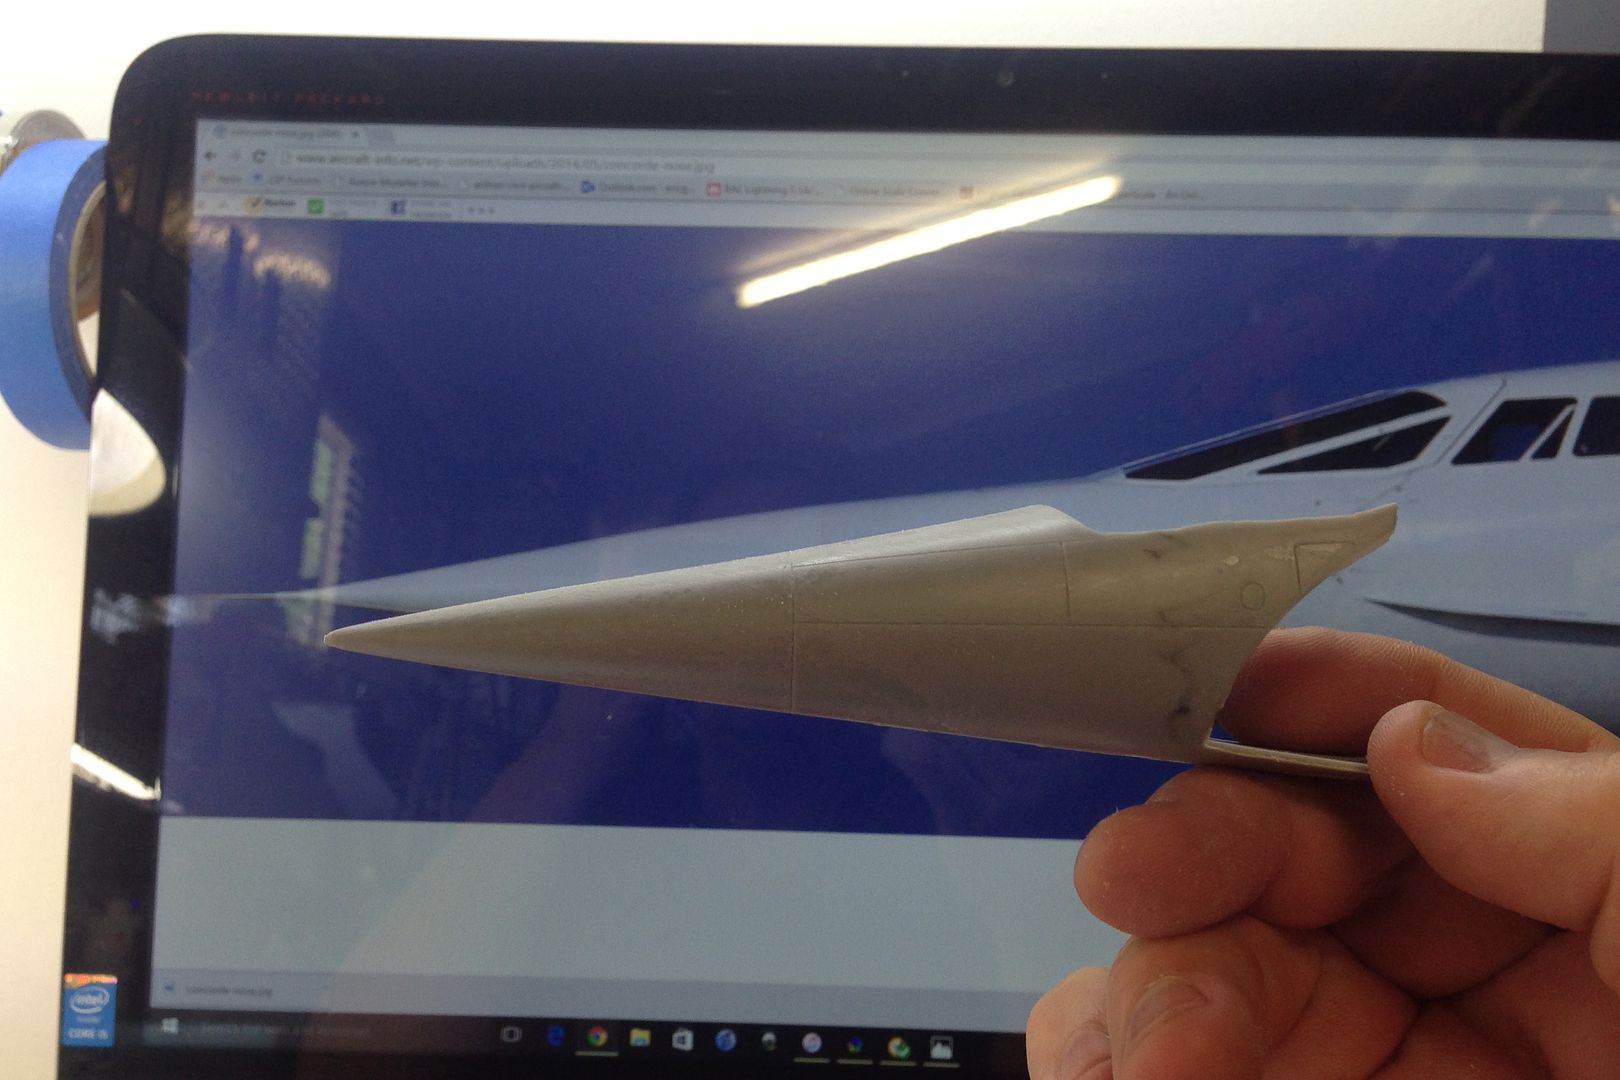
I feel one of the biggest issue with the kit is the nose. I first noticed it when I pulled the model out of the box. The nose was squashed in and made the model look a bit like a `lame duck' rather than a supersonic beast. I thought that the resin nose included with the kit might have fixed the error but it is the same.

Here is the resin nose. Doesn't look too bad, but something just doesn't look right. It certainly doesn't have the character of the real thing, that's for sure.

Image

Closer examination reveals that it is slightly concave from end to end. Not good.

Image\

Lets have a quick look at how it looks compared to a pic of the real thing (yeah I know its open to interpretation, but trust me here)

Image

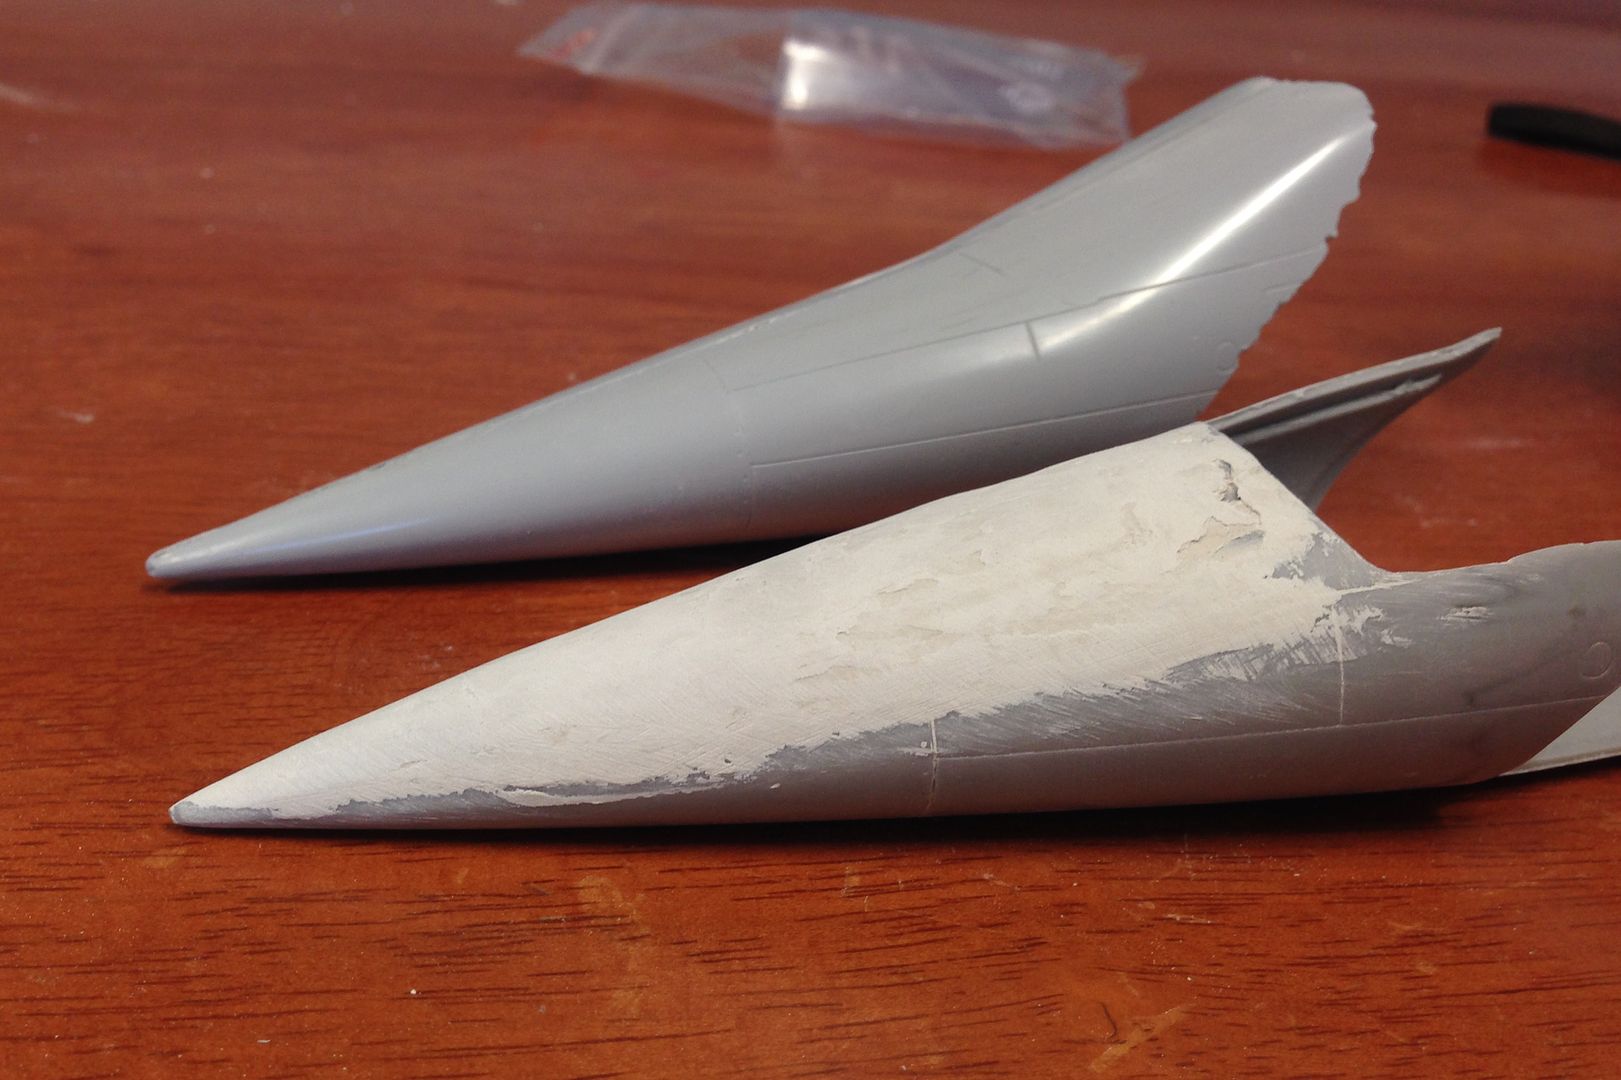
I just have to fix the nose, it will bug me too much if I leave it. I guess I shouldn't really have to be modifying a kit which cost me roughly the price of 3 Tamiya Mosquito's, but thats just the way it is.

I have piled on about a quarter of a tube of Plasto body filler and will let it cure for a few days and then sand it to shape. Compared to the fiber glass nose, there is already a big improvement in its semi smoothed state. I might even make a copy of the remastered nose and cast it in resin so that is it made of the one material instead of resin/filler.

Image
Last edited by Ericg on Mon Sep 21, 2015 7:38 pm, edited 1 time in total.
Ericg
 
Posts: 214
Joined: Mon Apr 14, 2014 7:30 pm

Re: 1/48th scale HPH Concorde

Postby Ericg » Mon Sep 21, 2015 6:31 pm

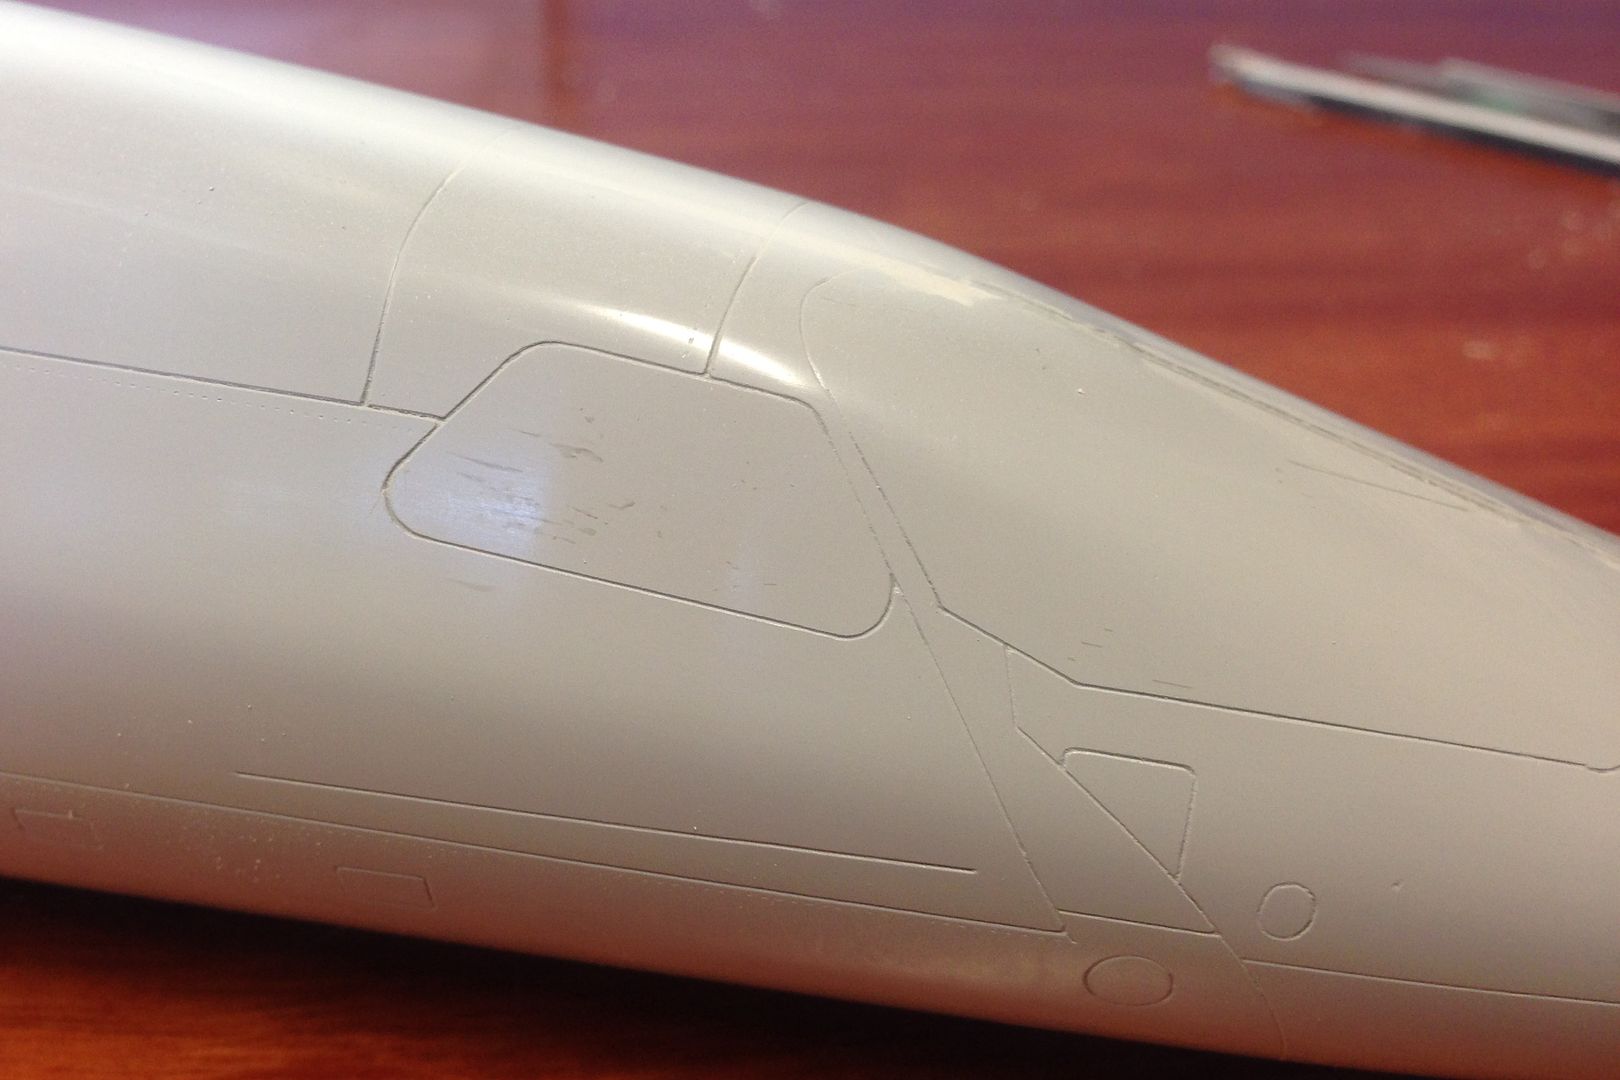
Here are the nicely scribed windows.

Image

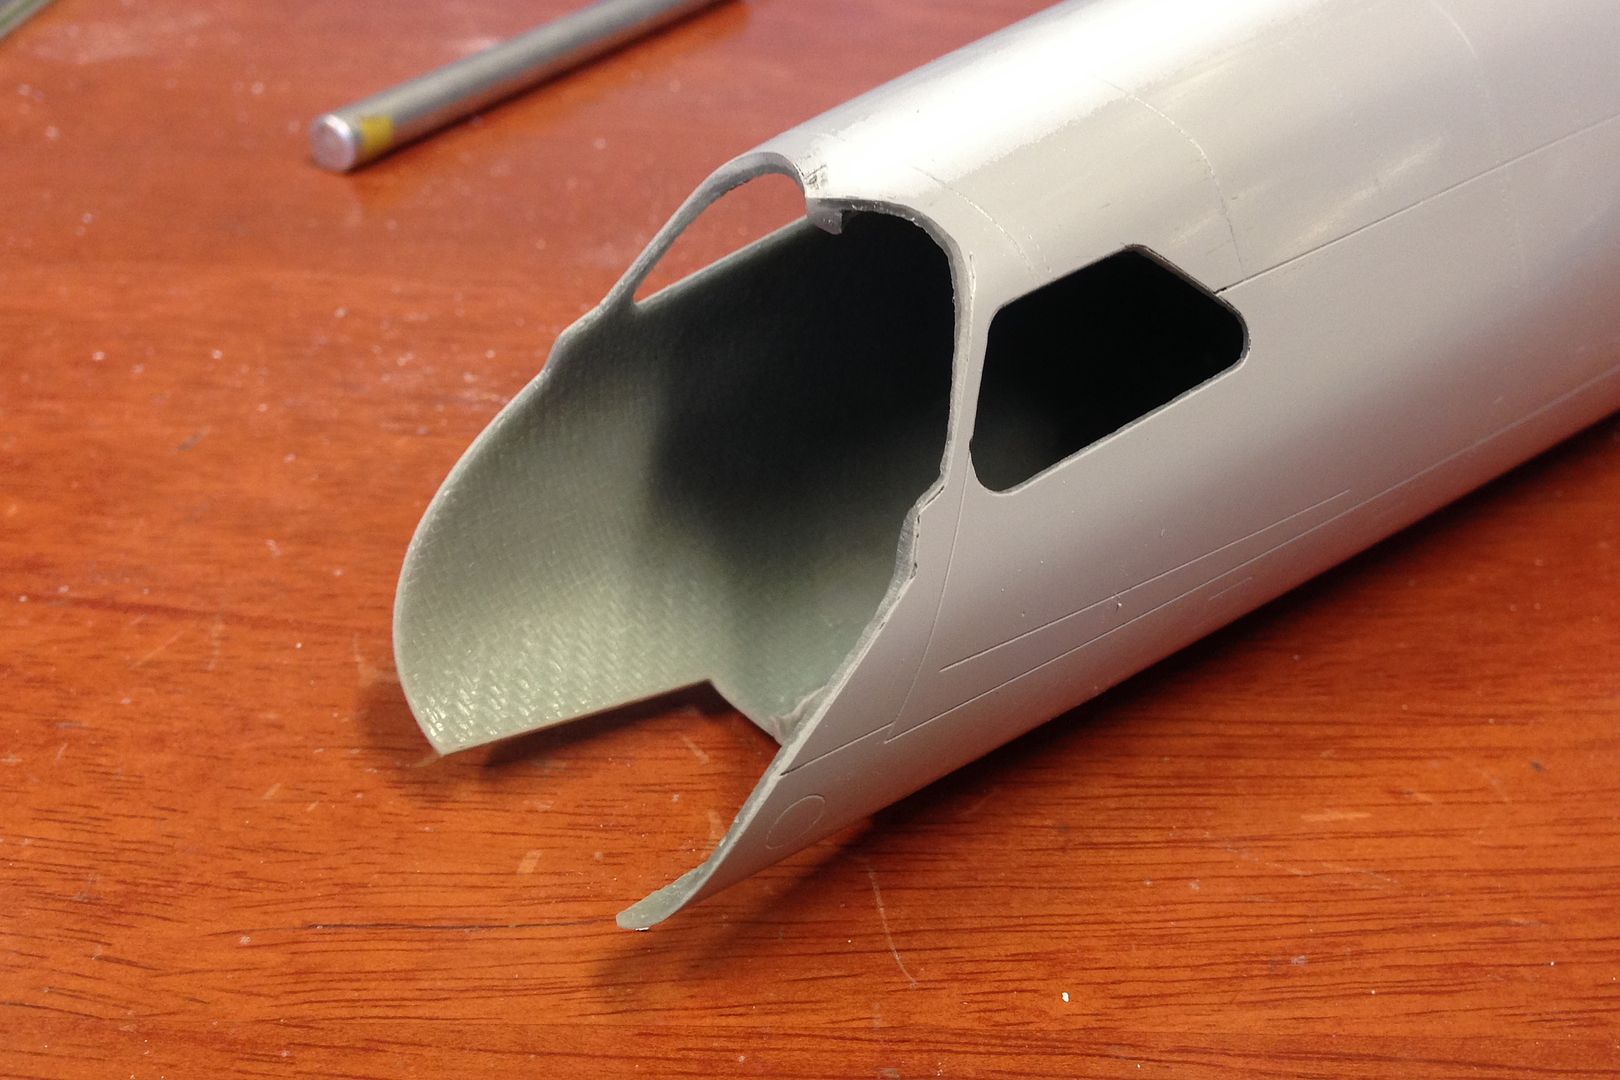
Now lets start getting serious with this model and start taking it apart!

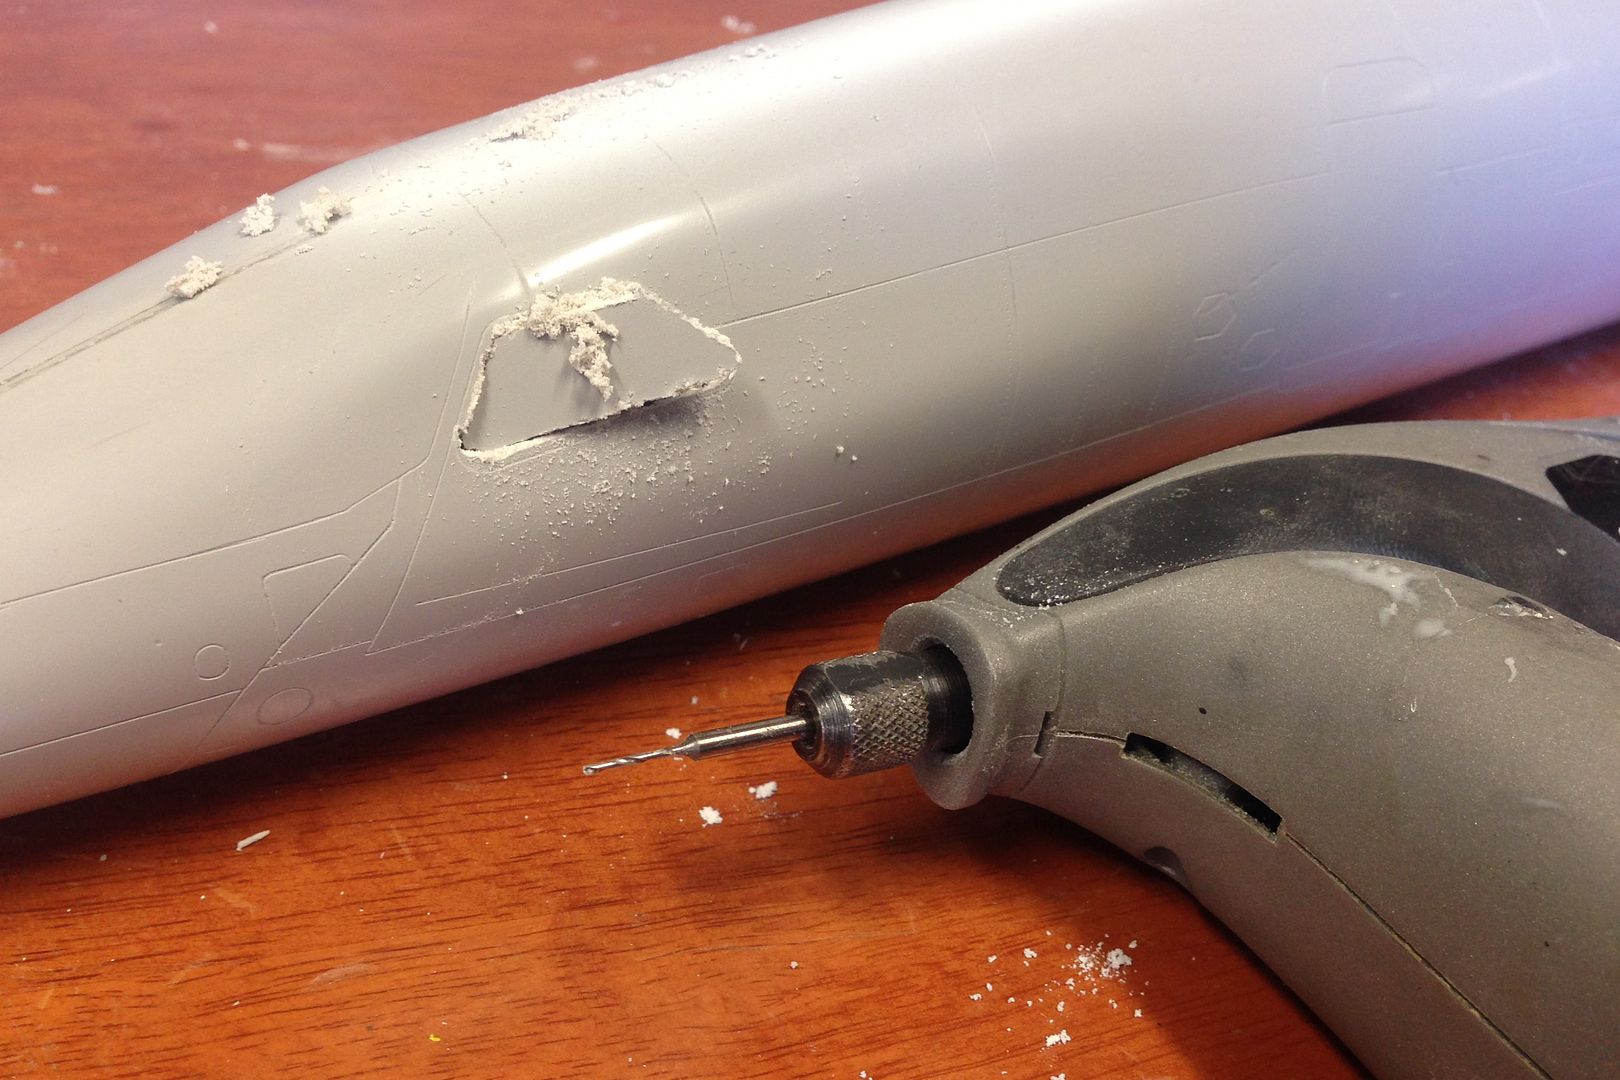
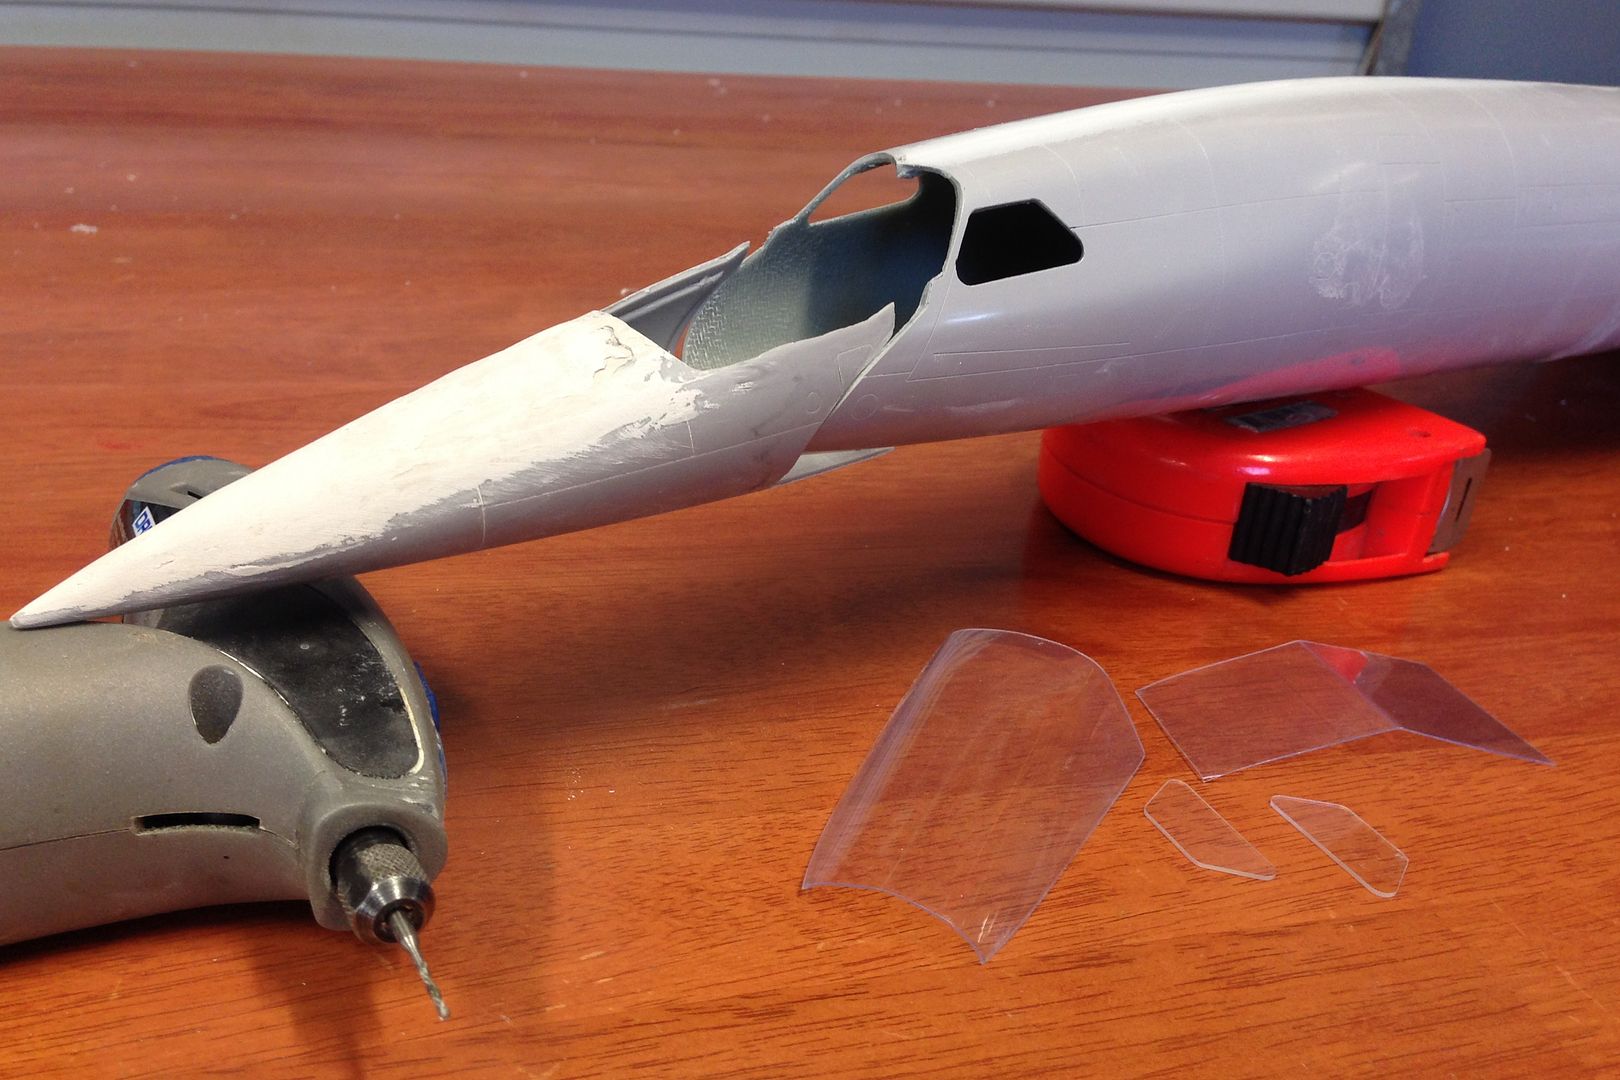
First the windows, I used a small drill bit in my cordless Dremel to cut rather than chain drill each part out.

Image

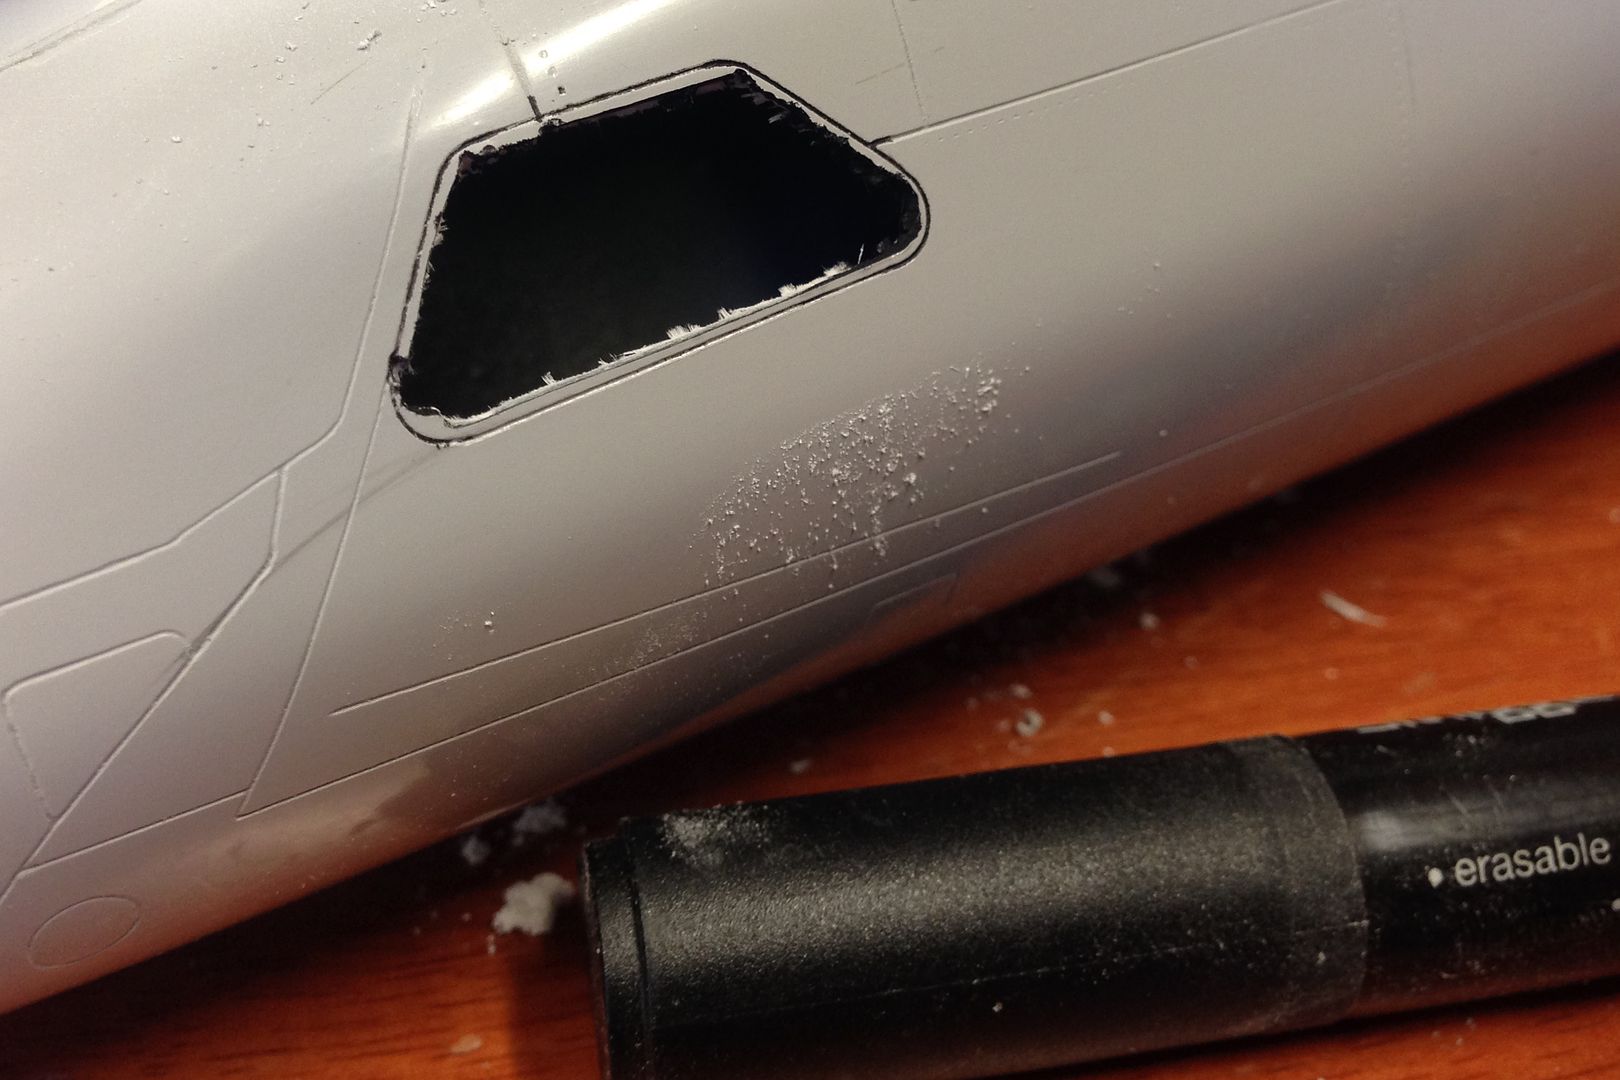
I then used a whiteboard marker to colour in the engraved line so that it was easier to see.

Image

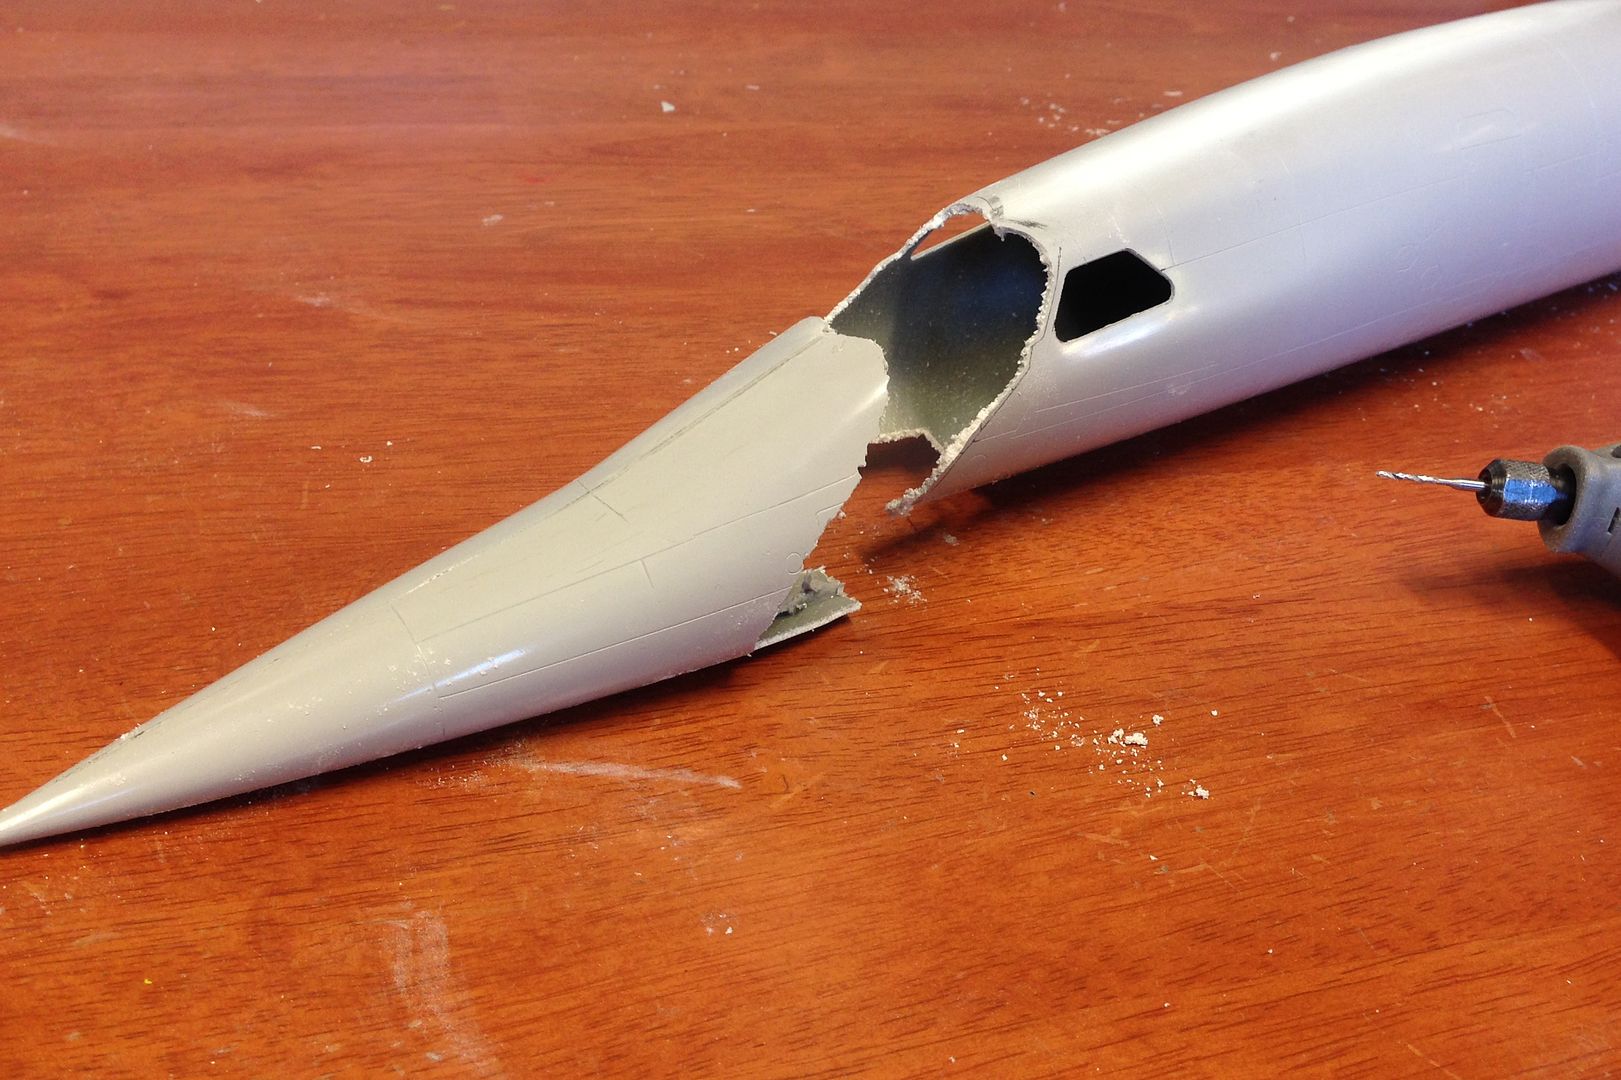
Lets take the nose off whilst we are there.

Image

I tidied up everything with a file.

Image \

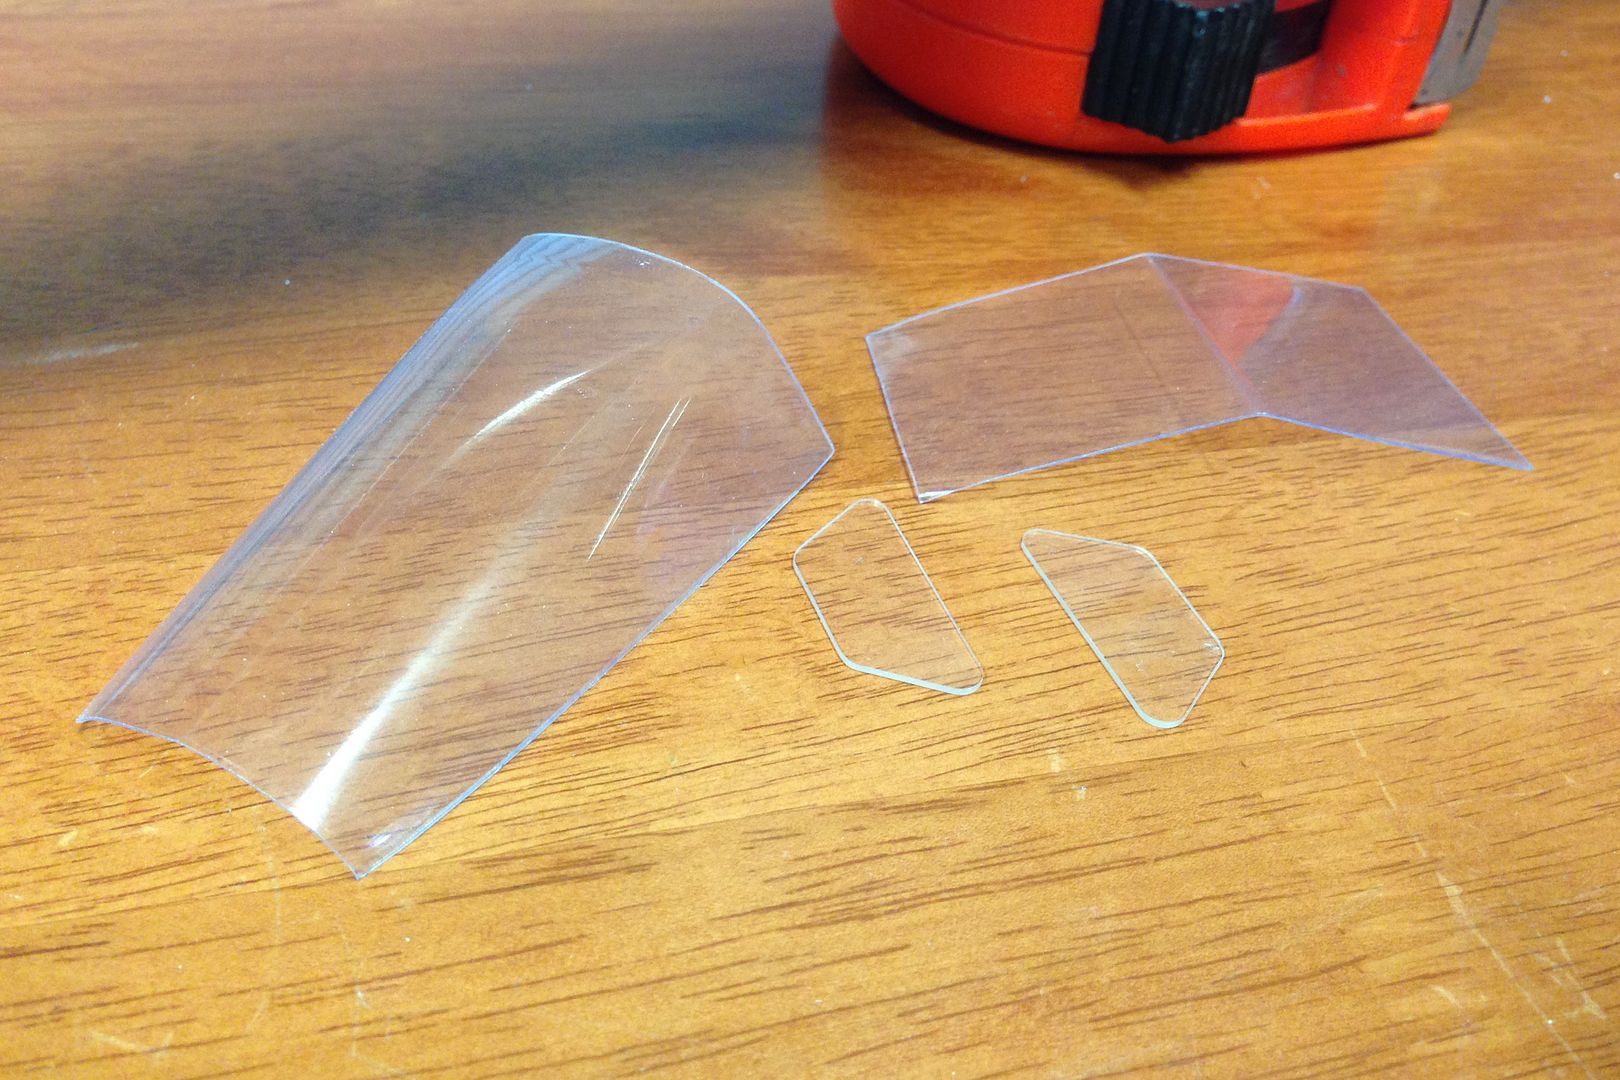
Despite the instructions showing some neatly pre-cut clear parts in the parts breakdown, The kit is provided with a collection of rough cut clear parts to play with. Should be fun!

Image

Hopefully this:

Image

Will one day look like this (without the flag and open windows)

Image
Ericg
 
Posts: 214
Joined: Mon Apr 14, 2014 7:30 pm

Re: 1/48th scale HPH Concorde

Postby Adam the Akrodude » Mon Sep 21, 2015 10:10 pm

All I can add at this point is that you must really really really love the Concorde!

Up to your ankles yet in dust/shavings? Man, for that price I'd want the kit to build itself whilst I sat back with a cold one! :D

Great work so far.

Cheers

Adam
Adam the Akrodude
 
Posts: 2819
Joined: Mon Apr 14, 2014 1:02 pm
Location: 100,124,672,897 Bifrost Rd, Valhalla, Asgard

Next

Return to Member's Works in Progress

Who is online

Users browsing this forum: No registered users and 2 guests

cron