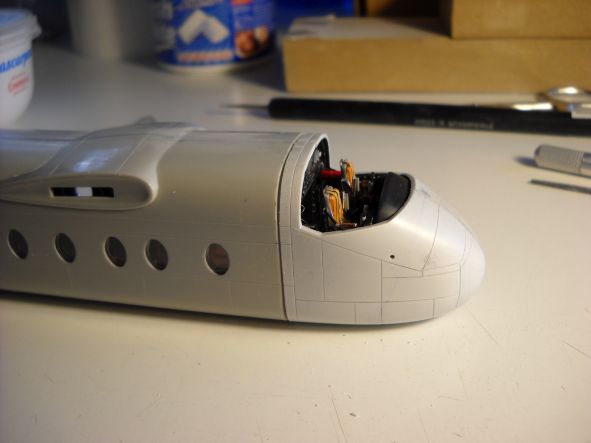
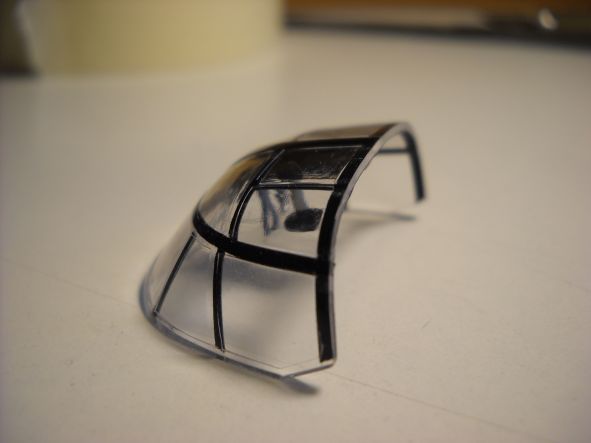
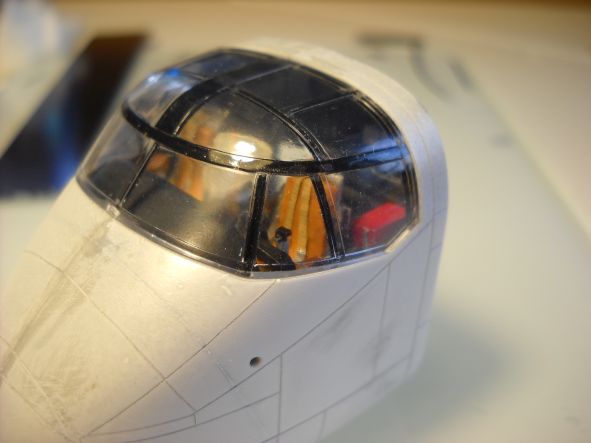
Thank you very much, sirs, for your appreciation.
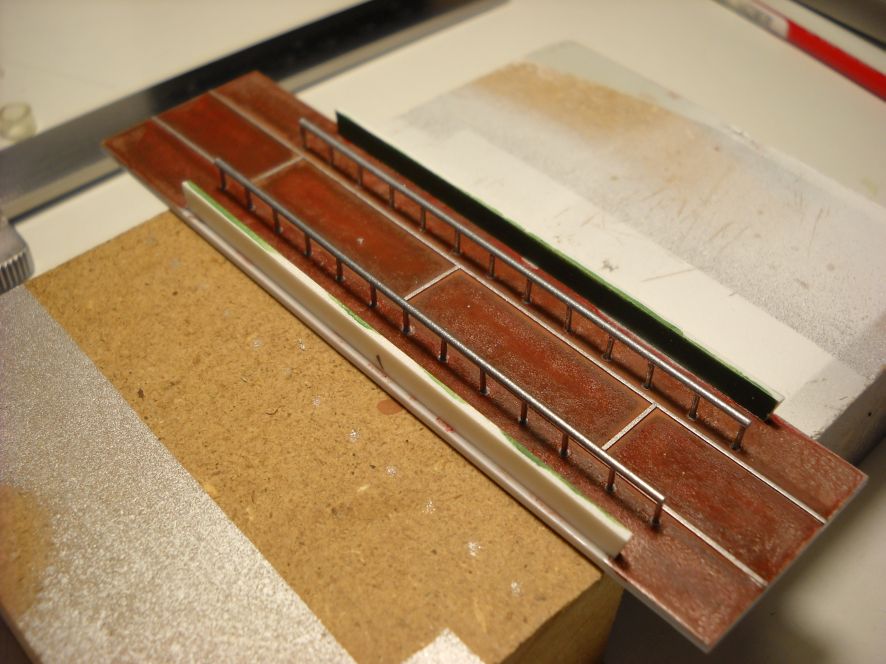
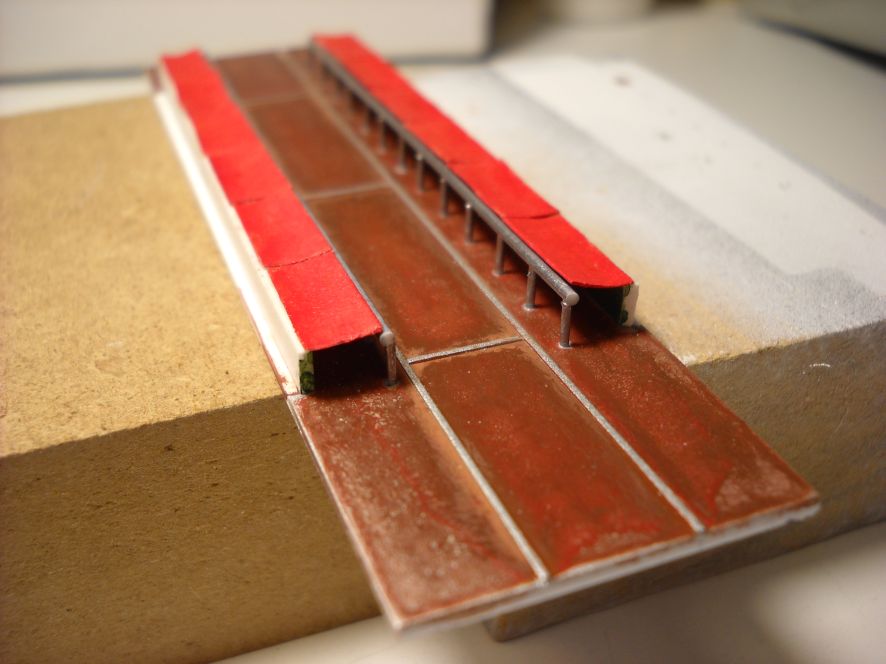
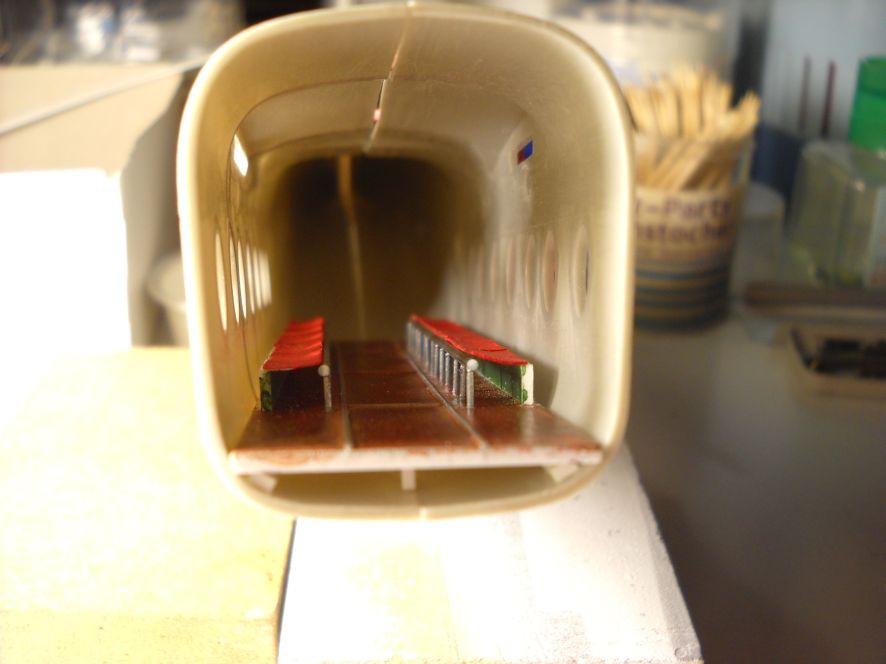
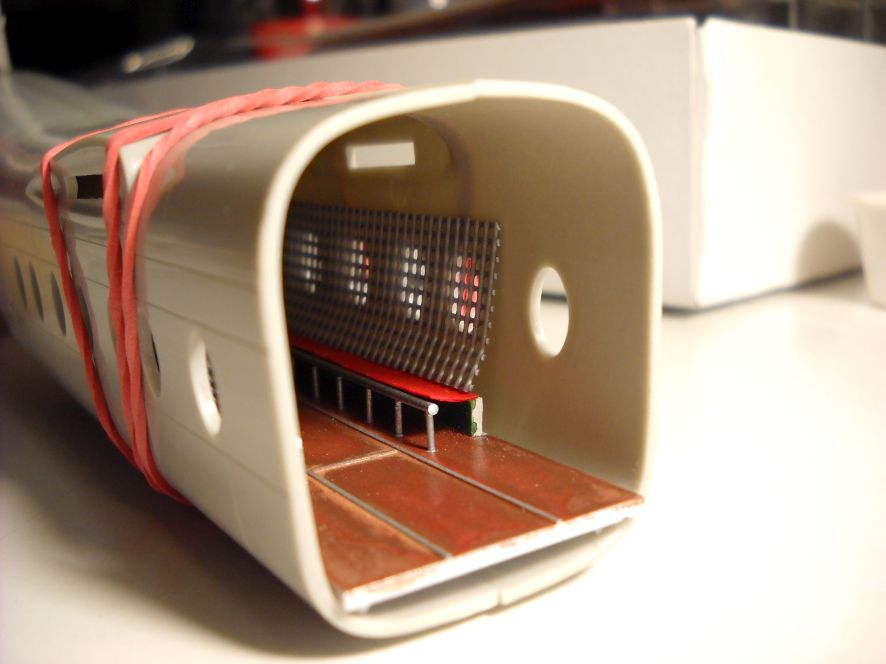
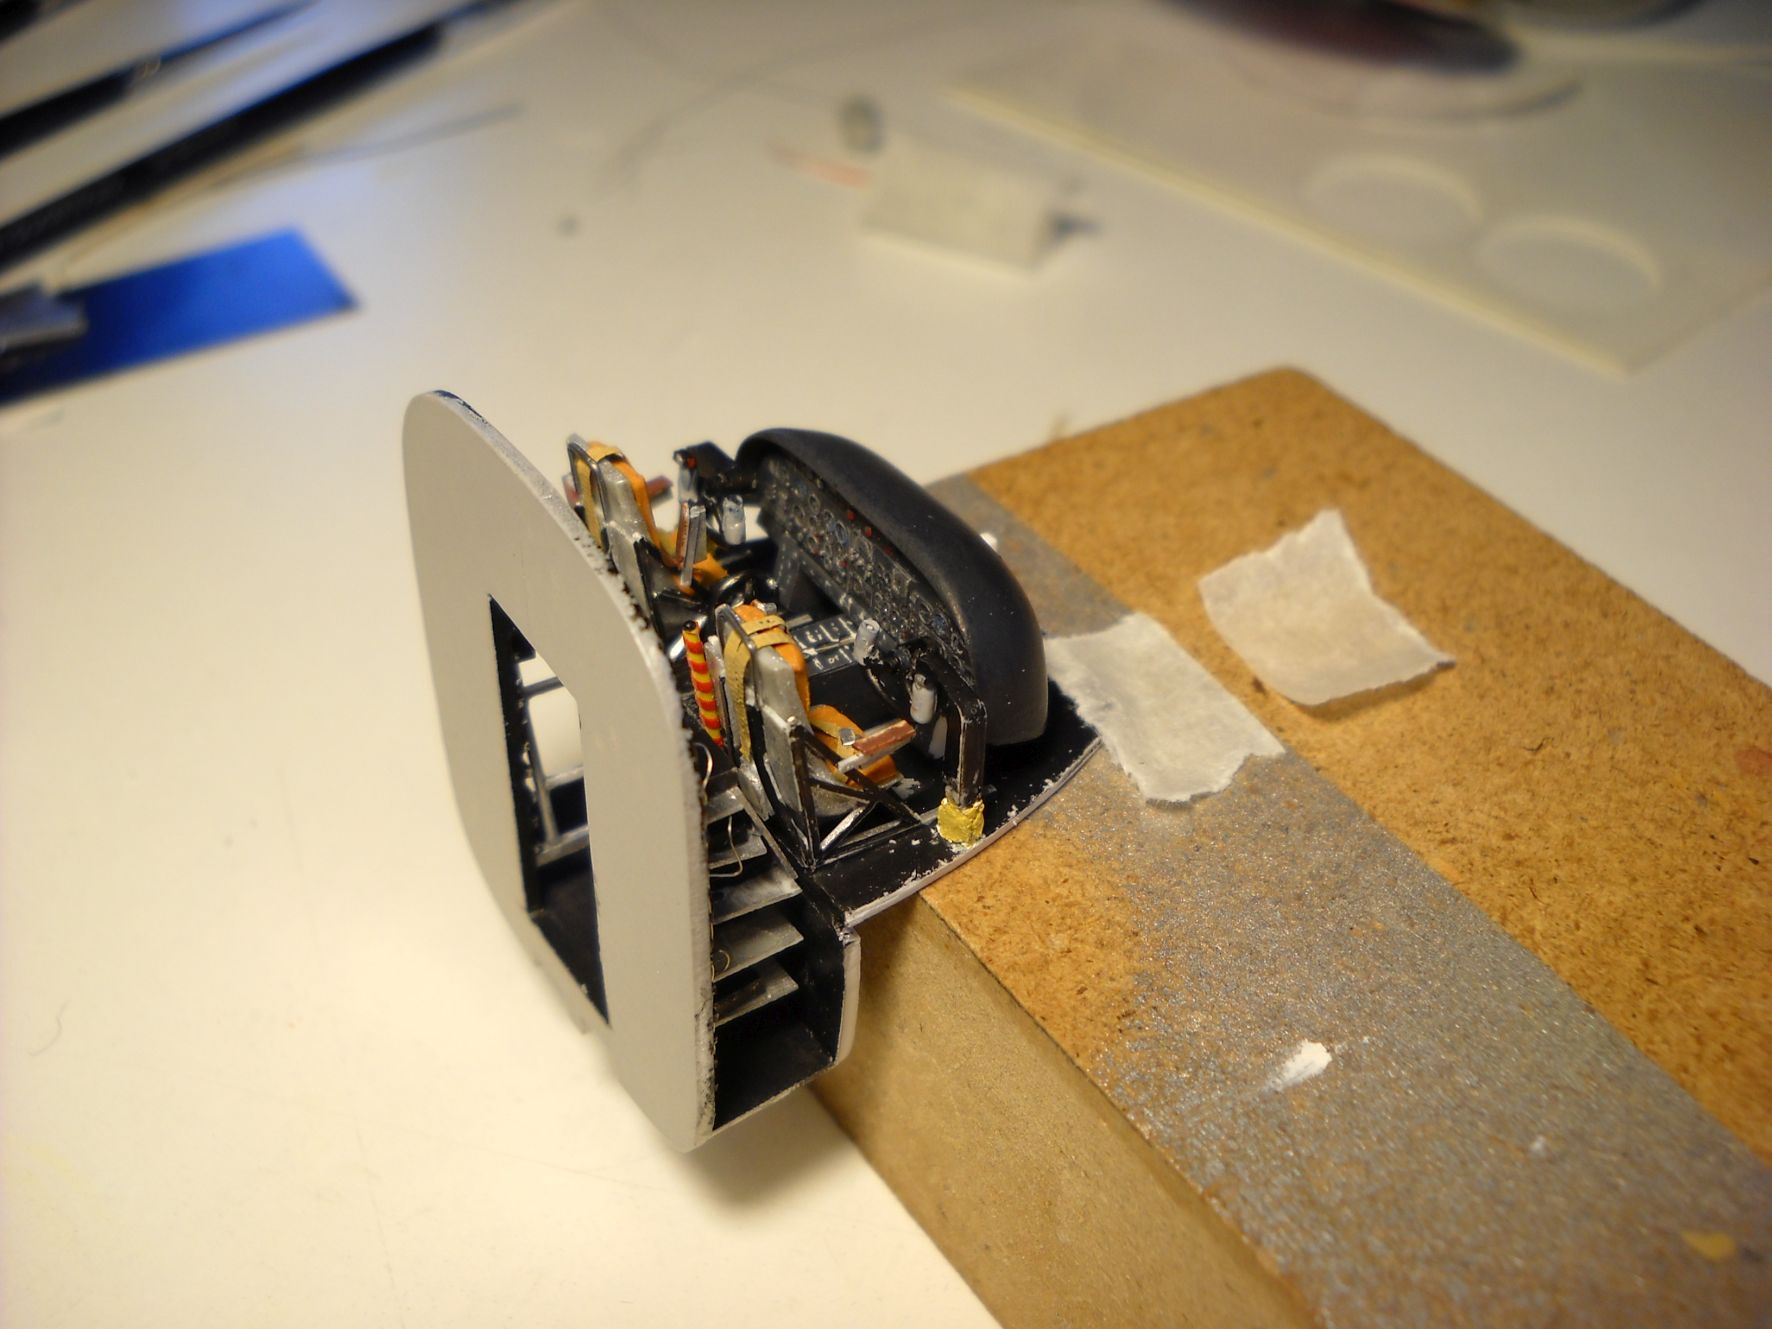
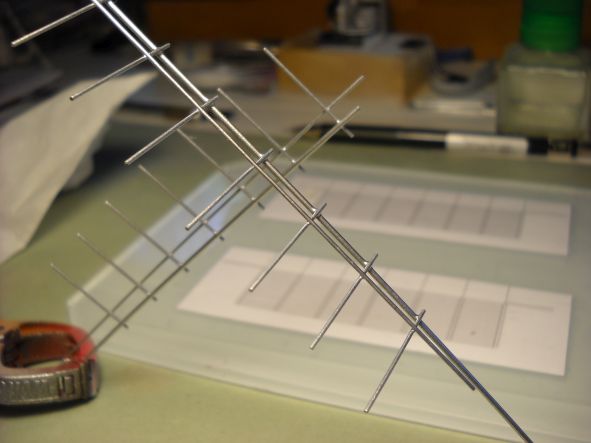
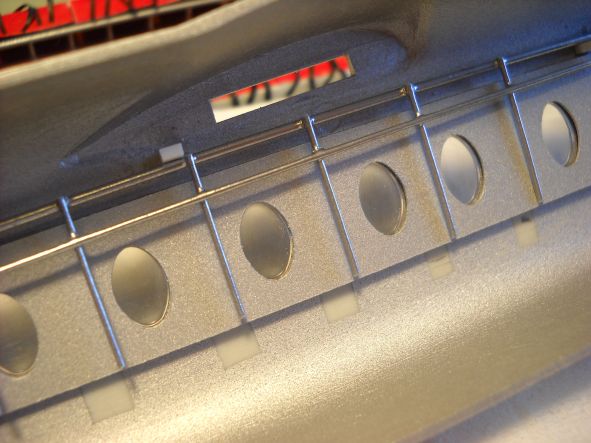
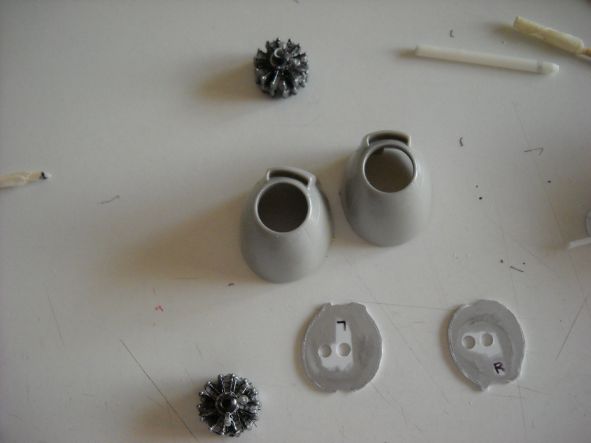
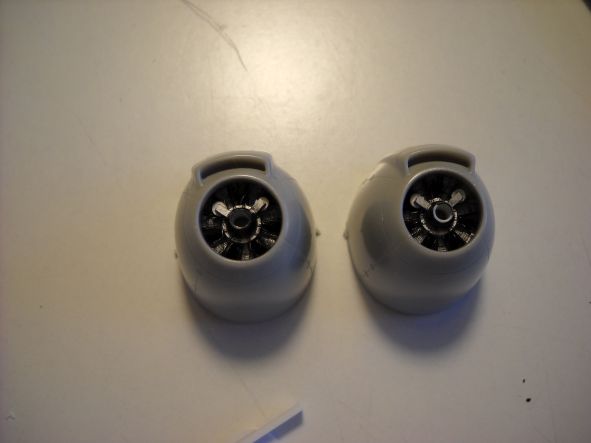
Not really too much "wowing" of: it's only some little add to avoid an empty look.
Now to one of the biggest problem of this build: balancing.
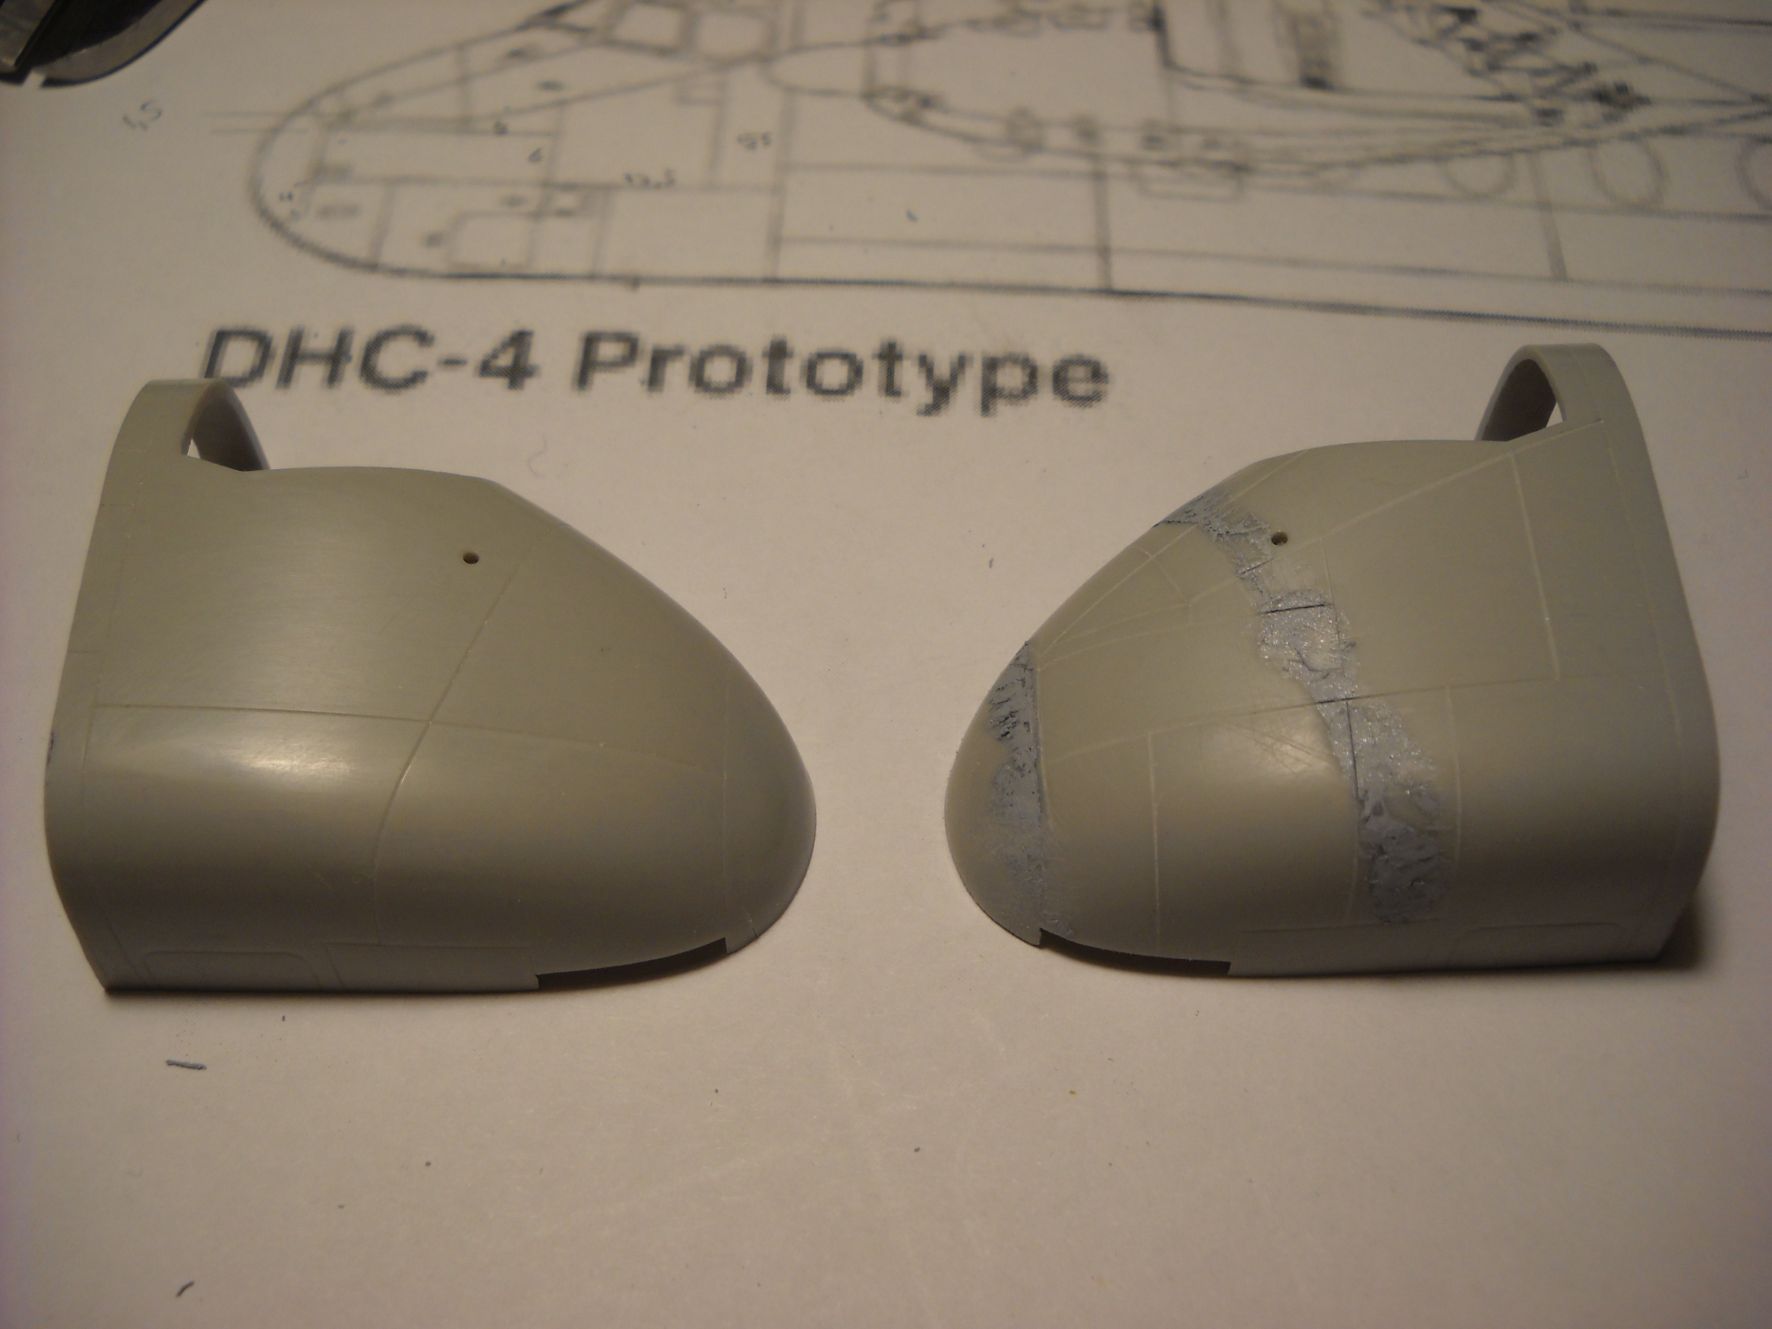
As you know, the prototype had a shorter nose, so the weight of the long tail has to be balanced with a lot of ballast fore of the lifting point.
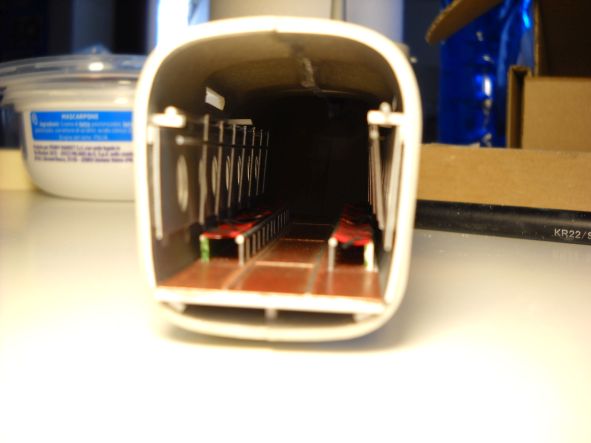
You can see here the smount of lead in the front of the fuselage.
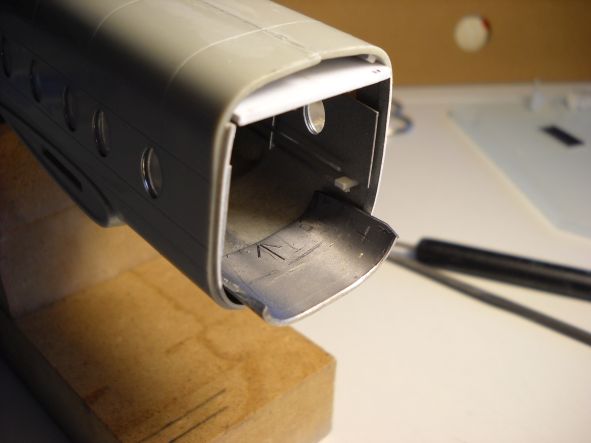
I cut some cardboard template to test how much ballast I can put inside.
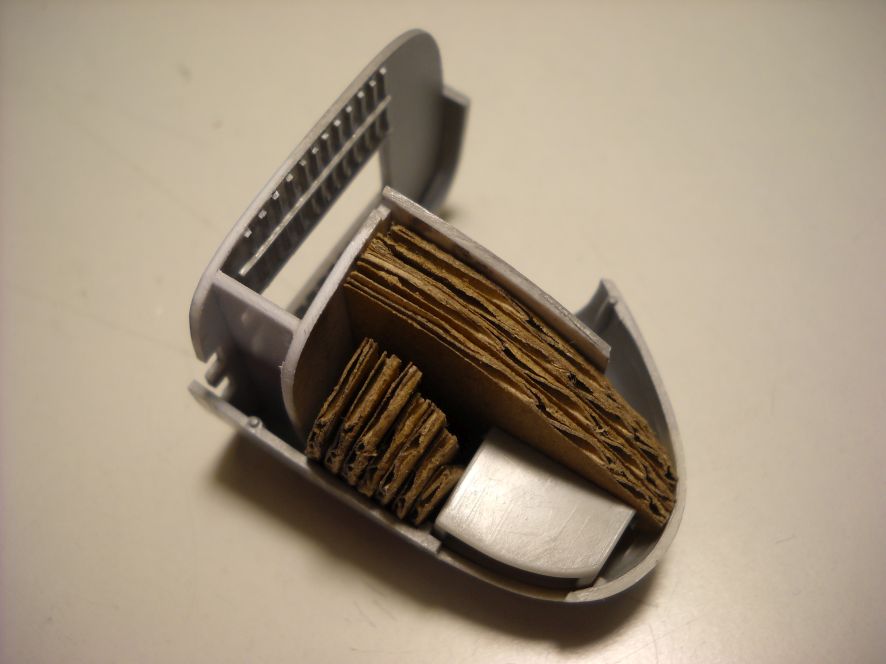
Ballast in position.
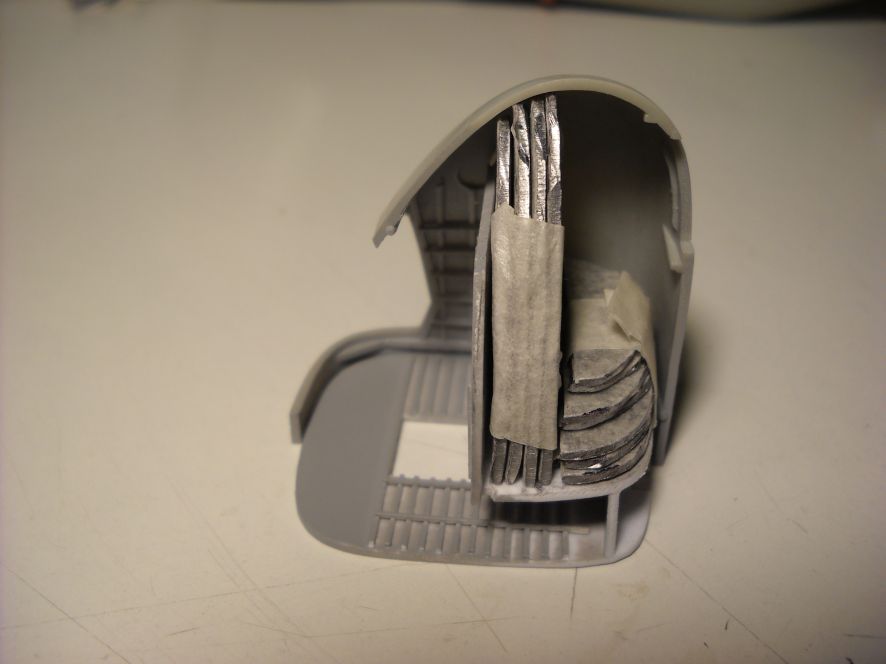
It's incredible but at the end the ballast weight is 50 grams! (oh poor main landing gear).
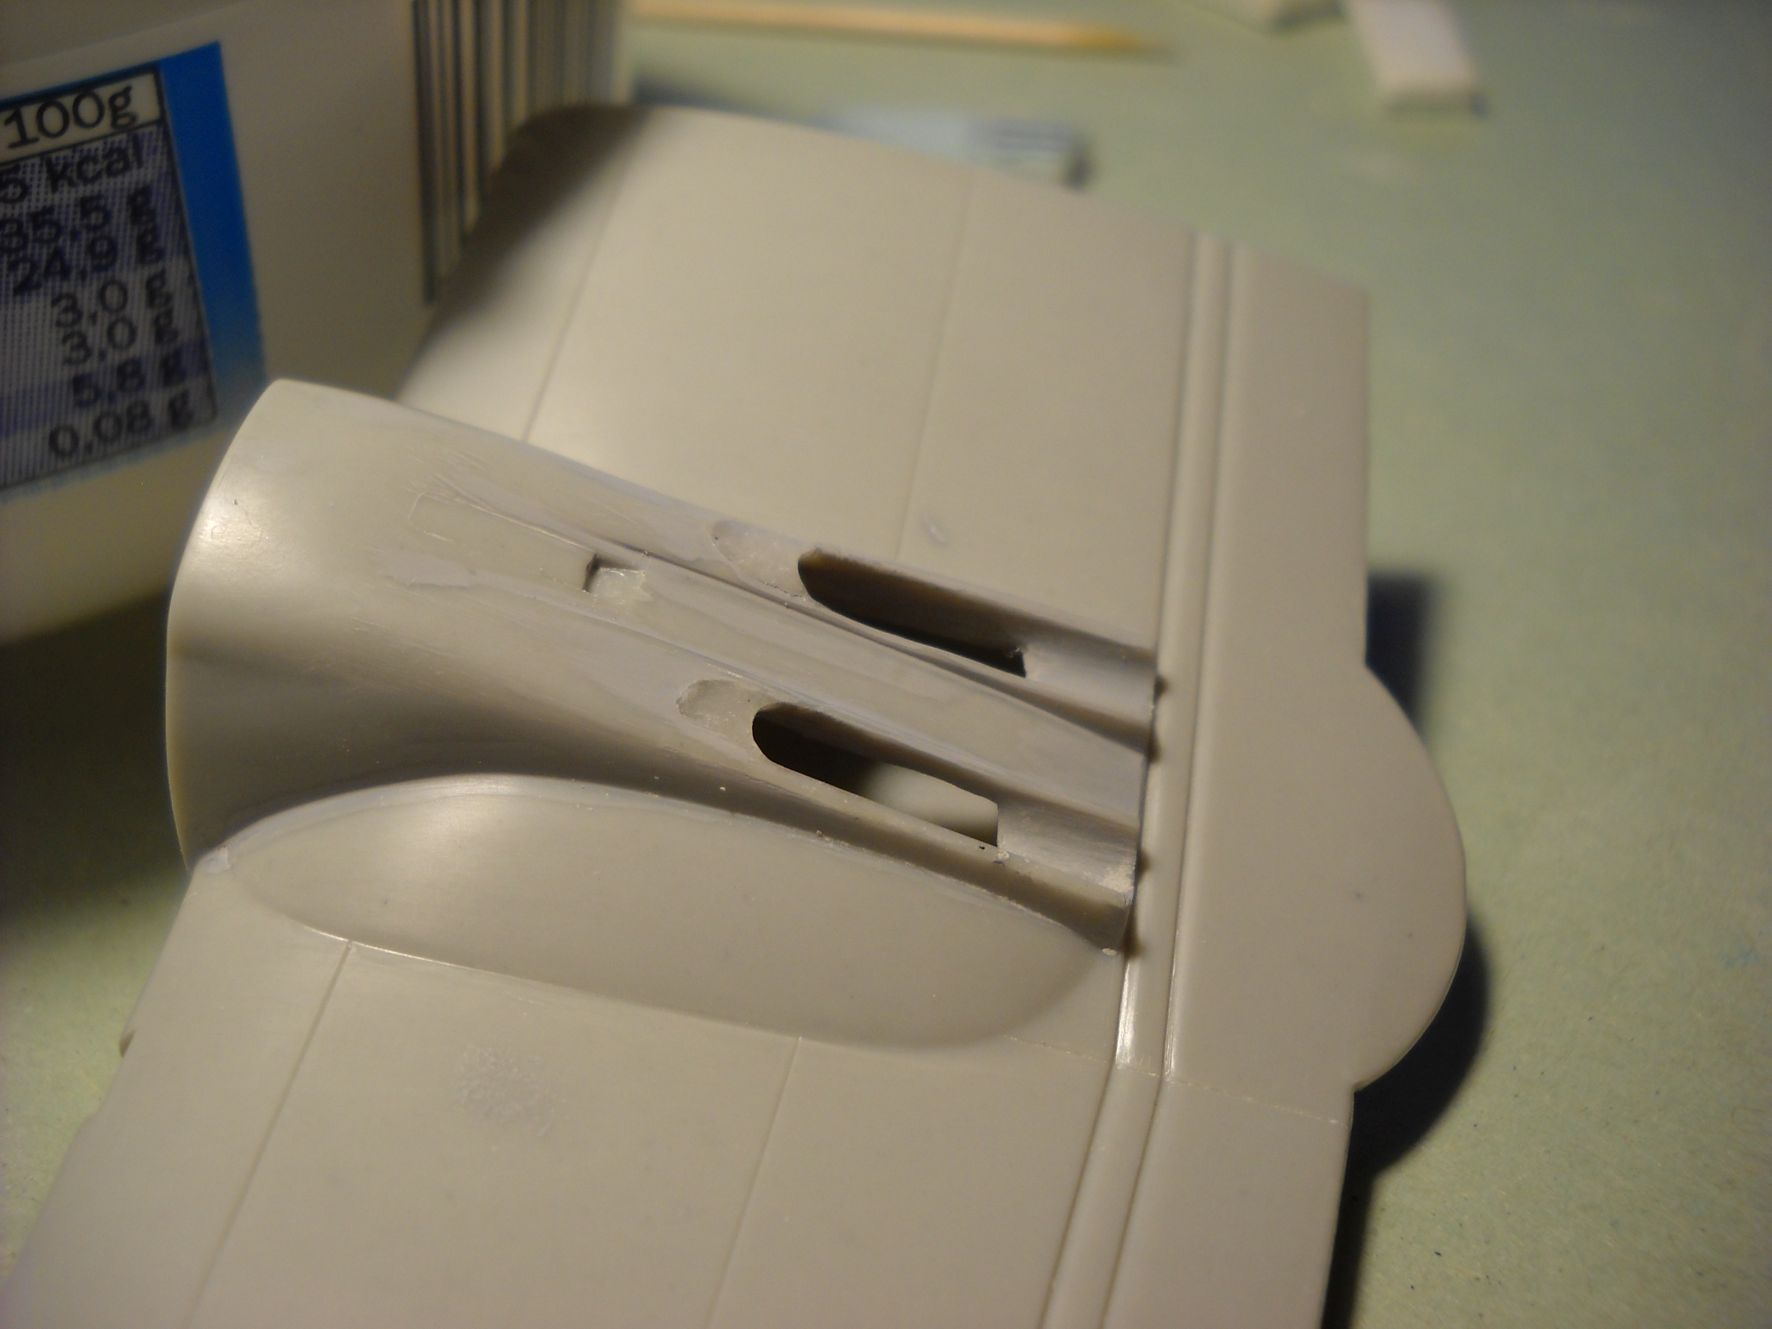
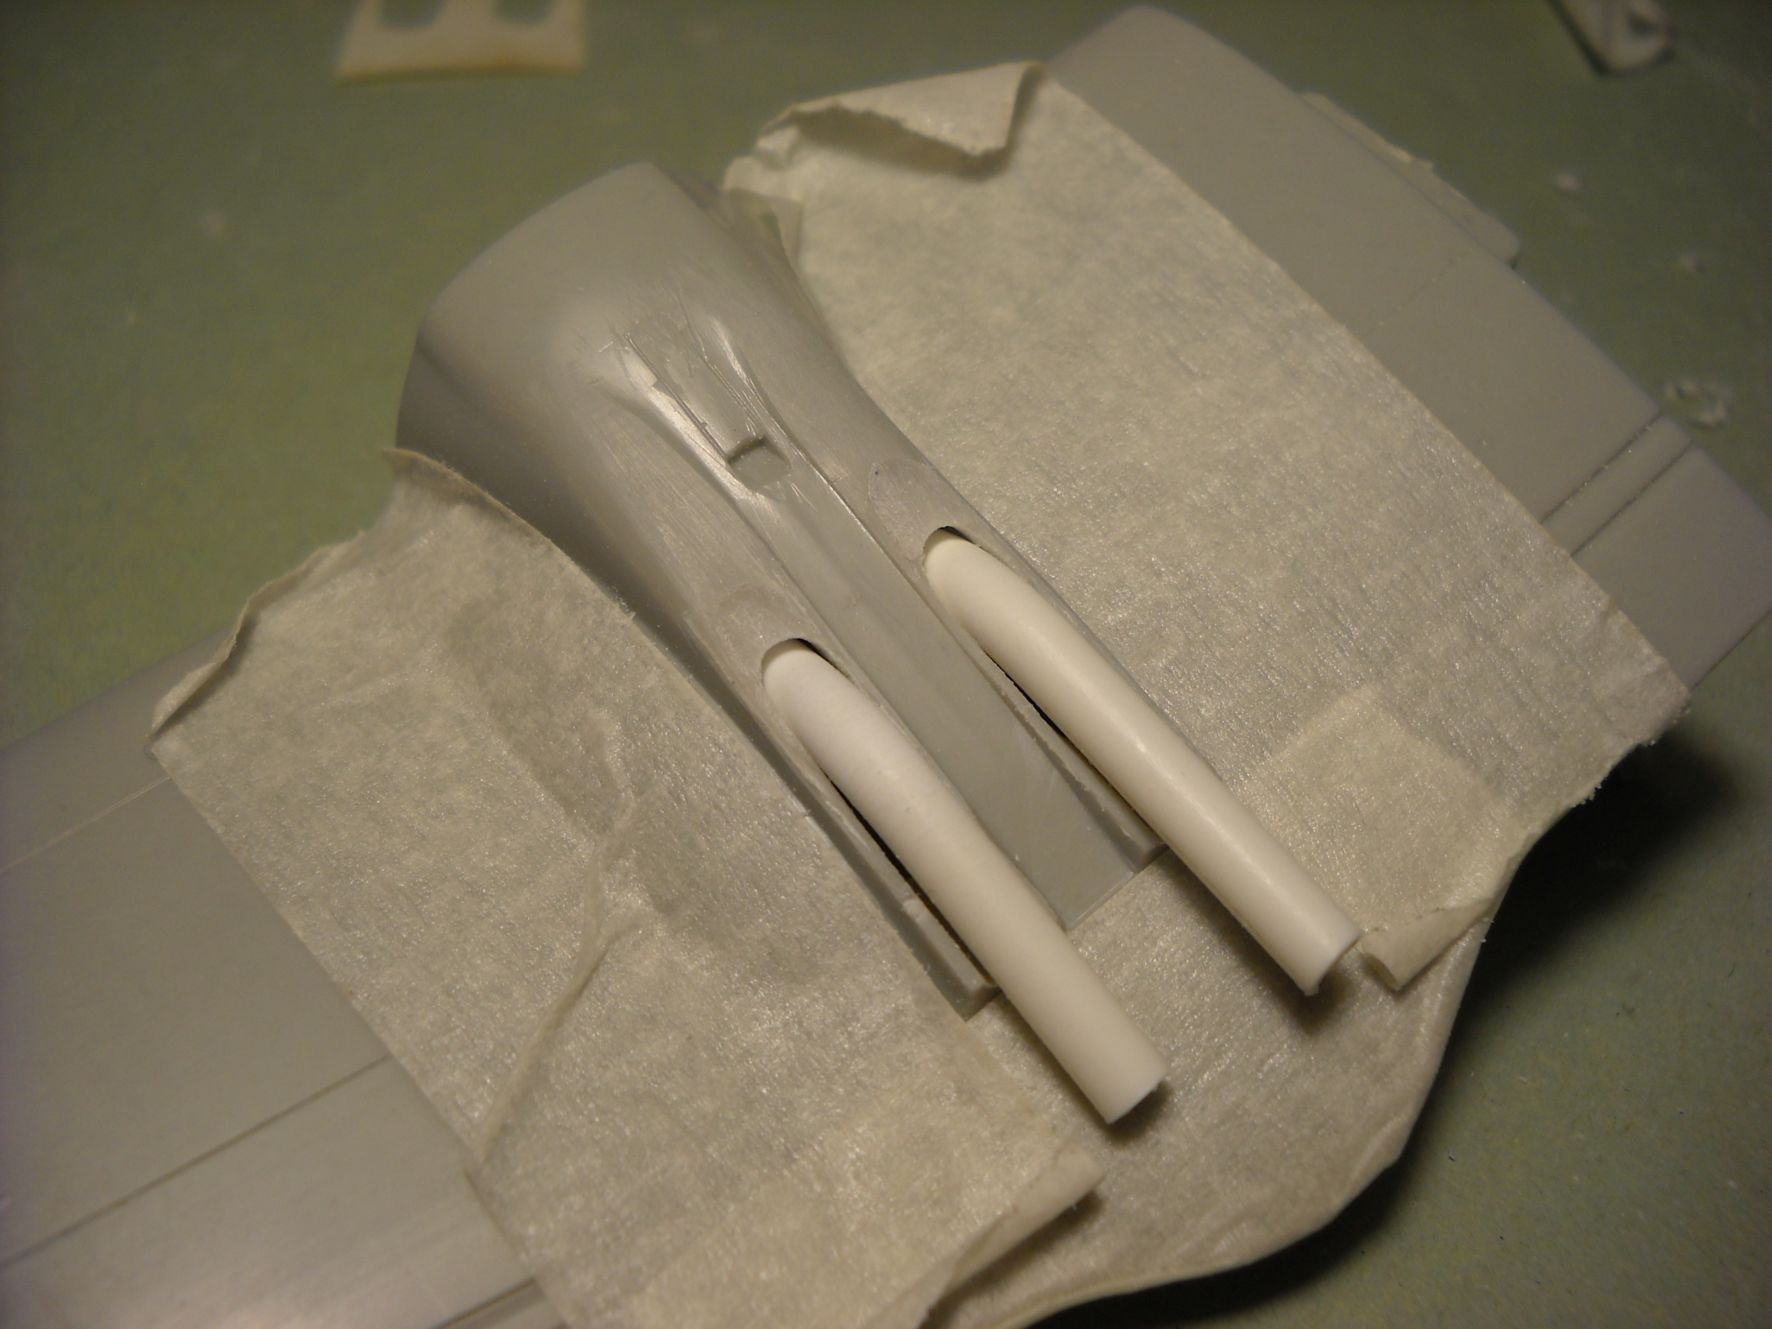
A big issue of the HobbyCraft kit is the incorrect dihedral.
Comparing with some drawings and the pics available on the net, I tried the less invasive surgery to increase the angle.
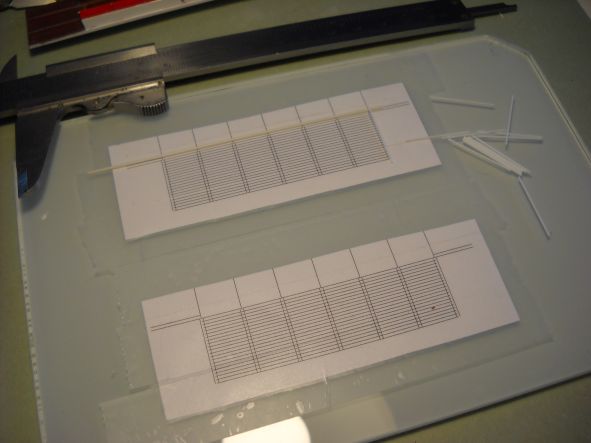
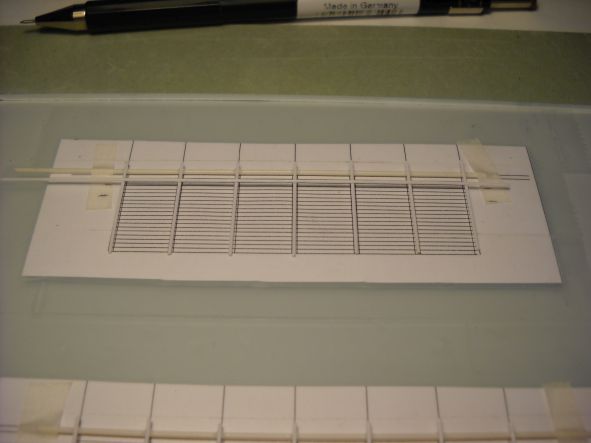
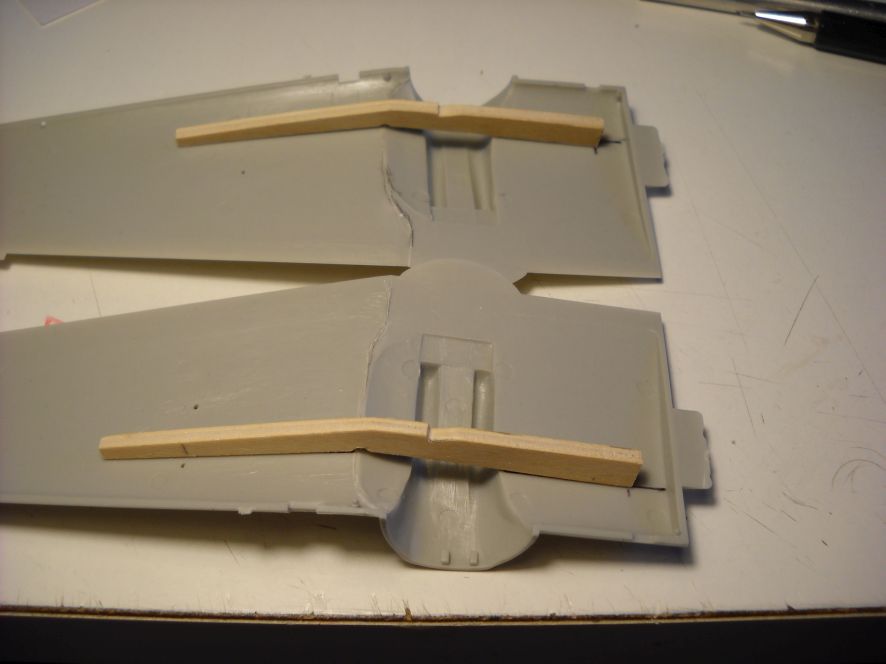
I made two woden spars with the correct angle to be glued inside the upper wing.
The parts, of course, don't match the angle.
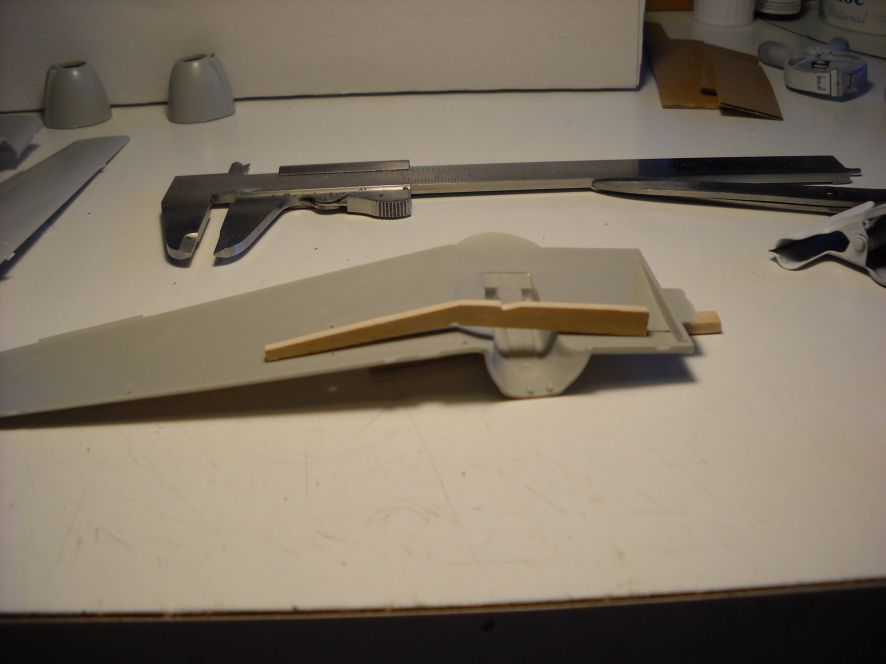
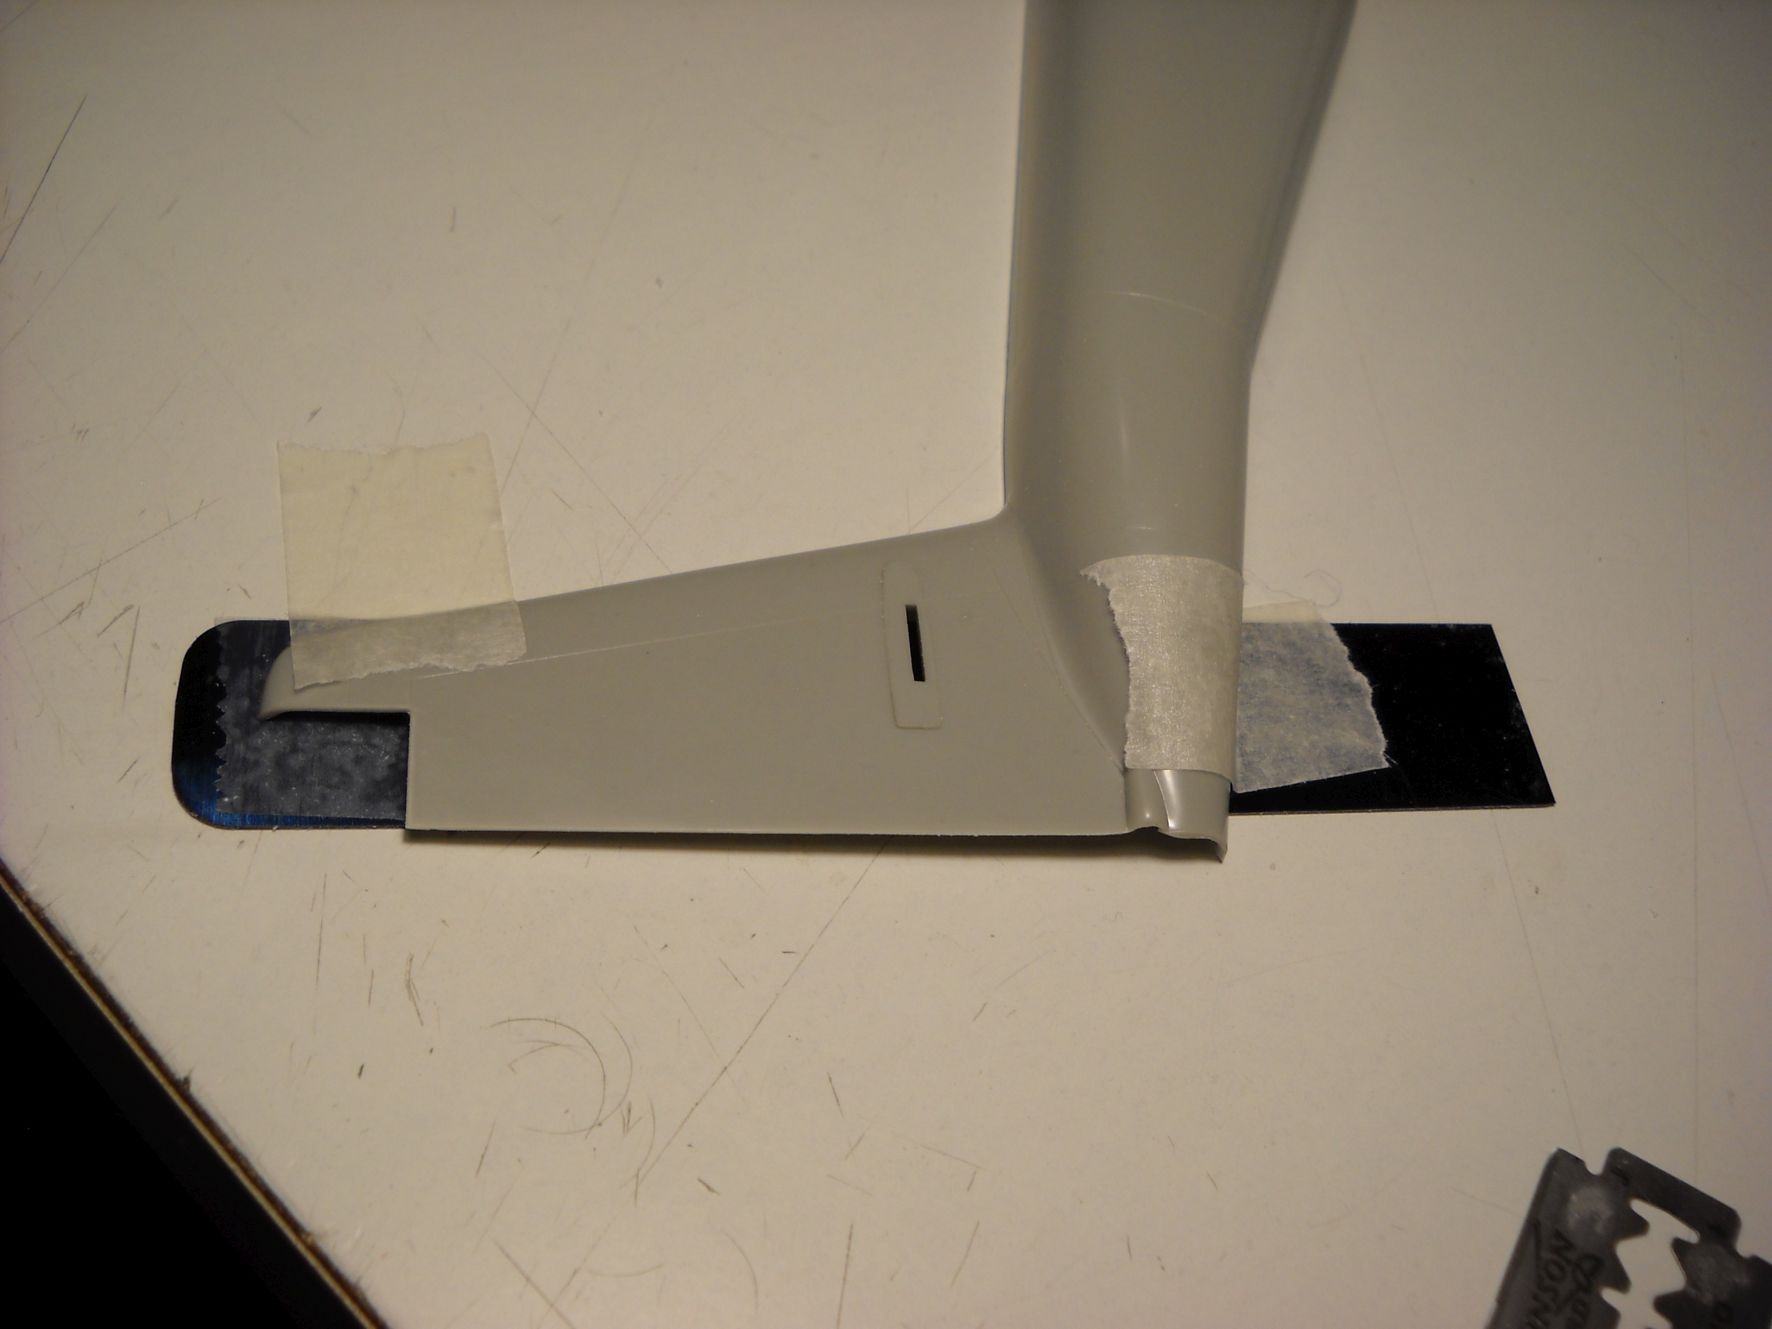
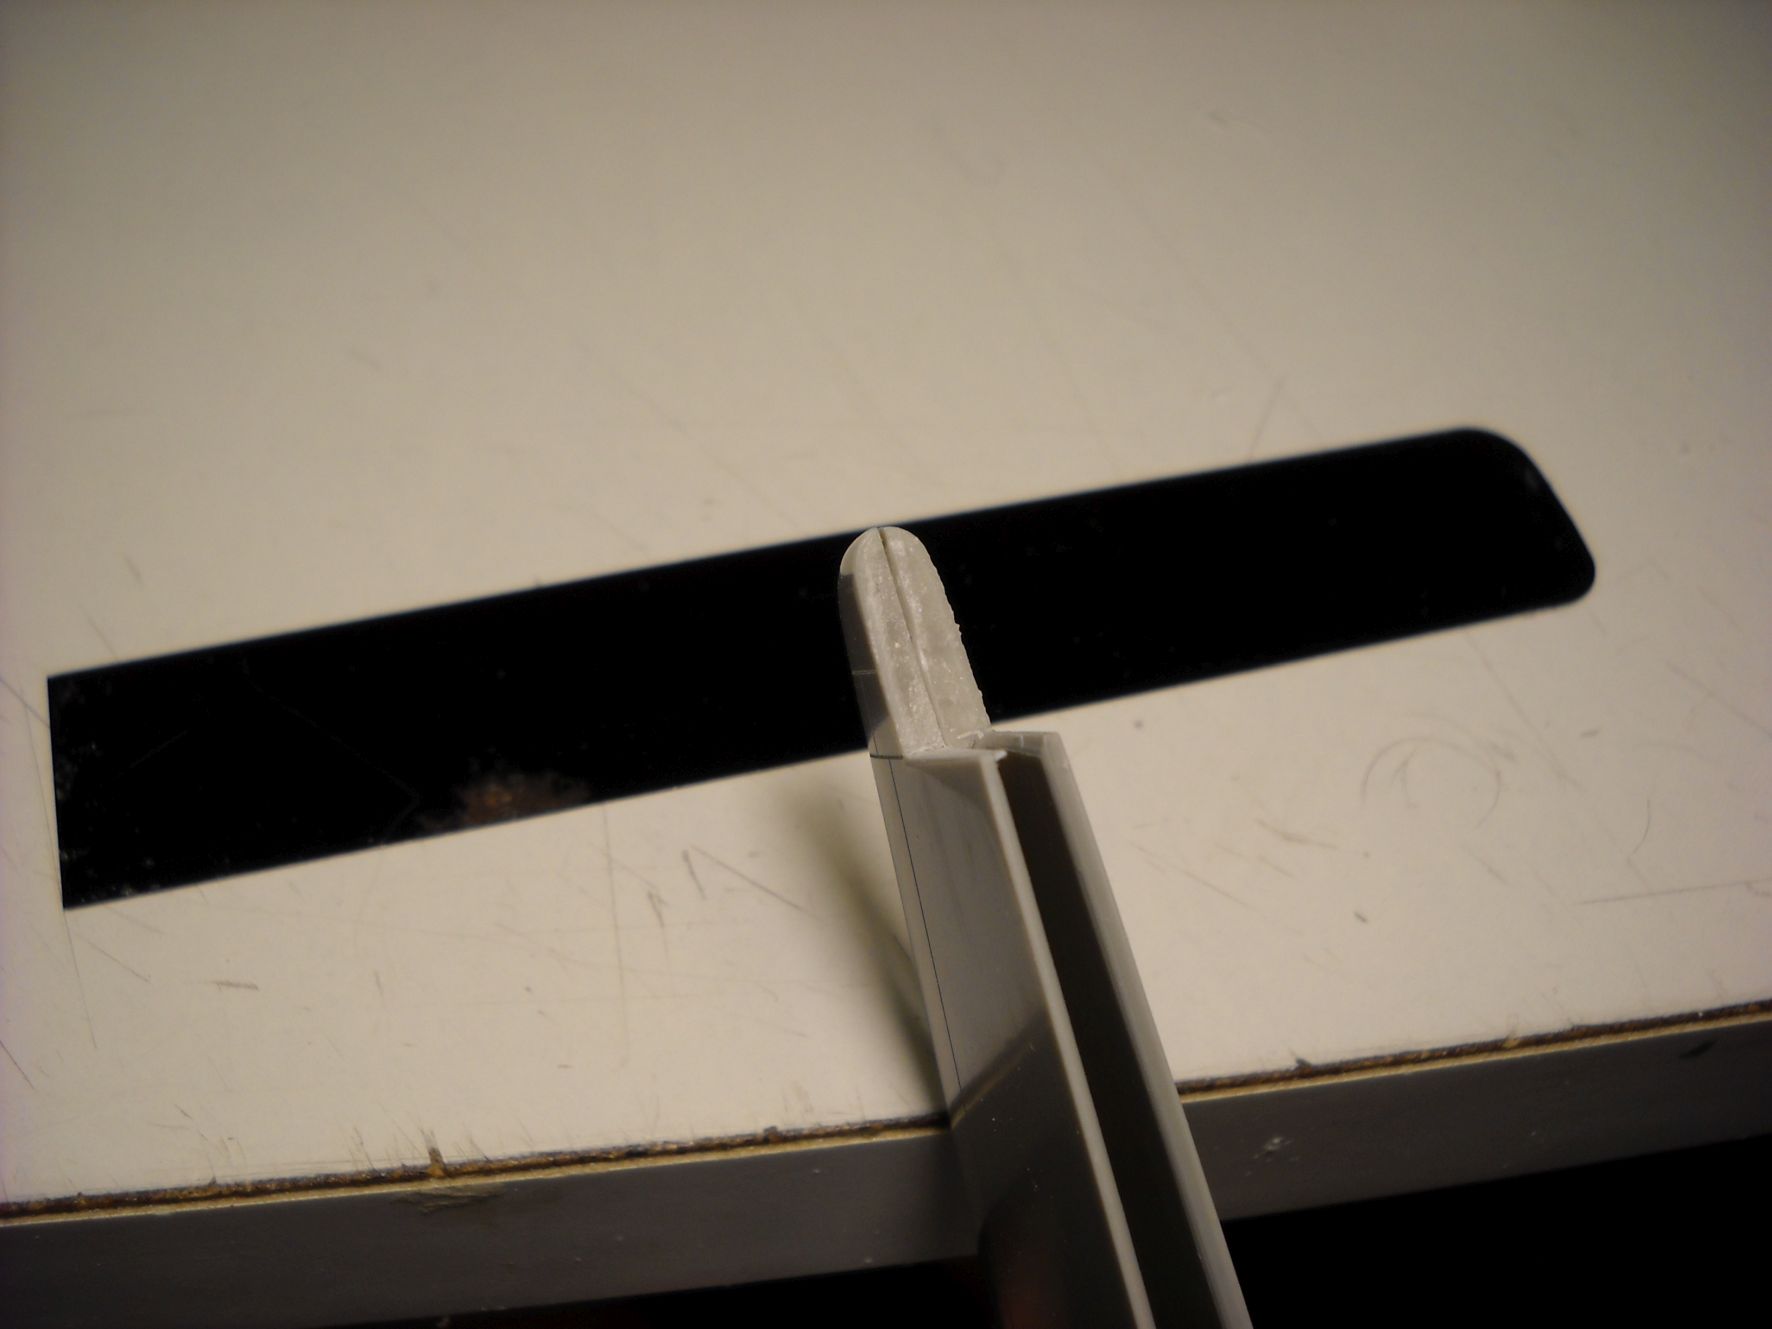
Then I engraved along the outer wing joint, outside of the engine, always in the inner face.
This allowed me to bend the part.
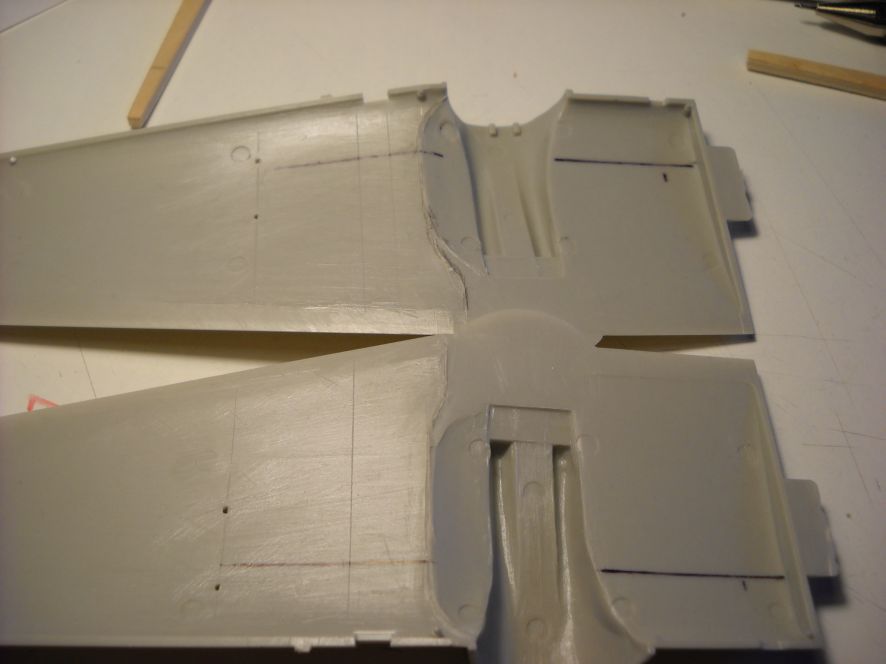
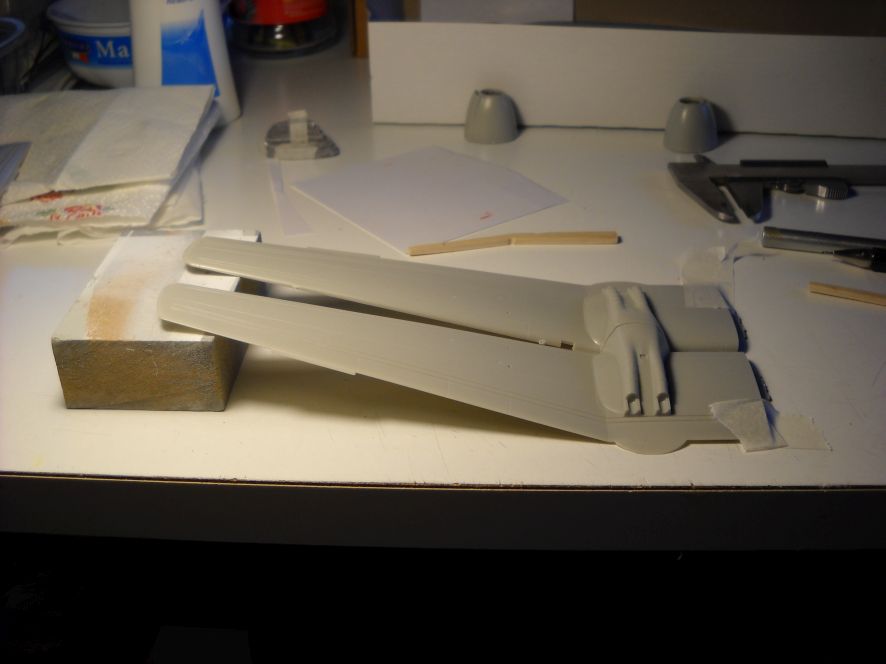
Now on the underside i had to do the same on the external skin, where I thought to insert some plastic to bend the wing.
Surprisingly there was no need to add anything and the part bent by itself, probabely due to the defonmation induced when engraving.
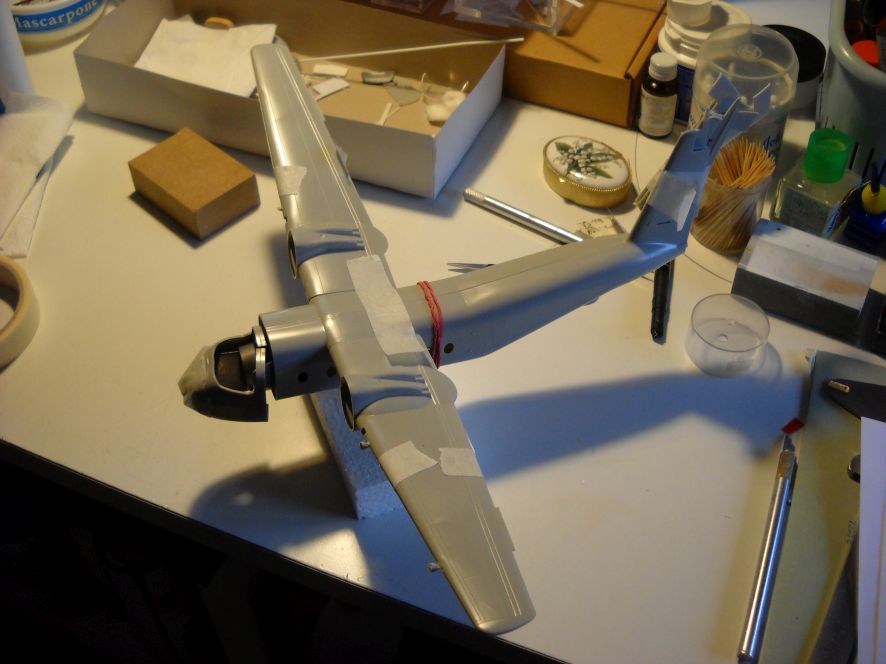
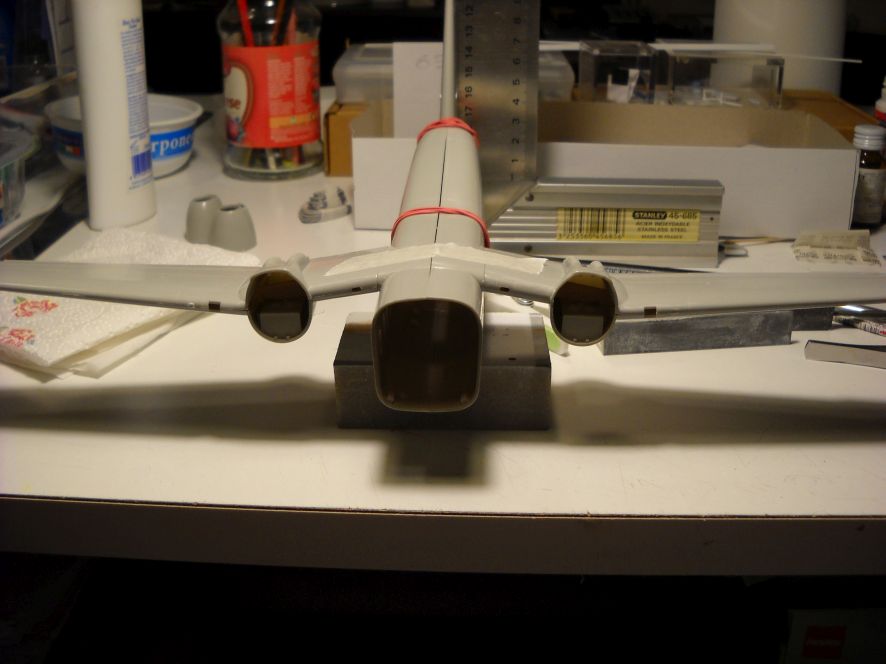
Here the upper and lower sides of the wing glued together and taped to the fuselage: it looks closer to the real thing.
That's it for the week end.
Bye
Eugenio
