Heller B707-338C

Show us what's on the bench

Heller B707-338C

Postby RayS » Tue Mar 12, 2024 5:54 pm

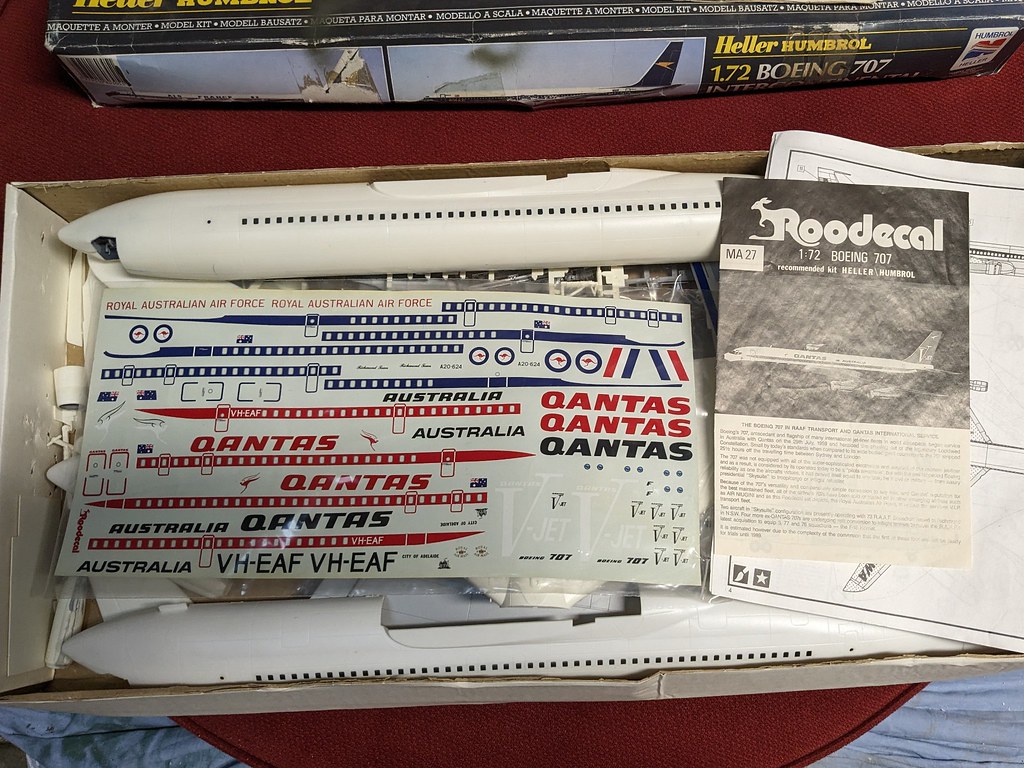
As part of a GB over at BritModeller I am hacking together a Heller 707, well maybe even two

I was given a part started kit some time ago and had an un started one on the same box.

Image
Image

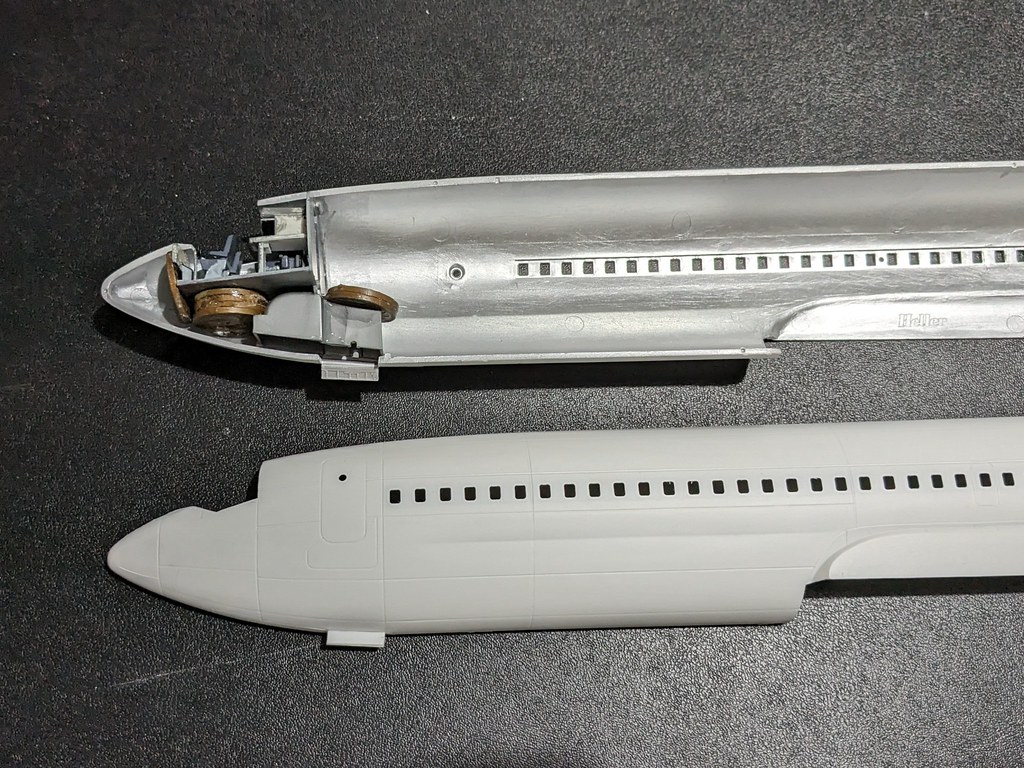
I pulled them out of the box to see the state of the started one.
Image

It is a fair way along though the cockpit windscreen is missing, once the paint and glue dries I will tidy it up and recoat the paint.
Image

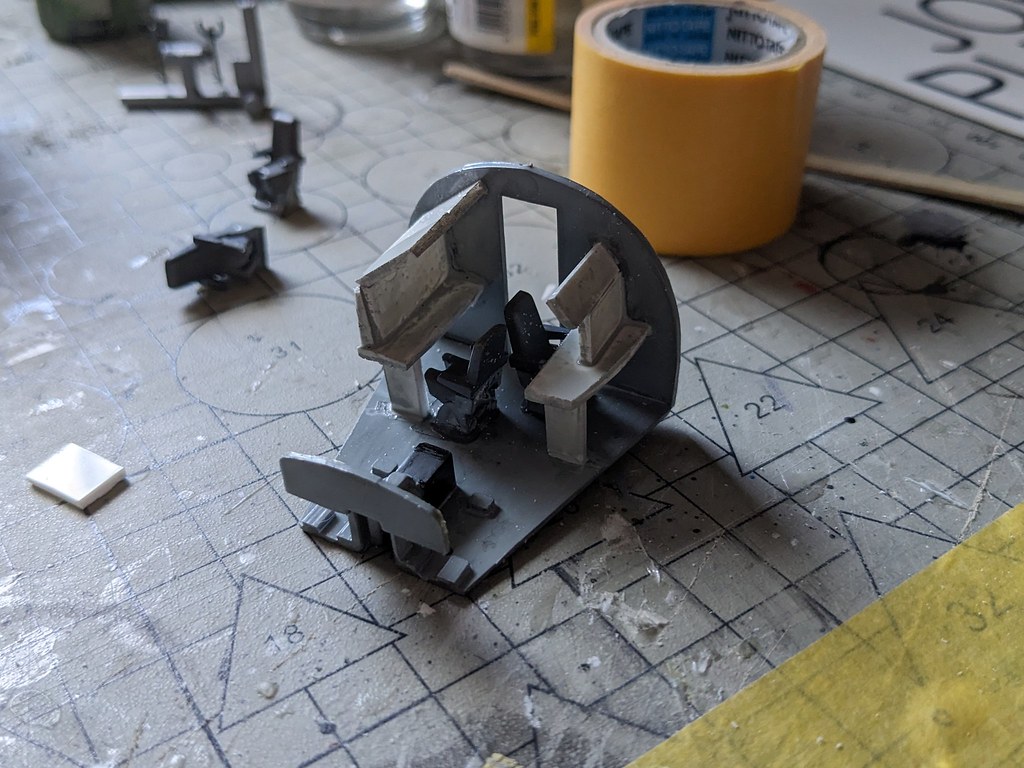
The fuselage interior got a splash of Tamiya silver (it's all I had on hand)
Image

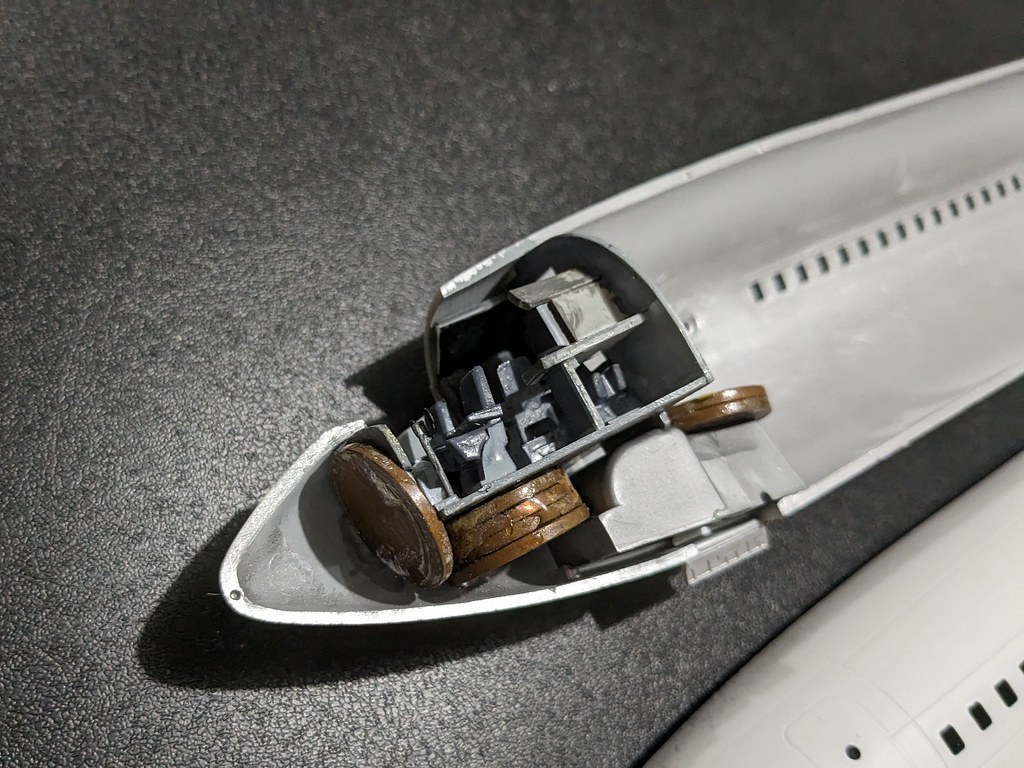
I decided to paint the cockpit walls grey
Image

And there you go, se how we go
Ray

Image
User avatar
RayS
 
Posts: 2198
Joined: Thu Apr 17, 2014 10:24 am
Location: RAdelaide!... YPAD

Re: Heller B707-338C

Postby RayS » Wed Mar 13, 2024 9:44 pm

The cockpit has been finished and installed along with the 35gs of nose weight
Image
Image

I had also primed the fuselage exterior prior to added the cabin window strips, then the fuselage was buttoned up
Image

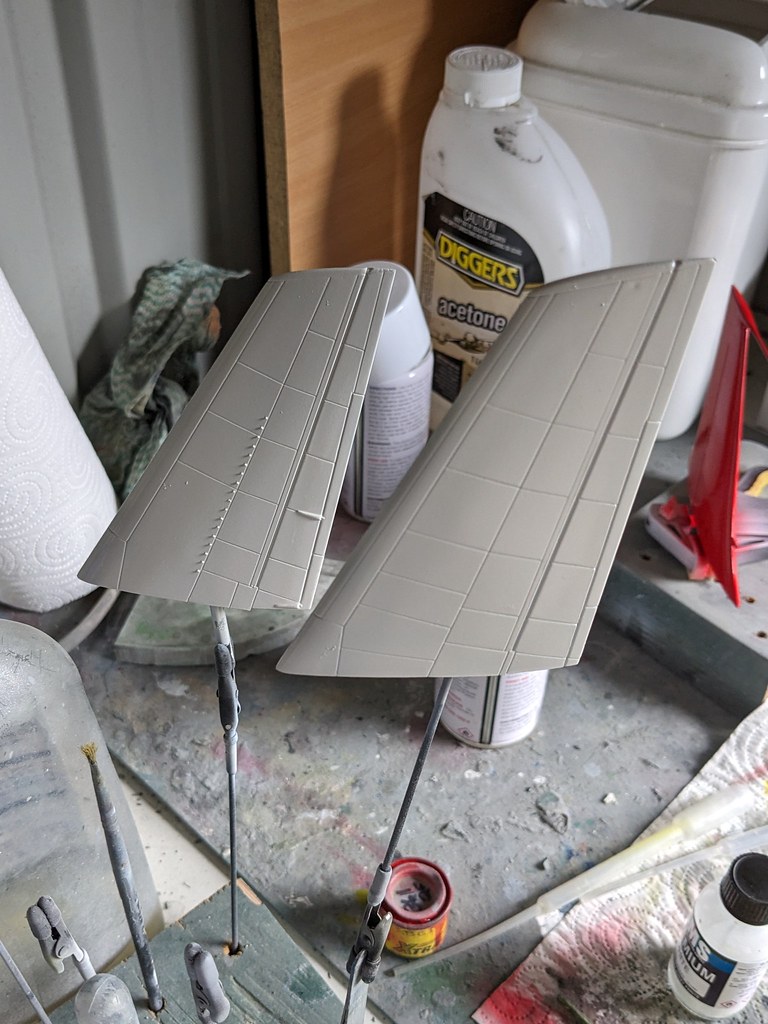
The rear fuselage flying surfaces were assembled
Image
Image

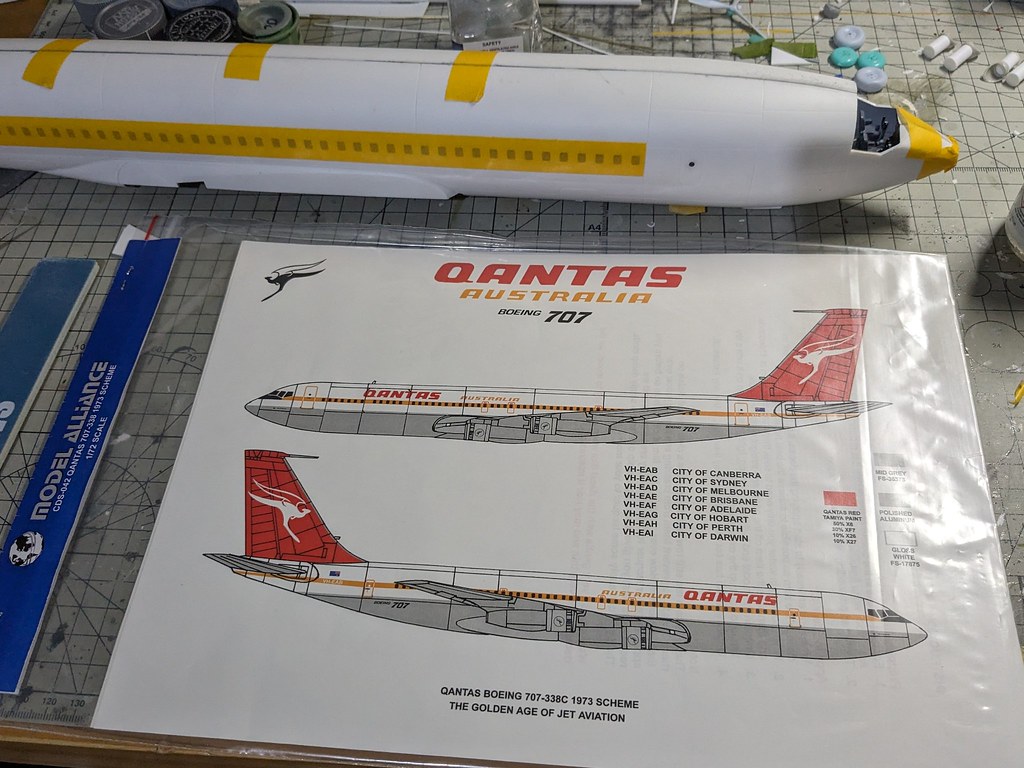
Here are the decals I am using, I will be building City of Canberra (VH-EAB) or City of Adelaide (VH-EAF).
Image
Ray

Image
User avatar
RayS
 
Posts: 2198
Joined: Thu Apr 17, 2014 10:24 am
Location: RAdelaide!... YPAD

Re: Heller B707-338C

Postby hrtpaul » Thu Mar 14, 2024 4:21 pm

Looking good there mate :)
Head A/CAM Phantom Phanatic, Shit Stirrer and Karma Bus Driver toot fkn toot :twisted:
hrtpaul
 
Posts: 4165
Joined: Sat Apr 12, 2014 10:44 am
Location: Like I'm gonna tell you lot

Re: Heller B707-338C

Postby RayS » Fri Mar 15, 2024 5:33 pm

Thanks PUL,

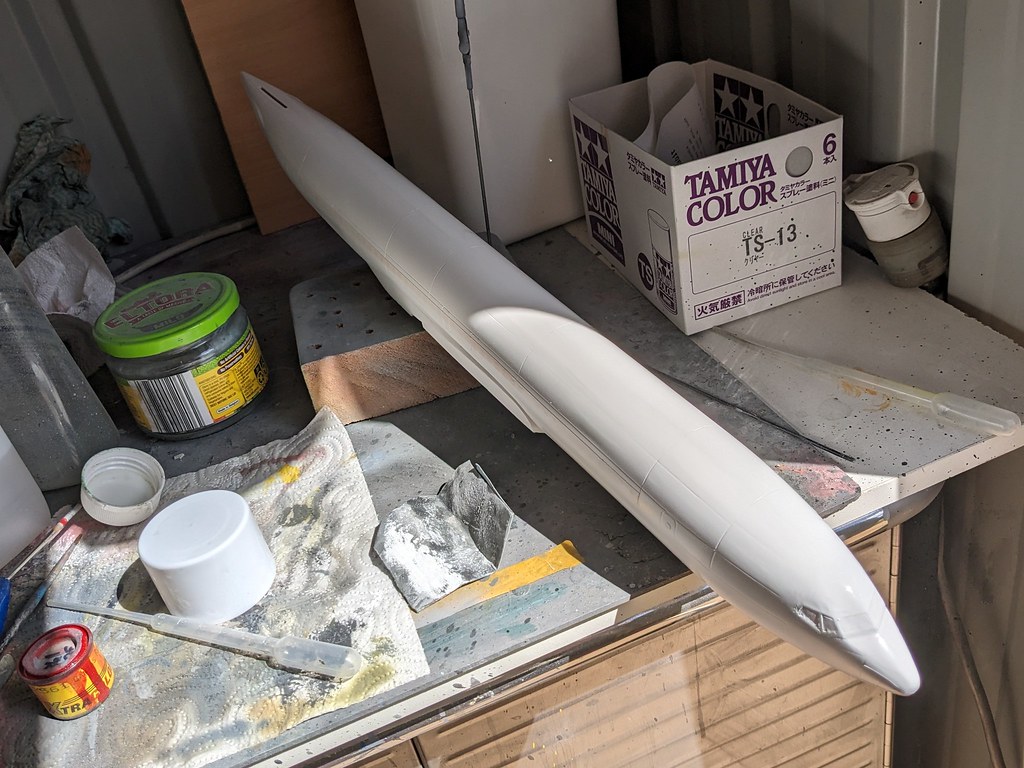
Some MORE progress, the windscreen section was added and masked so I was able to prime the fuselage.
Image

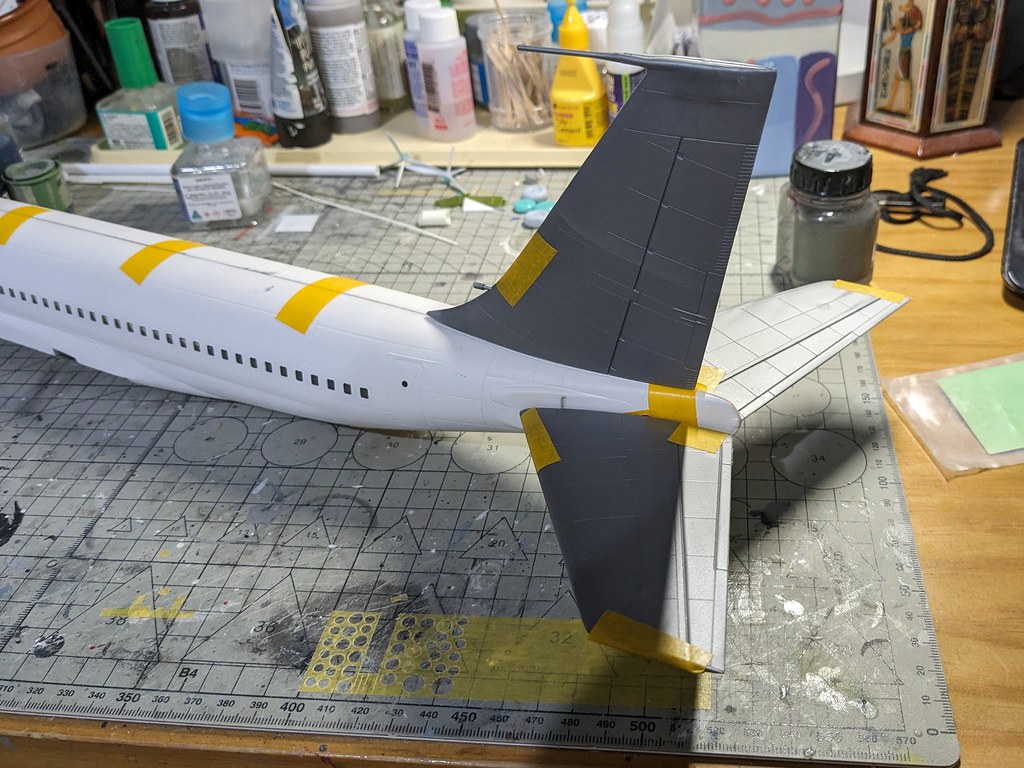
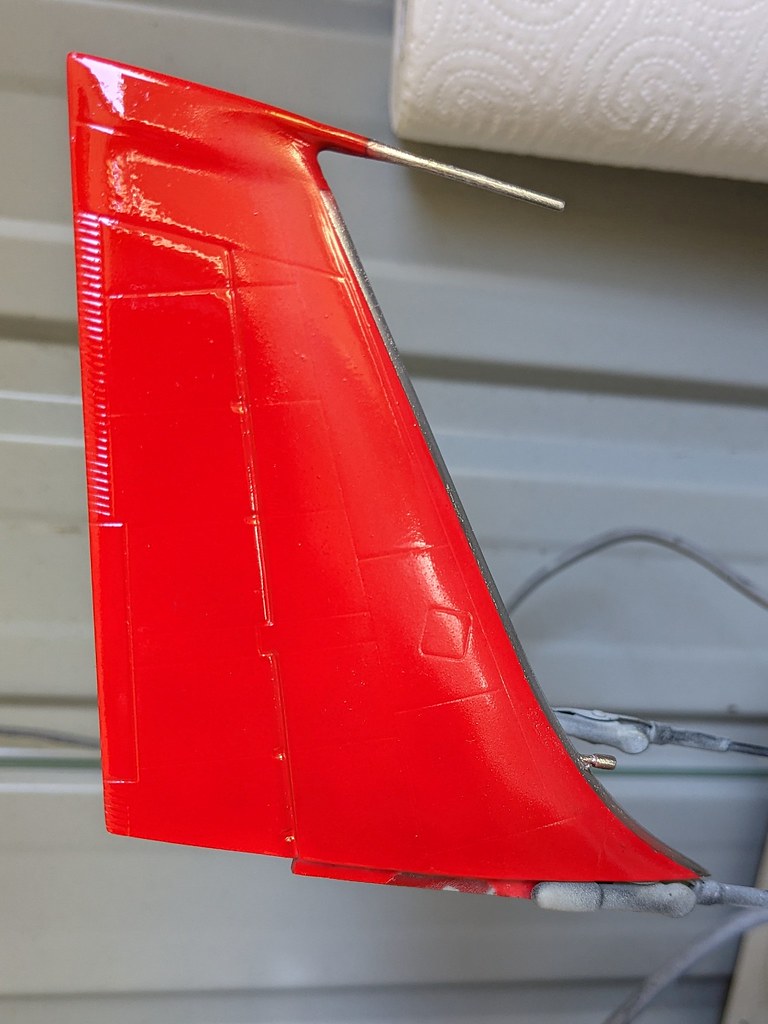
The vertical and horizontal stabs were also painted
Image
Image
Ray

Image
User avatar
RayS
 
Posts: 2198
Joined: Thu Apr 17, 2014 10:24 am
Location: RAdelaide!... YPAD

Re: Heller B707-338C

Postby RayS » Tue Mar 19, 2024 9:44 am

Some remediation required on the window line, QANTAS aircraft are missing the last four windows on the left hand side.

The decal sheet has these windows in situ. I have notified Mr Hawkeye of the required change to his decal sheet. Fortunately there is spare cheat line decal included to enable me to blank them out. So out with the filler to remove them.

Image
Ray

Image
User avatar
RayS
 
Posts: 2198
Joined: Thu Apr 17, 2014 10:24 am
Location: RAdelaide!... YPAD

Re: Heller B707-338C

Postby hrtpaul » Tue Mar 19, 2024 2:21 pm

Coming along very nicely there mate :)
Head A/CAM Phantom Phanatic, Shit Stirrer and Karma Bus Driver toot fkn toot :twisted:
hrtpaul
 
Posts: 4165
Joined: Sat Apr 12, 2014 10:44 am
Location: Like I'm gonna tell you lot

Re: Heller B707-338C

Postby RayS » Thu Mar 21, 2024 9:39 pm

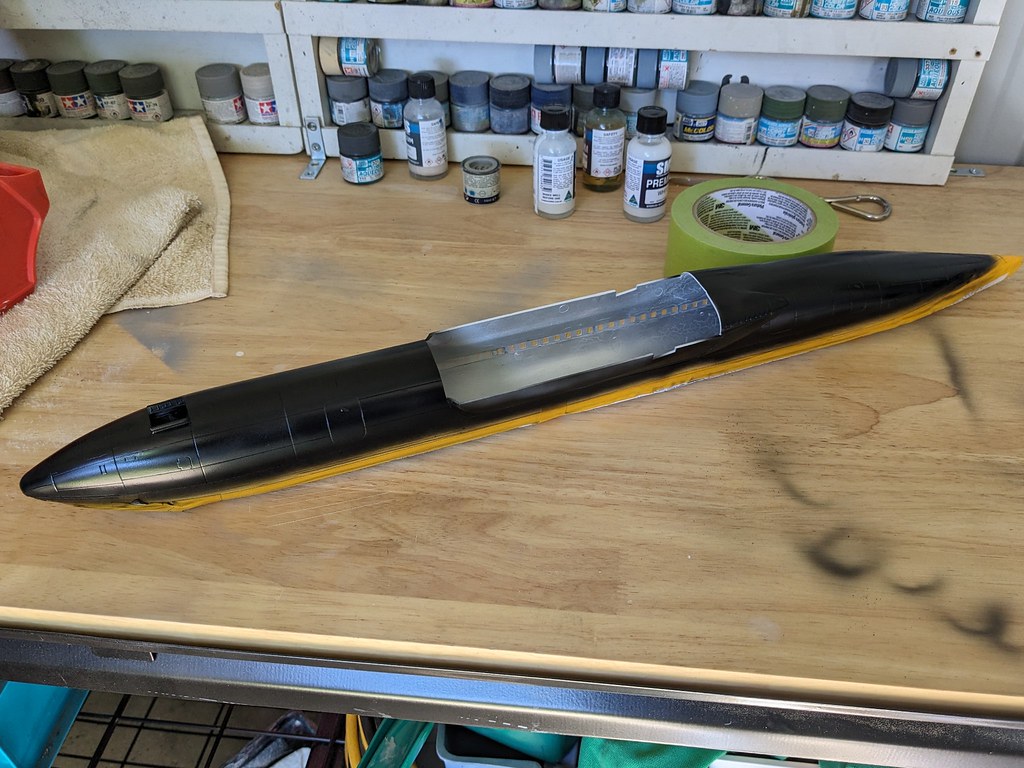
Filling of the cabin windows done, masked and lower fuselage sprayed black prior to the aluminium going on
Image

The vertical stab was masked and the leading edge painted
Image

With the fuselage work mostly done it was time to attack the wings. I added a shim between the inboard and outboard lower wing sections and tidied the join up. The other side to be done next.
Image

The aluminium added over the black along with a couple of spots of Boeing grey on the radome and lower fuselage
Image
Ray

Image
User avatar
RayS
 
Posts: 2198
Joined: Thu Apr 17, 2014 10:24 am
Location: RAdelaide!... YPAD

Re: Heller B707-338C

Postby Uros » Mon Mar 25, 2024 3:23 am

Avesome work Ray! You're fast with this build.
Cheers!
Uros
User avatar
Uros
 
Posts: 450
Joined: Mon Aug 14, 2017 6:25 pm
Location: Slovenia

Re: Heller B707-338C

Postby tor lives » Fri Mar 29, 2024 5:09 pm

Great subject and great progress young Ray......lovin it!!!!
TOR
tor lives
 
Posts: 4277
Joined: Mon Apr 14, 2014 11:01 am

Re: Heller B707-338C

Postby RayS » Thu Apr 11, 2024 6:52 pm

Slowly getting time on this after the C-130 has been finished.

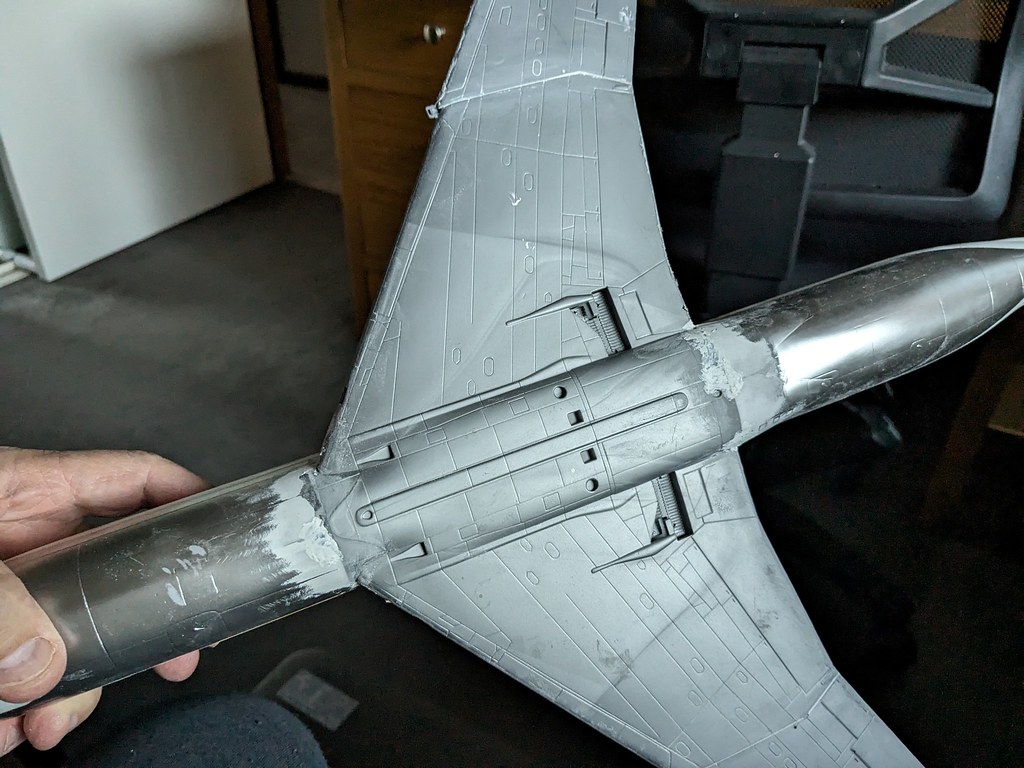
I tried something different attaching the wings, I added the upper pieces first.
Image

It did not work to plan and I made a filling nightmare when one upper wing came off while adding the lower wing. Anyway the wing is attached and the filling and sanding has begun.
Image
Image

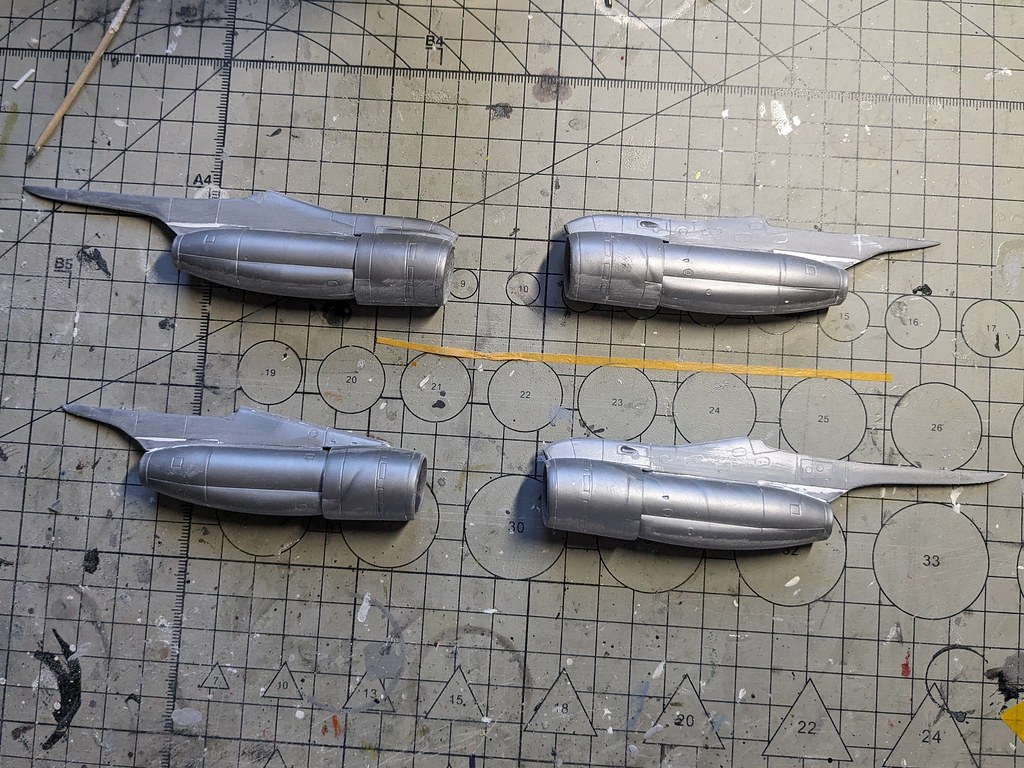
The engines have been assembled and filling and sanding completed.
Image
Ray

Image
User avatar
RayS
 
Posts: 2198
Joined: Thu Apr 17, 2014 10:24 am
Location: RAdelaide!... YPAD

Next

Return to Member's Works in Progress

Who is online

Users browsing this forum: No registered users and 15 guests

cron