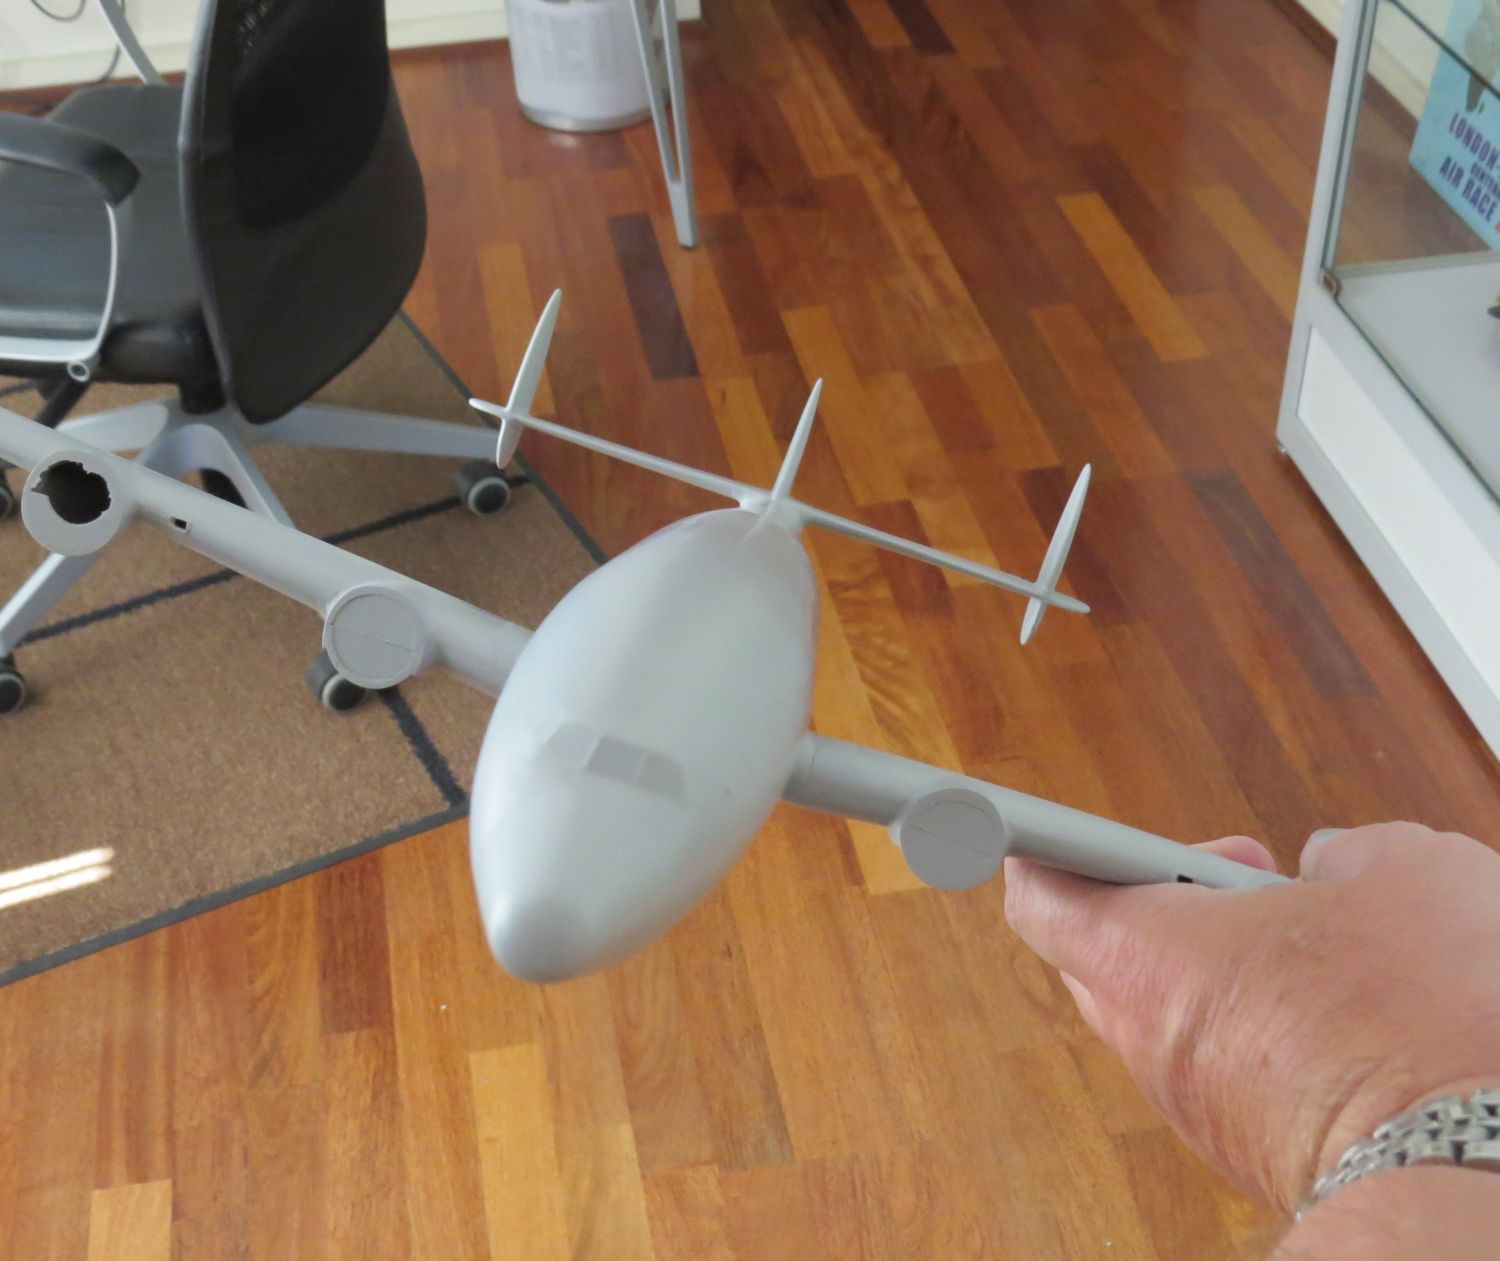
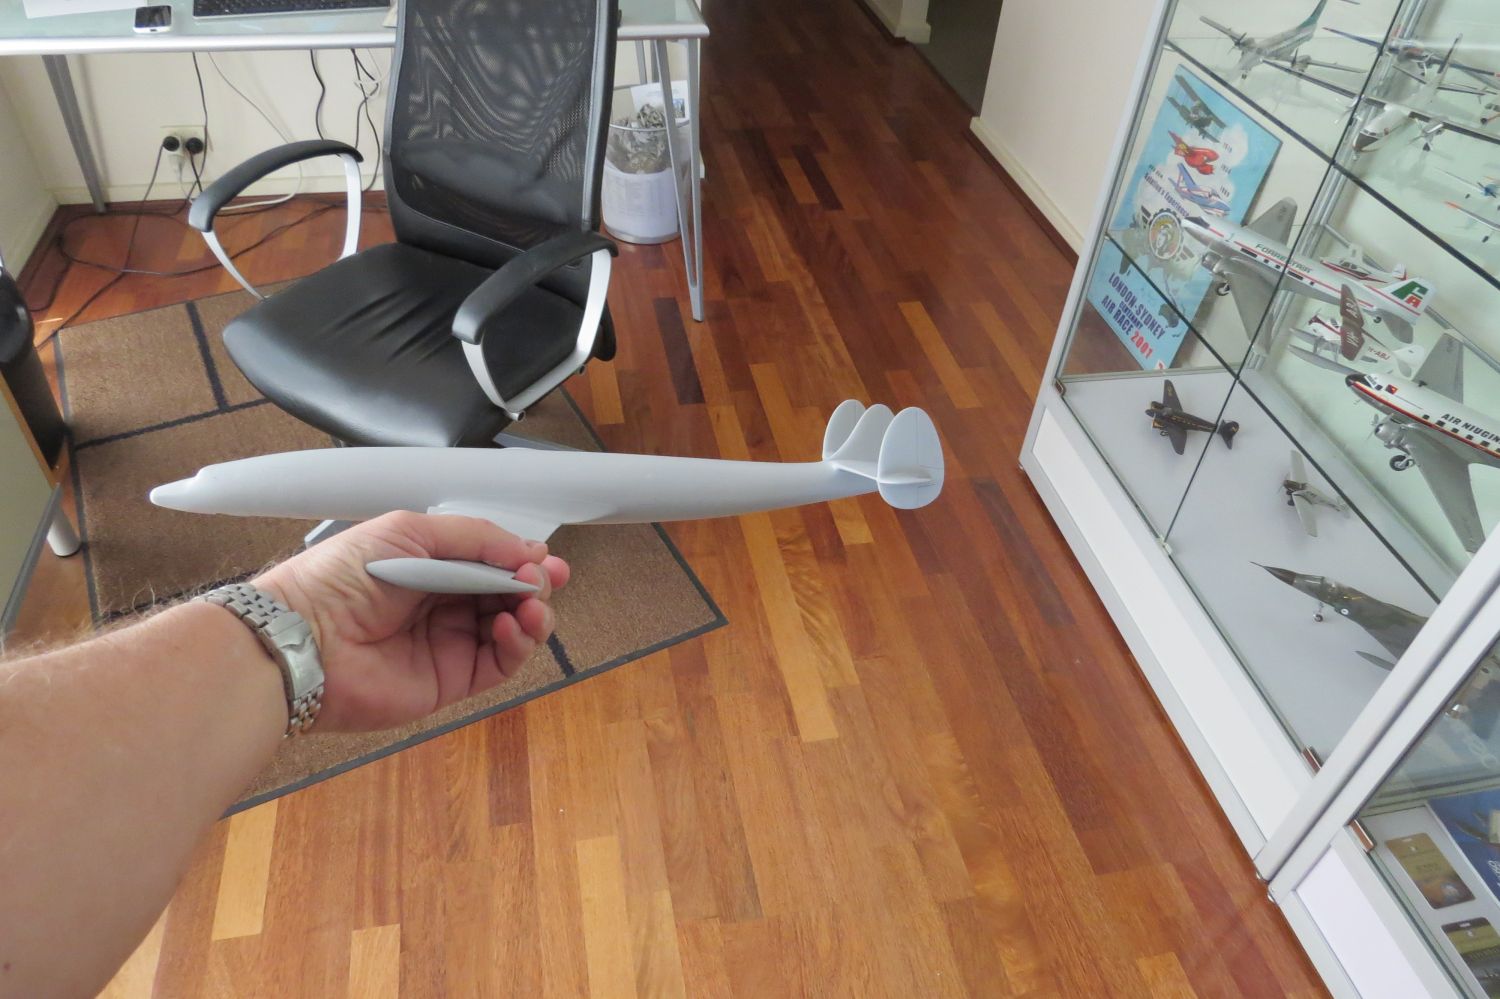
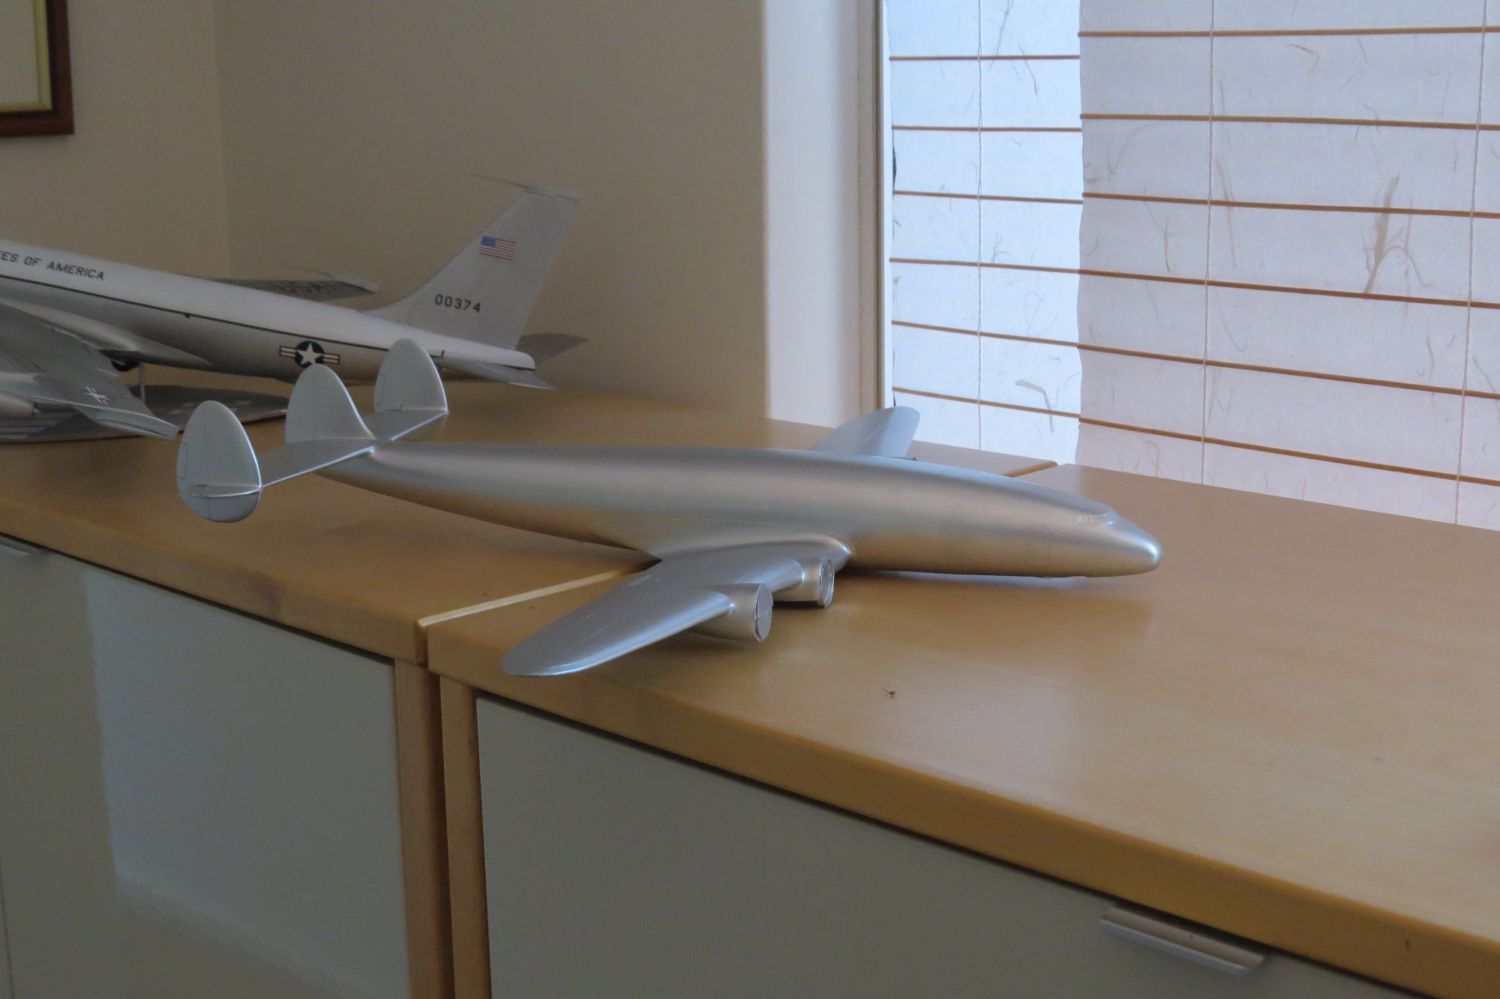
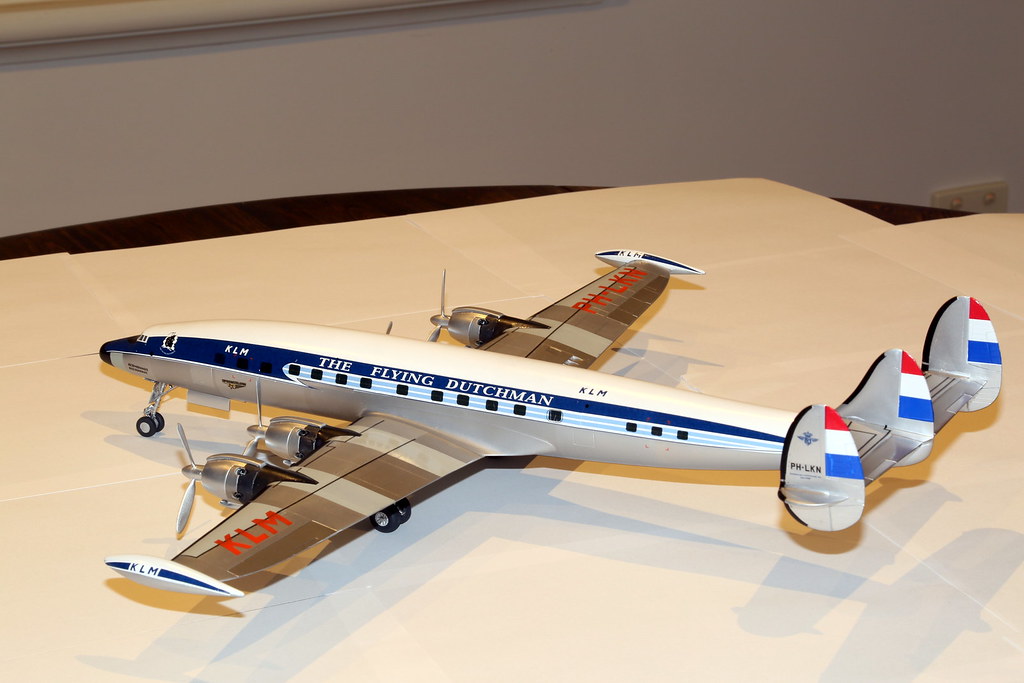
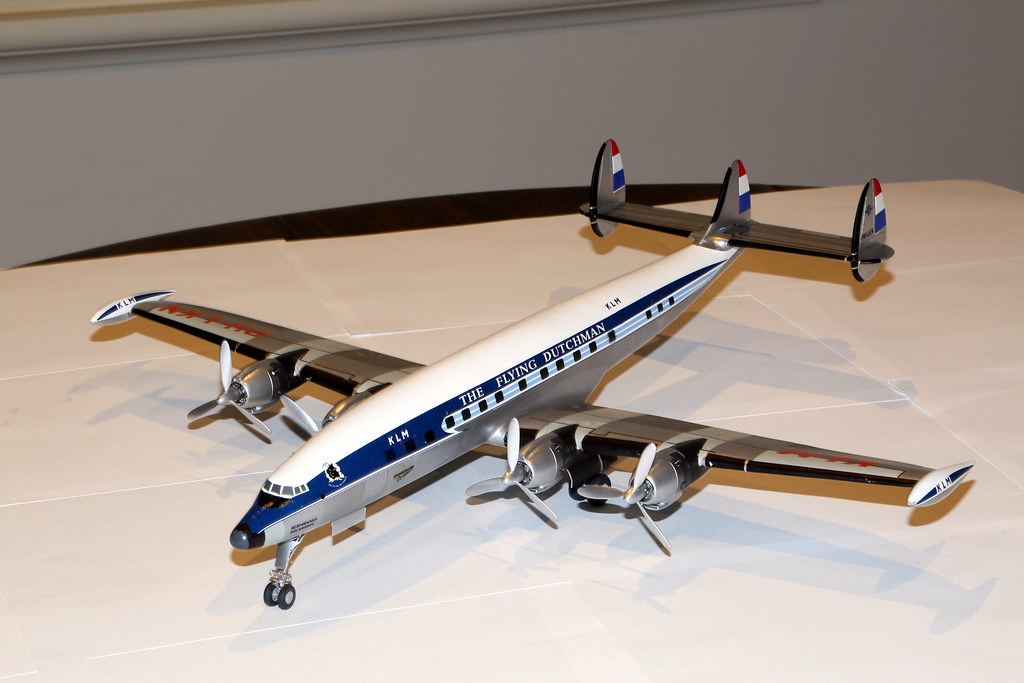
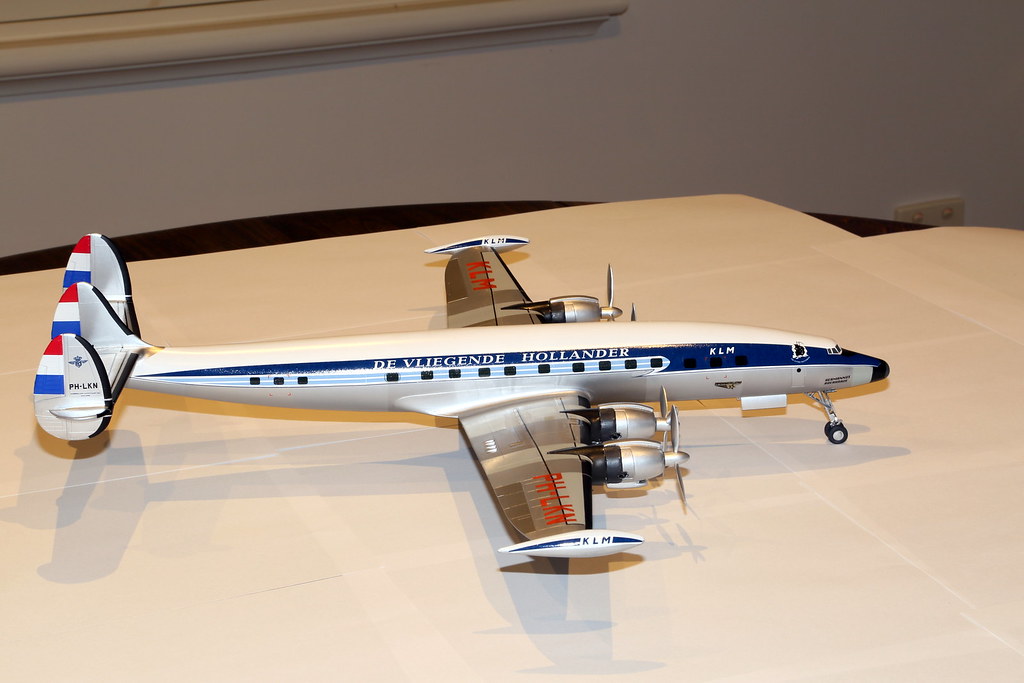
Now the 749 kit was not too bad to put together, but the 1049 with the longer fuselage was a bit of a beast to put together. trying to get the fuselage halves together with a minimum step along the join was almost impossible, the thin plastic left me doubting the strength of the seams so I doubled the join internally with with thin plastic card, I could use the fuselage like a baseball bat now (esp with the ton of lead in the nose!). Now, because of the small central fin I did not notice that there was a subtle twist to the fuselage.. this only became evident to me when it was time to glue the empennage on, as I was holding the set squares up while the glue was setting this is what I saw:
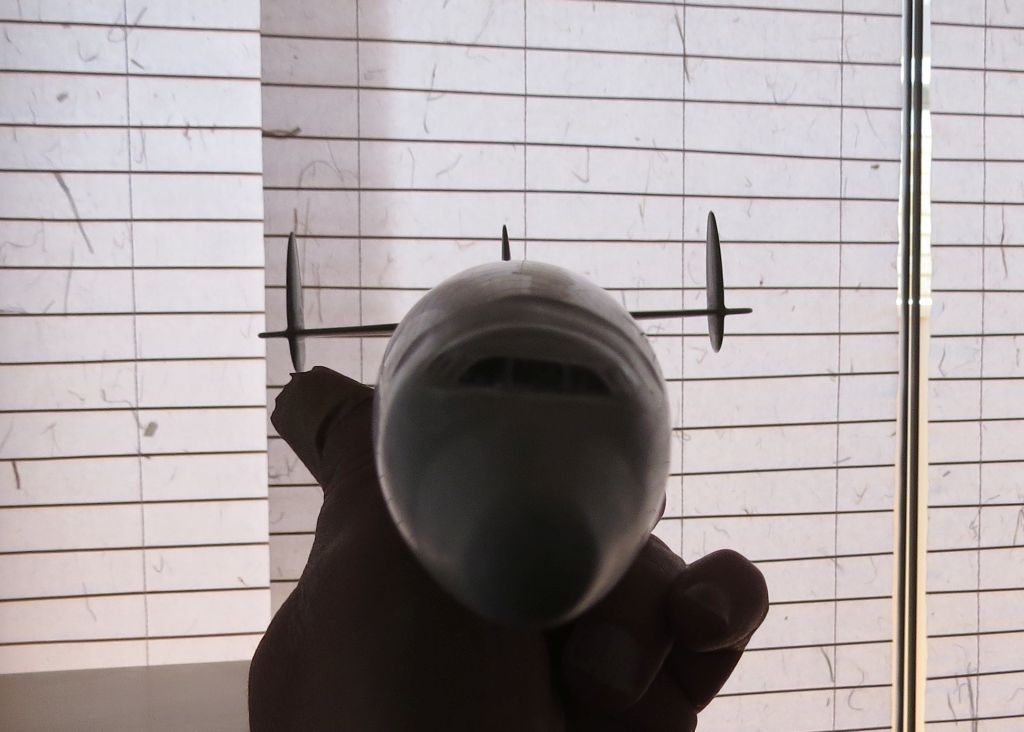
The empennage was about 5 degrees twisted to one side!.. I pondered as to how I was gonna fix this now bin-able abomination, I toyed briefly (a nano-second) with splitting the doubled fuselage seam and trying to take the twist out but rejected it as too hard too damaging and no guarantee of success.. so on to plan 2:
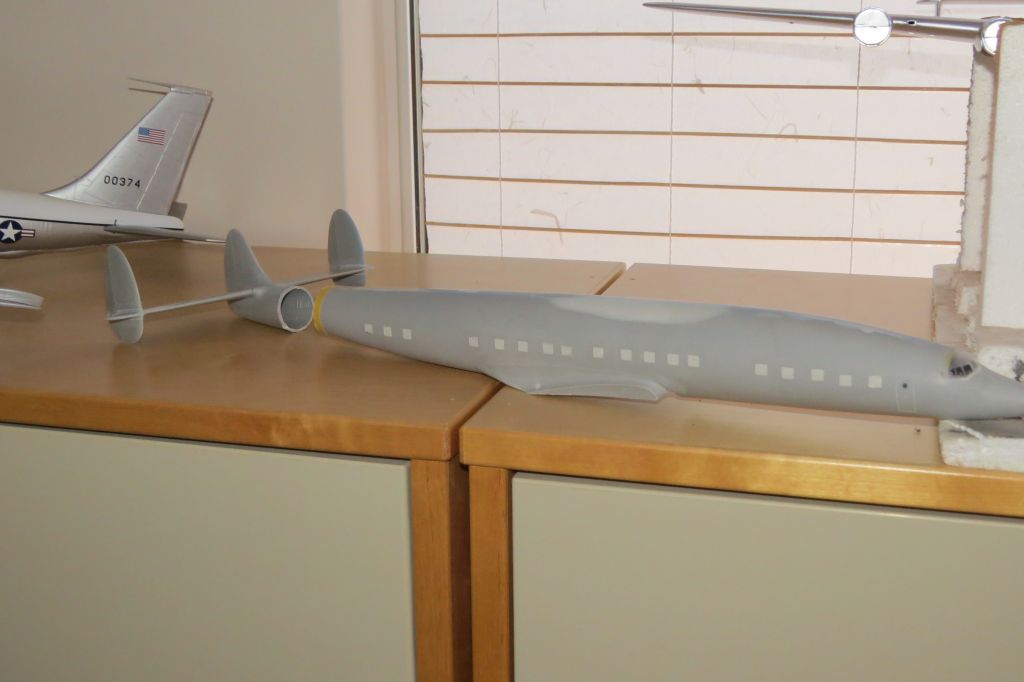
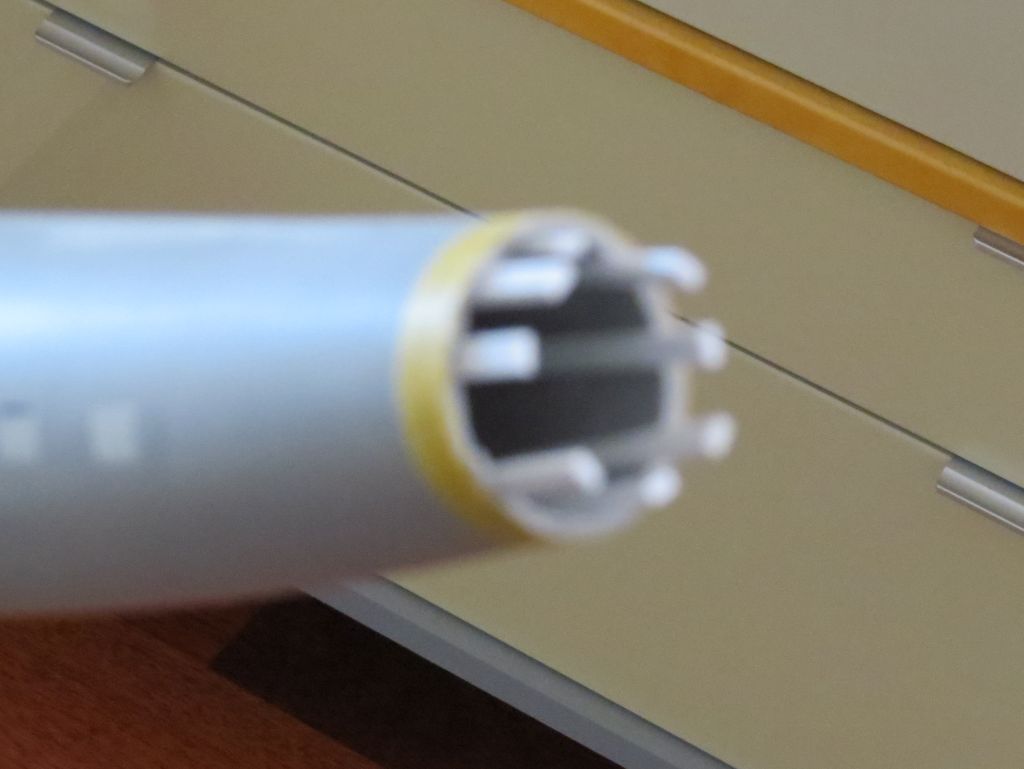
Put a line of tape to mark out a cutting point on the fuselage,
Use a circular saw disc on my trusty dremel to saw off the tail,
glue stringers to the interior fuselage side,
glue the tail back on so that it is square,
fill the join with light curing putty
sand
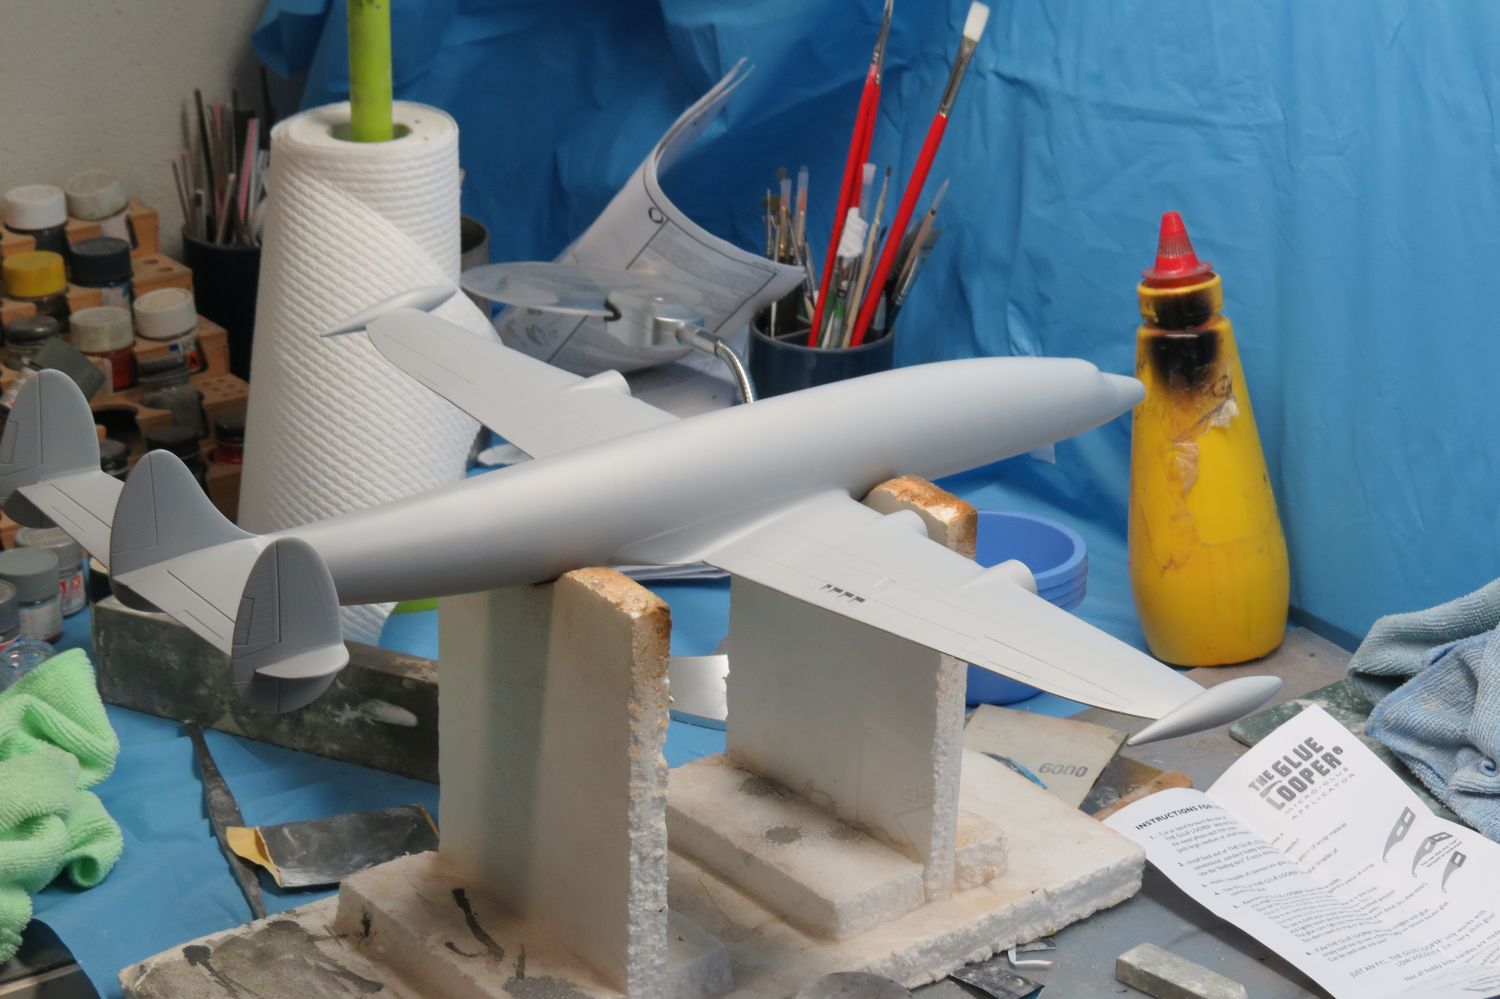
and 45 minutes later it was done!
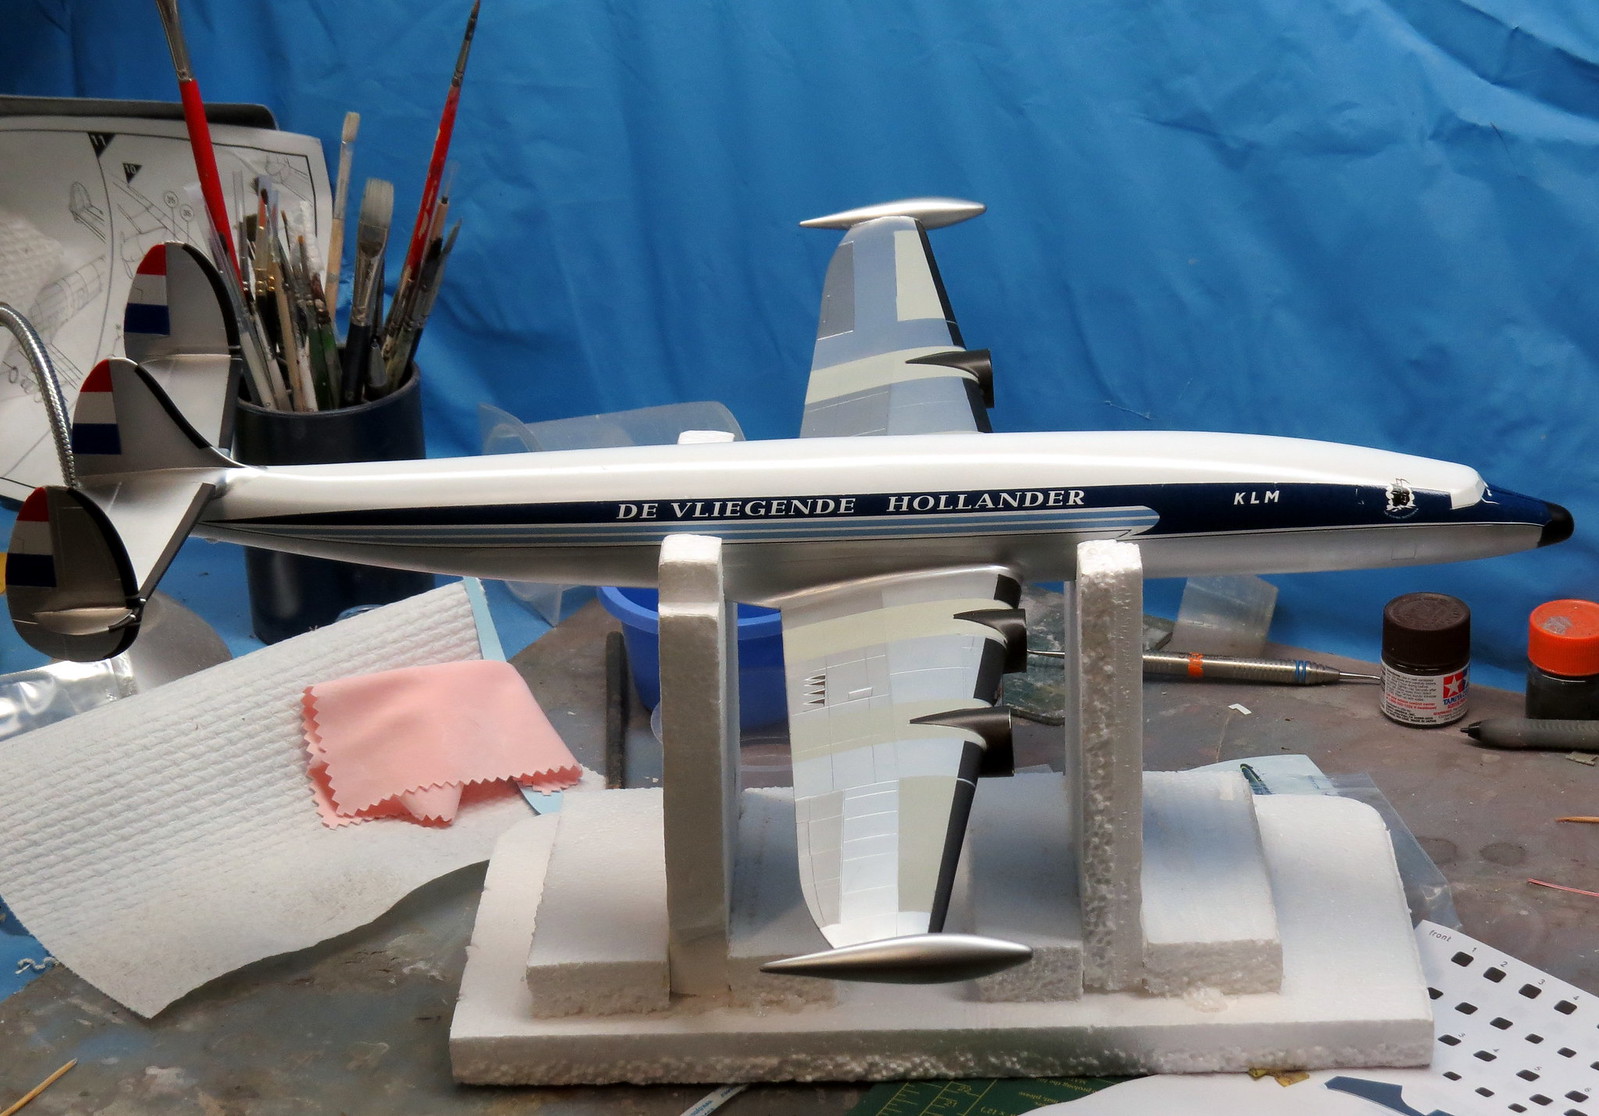
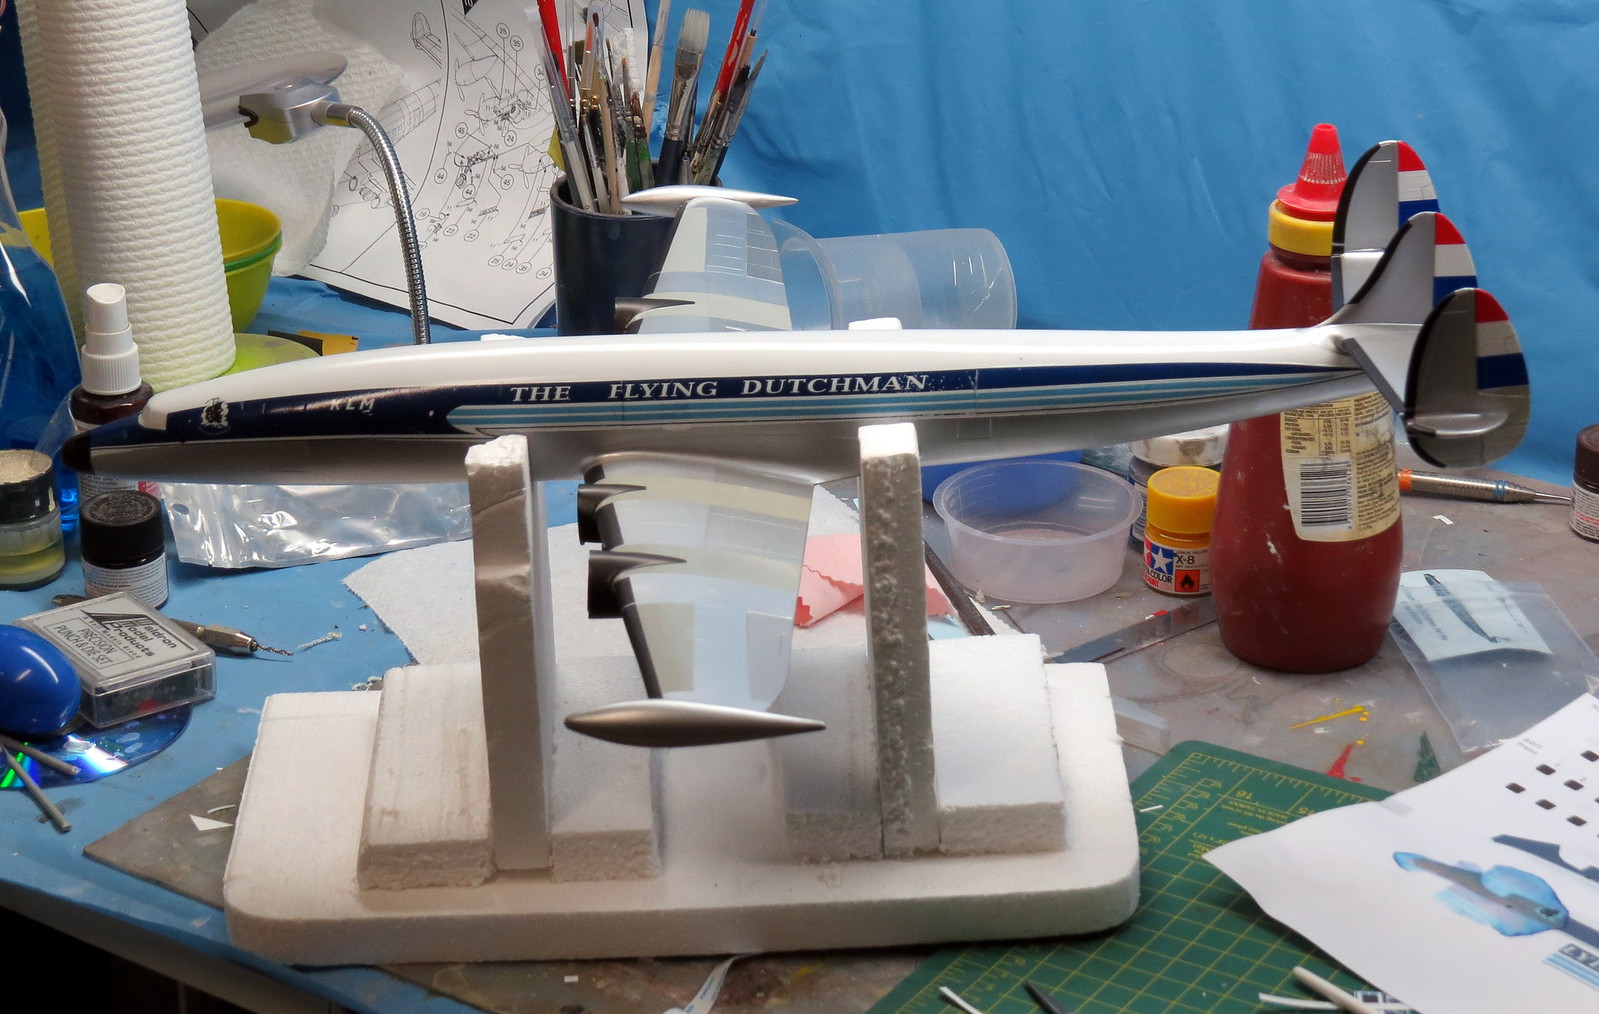
here she is with her first coat of primer
